Backstage in Windows Forms Ribbon (RibbonControlAdv)
8 Jul 202611 minutes to read
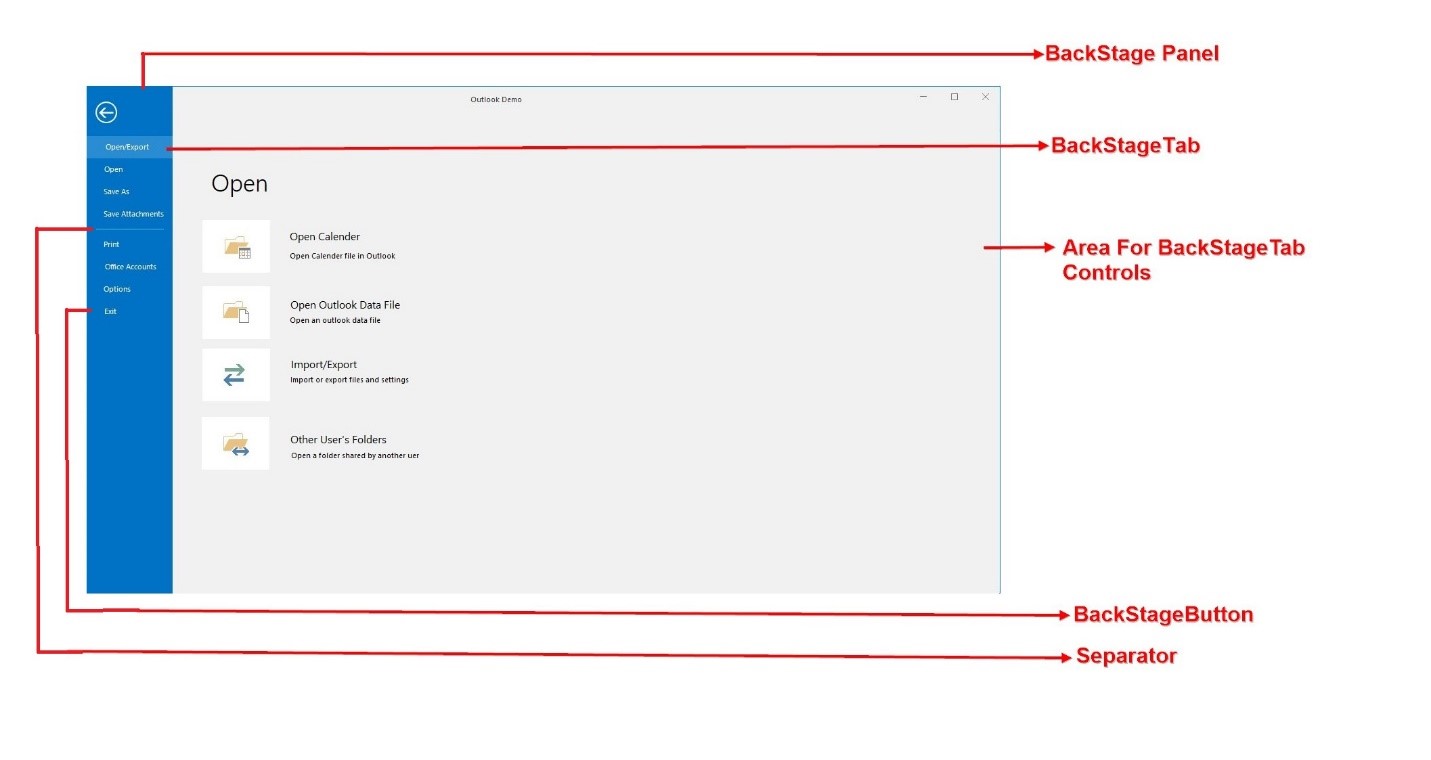
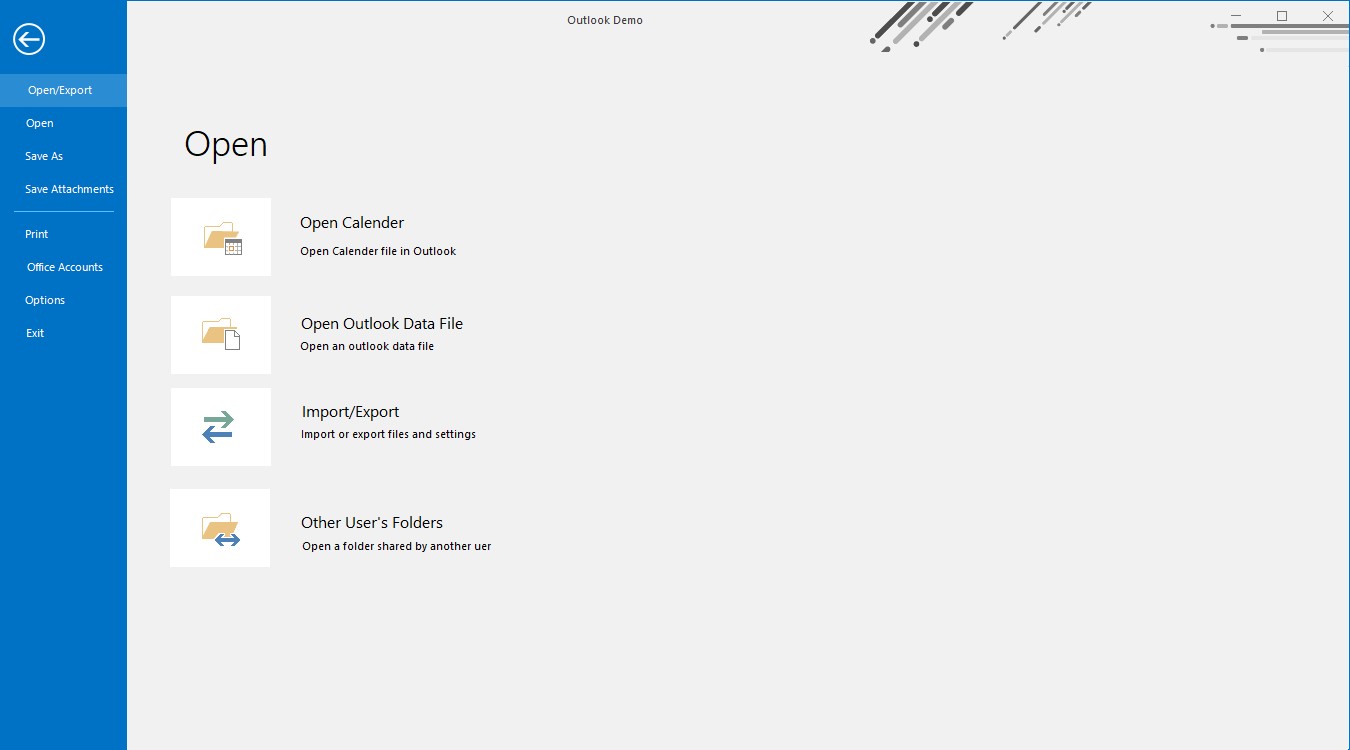
The Ribbon Backstage will appear when the user clicks on the Menu button. It lets users perform actions for the whole document such as Save, Save As and Print. It can also be used to show the recent changes in the document or to close the application.
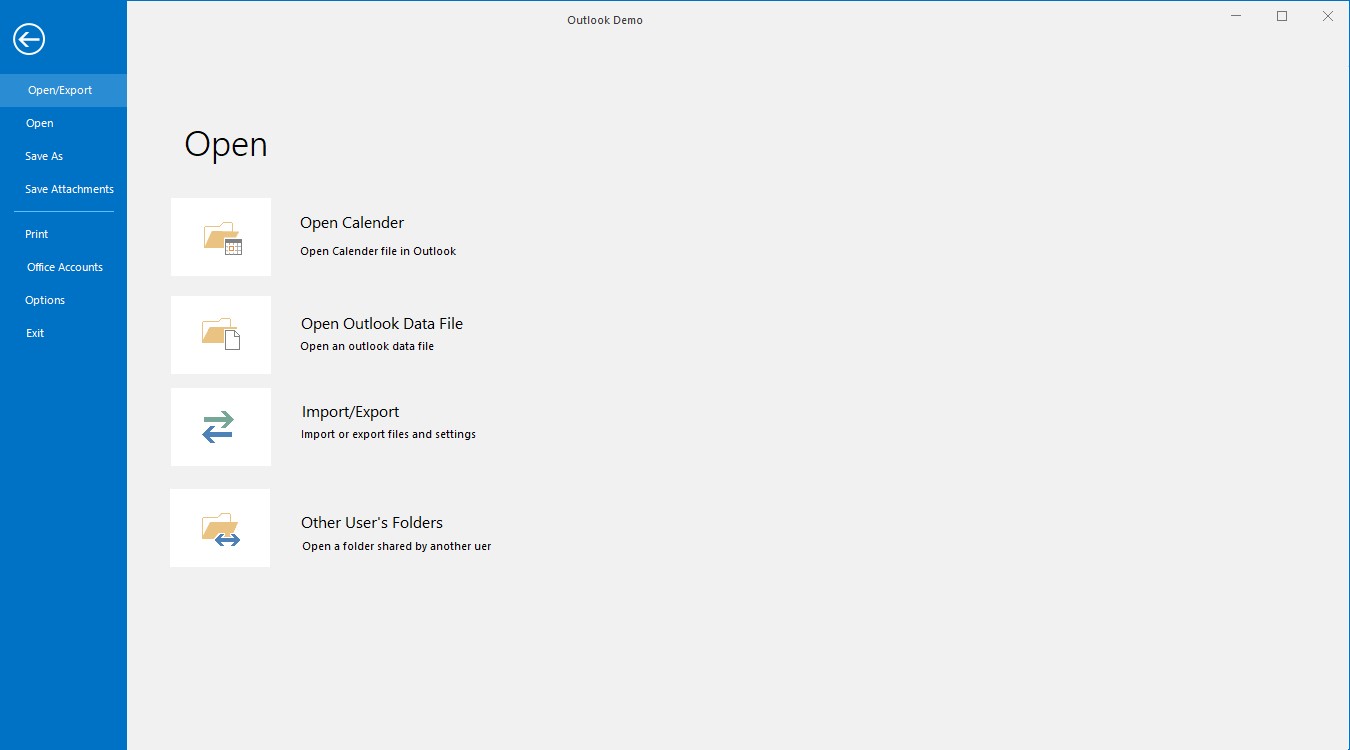
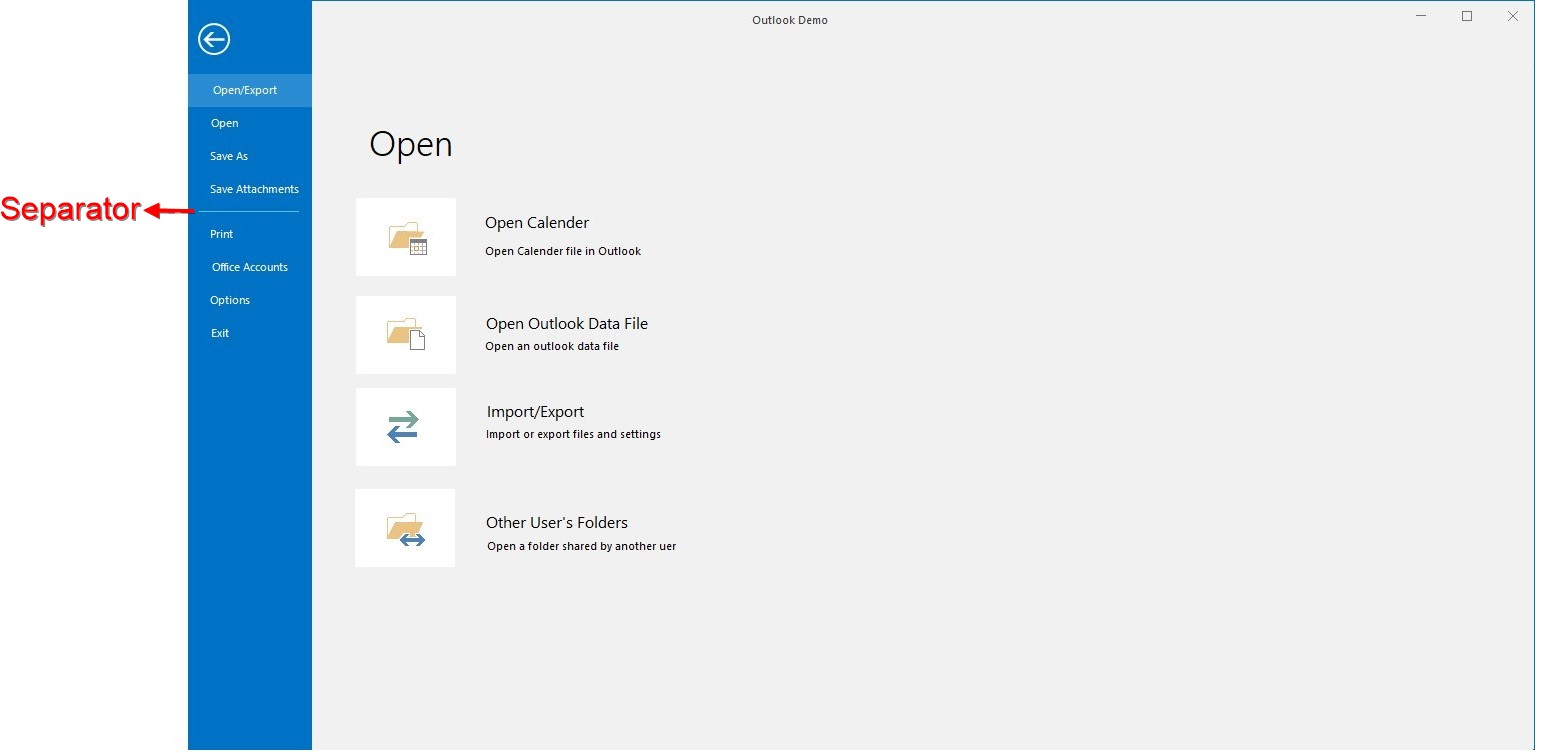
Backstage structure will have two areas, left side which contain all the items in backstage panel and the right side which shows content of the BackstageTab.
There are three items that can be used in BackStage. They are
- BackStage Button – A clickable item which acts as a simple button.
- BackStageTab – A simple tab, as you click on it, displays its content.
- BackStageSeparator – A simple line which separates neighboring items and can be used to differentiate different set of items to improve readability.
Open BackStage
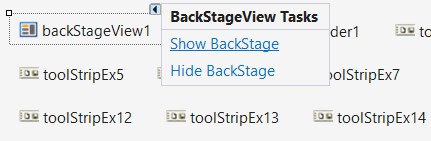
In the designer, BackStage can be opened by using the smart tag of the BackStage control below the designer and selecting ShowBackstage.
Or backstage can be accessed by going into BackStage property grid and changing IsVisible as true.
In run time BackStage can be opened by right clicking on the MenuButton.
Create BackStage Button
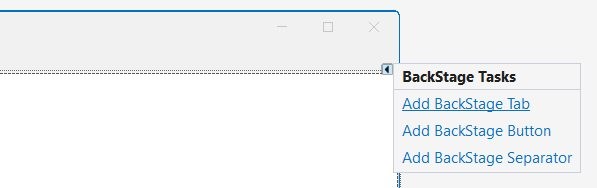
BackStage Button can be added through Smart tag of backstage view and it can be customized using property grid of that button.

Through coding
//Creating new backstage buttons
private Syncfusion.Windows.Forms.BackStageButton saveAsBackStageButton;
private Syncfusion.Windows.Forms.BackStageButton optionsBackStageButton;
private Syncfusion.Windows.Forms.BackStageButton exitBackStageButton;

//Creating new instance and customizing
this.optionsBackStageButton = new Syncfusion.Windows.Forms.BackStageButton();
this.saveAsBackStageButton = new Syncfusion.Windows.Forms.BackStageButton();
this.exitBackStageButton = new Syncfusion.Windows.Forms.BackStageButton();
this.optionsBackStageButton.Text = "Options";
this.saveAsBackStageButton.Text = "Save As";
this.exitBackStageButton.Text = "Exit";

//Adding them to backstage controls
this.backStage1.Controls.Add(optionsBackStageButton);
this.backStage1.Controls.Add(saveAsBackStageButton);
this.backStage1.Controls.Add(exitBackStageButton);
Private saveAsBackStageButton As Syncfusion.Windows.Forms.BackStageButton
Private optionsBackStageButton As Syncfusion.Windows.Forms.BackStageButton
Private exitBackStageButton As Syncfusion.Windows.Forms.BackStageButton)
Me.optionsBackStageButton = New Syncfusion.Windows.Forms.BackStageButton()
Me.saveAsBackStageButton = New Syncfusion.Windows.Forms.BackStageButton()
Me.exitBackStageButton = New Syncfusion.Windows.Forms.BackStageButton()
Me.optionsBackStageButton.Text = "Options"
Me.saveAsBackStageButton.Text = "Save As"
Me.exitBackStageButton.Text = "Exit"
Me.backStage1.Controls.Add(optionsBackStageButton)
Me.backStage1.Controls.Add(saveAsBackStageButton)
Me.backStage1.Controls.Add(exitBackStageButton)Create BackStage Tab
BackStage Tab can be added through smart tag of backstage view and it can be customized using the property grid.
Through coding
//Creating new backstage tabs
private Syncfusion.Windows.Forms.BackStageTab openExportBackStageTab;
private Syncfusion.Windows.Forms.BackStageTab saveAttachmentsBackStageTab;
private Syncfusion.Windows.Forms.BackStageTab openBackStageTab;
private Syncfusion.Windows.Forms.BackStageTab officeAccountsBackStageTab;
private Syncfusion.Windows.Forms.BackStageTab printBackStageTab;

//Creating new instance and customizing
this.openExportBackStageTab = new Syncfusion.Windows.Forms.BackStageTab();
this.saveAttachmentsBackStageTab = new Syncfusion.Windows.Forms.BackStageTab();
this.openBackStageTab = new Syncfusion.Windows.Forms.BackStageTab();
this.officeAccountsBackStageTab = new Syncfusion.Windows.Forms.BackStageTab();
this.printBackStageTab = new Syncfusion.Windows.Forms.BackStageTab();

this.openExportBackStageTab.Text = "Open/Export";
this.saveAttachmentsBackStageTab.Text = "Save Attachments";
this.openBackStageTab.Text = "Open";
this.officeAccountsBackStageTab.Text = "Office Accounts";
this.printBackStageTab.Text = "Print";


//Adding them to backstage controls
this.backStage1.Controls.Add(openExportBackStageTab);
this.backStage1.Controls.Add(saveAttachmentsBackStageTab);
this.backStage1.Controls.Add(openBackStageTab);
this.backStage1.Controls.Add(officeAccountsBackStageTab);
this.backStage1.Controls.Add(printBackStageTab);
Private openExportBackStageTab As Syncfusion.Windows.Forms.BackStageTab
Private saveAttachmentsBackStageTab As Syncfusion.Windows.Forms.BackStageTab
Private openBackStageTab As Syncfusion.Windows.Forms.BackStageTab
Private officeAccountsBackStageTab As Syncfusion.Windows.Forms.BackStageTab
Private printBackStageTab As Syncfusion.Windows.Forms.BackStageTab
Me.openExportBackStageTab.Text = "Open/Export"
Me.saveAttachmentsBackStageTab.Text = "Save Attachments"
Me.openBackStageTab.Text = "Open"
Me.officeAccountsBackStageTab.Text = "Office Accounts"
Me.printBackStageTab.Text = "Print"
Me.backStage1.Controls.Add(openExportBackStageTab)
Me.backStage1.Controls.Add(saveAttachmentsBackStageTab)
Me.backStage1.Controls.Add(openBackStageTab)
Me.backStage1.Controls.Add(officeAccountsBackStageTab)
Me.backStage1.Controls.Add(printBackStageTab)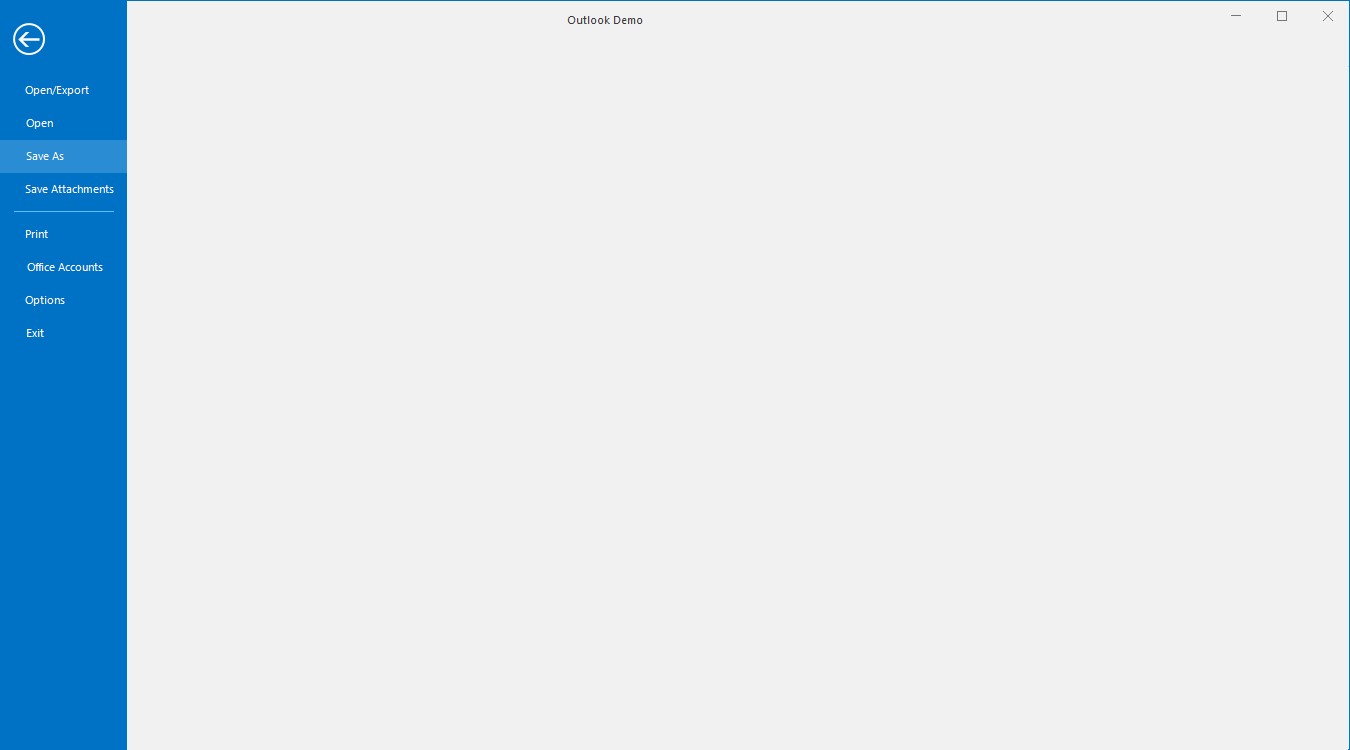
Adding Controls into BackStageTab
If backstage view is visible on the designer, select the tab and on left side empty space is available to add the controls for that tab, you can add the controls in that area from toolbox.
Add Separator
Separator can be added through Smart tag as explained in adding backstage button and tab.
Add Header Image
Header image can be added to the Ribbon with the property RibbonHeaderImage. There are several inbuilt images that can be used for Header.
this.ribbonControlAdv1.RibbonHeaderImage = RibbonHeaderImage.Lines;Me.ribbonControlAdv1.RibbonHeaderImage = RibbonHeaderImage.Lines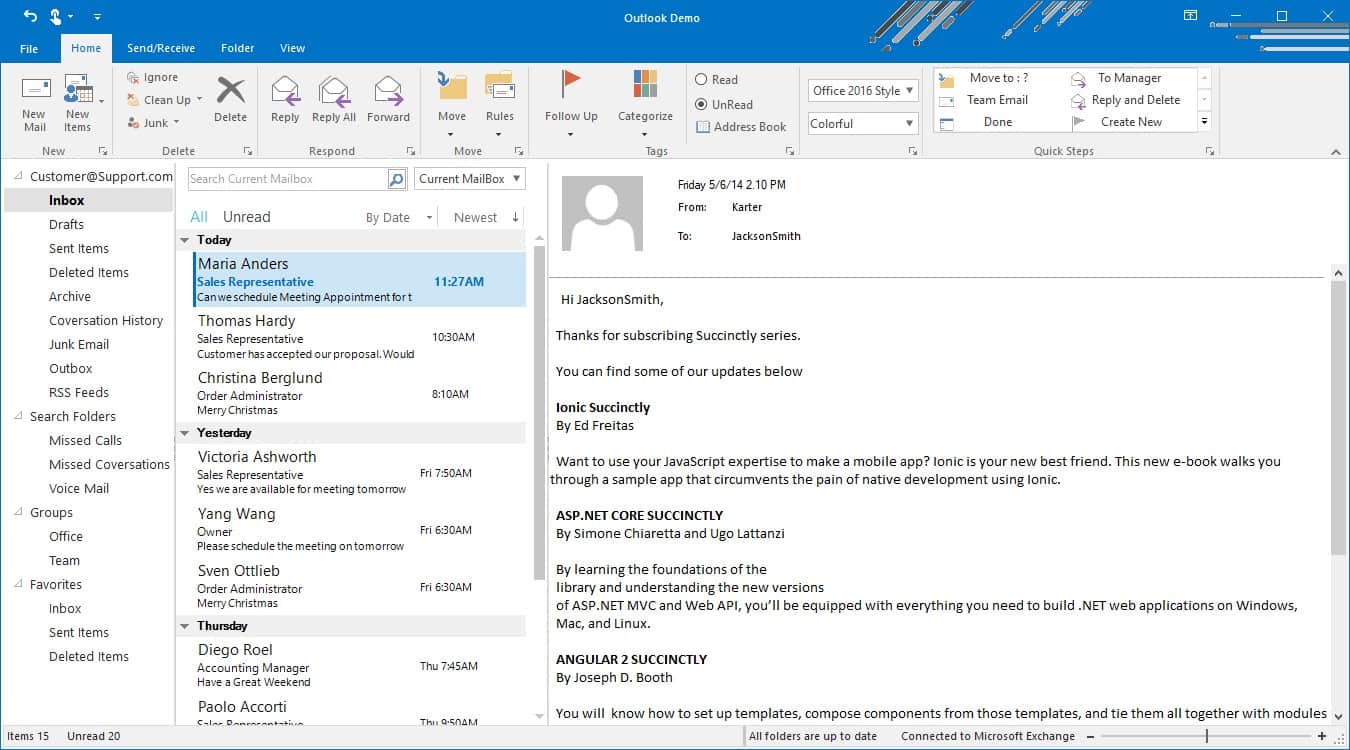
To set custom image to the Ribbon header, set an image to the property CustomRibbonHeaderImage.
//Image for RibbonHeader
Image headerImg = Image.FromFile(@"Pictures\HeaderImage.png");

this.ribbonControlAdv1.CustomRibbonHeaderImage = headerImg;
Dim headerImg As Image = Image.FromFile("Pictures\HeaderImage.png")
Me.ribbonControlAdv1.CustomRibbonHeaderImage = headerImgBackStage width
Width of backstage panel can be changed with the BackStage property BackStagePanelWidth.
this.backStage1.BackStagePanelWidth = 200;Me.backStage1.BackStagePanelWidth = 200Restrict BackStage Opening
To restrict from opening Backstage, change the Ribbon property MenuButtonEnabled as false.
//This will restrict backstage from opening
this.ribbonControlAdv1.MenuButtonEnabled = false;Me.ribbonControlAdv1.MenuButtonEnabled = FalseMenu Button
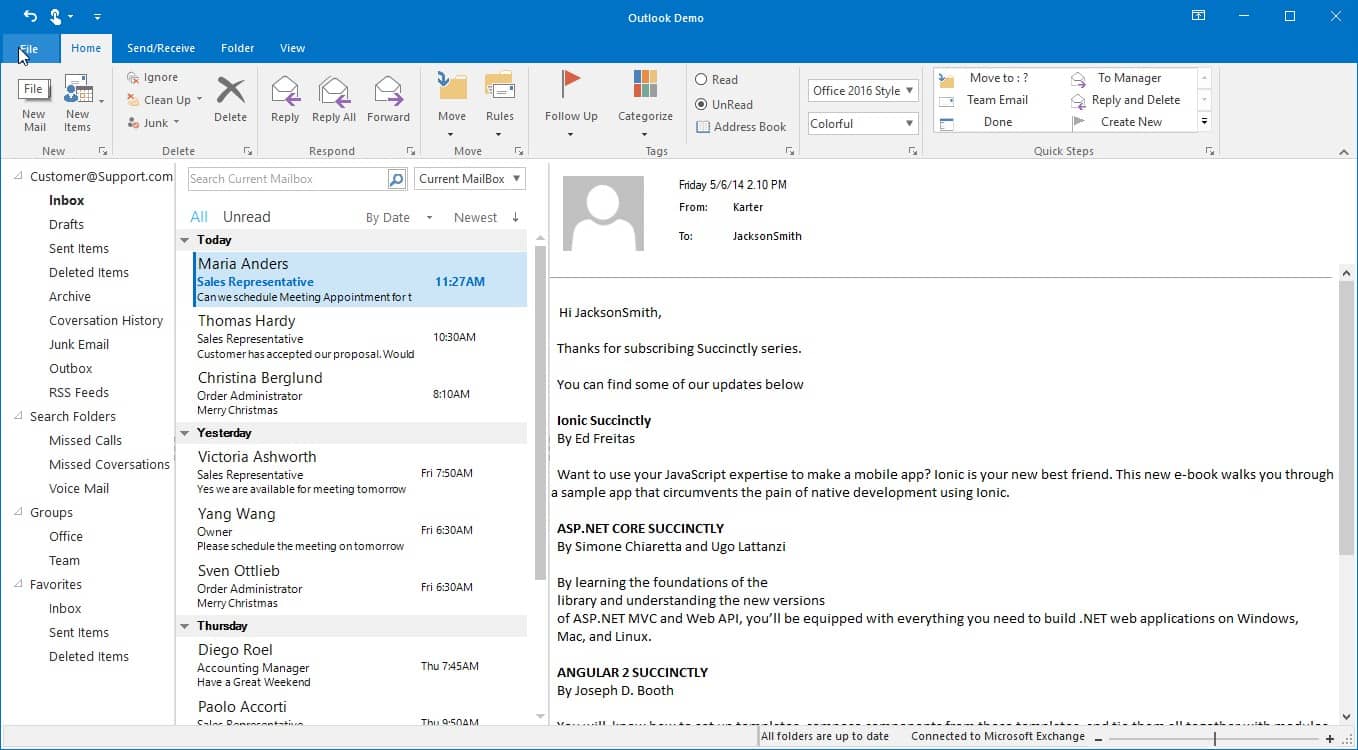
The file tab located at left end of the ribbon is the menu button, it is used to open backstage at run time.
Menu Button Text
By default, the text for this button will be File, it can be changed with the ribbon property MenuButtonText.
this.ribbonControlAdv1.MenuButtonText = "Menu";Me.ribbonControlAdv1.MenuButtonText = "Menu"Menu Button Width
To change the width of menu button, use the ribbon property MenuButtonWidth.
this.ribbonControlAdv1.MenuButtonWidth = 100;Me.ribbonControlAdv1.MenuButtonWidth = 100Hide Menu Button
The menu button can be hide by setting the MenuButtonVisible to False.The default value is True.
this.ribbonControlAdv1.MenuButtonVisible = false;Me.ribbonControlAdv1.MenuButtonVisible = False
Menu Button customization
The appearance of the menu button can be customized in Office2019Theme and HighContrastTheme by using the below listed properties,
this.ribbonControlAdv1.ThemeStyle.FileMenuBackColor = Color.Red;
this.ribbonControlAdv1.ThemeStyle.FileMenuForeColor = Color.Yellow;
this.ribbonControlAdv1.ThemeStyle.FileMenuHoverBackColor = Color.LightGreen;
this.ribbonControlAdv1.ThemeStyle.FileMenuHoverForeColor = Color.Brown;
The appearance of the menu button can be customized in Office2016 and Office2013 themes by using the below listed properties,
Office2016
Office2016ColorTable office2016ColorTable = new Office2016ColorTable();
office2016ColorTable.FileMenuForeColor = Color.Yellow;
office2016ColorTable.FileMenuHoverForeColor = Color.Red;
this.ribbonControlAdv1.Office2016ColorTable.Add(office2016ColorTable);
Office2013
Office2013ColorTable office2013ColorTable = new Office2013ColorTable();
office2013ColorTable.FileMenuForeColor = Color.Yellow;
office2013ColorTable.FileMenuHoverForeColor = Color.Red;
this.ribbonControlAdv1.Office2013ColorTable = office2013ColorTable;
Menu Button Color
To change the menu button color, use the ribbon property MenuColor.
this.ribbonControlAdv1.MenuColor = Color.Red;Me.ribbonControlAdv1.MenuColor = Color.RedBackStage items placement
The BackStage items listed below can be positioned either at top or bottom by using the Placement property.
- BackStageButton
- BackStageTab
- BackStageSeparator
The following code example illustrates how to position the BackStage items either at top or bottom.
this.backStageSeparator.Placement = Syncfusion.Windows.Forms.BackStageItemPlacement.Bottom;
this.printBackStageTab.Placement = Syncfusion.Windows.Forms.BackStageItemPlacement.Bottom;
this.closeBackStageButton.Placement = Syncfusion.Windows.Forms.BackStageItemPlacement.Bottom;
NOTE