How can I help you?
Getting Started With Windows Forms Theme Studio
28 Jan 20254 minutes to read
Theme Studio for WinForms can be used to create and apply new theme for Syncfusion® controls from an existing theme. The primary goal here is to deliver an appearance rich Syncfusion® controls that suits bests for every user application, based on their needs.
Customizing theme color from theme studio
In theme studio utility, each theme has a unique common variable list. When user change the common variable color code value, it will reflect in all the Syncfusion® WinForms controls. All Syncfusion® WinForms control styles are derived from these theme-based common variables. This common variable list is handled inside the theme studio application for customizing theme-based colors.
Let us now see the step-by-step procedure to launch and work with the theme studio utility below.
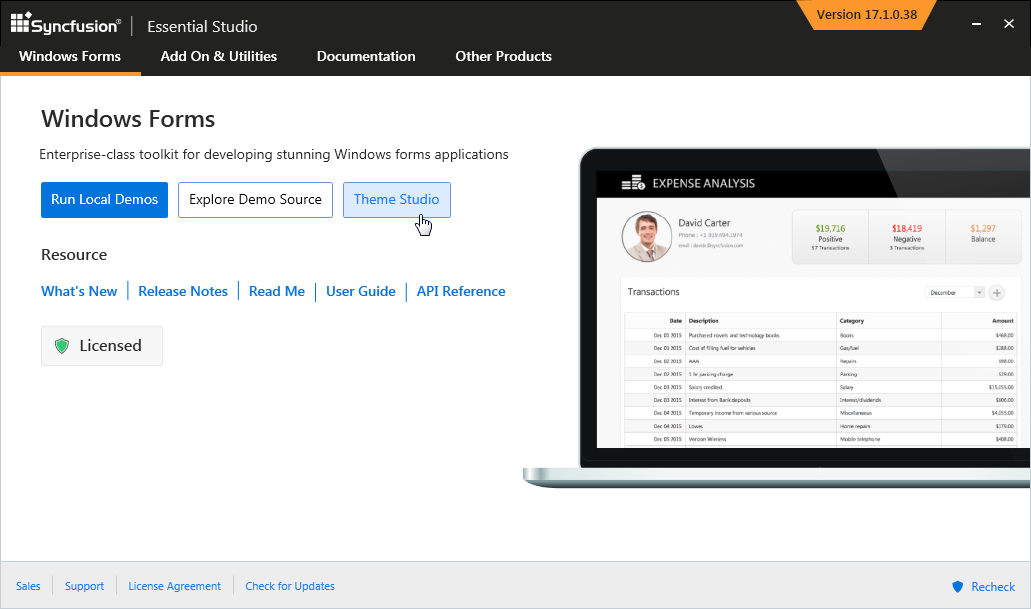
Step 1:
On installing the “Syncfusion® Windows Forms” suite, launch and select “Theme Studio” from the start-up panel.
Step 2:
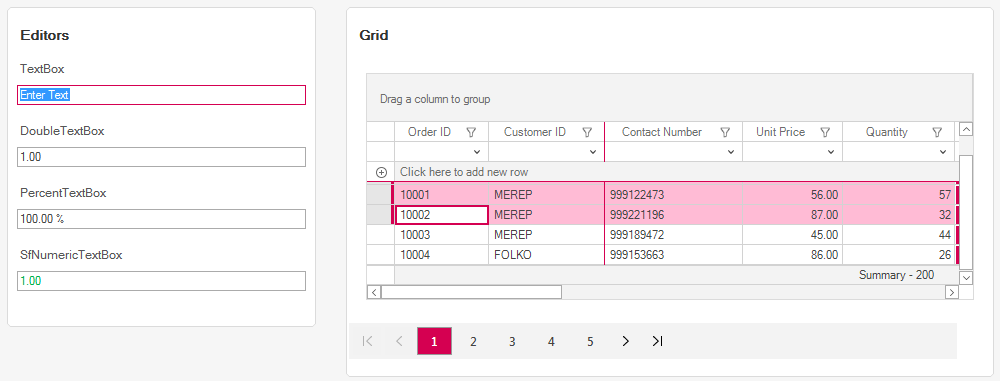
The theme studio application form has been divided into two sections: the controls preview section on the right, and the theme customization section on the left.
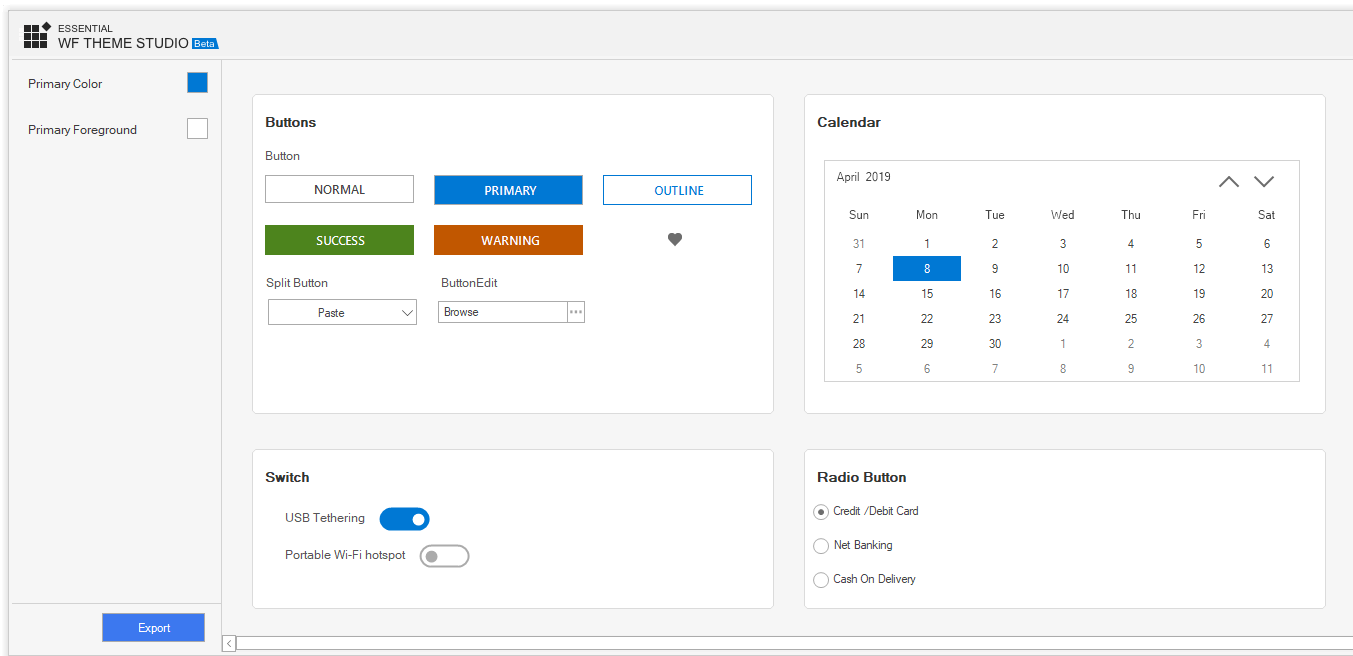
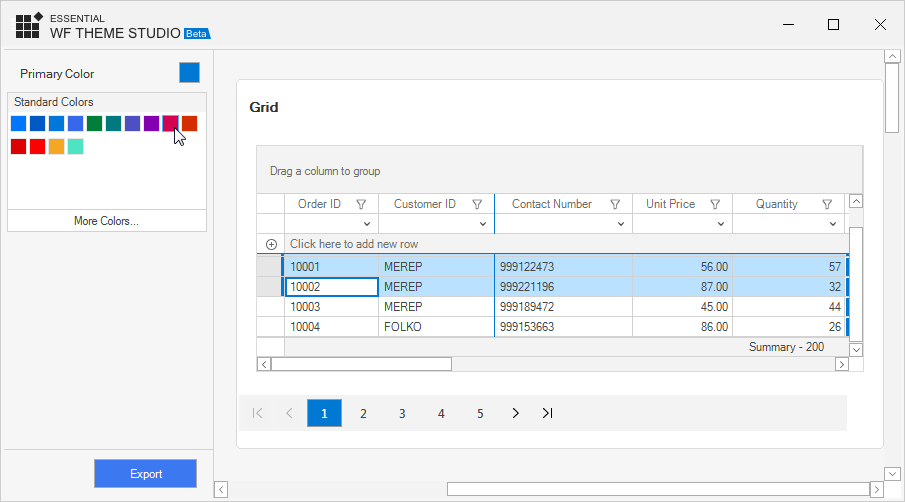
Step 3:
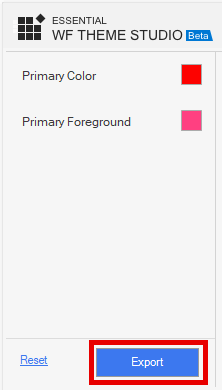
Click the color pickers in the theme customization section to select the desired color.
Step 4:
The Syncfusion® WinForms controls will be rendered with the newly selected colors in the preview section, after selecting the desired color.
Export the customized theme
You can export the custom theme after changing the theme colors.
Step 1:
Click the Export button in the bottom left corner of the theme studio application.
Step 2:
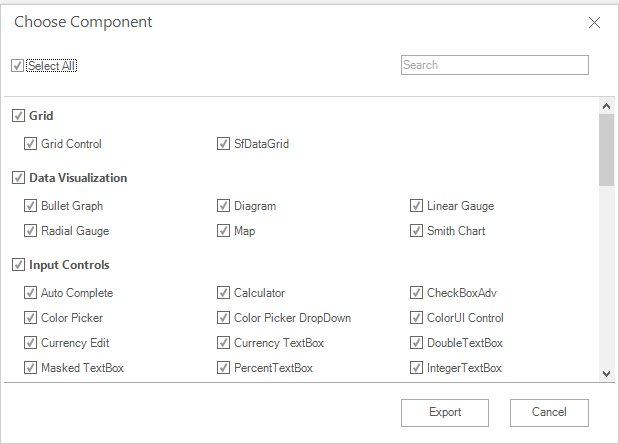
Now the export dialog appears with an option to select either entire controls or just the desired control(s). This option is useful when you have integrated a selective list of Syncfusion® WinForms controls in your application. The theme studio will filter only the selected controls and customize the final output for those controls alone thereby reducing the final output assembly size.
Step 3:
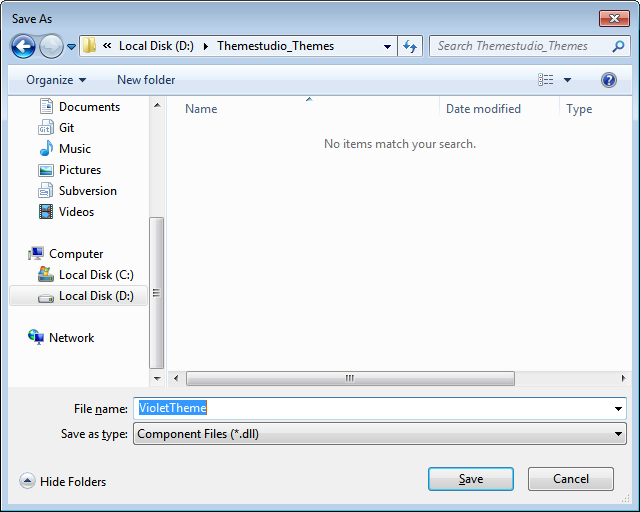
The download theme will come as an assembly (*.dll) file that contains color codes for the selected Syncfusion® WinForms controls.
NOTE
You can enter the assembly name of your own choice while exporting. But remember that the assembly (*.dll) name will be custom theme name, when you refer it in your WinForms application.
Using customized theme in a Windows Forms application
You can now add the exported assembly in your Windows Forms application and set the custom theme to the appropriate controls. In this illustration, we are going to witness the custom theme set for SfDataGrid.
Step 1:
Attach the exported assembly (*.dll) in your Windows Forms project.
Step 2:
Load the Theme assembly in Program.cs of your application and the initialize a SfDataGrid control in the main form and set it’s “ThemeName” property exactly to the assembly name.
static class Program
    {
        /// <summary>
        /// The main entry point for the application.
        /// </summary>
        [STAThread]
        static void Main()
        {
			Syncfusion.Licensing.SyncfusionLicenseProvider.RegisterLicense(DemoCommon.FindLicenseKey());
            SkinManager.LoadAssembly(typeof(VioletTheme).Assembly);
            Application.EnableVisualStyles();
            Application.SetCompatibleTextRenderingDefault(false);
            Application.Run(new Form1());
        }
    }

sfDataGrid1.ThemeName = "VioletTheme";
Module Program
<STAThread>
Private Sub Main()
Syncfusion.Licensing.SyncfusionLicenseProvider.RegisterLicense(DemoCommon.FindLicenseKey())
SkinManager.LoadAssembly(GetType(VioletTheme).Assembly)
Application.EnableVisualStyles()
Application.SetCompatibleTextRenderingDefault(False)
Application.Run(New Form1())
End Sub
End Module
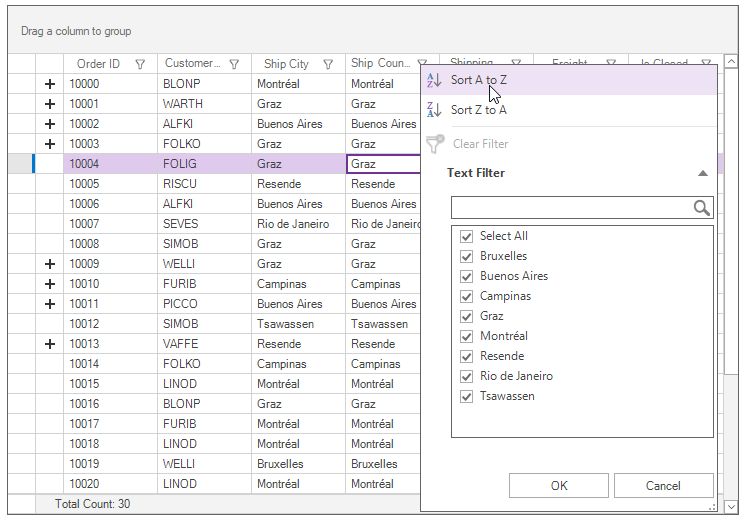
sfDataGrid1.ThemeName = "VioletTheme"Step 3:
Compile and run the Windows Forms application and you can now witness the custom theme applied to SfDataGrid control at run-time.