WinForms Applications using .NET Core and Syncfusion® WinForms Controls
24 Jan 20252 minutes to read
Syncfusion® Essential Studio® for Windows Forms suits .NET core assemblies for building Windows Forms .NET Core applications using Syncfusion® Controls. This section explains how to create the project in .NET Core application and using Syncfusion® Windows Forms controls.
NOTE
All Syncfusion® Windows Forms controls supports .NET Core Framework except the controls labeled as
classic.
Create a .NET Core project
Step 1: Open Visual Studio, go to File > New > Project… and you can now see Create a new project dialog. Here, select Windows Forms App (.NET Core) template and click Next.

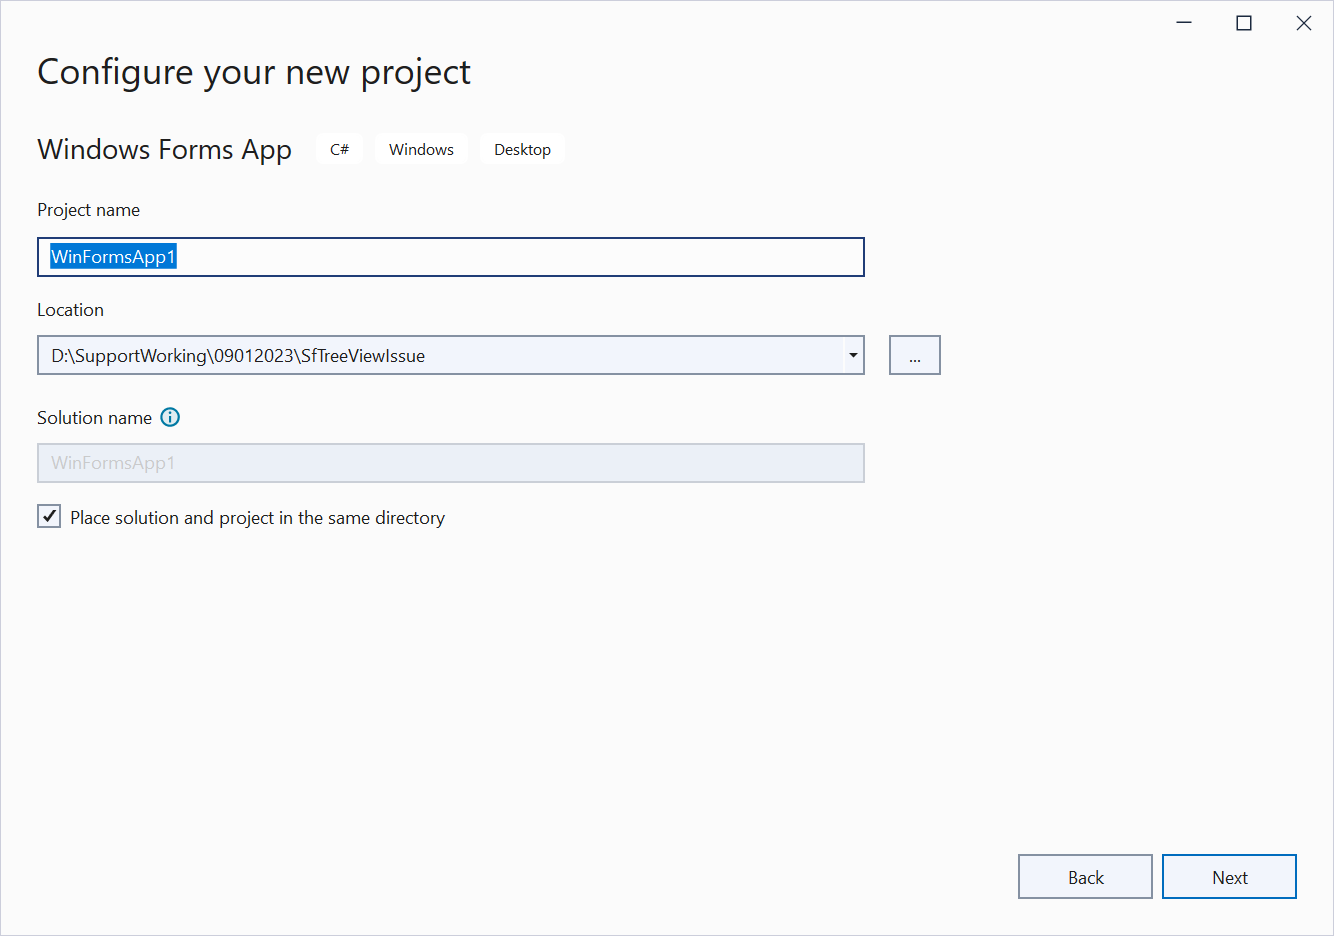
Step 2: You will now see Configure your new project dialog. Here, fill in the necessary details and click Next.
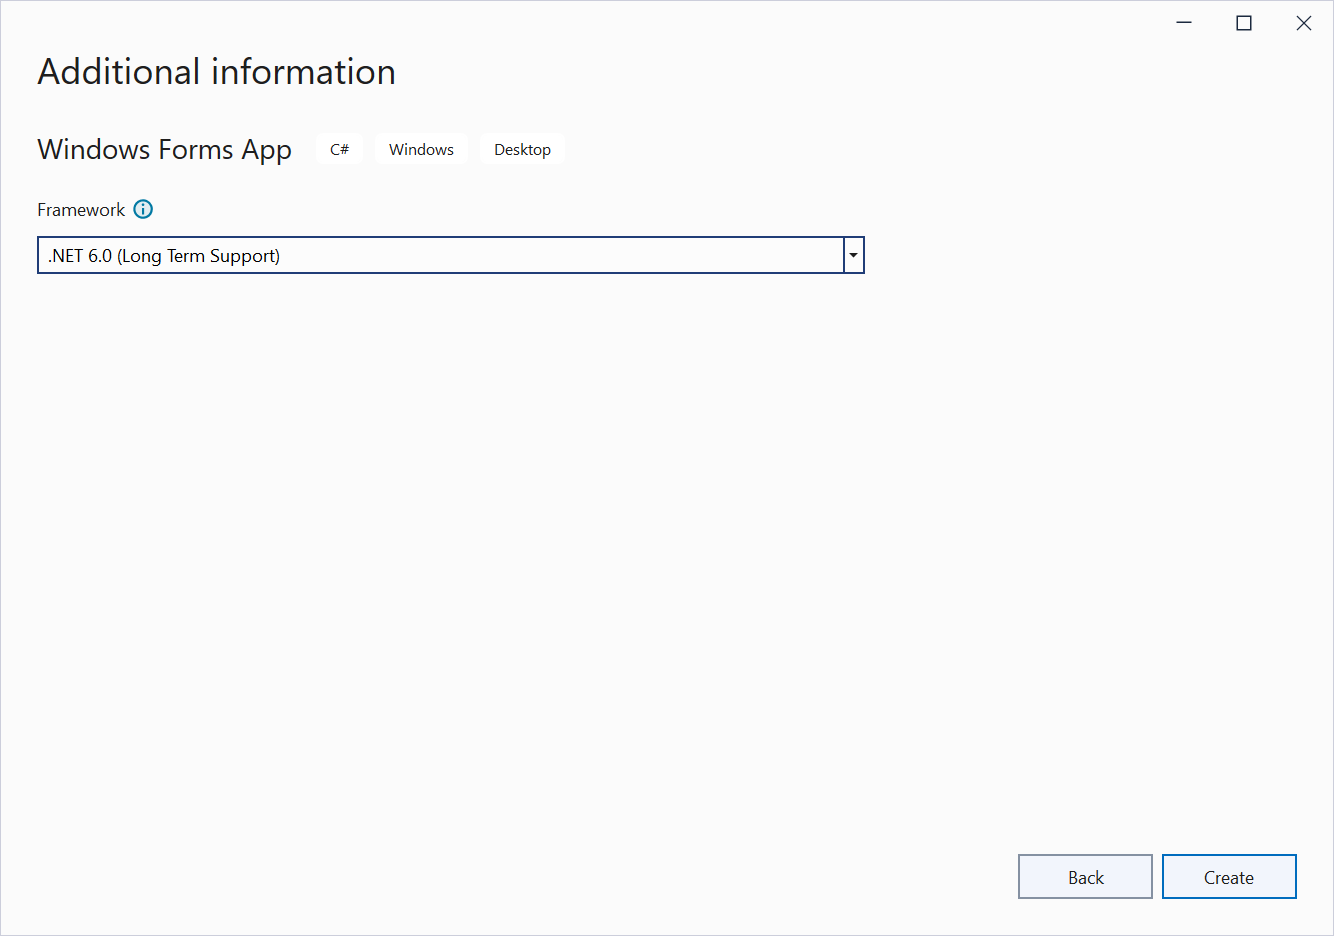
Step 3: In the Additional information window, select .NET 6.0 (Long-term support) for the Framework setting, and then click Create.
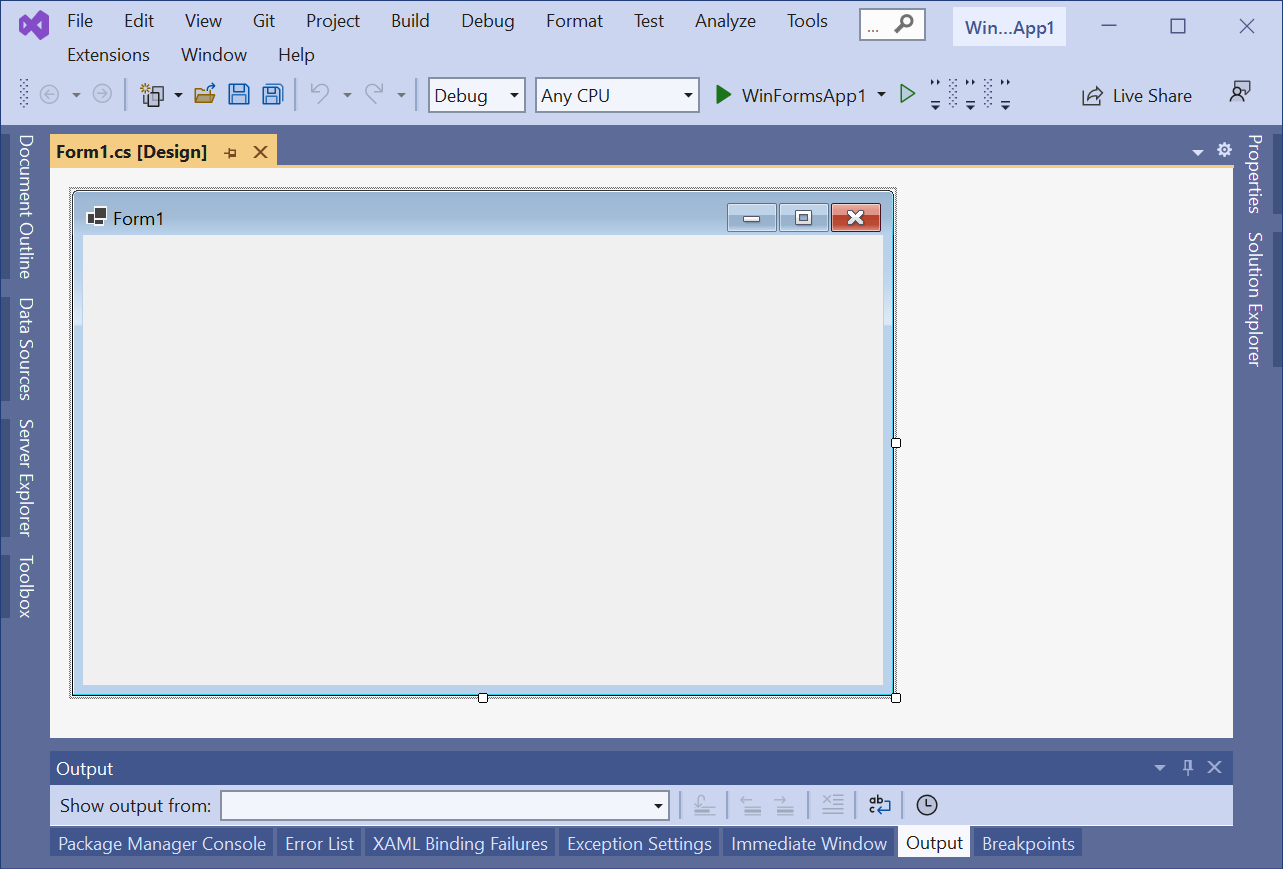
Step 4: Finally, Windows Forms (.NET Core) sample project is created.
Step 5: Now, you can add your controls. To do so, follow the immediate section Adding controls in Windows Forms (.NET Core) application for more details.
Adding controls in Windows Forms (.NET Core) application
The below section explains how to add your controls in Windows Forms (.NET Core) application.
Through assembly deployment
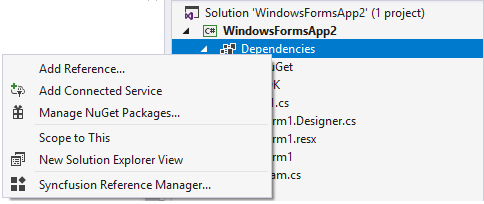
In Solution Explorer, right-click on Dependencies and select Add Reference.
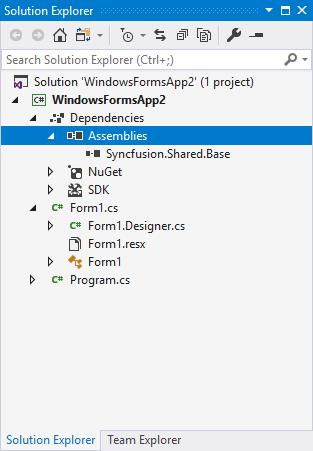
Now, Reference Manager dialog will be opened. Here click Browse and select the needed assemblies from the location mentioned in below note section. On selecting necessary assemblies, click Add and then click Ok. Now, required assemblies are added in to the project, like in the below screenshot.
NOTE
You can get Syncfusion® Windows Forms (.NET Core) controls assemblies from
net6.0folder in the following location - C:\Program Files (x86)\Syncfusion\Essential Studio\Windows\x.x.x.x\precompiledassemblies
Through NuGet Package
Check here to find more details regarding how to install the NuGet packages in Windows Forms application.
Example: Adding ButtonAdv control through code
We are now going to see a demo on how to add ButtonAdv control in WinForms .NET Core application.
Step 1: Add the following dependent assembly for the inclusion of ButtonAdv control.
- Syncfusion.Shared.Base
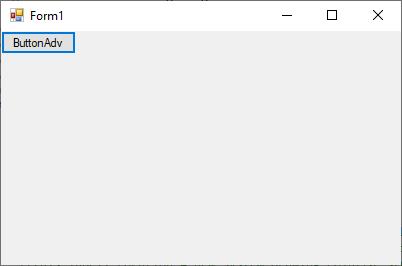
Step 2: Create an instance of the control. Assign necessary properties with proper values and add the control instance to the form.
ButtonAdv button = new ButtonAdv();
button.Text = ”ButtonAdv”;
this.controls.add(button);
Step 3: Run the application.
Refer this documentation link to configuring toolbox for Windows Forms .NET 6.0\8.0 projects from NuGet packages.