Add Windows Forms Syncfusion® Controls
24 Jan 20257 minutes to read
The Syncfusion® Windows Forms controls can be added in a Visual Studio projects by using either of the following ways,
- Through Designer
- Through Code-Behind
- Through Project Template
- Through Item Template
Through Designer
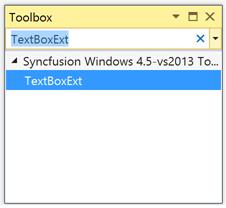
Syncfusion® UI for Windows Forms are added automatically to the Visual Studio Toolbox during installation. The following steps helps to add required Essential® Windows Forms control through drag and drop from Toolbox. For example: TextBoxExt
1.Create a Windows Forms project in Visual Studio.
2.Find TextBoxExt by typing the name of the “TextBoxExt” in the search box.
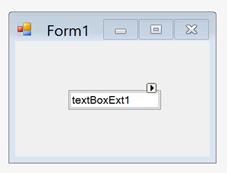
3.Drag TextBoxExt and drop it in the designer.
Through Code-Behind
Syncfusion® UI for Windows Forms can added at runtime using C# / VB. The following steps helps to add required Essential® Windows Forms control through code. For example: TextBoxExt.
-
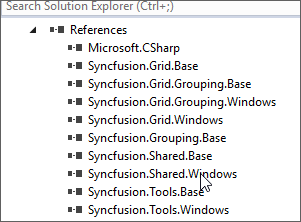
Create a Windows Forms project in Visual Studio and refer to the following assemblies.
- Syncfusion.Tools.Base.dll
- Syncfusion.Tools.Windows.dll
- Syncfusion.Shared.Base.dll
- Syncfusion.Shared.Windows.dll
-
Create an instance of TextBoxExt using it namespace
Syncfusion.Windows.Forms.Tools.TextBoxExt textBoxExt1 = new Syncfusion.Windows.Forms.Tools.TextBoxExt();Dim textBoxExt1 As New Syncfusion.Windows.Forms.Tools.TextBoxExt() -
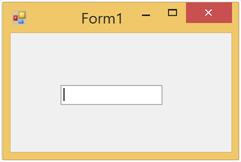
Set Location and Size of the control with require value. Here, set its location as (100,100) and Size as (200,25) through its
Locationand ‘Size’ property respectively.this.textBoxExt1.Location = new System.Drawing.Point(100, 100); this.textBoxExt1.Size = new System.Drawing.Size(200, 25);Me.textBoxExt1.Location = New System.Drawing.Point(100, 100) Me.textBoxExt1.Size = New System.Drawing.Size(200, 25) -
Add the created instance to the parent form (or the needed layout panels) through its child collection property that named as
Controls.//here this denotes parent main form this.Controls.Add(this.textBoxExt1);'here this denotes parent main form Me.Controls.Add(Me.textBoxExt1)
Through Project Template
Syncfusion® provides the Visual Studio Project Templates for the Syncfusion® Windows Forms platform to create Syncfusion® Windows Forms Application.
IMPORTANT
The Syncfusion® Windows Forms templates are available from v14.3.0.49.
Create Syncfusion® Windows Forms Project
The following steps direct you to create the Syncfusion® Windows Forms project through the Visual Studio Project Template.
-
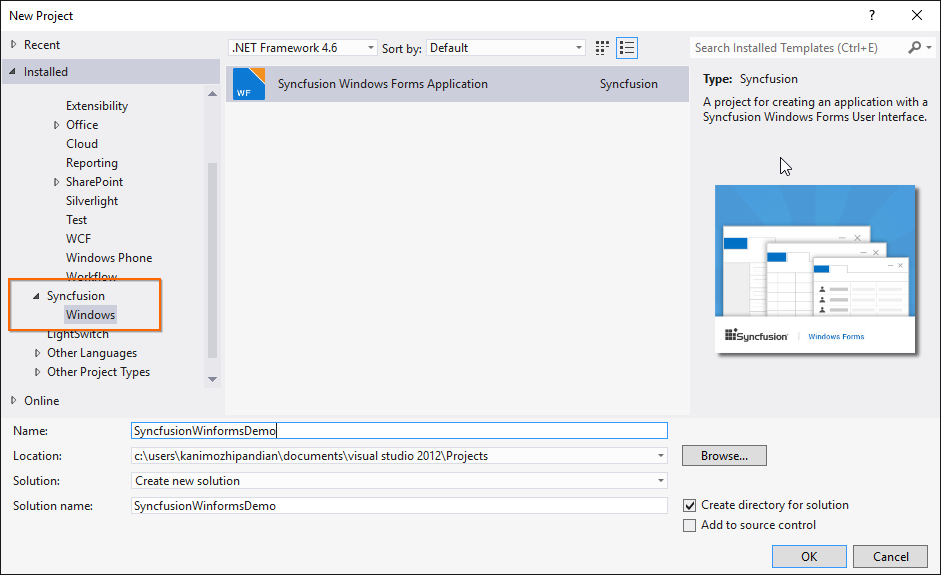
To create a Syncfusion® Windows Forms project, choose New Project-> Syncfusion®->Windows->Syncfusion® Windows Forms Application from Visual Studio
-
Name the Project, choose the destination location when required and set the Framework of the project, then click OK.
NOTE
Minimum target Framework is 3.5 for Syncfusion® Windows Forms project templates.
-
Choose the options to configure the Syncfusion® Windows Forms Application by using the following Project Configuration Wizard.
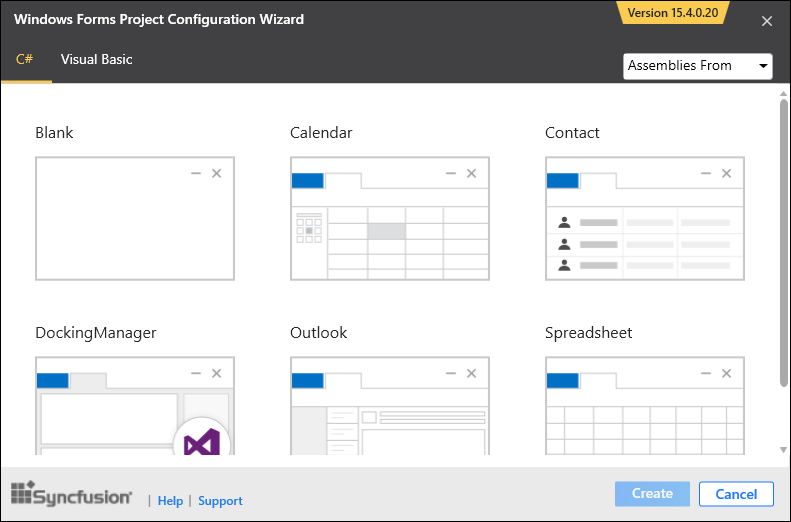
Project configurations:
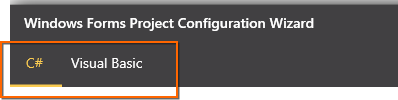
Language: Select the language, either C# or VB.
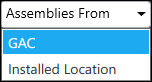
Assemblies From: Choose the assembly location from where it is going to be added to the project.
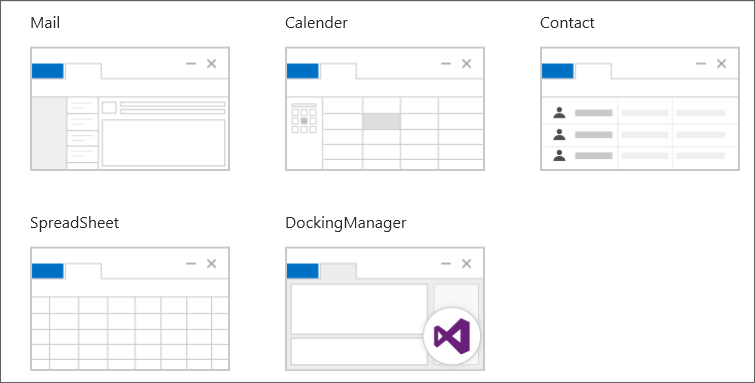
Select Control: Choose the control based on your need.
-
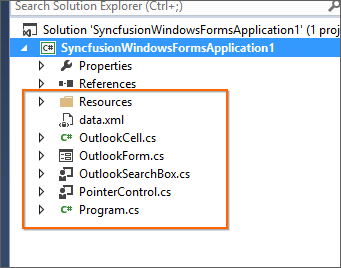
Once the Project Configuration Wizard is done, the Syncfusion® Windows Forms project is created with required references and forms.
-
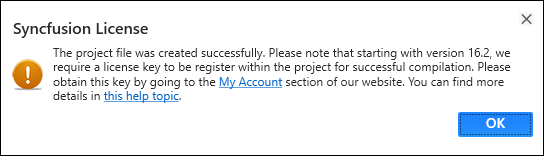
Then, Syncfusion® licensing registration required message box will be shown as follow, if you are installed the trial setup or NuGet packages since Syncfusion® introduced the licensing system from 2018 Volume 2 (v16.2.0.41) Essential Studio® release. Please navigate to the help topic which is shown in the licensing message box to generate and register the Syncfusion® license key to your project. Refer to this blog post for understanding the licensing changes introduced in Essential Studio®.
Through Item Template
The Syncfusion® Item Templates Add new item feature provides support to Windows Forms platform. To add the Syncfusion® item files in Visual Studio, install Syncfusion® Essential Studio® for Windows Forms platform.The item template available from Syncfusion® Essential Studio® v13.1.0.21.
Using Syncfusion® Item Template Gallery
Follow the given steps to add the Syncfusion® item in Visual Studio.
-
Open a new or existing Windows Forms application.
-
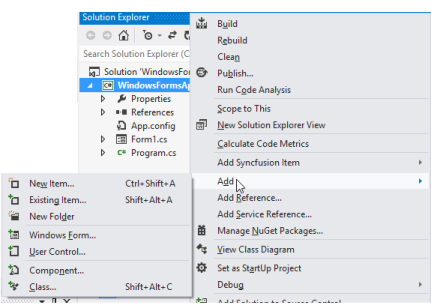
Right-click on the Windows Forms Project from the Solution Explorer. Select the Add Syncfusion® Item New Item… option. Refer to the following screenshot
for more information.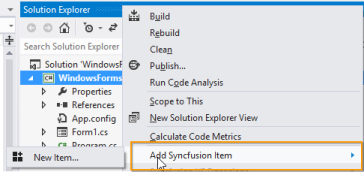
-
Now the Syncfusion® Item Template Gallery window will open.
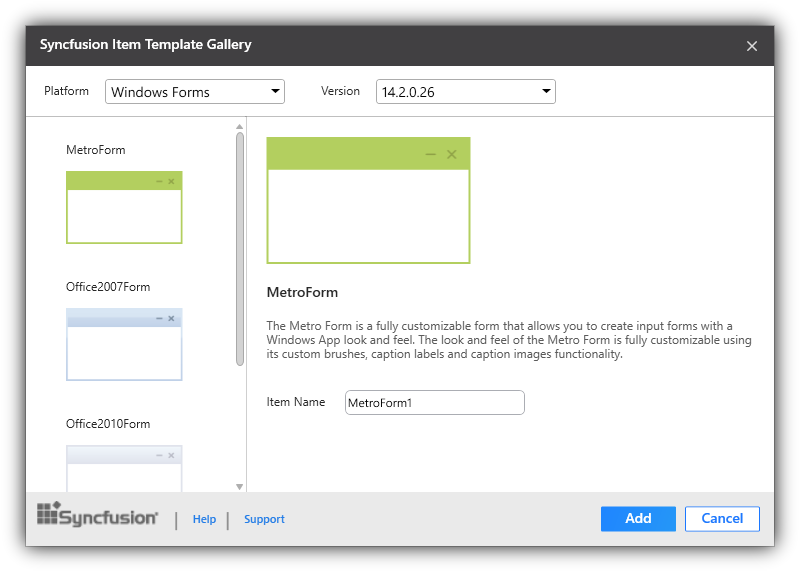
-
Select the required version and themes or Form from the Syncfusion® Item Template Gallery.

Platform
This is a combo box where you can choose the application’s platform. For now it contains Windows Forms Platform alone.
Version
Syncfusion’s Installed Build Versions are listed for Syncfusion® Essential Studio® v13.1.0.21 and later, for the installed Windows Forms platform.
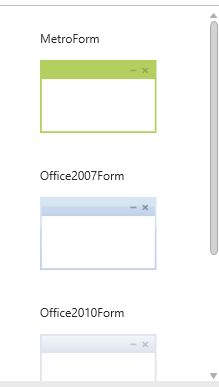
Template Gallery
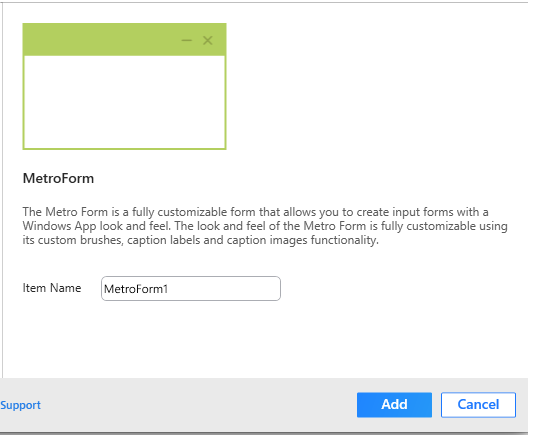
This part contains a set of Syncfusion® Item Templates, and you can choose the Item Templates based on your need.
When Add button is clicked, then the selected item template is added to the project.
5.Then, Syncfusion® licensing registration required message box will be shown as follow, if you are installed the trial setup or NuGet packages since Syncfusion® introduced the licensing system from 2018 Volume 2 (v16.2.0.41) Essential Studio® release. Please navigate to the help topic which is shown in the licensing message box to generate and register the Syncfusion® license key to your project. Refer to this blog post for understanding the licensing changes introduced in Essential Studio®.
Using Visual Studio Add new Item
Syncfusion® Project Template can be also add from the Visual Studio Item Template. Right-click on the Windows Forms Project Add ->New Item. You can refer to the following screenshot for more information.
-
The Syncfusion® Item Templates are available under the Syncfusion® tab. It is available for both C# Items and VB Items.

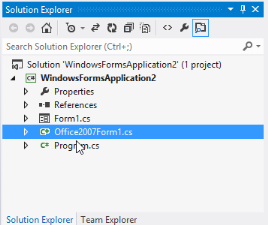
-
Now the selected template is added to the project along with Syncfusion® references.

-
Then, Syncfusion® licensing registration required message box will be shown as follow, if you are installed the trial setup or NuGet packages since Syncfusion® introduced the licensing system from 2018 Volume 2 (v16.2.0.41) Essential Studio® release. Please navigate to the help topic which is shown in the licensing message box to generate and register the Syncfusion® license key to your project. Refer to this blog post for understanding the licensing changes introduced in Essential Studio®.