How can I help you?
Getting Started with WPF AutoComplete (Classic)
19 Oct 20226 minutes to read
Structure of the AutoComplete control
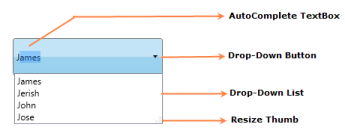
AutoComplete Control Structure
Add AutoComplete to an application
Following are the step-by-step instructions to add an AutoComplete control in a WPF application. The AutoComplete control can be created by using either C#, XAML code. It can also be created using Blend.
Creating AutoComplete using C#
-
Open Visual Studio, On the File menu click New -> Project. This opens the New Project Dialog box.
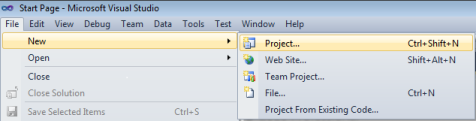
Creating New Project
-
In the Project Dialog window, select WPF application and, in the Name field type the name of the project. Click OK.
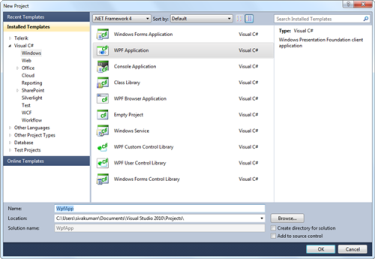
Creating New WPF Application
-
Go to Solution Explorer. Right-click References folder and click Add Reference. Add the Syncfusion.Tools.WPF.dll and Syncfusion.Shared.WPF assembly to the project References folder.
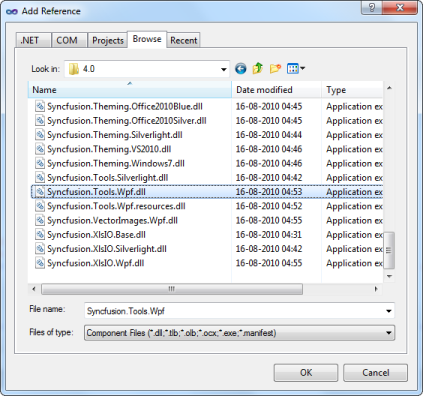
Adding Reference
xmlns:syncfusion="clr-namespace: Syncfusion.Windows.Tools.Controls;assembly=Syncfusion.Tools.Wpf" -
Add Syncfusion.Tools.WPF reference in XAML and C# code as follows.
using Syncfusion.Windows.Tools.Controls; -
Click and open the C# file. Add AutoComplete to the application.
AutoComplete AutoComplete1 = new AutoComplete();
List<String> productSource = new List<String>();

productSource.Add("WPF");
productSource.Add("Chart");
productSource.Add("GridView");
productSource.Add("WF");
productSource.Add("Xlsio");
productSource.Add("Business Intelligence");
productSource.Add("Tools");
productSource.Add("Silverlight");
productSource.Add("Schedule");
productSource.Add("Mvc");
productSource.Add("Pdf");

this.AutoComplete1.CustomSource = productSource;
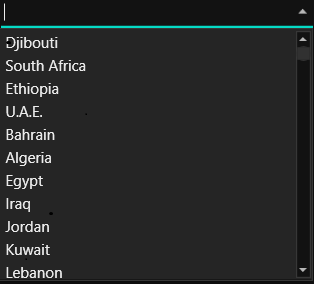
AutoComplete Created Using C#
Create AutoComplete using XAML
Following are the steps to create the AutoComplete by using VisualStudio in XAML as follows.
-
Create a new WPF application in Visual Studio. In Visual Studio Toolbox, click Syncfusion WPF Toolbox tab and select AutoComplete.
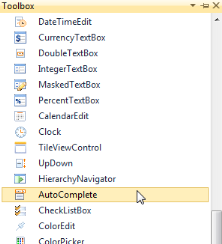
Select AutoComplete From ToolBox
-
Drag-and-drop the AutoComplete to Design View, to add AutoComplete to the application.
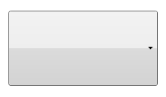
AutoComplete Drag and Drop from ToolBox
-
You can now customize the properties of AutoComplete in the Properties Window.
<local:productSource x:Key="Src"/>
<syncfusion:AutoComplete x:Name="AutoComplete1" Source="Custom" CustomSource="{StaticResource Src}"/>
AutoComplete Created Using XAML
Create AutoComplete using expression blend
The AutoComplete control provides full Blend support. Here are the step-by-step instructions to create a WPF application in Blend.
-
Open Blend, On the File Menu click New Project. This opens the New Project dialog box.

Create New project in Expression Blend
-
In the Project type’s panel, select WPF application and then click OK.
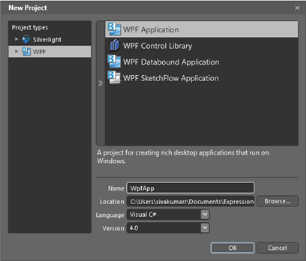
Create New WPF Application in Expression Blend
-
Add the following References with the sample project.
- Syncfusion.Tools.WPF.dll
- Syncfusion.Shared.WPF.dll
-
On the Window menu, select Assets. This opens the Assets Library dialog box. In the Search box, type AutoComplete. This displays the search results as shown below-.
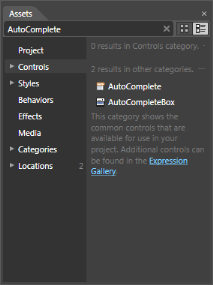
AutoComplete Displayed in Assets window
-
Drag the AutoComplete control to the Design View.
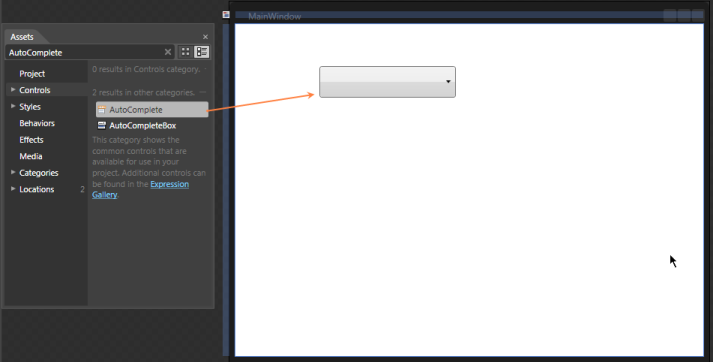
AutoComplete Drag & Drop from Asset window
-
You can now customize the properties of the AutoComplete in the Properties Window.
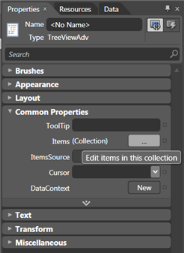
Properties Window
<local:productSource x:Key="Src"/> <syncfusion:AutoComplete x:Name="AutoComplete1" Source="Custom" CustomSource="{StaticResource Src}"/>List<String> productSource = new List<String>(); productSource.Add("Diagram"); productSource.Add("Gauge"); productSource.Add("GridView"); productSource.Add("Chart"); productSource.Add("Business Intelligence"); productSource.Add("Schedule"); productSource.Add("Grid"); productSource.Add("DocIo"); productSource.Add("XlsIo"); productSource.Add("Pdf");
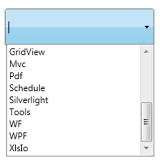
AutoComplete Created Using Blend
Theme
AutoComplete supports various built-in themes. Refer to the below links to apply themes for the AutoComplete,