Getting started with .NET Core
11 Nov 20253 minutes to read
Syncfusion® Essential Studio® for WPF ships .NET Core assemblies for building WPF .NET Core applications using Syncfusion® Controls. This section explains how to create the project in .NET Core application and using syncfusion® WPF controls.
NOTE
All Syncfusion® WPF controls supports .NET Core except the controls labeled as
classic.
Version Compatibility
Below table represents the supported Syncfusion® Essential Studio® version for .NET Core versions.
| Syncfusion Version |
.NET 6.0 |
.NET 7.0 |
.NET 8.0 |
.NET 9.0 |
.NET 10.0 |
|---|---|---|---|---|---|
| Earlier Version |
No |
No |
No |
No |
No |
|
From 20.4 (2022 Vol4) |
Yes |
No |
No |
No |
No |
|
From 21.1 (2023 Vol1) |
Yes |
Yes |
No |
No |
No |
|
From 23.2 (2023 Vol3 SP) |
Yes |
Yes |
Yes |
No |
No |
|
From 27.2 (2024 Vol3 SP) |
Yes |
Yes |
Yes |
Yes |
No |
|
From 29.1 (2025 Vol1) |
No |
No |
Yes |
Yes |
No |
|
From 31.2 (2025 Vol3 SP) |
No |
No |
Yes |
Yes |
Yes |
Adding Reference
You can add the Syncfusion® assembly references in one of the following ways.
- NuGet
- Adding assembly references from installed location
NuGet
Refer control dependencies section to know control and its NuGet to use in the application. After that, add the required NuGet as reference and then you can use the control from ToolBox. The ToolBox will show a list of available controls once you have installed the NuGet package.
Refer NuGet package section to find more details about installing the NuGet package in your application.
Adding assembly references from installed location
You can also add the Syncfusion® WPF (.NET Core) controls assemblies from the precompiledassemblies folder in the following location.
| .NET 6 or higher | C:\Program Files (x86)\Syncfusion\Essential Studio\WPF\34.1.29\precompiledassemblies\net6.0 |
Creating the project
To create the .NET Core project by using the following ways.
Create a .NET Core project
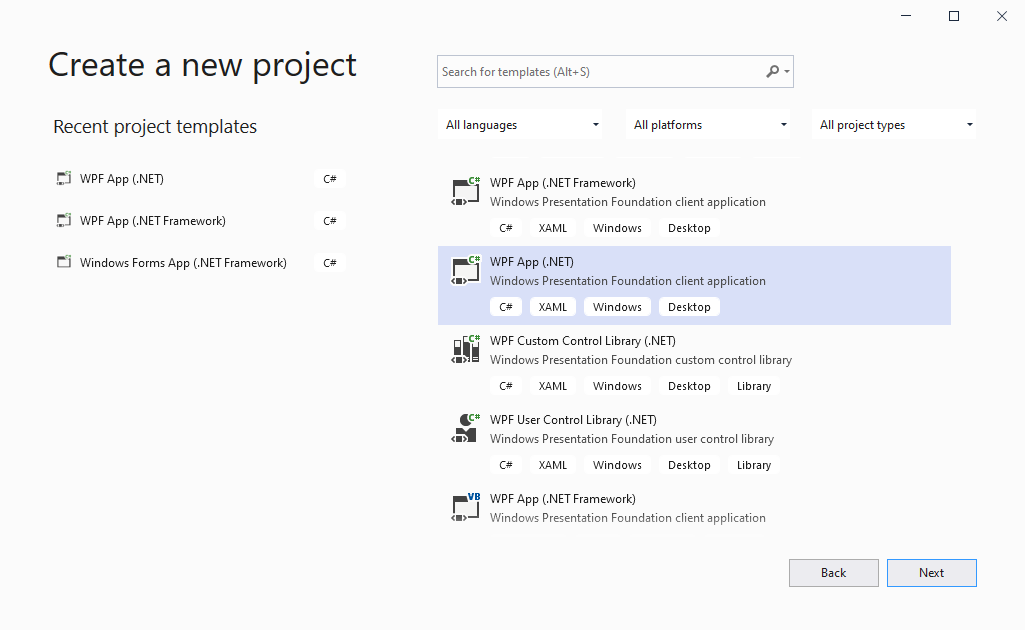
Step 1: Open Visual Studio 2019 and click Create a new project. Here, select WPF App (.NET Core) template and click Next.
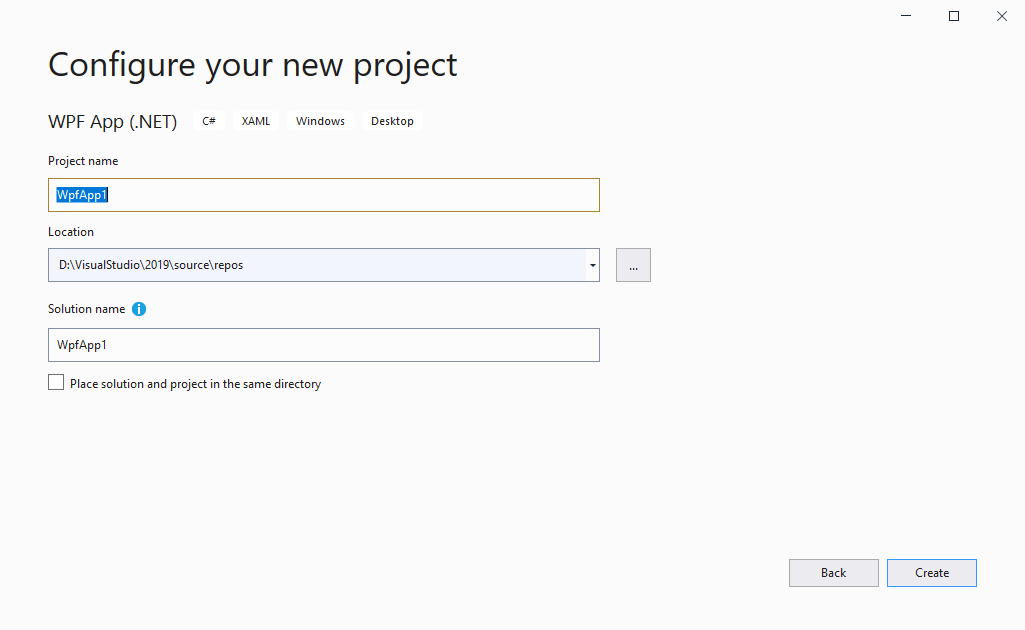
Step 2: Now, you can see Configure your new project dialog. Here, fill the necessary details and click Create.
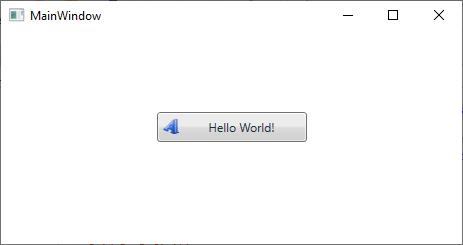
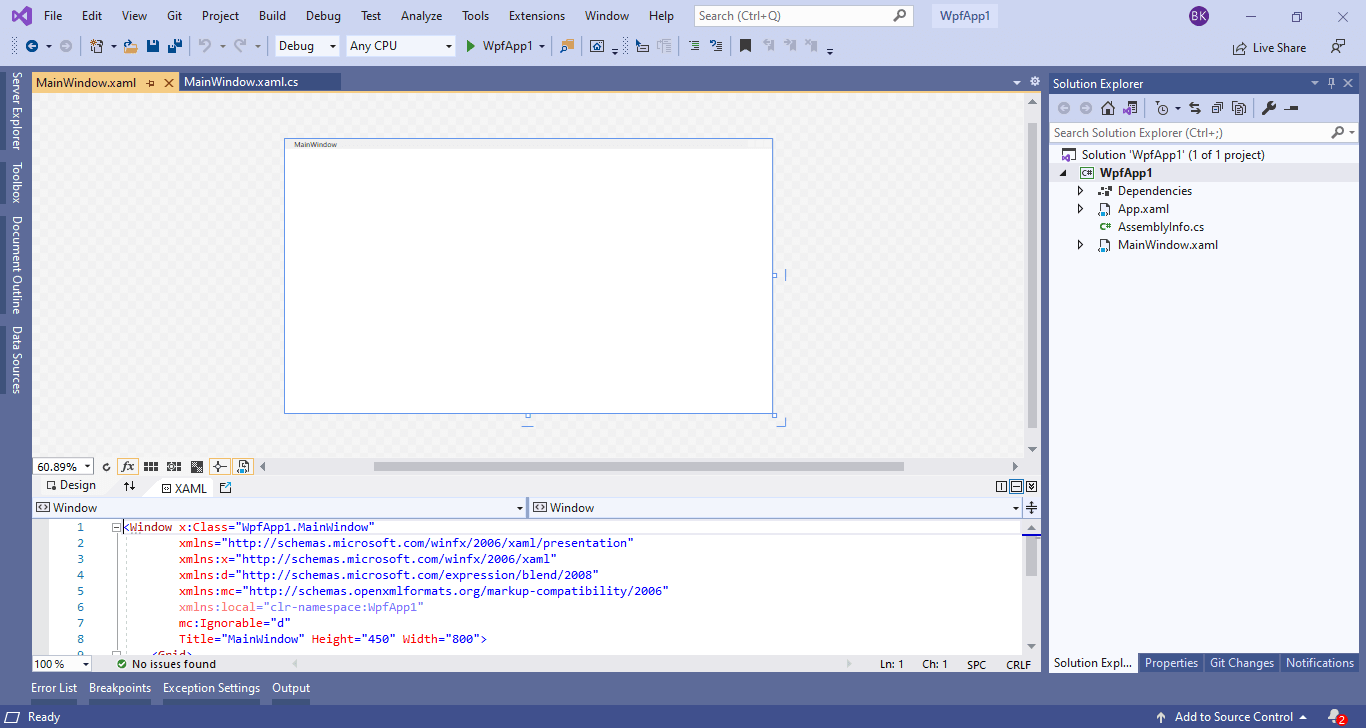
Step 3: Finally, WPF (.NET Core) sample project was created.
Step 4: Now, you can add your controls. To do so, follow the immediate section Adding controls in WPF application for more details.
Adding controls in WPF (.NET Core) application
Let see how to add ButtonAdv control in WPF (.NET Core) application using NuGet package or assembly reference.
Through NuGet Package
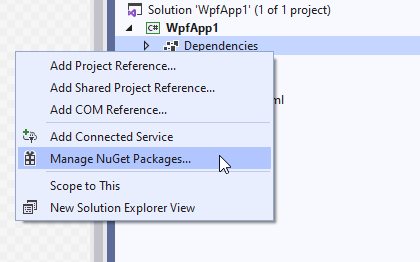
In Solution Explorer, right-click on Dependencies and select Manage NuGet Packages….
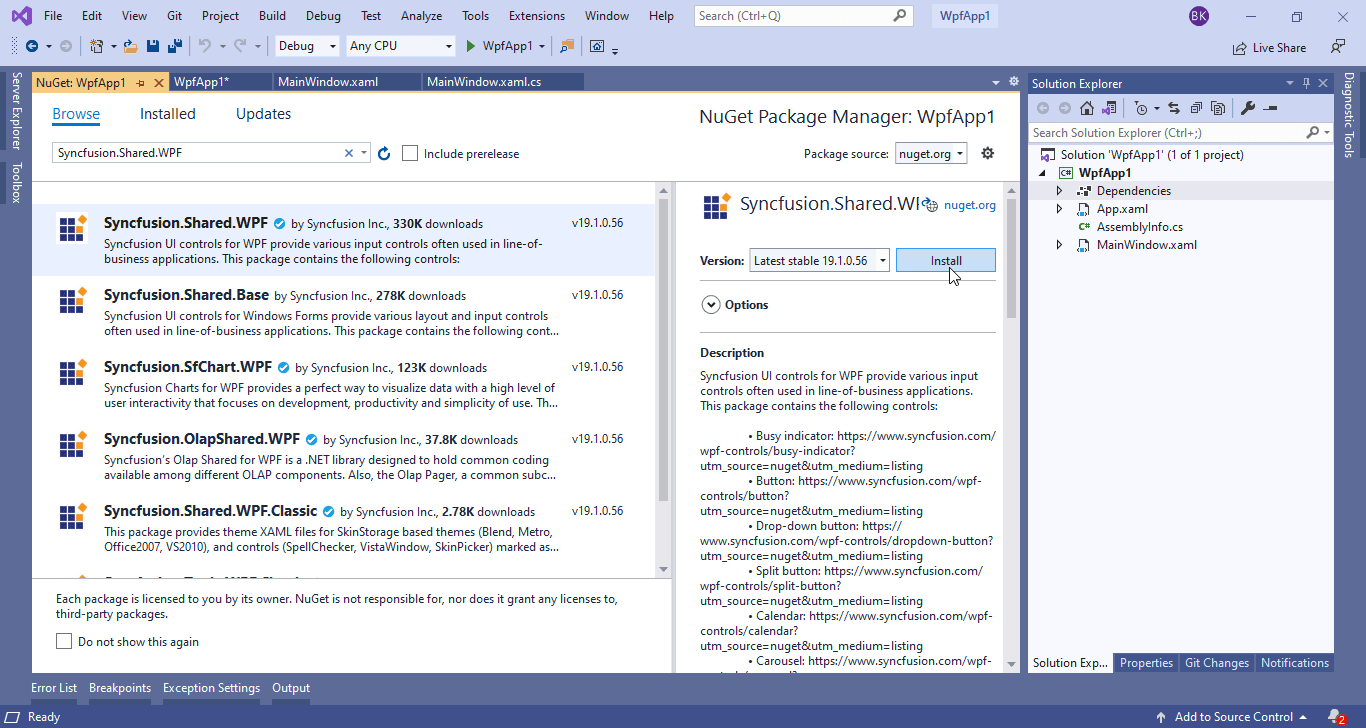
Now, NuGet Package Manager window will be opened. Here, select Browse and search the required assembly in search box. Select the required assembly and click Install.
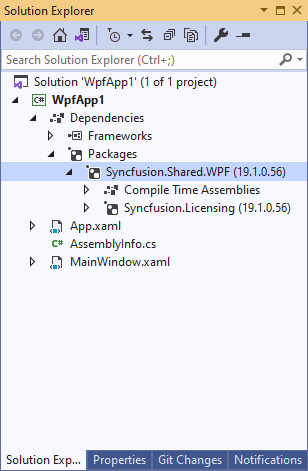
Now, the required assemblies are added in to the project.
Through assembly deployment
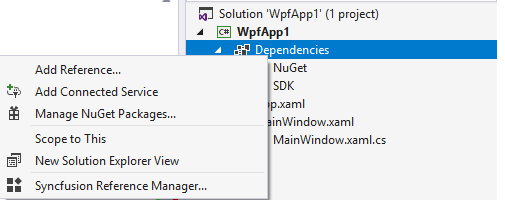
In Solution Explorer, right-click on Dependencies and select Add Reference.
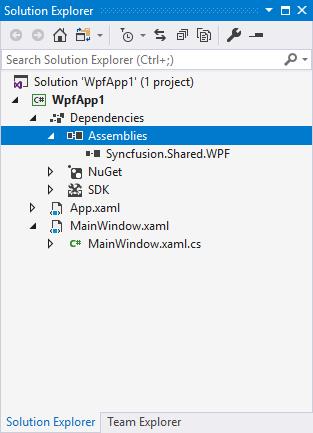
Now, Reference Manager dialog will be opened. Here click Browse and can select the needed assemblies from the location mentioned in below note section. On selecting necessary assemblies, click Add and then click OK. Now, required assemblies are added in to the project, like in the below screenshot.
NOTE
You can get Syncfusion® WPF (.NET Core) controls assemblies from
netcoreapp3.1ornet 5.0folder in the following location - C:\Program Files (x86)\Syncfusion\Essential Studio\WPF\34.1.29\precompiledassemblies
Adding ButtonAdv control
You can add ButtonAdv control either using code behind or through XAML code in your WPF (.NET Core) application.
a. Following code explains how to create the ButtonAdv control through XAML.
<Window x:Class="WpfApp1.MainWindow"
        xmlns="http://schemas.microsoft.com/winfx/2006/xaml/presentation"
        xmlns:x="http://schemas.microsoft.com/winfx/2006/xaml"
        xmlns:d="http://schemas.microsoft.com/expression/blend/2008"
        xmlns:mc="http://schemas.openxmlformats.org/markup-compatibility/2006"
        xmlns:local="clr-namespace:WpfApp1"
        xmlns:sync="http://schemas.syncfusion.com/wpf"
        mc:Ignorable="d"
        Title="MainWindow" Height="450" Width="800">
    <Grid Name="ROOT_Grid">
        <sync:ButtonAdv Label="Hello World" Height = "35" Width = "150"/>
    </Grid>
</Window>
b. Following code explains how to create the ButtonAdv control through code behind.
using Syncfusion.Windows.Tools.Controls;

ButtonAdv button = new ButtonAdv();
button.Height = 35;
button.width = 150;
button.Label = "Hello World!";
ROOT_Grid.Children.Add(button);