Getting Started with Windows Forms Hub Tile
18 Nov 20185 minutes to read
This section describes how to add HubTile control in a Windows Forms application and overview of its basic functionalities.
Assembly deployment
Refer to the control dependencies section to get the list of assemblies or NuGet package that needs to be added as reference to use the control in any application.
You can find more details about installing the NuGet packages in a Windows Forms application in the following link:
Create a simple application with Hub Tile
You can create the Windows Forms application with Hub Tile control as follows:
- Creating project
- Adding control via designer
- Adding control manually using code
- Customize background image
Creating the project
Create a new Windows Forms project in the Visual Studio to display the Hub Tile with transition effects.
Add control via designer
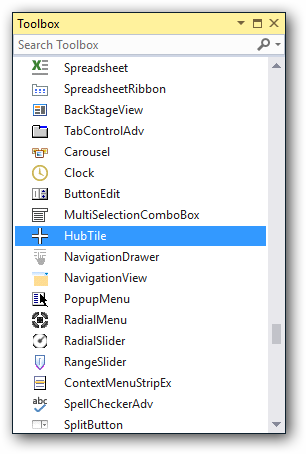
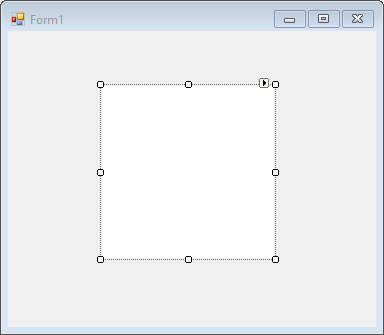
The Hub Tile control can be added to the application by dragging it from the toolbox and dropping it in a designer view. The following required assembly references will be added automatically:
- Syncfusion.Grid.Base.dll
- Syncfusion.Grid.Windows.dll
- Syncfusion.Shared.Base.dll
- Syncfusion.Shared.Windows.dll
- Syncfusion.Tools.Base.dll
- Syncfusion.Tools.Windows.dll
Add control manually using code
To add the control manually in C#, follow the given steps:
Step 1 - Add the following required assembly references to the project:
    * Syncfusion.Grid.Base.dll
    * Syncfusion.Grid.Windows.dll
    * Syncfusion.Shared.Base.dll
    * Syncfusion.Shared.Windows.dll
    * Syncfusion.Tools.Base.dll
    * Syncfusion.Tools.Windows.dll
Step 2 - Include the namespaces Syncfusion.Windows.Forms.Tools.
using Syncfusion.Windows.Forms.Tools;Imports Syncfusion.Windows.Forms.ToolsStep 3 - Create HubTile control instance and add it to the form.
HubTile HubTile1 = new HubTile();

this.Controls.Add(HubTile1);
Dim hubTile1 As HubTile = New HubTile()
Me.Controls.Add(hubTile1)Change tile
Hub Tile control has following types of tile:
HubTile [DefaultTile] – This tile provides notifications through various transition effects.
RotateTile – This tile rotates itself in transition and direction.
PulsingTile – This tile zooms in and out and translates its image.
You can customize the types of tile using TileType property of Hub Tile Control.
//Setting default tile
this.HubTile1.TileType = HubTileType.DefaultTile;

//Setting pulsing tile
this.HubTile2.TileType = HubTileType.PulsingTile;

//Setting rotate tile
this.HubTile3.TileType = HubTileType.RotateTile;
'Setting default tile
Me.HubTile1.TileType = HubTileType.DefaultTile
'Setting pulsing tile
Me.HubTile2.TileType = HubTileType.PulsingTile
'Setting rotate tile
Me.HubTile3.TileType = HubTileType.RotateTileHub Tile

PulsingTile

RotateTile
Set header and footer
You can define the header and footer for tile by setting the Title and Footer property of Hub Tile.
//Set hub tile title
hubTile1.Title.Text = "This is the title area. Display your image here";
//Set hub tile footer text
hubTile1.Footer.Text = "HubTile";
//Title color
hubTile1.Title.TextColor = Color.White;
//Footer color
hubTile1. Footer.TextColor = Color.White;
//HubTile back color
hubTile1.BackColor = Color.FromArgb(17, 158, 218);
'Set hub tile title
hubTile1.Title.Text = "This is the title area. Display your image here"
'Set hub tile footer text
hubTile1.Footer.Text = "HubTile"
'Title color
hubTile1.Title.TextColor = Color.White
'Footer color
hubTile1.Footer.TextColor = Color.White
'HubTile back color
hubTile1.BackColor = Color.FromArgb(17, 158, 218)
Tile image
Background image can be added to Hub Tile through designer as well as through code.
Add background image through designer
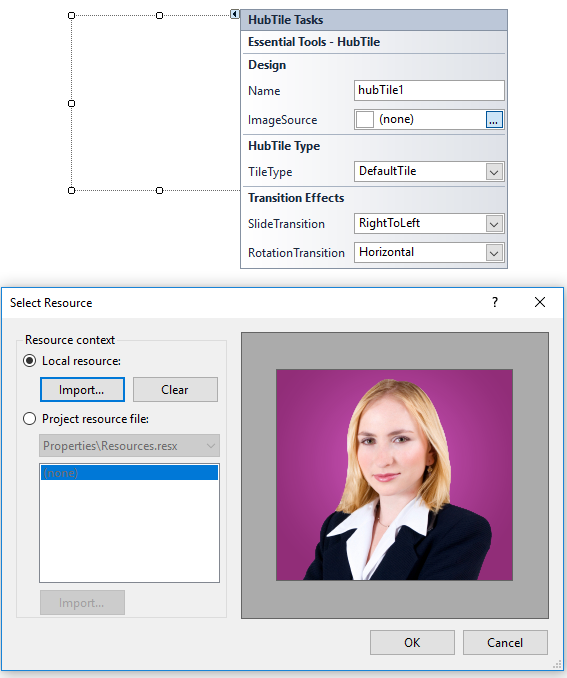
Background image can be added to Hub Tile using ImageSource property in SmartTag.
Adding background image manually through code
Background image can be added to Hub Tile using ImageSource property in HubTile class.
this.hubTile1.ImageSource = ((System.Drawing.Image)(resources.GetObject("hubTile1.ImageSource")));Me.hubTile1.ImageSource = ((System.Drawing.Image)(resources.GetObject("hubTile1.ImageSource")))
Transition effects
In Hub Tile, image transition can be performed at specified intervals and in different directions. They include the following transition effects.
- Bottom to Top
- Top to Bottom
- Left to Right
- Right to Left
You can customize the transition direction by setting SlideTransition properties of Hub Tile.
//Transition
this.HubTile1.SlideTransition = TransitionDirection.BottomToTop;
'Transition
Me.HubTile1.SlideTransition = TransitionDirection.LeftToRight- Bottom-to-Top

- Top-to-Bottom

- Left-to-Right
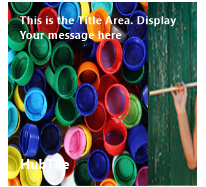
- Right-to-Left