Getting Started with Windows Forms Calculator
4 Feb 20252 minutes to read
Assembly deployment
Refer to the control dependencies section to get the list of assemblies or NuGet package that needs to be added as a reference to use the control in any application.
You can find more details about installing the NuGet package in a Windows Forms application in the following link:
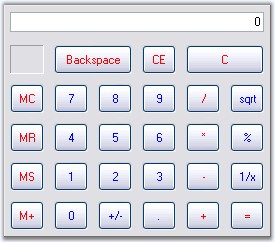
Create a simple application with Calculator
You can create a Windows Forms application with the Calculator control using the following steps:
Create a project
Create a new Windows Forms project in Visual Studio to display the Calculator control.
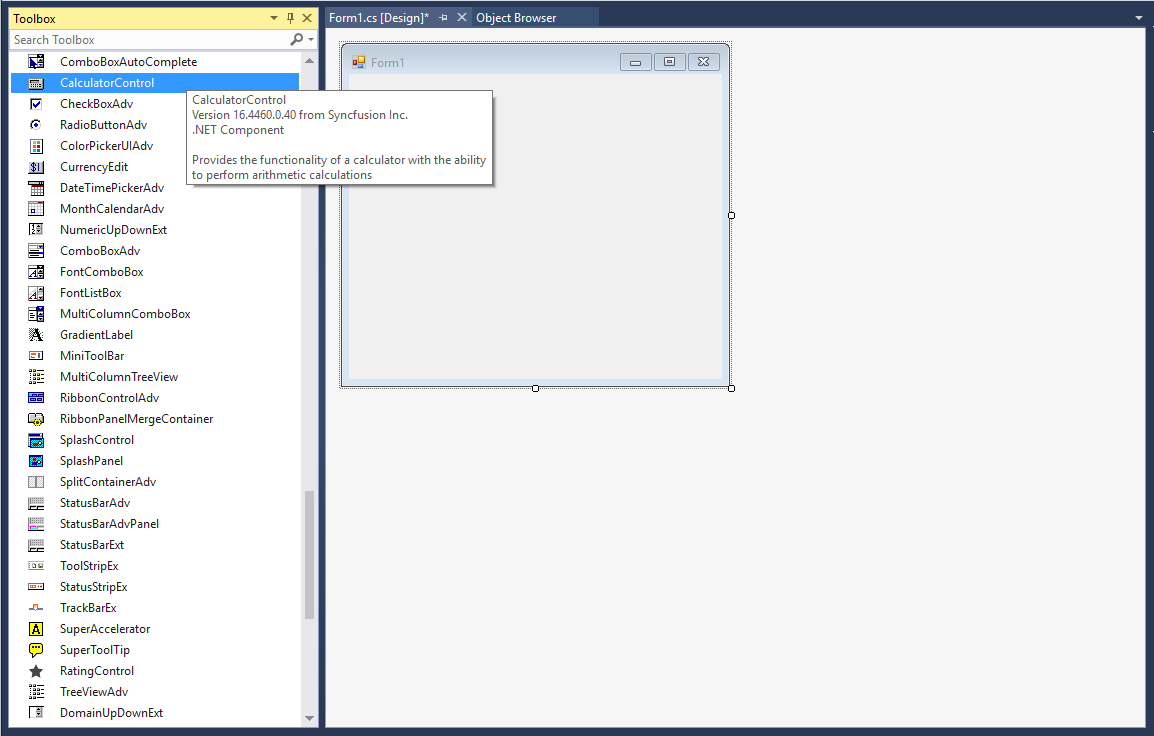
Add control through designer
The Calculator control can be added to an application by dragging it from the toolbox to a designer view. The following required assembly references will be added automatically to the project:
- Syncfusion.Grid.Base
- Syncfusion.Grid.Windows
- Syncfusion.Shared.Base
- Syncfusion.Shared.Windows
- Syncfusion.Tools.Base
- Syncfusion.Tools.Windows
Add control manually in code
To add the control manually in C#, follow the given steps:
-
Add the following required assembly references to the project:
- Syncfusion.Grid.Base
- Syncfusion.Grid.Windows
- Syncfusion.Shared.Base
- Syncfusion.Shared.Windows
- Syncfusion.Tools.Base
- Syncfusion.Tools.Windows
-
Include the Calculator control namespace Syncfusion.Windows.Forms.Tools;.
using Syncfusion.Windows.Forms.Tools;Imports Syncfusion.Windows.Forms.Tools -
Create a Calculator control instance, and add it to the form.
CalculatorControl calculatorControl = new CalculatorControl();
calculatorControl1.Size = new Size(300, 250);
this.Controls.Add(calculatorControl);
Dim calculatorControl As CalculatorControl = New CalculatorControl calculatorControl1.Size = New Size(300, 250) Me.Controls.Add(calculatorControl)