Getting Started with WPF Tabbed MDI Form
18 Nov 20188 minutes to read
This section describes how to add WPF Tabbed MDI Form control into wpf application and its basic functionalities.
Assembly deployment
Refer to the control dependencies section to get the list of assemblies or NuGet package that needs to be added as a reference to use the control in any application.
You can find more details about installing the NuGet package in a WPF application in the following link:
Create a simple application with WPF Tabbed MDI Form
Create a project
Create a new WPF project in Visual Studio to display the WPF Tabbed MDI Form with functionalities.
Add control through designer
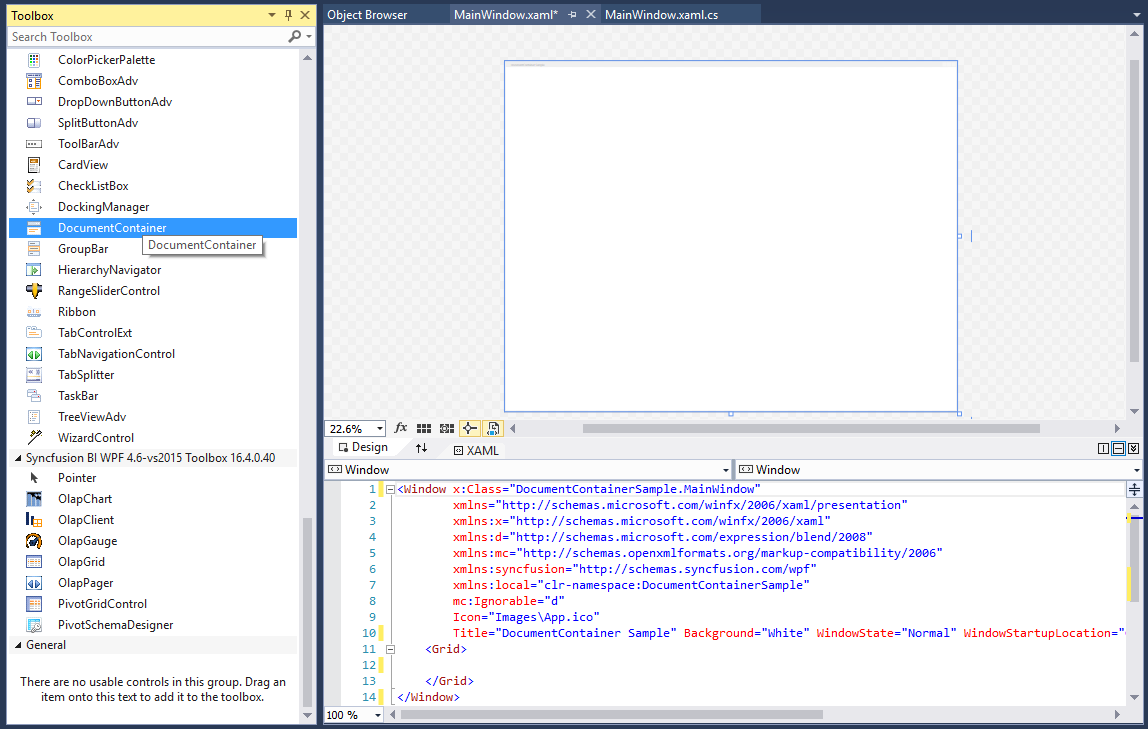
The WPF Tabbed MDI Form control can be added to an application by dragging it from the toolbox to a designer view. The following required assembly references will be added automatically:
- Syncfusion.Tools.WPF
- Syncfusion.Shared.WPF
Add control manually in XAML
To add the control manually in XAML, follow the given steps:
- Add the following required assembly references to the project:
- Syncfusion.Tools.WPF
- Syncfusion.Shared.WPF
- Import Syncfusion® WPF schema http://schemas.syncfusion.com/wpf in the XAML page.
-
Declare the WPF Tabbed MDI Form control in the XAML page.
<Window xmlns="http://schemas.microsoft.com/winfx/2006/xaml/presentation"
        xmlns:x="http://schemas.microsoft.com/winfx/2006/xaml"
        xmlns:syncfusion="http://schemas.syncfusion.com/wpf"
        x:Class="DocumentContainerSample.MainWindow"
        Title="DocumentContainer Sample" Height="350" Width="525">
    <Grid>
        <!--Adding DocumentContainer control -->
        <syncfusion:DocumentContainer x:Name="documentContainer" Width="100" Height="100" VerticalAlignment="Center" HorizontalAlignment="Center"/>
    </Grid>
</Window>
Add control manually in C#
To add the control manually in C#, follow the given steps:
- Add the following required assembly references to the project:
- Syncfusion.Tools.WPF
- Syncfusion.Shared.WPF
- Import the WPF Tabbed MDI Form namespace using Syncfusion.Windows.Tools.Controls;.
-
Create a WPF Tabbed MDI Form instance, and add it to the window.
using Syncfusion.Windows.Tools.Controls;
namespace DocumentContainerSample
{
    /// <summary>
    /// Interaction logic for MainWindow.xaml
    /// </summary>
    public partial class MainWindow : Window
    {
        public MainWindow()
        {
            InitializeComponent();
            //Creating an instance of DocumentContainer control
            DocumentContainer documentContainer = new DocumentContainer();
            //Adding DocumentContainer as window content
            this.Content = documentContainer;
        }
    }
}
Add Documents
The WPF Tabbed MDI Form allows you to add new framework elements such as a Button or TextBlock to its container using the Items property. Set the Mode property to TDI or MDI to choose how the children are arranged.
<syncfusion:DocumentContainer x:Name="documentContainer" Mode="TDI">
    <Button Content="Button 1" />
    <Button Content="Button 2" />
    <Button Content="Button 3" />
</syncfusion:DocumentContainer>
Button button1 = new Button() { Content = "Button 1" };
Button button2 = new Button() { Content = "Button 2" };
Button button3 = new Button() { Content = "Button 3" };
//Adding buttons as document container window
documentContainer.Items.Add(button1);
documentContainer.Items.Add(button2);
documentContainer.Items.Add(button3);Set Header for a Document
You can set the header of any WPF Tabbed MDI Form element by setting the Header attached property. The Header accepts any object, so you can also use a HeaderTemplate to customize its appearance.
<syncfusion:DocumentContainer Name="documentContainer" Mode="MDI" SwitchMode="VS2005">
    <!-- Setting header for window -->
    <FlowDocumentScrollViewer syncfusion:DocumentContainer.Header="Document Container">
        <FlowDocument TextAlignment="Left">
            <Paragraph TextAlignment="Center">
                Syncfusion WPF Document Container</Paragraph>
            <Paragraph>
                This sample exhibits the special features of the Syncfusion Document Container Control for Windows Presentation Foundation (WPF).
            </Paragraph>
            <Paragraph>
                View this document to experience the features of the Document Container. The Document Container supports both TDI and MDI.
            </Paragraph>
        </FlowDocument>
    </FlowDocumentScrollViewer>
</syncfusion:DocumentContainer>
// Create the child element and set its header
FlowDocumentScrollViewer flowScrollViewer = new FlowDocumentScrollViewer();
DocumentContainer.SetHeader(flowScrollViewer, "Document Container");
documentContainer.Items.Add(flowScrollViewer);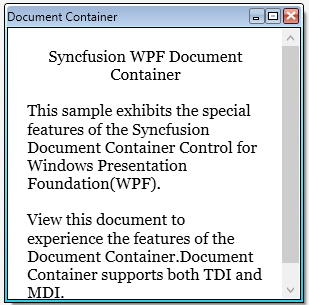
Set TDI/MDI Document Mode
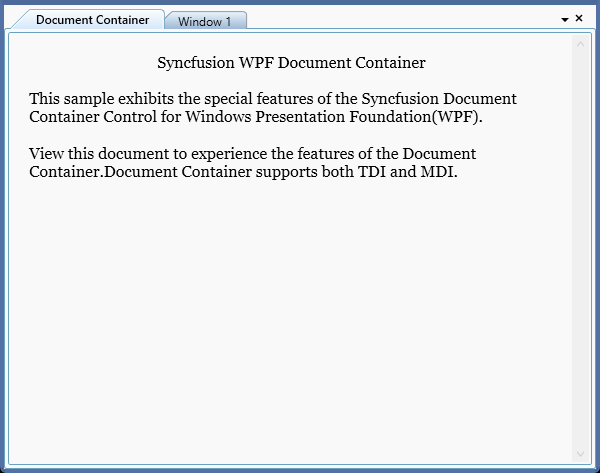
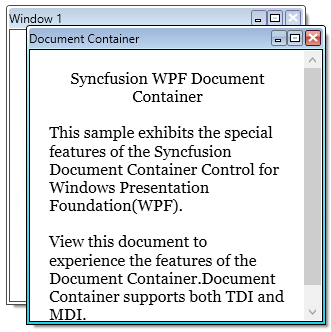
The WPF Tabbed MDI Form supports the following document modes:
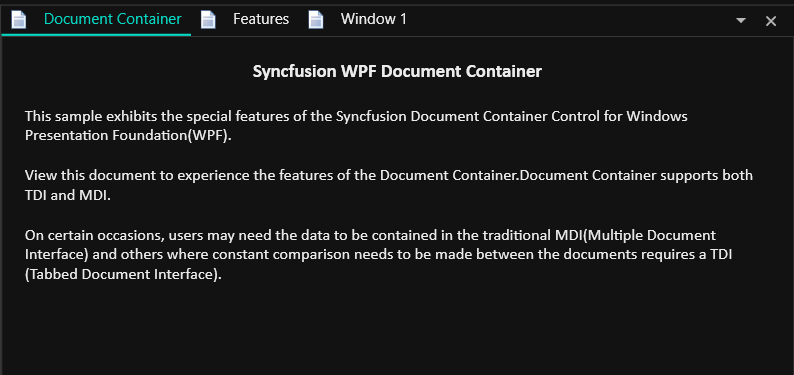
- TDI - Tabbed Document Interface (default)
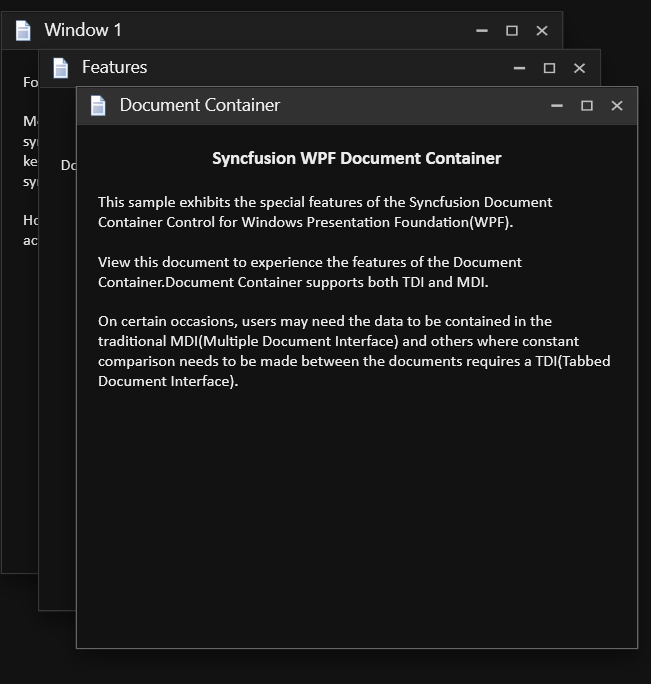
- MDI - Multiple Document Interface
You can change the mode using the Mode property of WPF Tabbed MDI Form. The default value is TDI.
<syncfusion:DocumentContainer Name="documentContainer" Mode="TDI" />documentContainer.Mode = DocumentContainerMode.TDI;- TDI
- MDI
Minimizing an MDI Window
You can minimize the MDI window by setting the CanMDIMinimize property to true. The default value of CanMDIMinimize is false. The minimized MDI windows are arranged one by one in the bottom-left corner of the window.
<syncfusion:DocumentContainer Name="DocContainer"
                              CanMDIMinimize="True"
                              Mode="MDI">
    <FlowDocumentScrollViewer syncfusion:DocumentContainer.Header="Features"/>
    <FlowDocumentScrollViewer syncfusion:DocumentContainer.Header="Window1"/>
    <FlowDocumentScrollViewer syncfusion:DocumentContainer.Header="Document Container"/>
</syncfusion:DocumentContainer>DocContainer.CanMDIMinimize = true;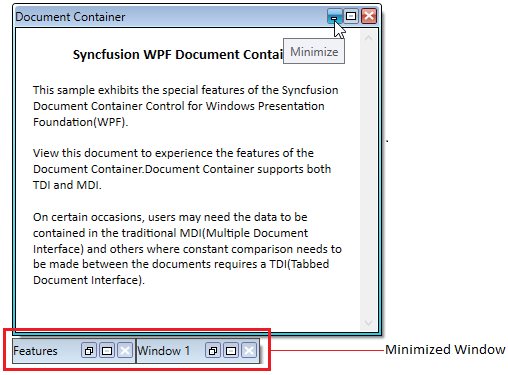
Theme
The WPF Tabbed MDI Form supports various built-in themes. Refer to the links below to apply themes,