Context Menu in JavaScript Kanban
11 May 202221 minutes to read
Context menu is used to improve user action with Kanban using popup menu. It can be shown by defining contextMenuSettings property of enable set as true. Context menu has option to add default items in contextMenuSettings.menuItems and customized items in contextMenuSettings.customMenuItems.
NOTE
For using event handling in context menu, please refer this API.
Default Context Menu items
Please find the below table for default context menu items and its actions.
| Section | Context menu items | Action |
|---|---|---|
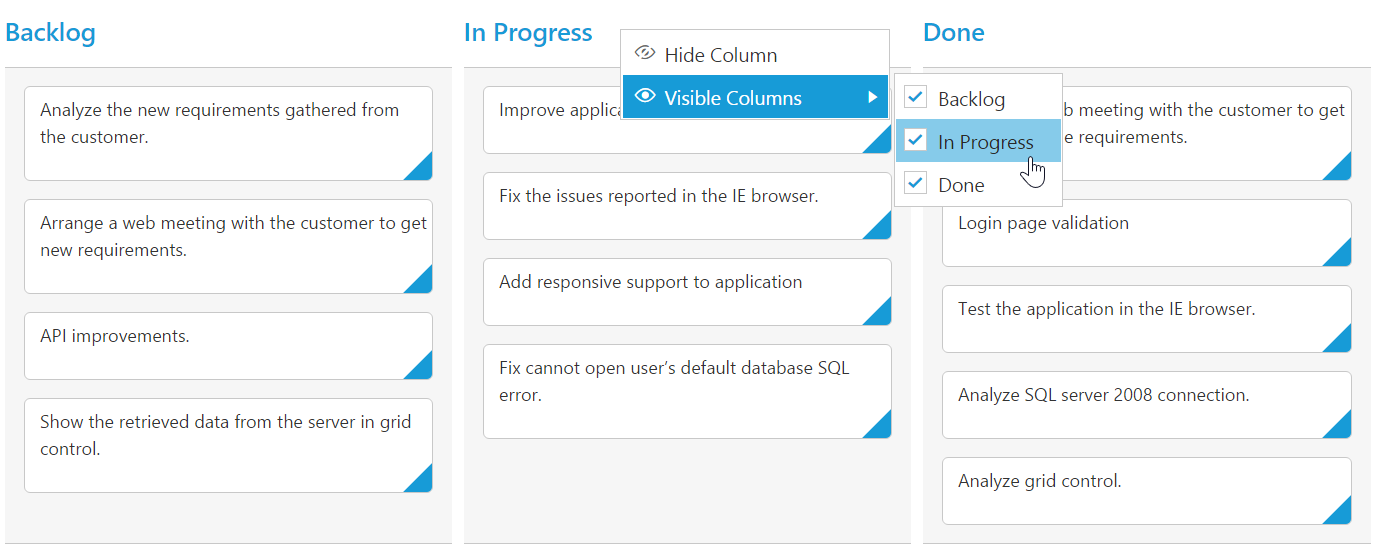
| Header | Hide Column | Hide the current column |
| Visible Columns | Show the column if already hidden | |
| Content | Add Card | Start Add new card |
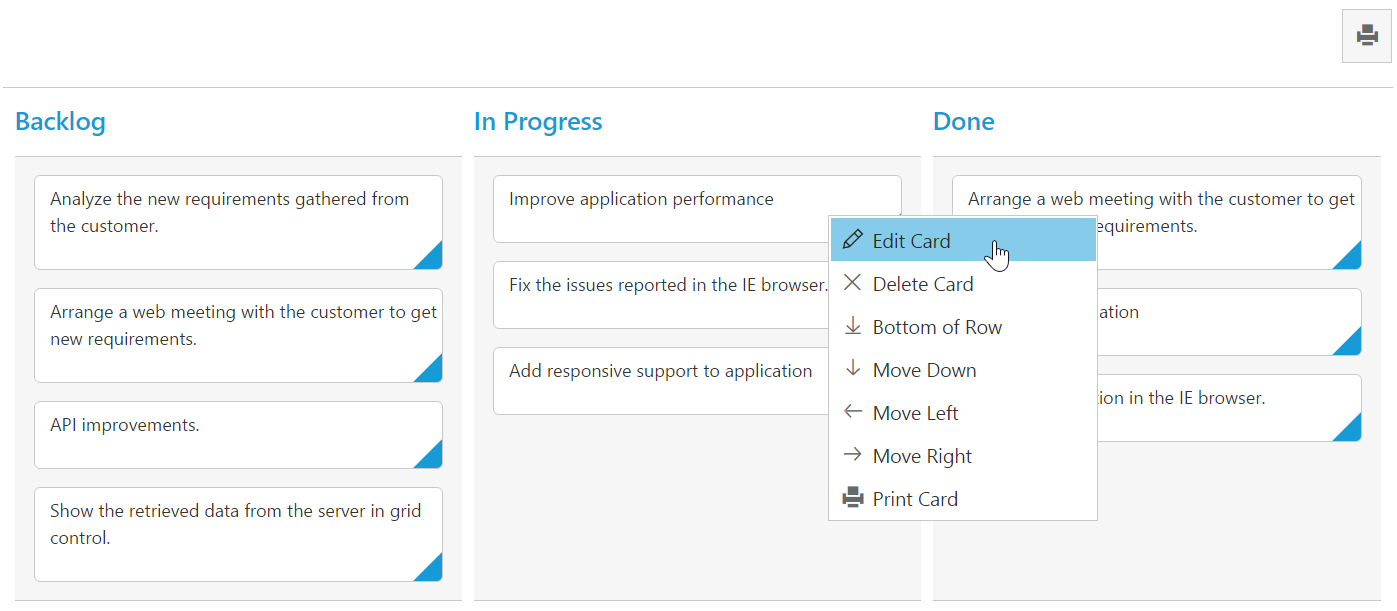
| Card | Edit Card | Start Edit in current card |
| Delete Card | Delete the current card | |
| Top of Row | Move the card to Top of Row | |
| Bottom of Row | Move the card to Bottom of Row | |
| Move Up | Move the card in Up direction | |
| Move Down | Move the card in Down direction | |
| Move Left | Move the card in Left direction | |
| Move Right | Move the card in Right direction | |
| Move to Swimlane | Move the card to Swim lane which is chosen from given list | |
| Print Card | Print the specific card |
The following code example describes the above behavior.
<div id='Kanban'></div><script>
$(function () {
var data = ej.DataManager(window.kanbanData).executeLocal(ej.Query().take(20));
$("#Kanban").ejKanban(
{
dataSource: data,
columns: [
{ headerText: "Backlog", key: "Open" },
{ headerText: "In Progress", key: "InProgress" },
{ headerText: "Testing", key: "Testing" }
],
keyField: "Status",
fields: {
primaryKey: "Id",
content: "Summary",
},
contextMenuSettings: {
enable: true,
}
});
});
</script>The following output is displayed as a result of the above code example.


Custom Context Menu
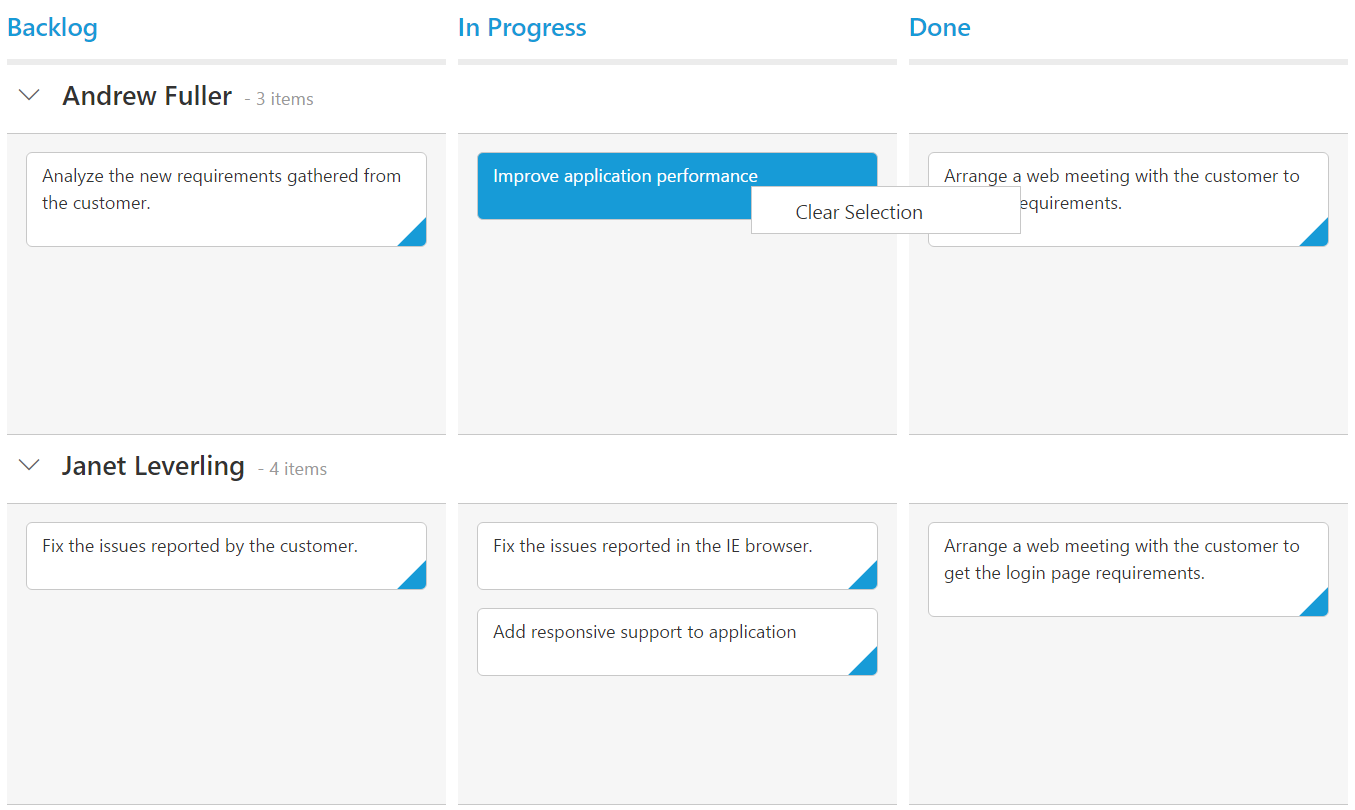
Custom context menu is used to create your own menu item and its action. To add customized context menu items, you need to use contextMenuSettings.customMenuItems property of text or target or template and to bind required actions for this, use contextClick event.
The following code example describes the above behavior.
<div id='Kanban'></div>$(function() {
var data = ej.DataManager(window.kanbanData).executeLocal(ej.Query().take(30));
$("#Kanban").ejKanban(
{
dataSource: data,
contextClick: function (args) {
if (args.text == "Clear Selection")
this.KanbanSelection.clear();
},
columns: [
{ headerText: "Backlog", key: "Open" },
{ headerText: "In Progress", key: "InProgress" },
{ headerText: "Done", key: "Close" }
],
keyField: "Status",
fields: {
primaryKey: "Id",
swimlaneKey: "Assignee",
content: "Summary",
tag: "Tags"
},
contextMenuSettings: {
enable: true,
menuItems: [],
customMenuItems: [{ text: "Clear Selection" }]
},
editSettings: {
editItems: [
{ field: "Id"},
{ field: "Status", editType: ej.Kanban.EditingType.Dropdown },
{ field: "Assignee", editType: ej.Kanban.EditingType.Dropdown },
{ field: "Estimate", editType: ej.Kanban.EditingType.Numeric },
{ field: "Summary", editType: ej.Kanban.EditingType.TextArea }
],
allowEditing: true,
allowAdding: true
}
});
});The following output is displayed as a result of the above code example.

Sub Context Menu
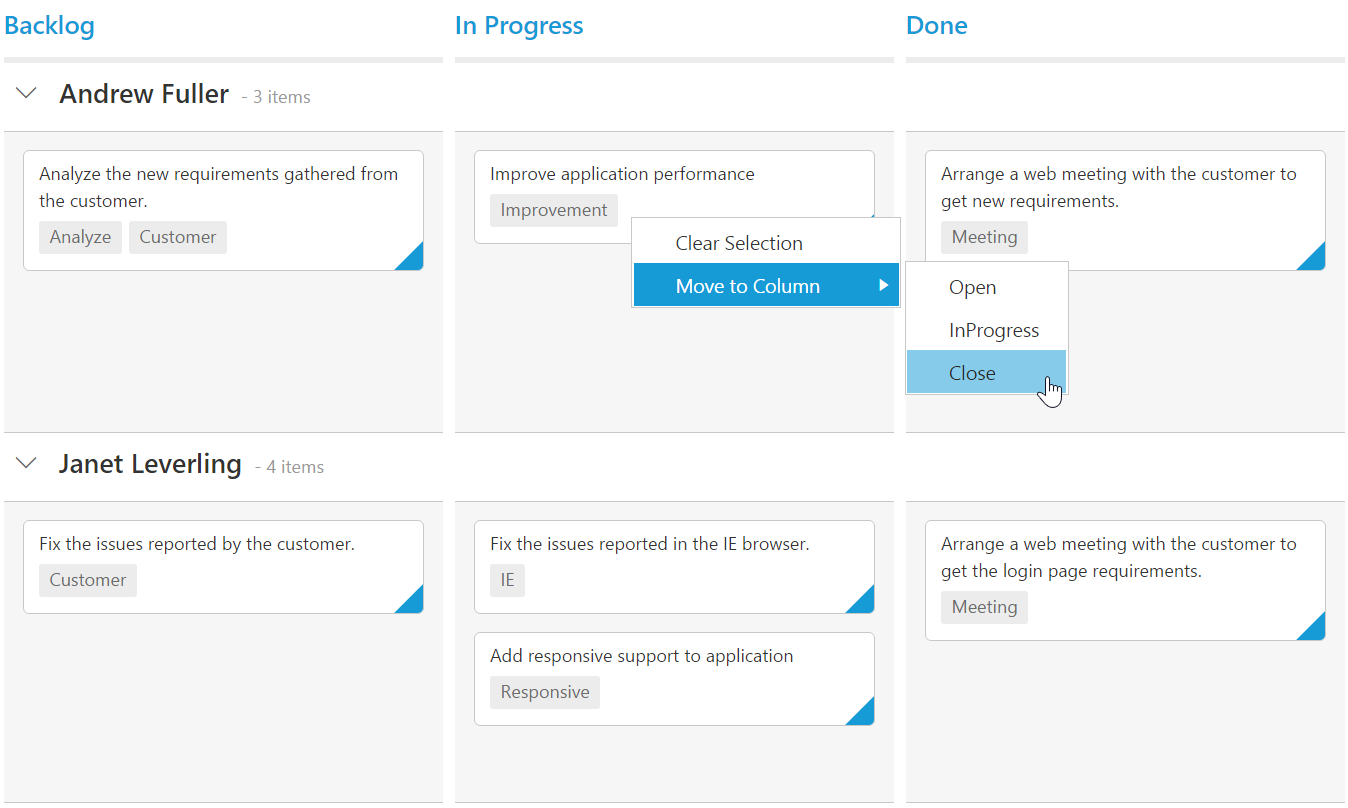
Sub context menu is used to add customized sub menu to the custom context menu item. To add a sub context menu, you need to use contextMenuSettings.subMenu property and to bind required actions for this, use contextClick event.
The following code example describes the above behavior.
<div id='Kanban'></div>$(function() {
var data = ej.DataManager(window.kanbanData).executeLocal(ej.Query().take(30));
$("#Kanban").ejKanban(
{
dataSource: data,
contextClick: function (args) {
if (args.text == "Clear Selection")
this.KanbanSelection.clear();
else if (args.text != "Move to Column")
this.updateCard(args.data.id, args.data);
},
columns: [
{ headerText: "Backlog", key: "Open" },
{ headerText: "In Progress", key: "InProgress" },
{ headerText: "Done", key: "Close" }
],
keyField: "Status",
fields: {
primaryKey: "Id",
swimlaneKey: "Assignee",
content: "Summary",
tag: "Tags"
},
contextMenuSettings: {
enable: true,
menuItems: [],
customMenuItems: [{ text: "Clear Selection" }, { text: "Move to Column", template: "#submenu"}]
},
editSettings: {
editItems: [
{ field: "Id"},
{ field: "Status", editType: ej.Kanban.EditingType.Dropdown },
{ field: "Assignee", editType: ej.Kanban.EditingType.Dropdown },
{ field: "Estimate", editType: ej.Kanban.EditingType.Numeric },
{ field: "Summary", editType: ej.Kanban.EditingType.TextArea }
],
allowEditing: true,
allowAdding: true
}
});
});The following output is displayed as a result of the above code example.
