Create PowerPoint document in Azure Functions v1
21 Jul 20267 minutes to read
Syncfusion® PowerPoint is a .NET PowerPoint library used to create, read, edit and convert PowerPoint documents programmatically without Microsoft PowerPoint or interop dependencies. Using this library, you can create a PowerPoint document in Azure Functions v1.
Steps to create a PowerPoint document in Azure Functions v1
Prerequisites: An active Azure subscription and Visual Studio with the Azure development workload installed. The sample code below loads an image as an embedded resource — add an image named
Image.jpgto aDatafolder in the project, set its Build Action to Embedded Resource, and align the resource name with the manifest pathCreate-PowerPoint-Presentation.Data.Image.jpg(project default namespace + folder + file name).
Step 1: Create a new Azure Functions project.
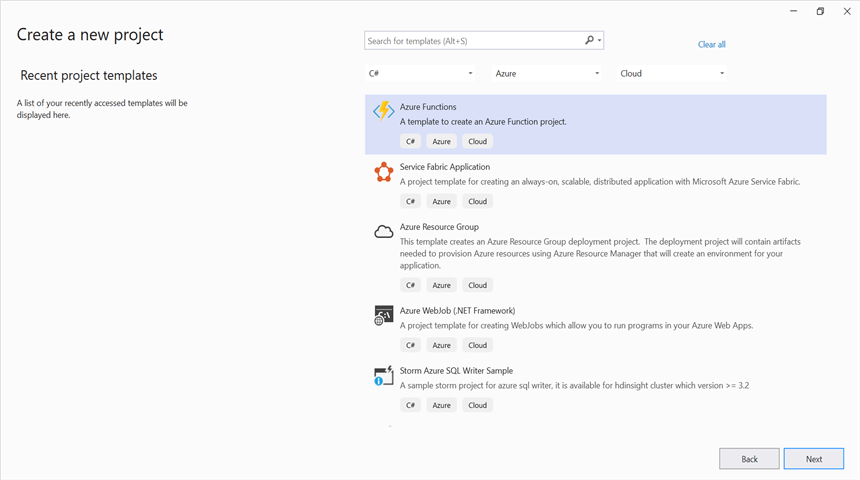
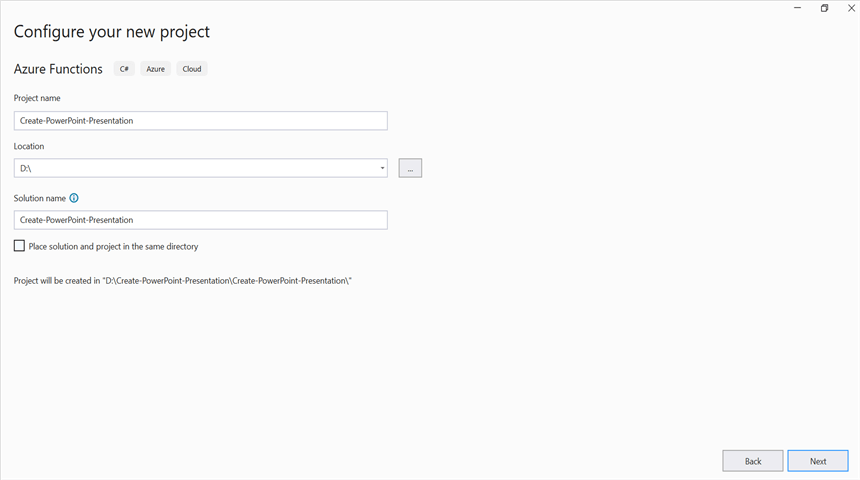
Step 2: Create a project name and select the location.
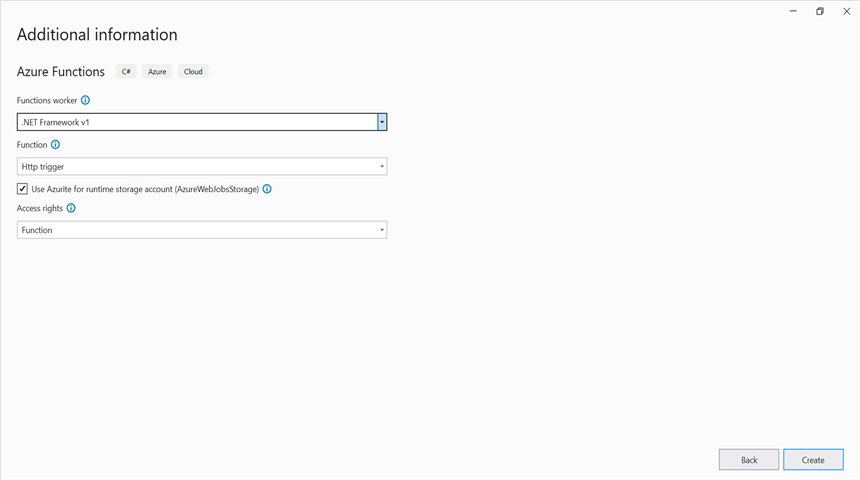
Step 3: Select function worker as .NET Framework.
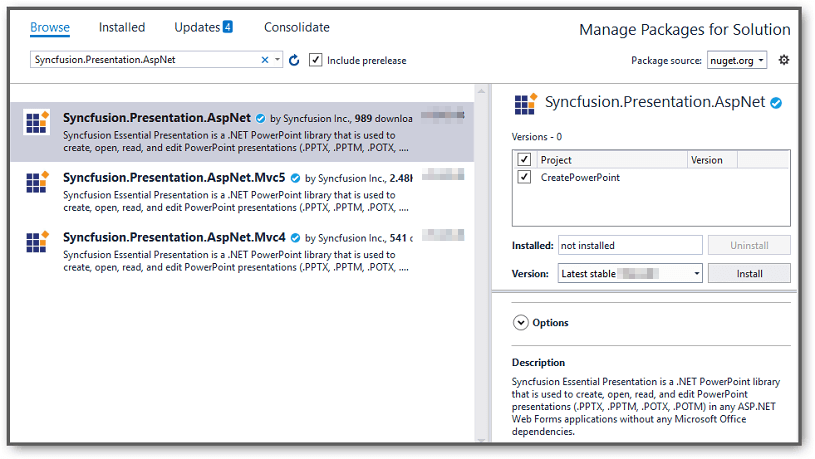
Step 4: Install the Syncfusion.Presentation.AspNet NuGet package as a reference to your project from NuGet.org. This package targets .NET Framework 4.6.2 and later.
Starting with v16.2.0.x, if you reference Syncfusion® assemblies from trial setup or from the NuGet feed, you also have to add “Syncfusion.Licensing” assembly reference and include a license key in your projects. Please refer to this link to know about registering Syncfusion® license key in your application to use our components.
To register the license key, add the following call in the Function1 class before the application starts:
Syncfusion.Licensing.SyncfusionLicenseProvider.RegisterLicense("YOUR_LICENSE_KEY");Step 5: Include the following namespaces in the Function1.cs file.
using System.IO;
using System.Net;
using System.Net.Http;
using System.Net.Http.Headers;
using System.Reflection;
using Syncfusion.Presentation;
Step 6: Add the following code snippet in Run method of Function1 class to create a PowerPoint document in Azure Functions and return the resultant PowerPoint document to the client.
//Create a new instance of PowerPoint Presentation file
using IPresentation pptxDoc = Presentation.Create();
//Add a new slide to file and apply background color
ISlide slide = pptxDoc.Slides.Add(SlideLayoutType.TitleOnly);
//Specify the fill type and fill color for the slide background
slide.Background.Fill.FillType = FillType.Solid;
slide.Background.Fill.SolidFill.Color = ColorObject.FromArgb(232, 241, 229);
//Add title content to the slide by accessing the title placeholder of the TitleOnly layout-slide
IShape titleShape = slide.Shapes[0] as IShape;
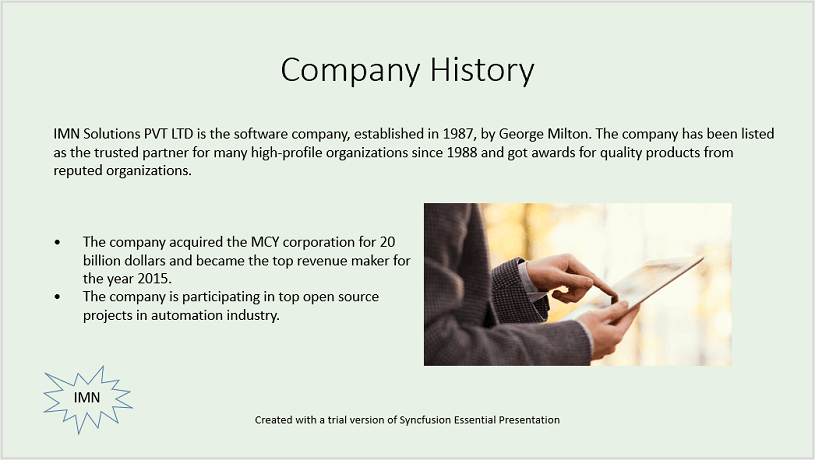
titleShape.TextBody.AddParagraph("Company History").HorizontalAlignment = HorizontalAlignmentType.Center;
//Add description content to the slide by adding a new TextBox
IShape descriptionShape = slide.AddTextBox(53.22, 141.73, 874.19, 77.70);
descriptionShape.TextBody.Text = "IMN Solutions PVT LTD is the software company, established in 1987, by George Milton. The company has been listed as the trusted partner for many high-profile organizations since 1988 and got awards for quality products from reputed organizations.";
//Add bullet points to the slide
IShape bulletPointsShape = slide.AddTextBox(53.22, 270, 437.90, 116.32);

//Add a paragraph for a bullet point
IParagraph firstPara = bulletPointsShape.TextBody.AddParagraph("The company acquired the MCY corporation for 20 billion dollars and became the top revenue maker for the year 2015.");

//Format how the bullets should be displayed
firstPara.ListFormat.Type = ListType.Bulleted;
firstPara.LeftIndent = 35;
firstPara.FirstLineIndent = -35;

// Add another paragraph for the next bullet point
IParagraph secondPara = bulletPointsShape.TextBody.AddParagraph("The company is participating in top open source projects in automation industry.");

//Format how the bullets should be displayed
secondPara.ListFormat.Type = ListType.Bulleted;
secondPara.LeftIndent = 35;
secondPara.FirstLineIndent = -35;
//Gets a picture as stream.
var assembly = Assembly.GetExecutingAssembly();
var pictureStream = assembly.GetManifestResourceStream("Create-PowerPoint-Presentation.Data.Image.jpg");
//Adds the picture to a slide by specifying its size and position.
slide.Shapes.AddPicture(pictureStream, 499.79, 238.59, 364.54, 192.16);
//Add an auto-shape to the slide
IShape stampShape = slide.Shapes.AddShape(AutoShapeType.Explosion1, 48.93, 430.71, 104.13, 80.54);

//Format the auto-shape color by setting the fill type and text
stampShape.Fill.FillType = FillType.None;
stampShape.TextBody.AddParagraph("IMN").HorizontalAlignment = HorizontalAlignmentType.Center;

MemoryStream memoryStream = new MemoryStream();
//Saves the PowerPoint document file.
pptxDoc.Save(memoryStream);
//Create the response to return.
HttpResponseMessage response = new HttpResponseMessage(HttpStatusCode.OK);
//Set the PowerPoint document saved stream as content of response.
response.Content = new ByteArrayContent(memoryStream.ToArray());
//Set the contentDisposition as attachment.
response.Content.Headers.ContentDisposition = new ContentDispositionHeaderValue("attachment")
{
    FileName = "Result.pptx"
};
//Set the content type as PowerPoint document mime type.
response.Content.Headers.ContentType = new System.Net.Http.Headers.MediaTypeHeaderValue("application/vnd.openxmlformats-officedocument.presentationml.presentation");
//Return the response with output PowerPoint document stream.
return response;
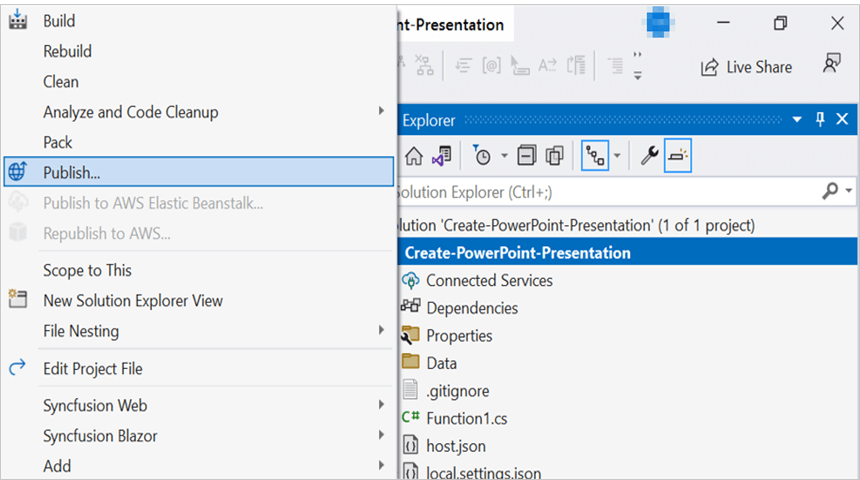
Step 7: Right click the project and select Publish. Then, create a new profile in the Publish Window.
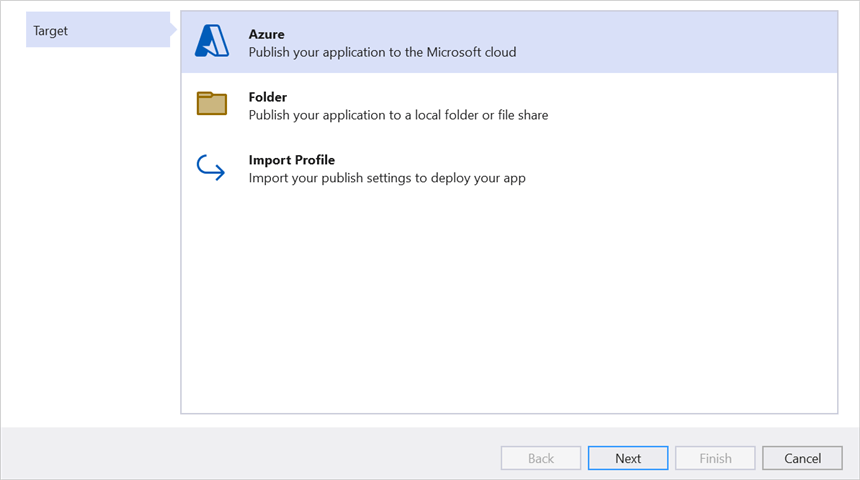
Step 8: Select the target as Azure and click Next button.
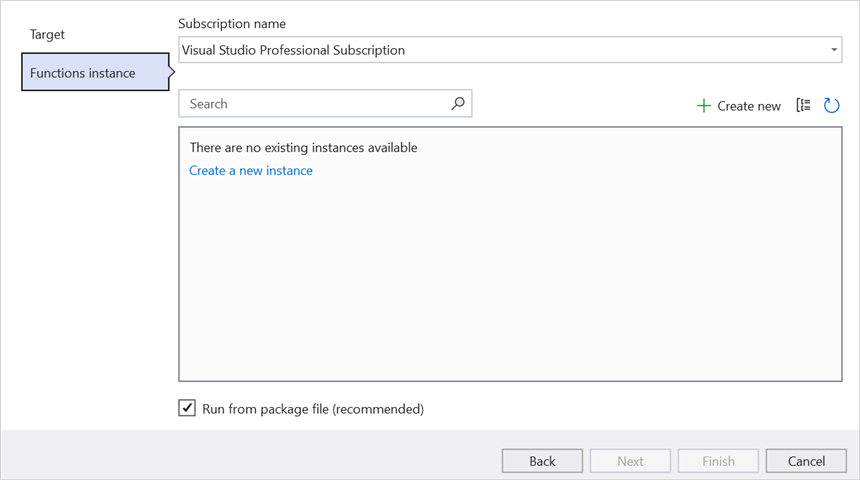
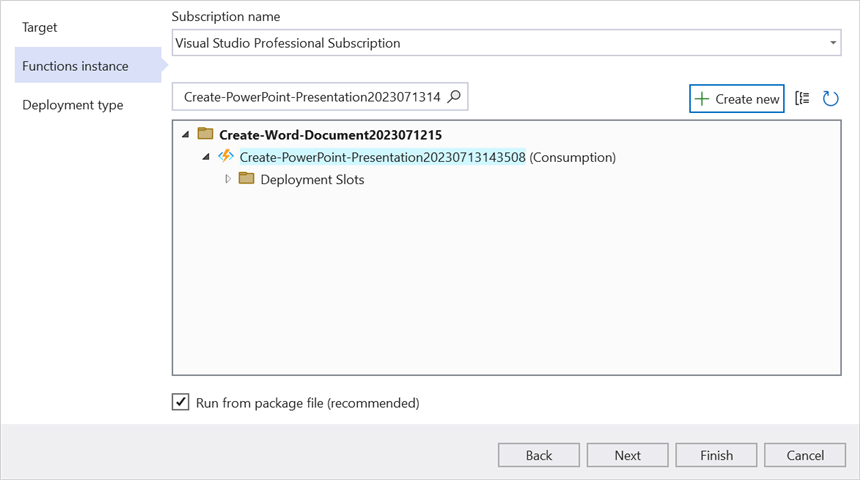
Step 9: Select the Create new button.
Step 10: Click Create button.
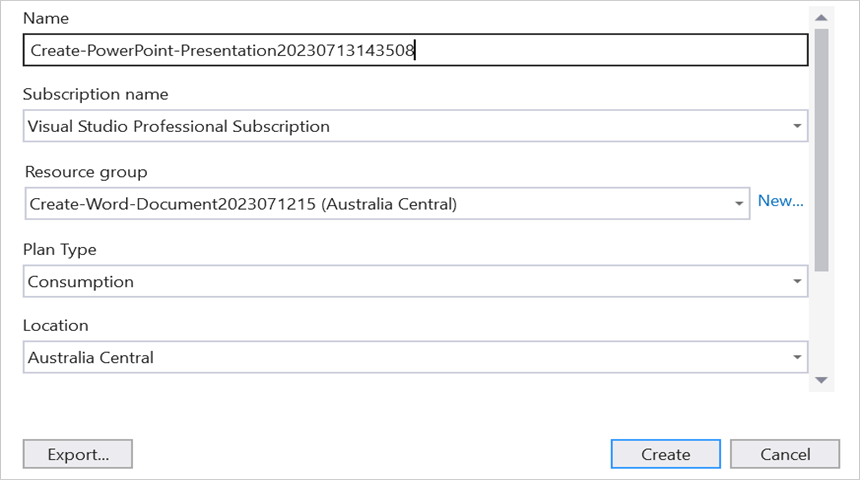
Step 11: After creating the app service, click Finish button.
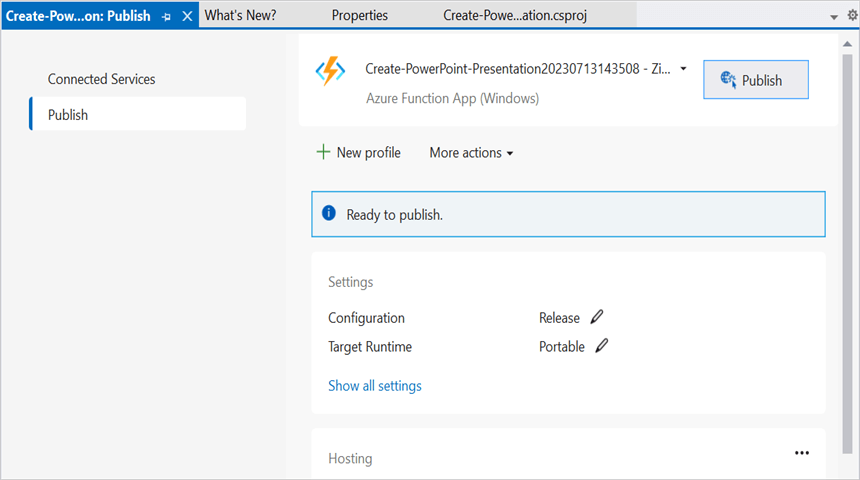
Step 12: Click the Publish button.
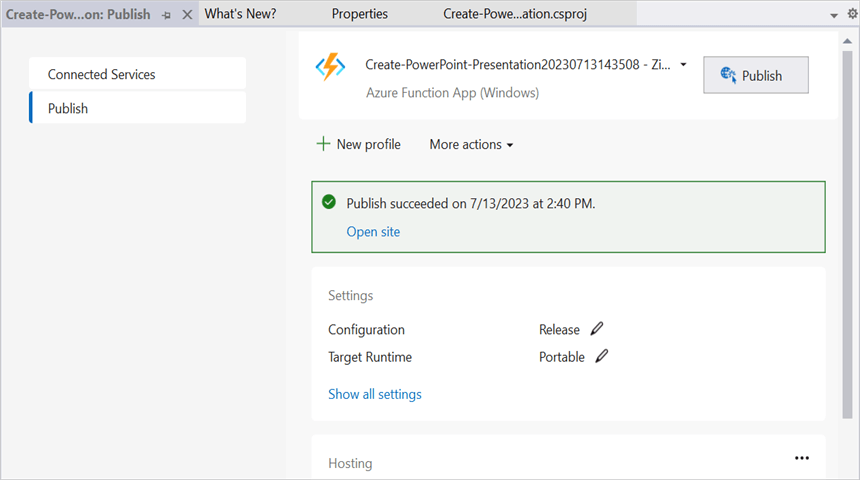
Step 13: Publishing has succeeded.
Step 14: Now, go to the Azure portal and select the App Services. After running the service, click Get function URL and copy it. Then, paste it in the below client sample (which will request the Azure Functions to create a PowerPoint document). You will get the output PowerPoint document as follows.
Steps to post the request to Azure Functions
Step 1: Create a console application to request the Azure Functions API.
Step 2: Add the following code snippet into Main method to post a request to the Azure Functions and get the resultant PowerPoint document. The Create function in this sample does not require an input file, so the request body is left empty; the function returns the newly created Result.pptx in the response.
try
{
    Console.WriteLine("Please enter your Azure Functions URL :");
    string functionURL = Console.ReadLine();

    //Create HttpWebRequest with hosted azure functions URL.
    HttpWebRequest req = (HttpWebRequest)WebRequest.Create(functionURL);
    //Set request method as POST.
    req.Method = "POST";
    //The Create function does not require a request body; send empty content.
    req.ContentLength = 0;

    //Gets the response from the Azure Functions.
    HttpWebResponse res = (HttpWebResponse)req.GetResponse();

    //Saves the PowerPoint file stream.
    FileStream fileStream = File.Create("Result.pptx");
    res.GetResponseStream().CopyTo(fileStream);
    //Dispose the stream.
    fileStream.Dispose();
}
catch (Exception ex)
{
    throw;
}
From GitHub, you can download the console application and Azure Functions v1.
Looking for the full .NET PowerPoint Library component overview, features, pricing, and documentation? Visit the .NET PowerPoint Library page.
An online sample link to create a PowerPoint Presentation in ASP.NET Core.