Create PowerPoint document in Azure App Service on Windows
29 Jun 202610 minutes to read
Syncfusion® PowerPoint is a .NET Core PowerPoint library used to create, read, edit and convert PowerPoint documents programmatically without Microsoft PowerPoint or interop dependencies. Using this library, you can create a PowerPoint document in Azure App Service on Windows.
Steps to create PowerPoint document in Azure App Service on Windows
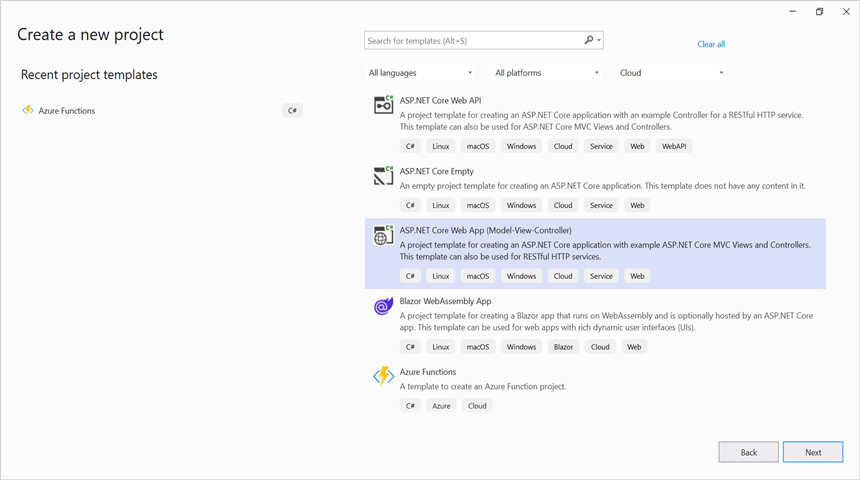
Step 1: Create a new ASP.NET Core Web App (Model-View-Controller).
Step 2: Create a project name and select the location.
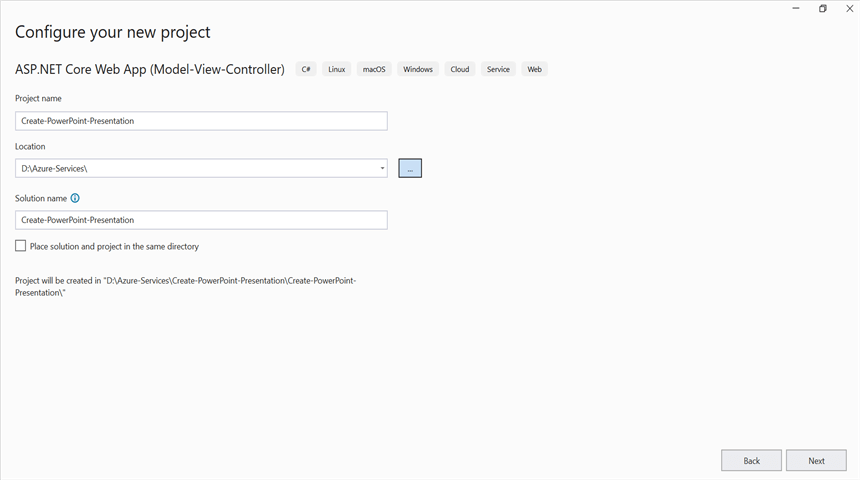
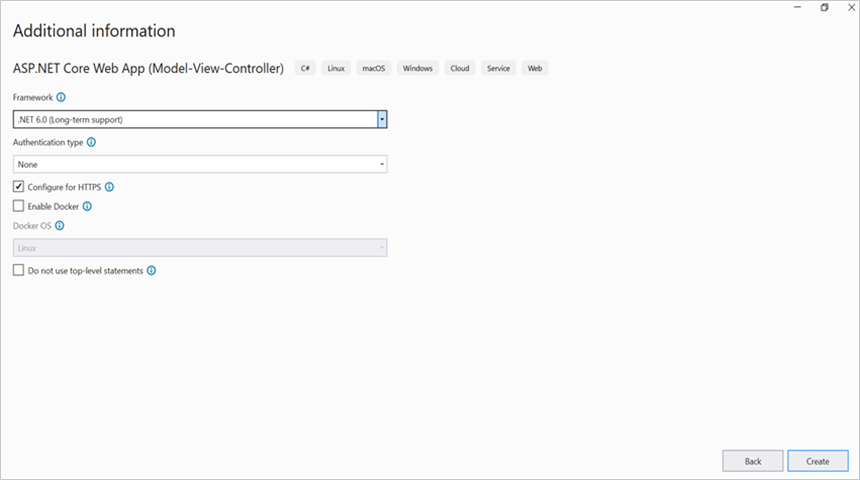
Step 3: Click Create button.
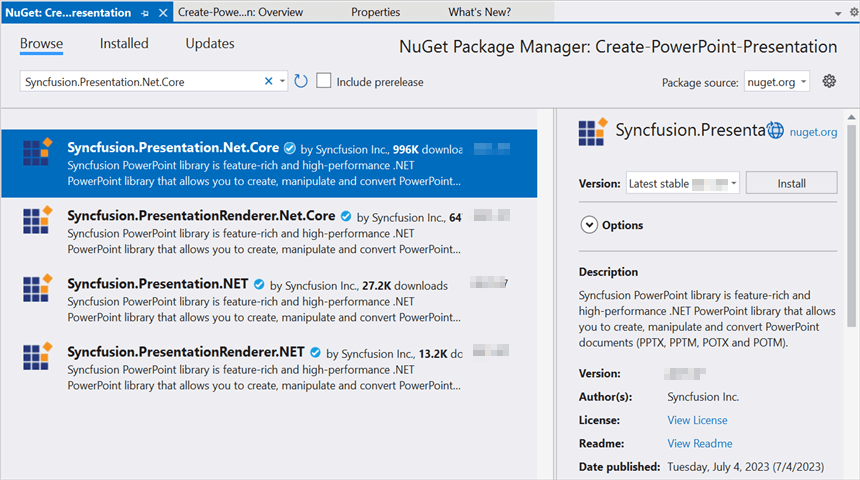
Step 4: Install the Syncfusion.Presentation.Net.Core NuGet package as a reference to your project from NuGet.org.
NOTE
Starting with v16.2.0.x, if you reference Syncfusion® assemblies from trial setup or from the NuGet feed, you also have to add “Syncfusion.Licensing” assembly reference and include a license key in your projects. Please refer to this link to know about registering Syncfusion® license key in your application to use our components.
Step 5: Add a new button in the Index.cshtml as shown below.
@{
    Html.BeginForm("CreatePowerPoint", "Home", FormMethod.Get);
    {
        <div>
        <input type="submit" value="Create PowerPoint" style="width:150px;height:27px" />
        </div>
    }
    Html.EndForm();
}
Step 6: Include the following namespaces in HomeController.cs.
using Syncfusion.Presentation;Step 7: Include the below code snippet in HomeController.cs for create a PowerPoint document.
private readonly IWebHostEnvironment _hostingEnvironment;
public HomeController(IWebHostEnvironment hostingEnvironment)
{
    _hostingEnvironment = hostingEnvironment;
}

public ActionResult CreatePowerPoint()
{
    //Create a new instance of PowerPoint Presentation file.
    using IPresentation pptxDoc = Presentation.Create();

    //Add a new slide to file and apply background color.
    ISlide slide = pptxDoc.Slides.Add(SlideLayoutType.TitleOnly);
    //Specify the fill type and fill color for the slide background.
    slide.Background.Fill.FillType = FillType.Solid;
    slide.Background.Fill.SolidFill.Color = ColorObject.FromArgb(232, 241, 229);

    //Add title content to the slide by accessing the title placeholder of the TitleOnly layout-slide.
    IShape titleShape = slide.Shapes[0] as IShape;
    titleShape.TextBody.AddParagraph("Company History").HorizontalAlignment = HorizontalAlignmentType.Center;

    //Add description content to the slide by adding a new TextBox.
    IShape descriptionShape = slide.AddTextBox(53.22, 141.73, 874.19, 77.70);
    descriptionShape.TextBody.Text = "IMN Solutions PVT LTD is the software company, established in 1987, by George Milton. The company has been listed as the trusted partner for many high-profile organizations since 1988 and got awards for quality products from reputed organizations.";

    //Add bullet points to the slide.
    IShape bulletPointsShape = slide.AddTextBox(53.22, 270, 437.90, 116.32);
    //Add a paragraph for a bullet point.
    IParagraph firstPara = bulletPointsShape.TextBody.AddParagraph("The company acquired the MCY corporation for 20 billion dollars and became the top revenue maker for the year 2015.");
    //Format how the bullets should be displayed.
    firstPara.ListFormat.Type = ListType.Bulleted;
    firstPara.LeftIndent = 35;
    firstPara.FirstLineIndent = -35;
    // Add another paragraph for the next bullet point.
    IParagraph secondPara = bulletPointsShape.TextBody.AddParagraph("The company is participating in top open source projects in automation industry.");
    //Format how the bullets should be displayed.
    secondPara.ListFormat.Type = ListType.Bulleted;
    secondPara.LeftIndent = 35;
    secondPara.FirstLineIndent = -35;

    //Get a picture as stream.
    string imagePath = Path.Combine(_hostingEnvironment.WebRootPath, "Data/Image.jpg");
    using FileStream imageStream = new FileStream(imagePath, FileMode.Open, FileAccess.Read);
    //Add the picture to a slide by specifying its size and position.
    slide.Shapes.AddPicture(imageStream, 499.79, 238.59, 364.54, 192.16);

    //Add an auto-shape to the slide.
    IShape stampShape = slide.Shapes.AddShape(AutoShapeType.Explosion1, 48.93, 430.71, 104.13, 80.54);
    //Format the auto-shape color by setting the fill type and text.
    stampShape.Fill.FillType = FillType.None;
    stampShape.TextBody.AddParagraph("IMN").HorizontalAlignment = HorizontalAlignmentType.Center;

    //Save the PowerPoint Presentation as stream.
    MemoryStream pptxStream = new();
    pptxDoc.Save(pptxStream);
    pptxStream.Position = 0;

    //Download Powerpoint document in the browser.
    return File(pptxStream, "application/powerpoint", "Result.pptx");
        }public ActionResult CreatePowerPoint()
        {
    //Create a new instance of PowerPoint Presentation file.
    using IPresentation pptxDoc = Presentation.Create();

    //Add a new slide to file and apply background color.
    ISlide slide = pptxDoc.Slides.Add(SlideLayoutType.TitleOnly);
    //Specify the fill type and fill color for the slide background.
    slide.Background.Fill.FillType = FillType.Solid;
    slide.Background.Fill.SolidFill.Color = ColorObject.FromArgb(232, 241, 229);

    //Add title content to the slide by accessing the title placeholder of the TitleOnly layout-slide.
    IShape titleShape = slide.Shapes[0] as IShape;
    titleShape.TextBody.AddParagraph("Company History").HorizontalAlignment = HorizontalAlignmentType.Center;

    //Add description content to the slide by adding a new TextBox.
    IShape descriptionShape = slide.AddTextBox(53.22, 141.73, 874.19, 77.70);
    descriptionShape.TextBody.Text = "IMN Solutions PVT LTD is the software company, established in 1987, by George Milton. The company has been listed as the trusted partner for many high-profile organizations since 1988 and got awards for quality products from reputed organizations.";

    //Add bullet points to the slide.
    IShape bulletPointsShape = slide.AddTextBox(53.22, 270, 437.90, 116.32);
    //Add a paragraph for a bullet point.
    IParagraph firstPara = bulletPointsShape.TextBody.AddParagraph("The company acquired the MCY corporation for 20 billion dollars and became the top revenue maker for the year 2015.");
    //Format how the bullets should be displayed.
    firstPara.ListFormat.Type = ListType.Bulleted;
    firstPara.LeftIndent = 35;
    firstPara.FirstLineIndent = -35;
    // Add another paragraph for the next bullet point.
    IParagraph secondPara = bulletPointsShape.TextBody.AddParagraph("The company is participating in top open source projects in automation industry.");
    //Format how the bullets should be displayed.
    secondPara.ListFormat.Type = ListType.Bulleted;
    secondPara.LeftIndent = 35;
    secondPara.FirstLineIndent = -35;

    //Get a picture as stream.
    string imagePath = Path.Combine(_hostingEnvironment.WebRootPath, "Data/Image.jpg");
    using FileStream imageStream = new FileStream(imagePath, FileMode.Open, FileAccess.Read);
    //Add the picture to a slide by specifying its size and position.
    slide.Shapes.AddPicture(imageStream, 499.79, 238.59, 364.54, 192.16);

    //Add an auto-shape to the slide.
    IShape stampShape = slide.Shapes.AddShape(AutoShapeType.Explosion1, 48.93, 430.71, 104.13, 80.54);
    //Format the auto-shape color by setting the fill type and text.
    stampShape.Fill.FillType = FillType.None;
    stampShape.TextBody.AddParagraph("IMN").HorizontalAlignment = HorizontalAlignmentType.Center;

    //Save the PowerPoint Presentation as stream.
    MemoryStream pptxStream = new();
    pptxDoc.Save(pptxStream);
    pptxStream.Position = 0;

    //Download Powerpoint document in the browser.
    return File(pptxStream, "application/powerpoint", "Result.pptx");
}
Steps to publish as Azure App Service on Windows
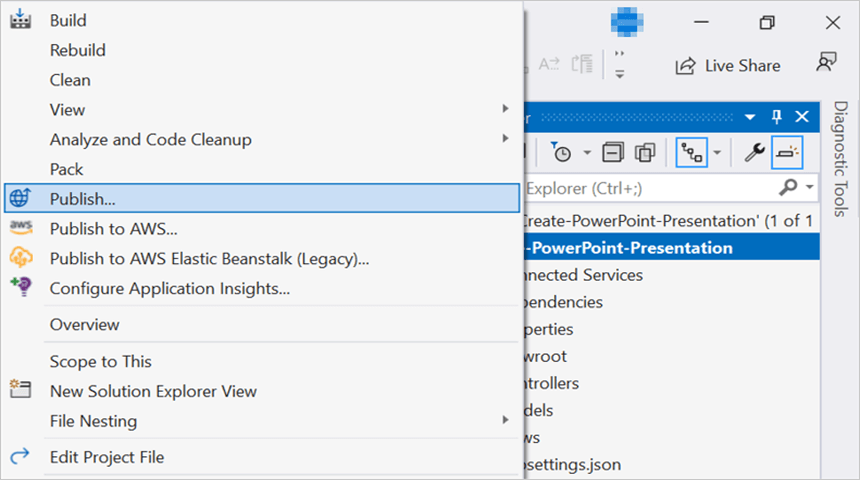
Step 1: Right-click the project and select Publish option.
Step 2: Click the Add a Publish Profile button.

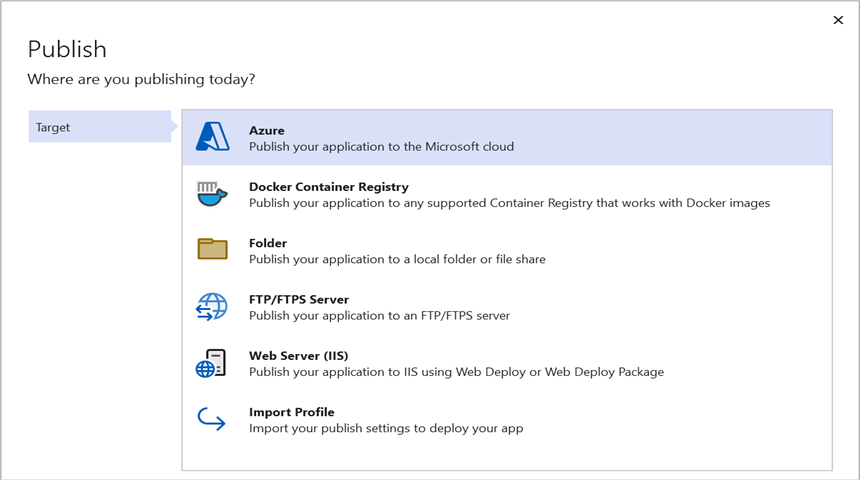
Step 3: Select the publish target as Azure.
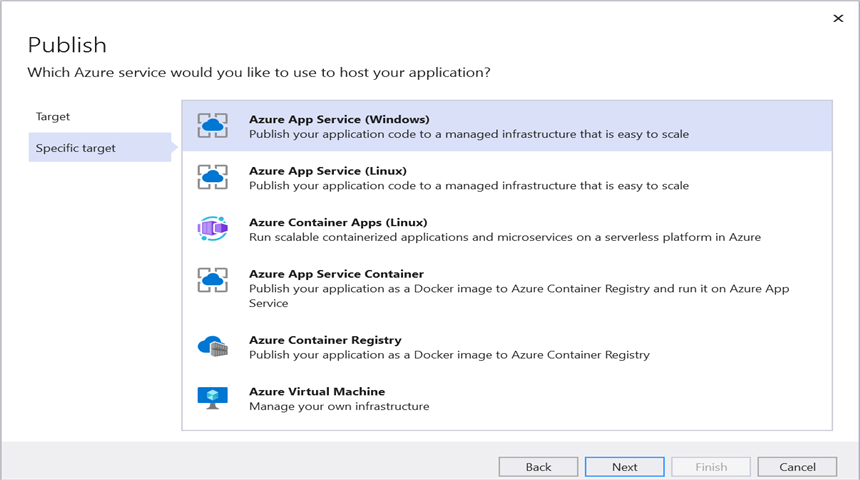
Step 4: Select the Specific target as Azure App Service (Windows).
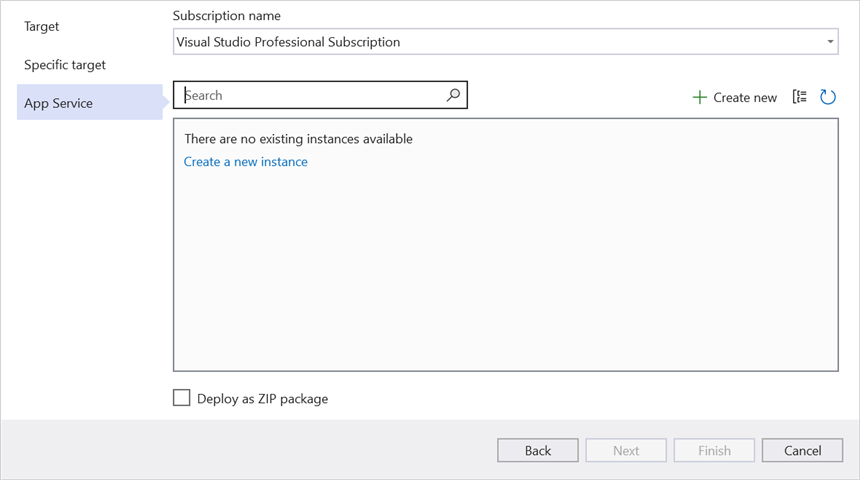
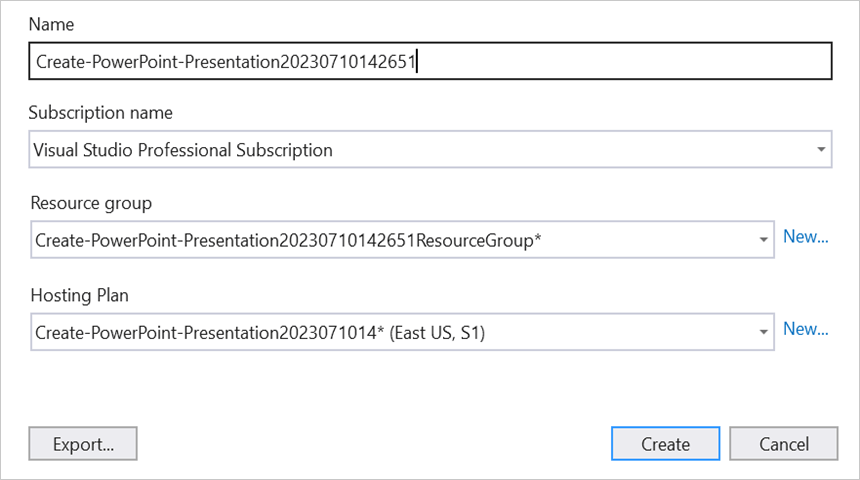
Step 5: To create a new app service, click Create new option.
Step 6: Click the Create button to proceed with App Service creation.
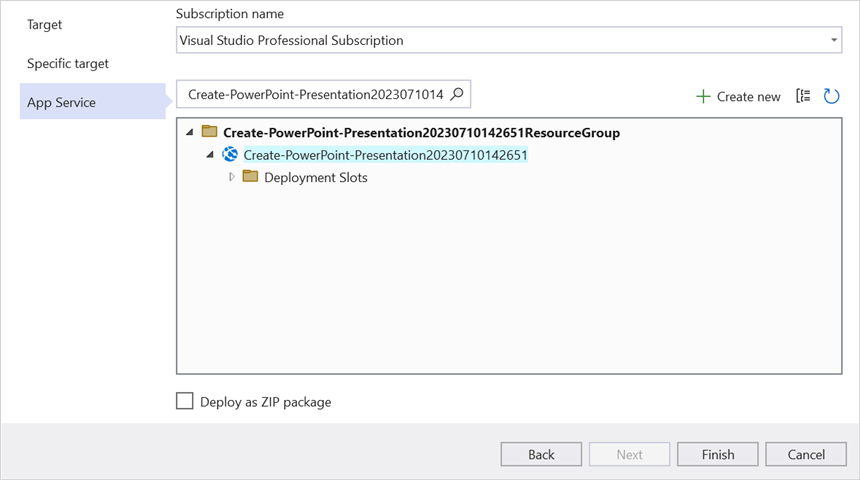
Step 7: Click the Finish button to finalize the App Service creation.
Step 8: Click Close button.

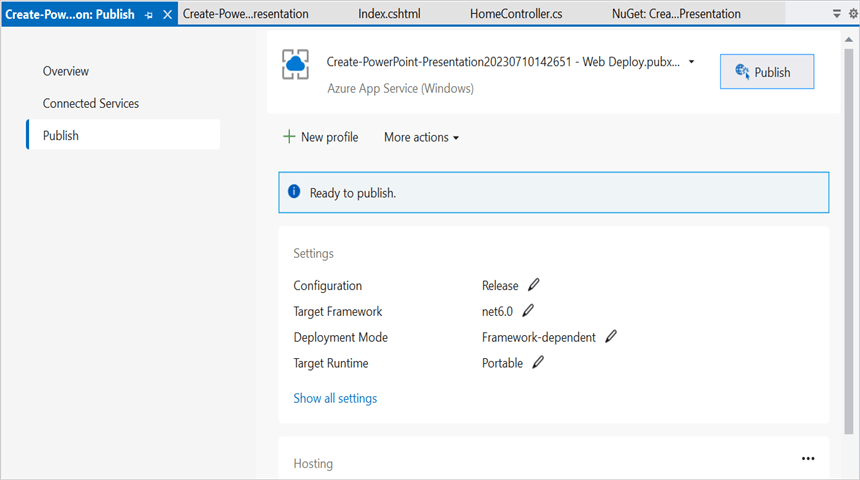
Step 9: Click the Publish button.
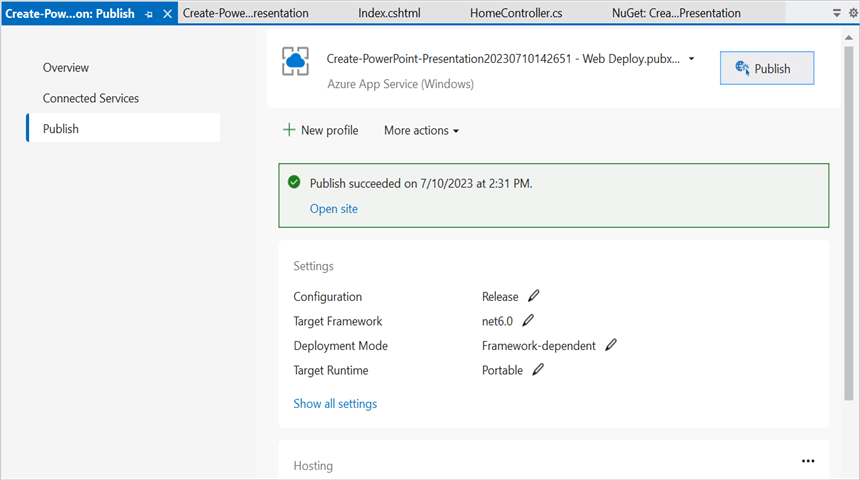
Step 10: Now, Publish has been succeeded.
Step 11: Now, the published webpage will open in the browser.
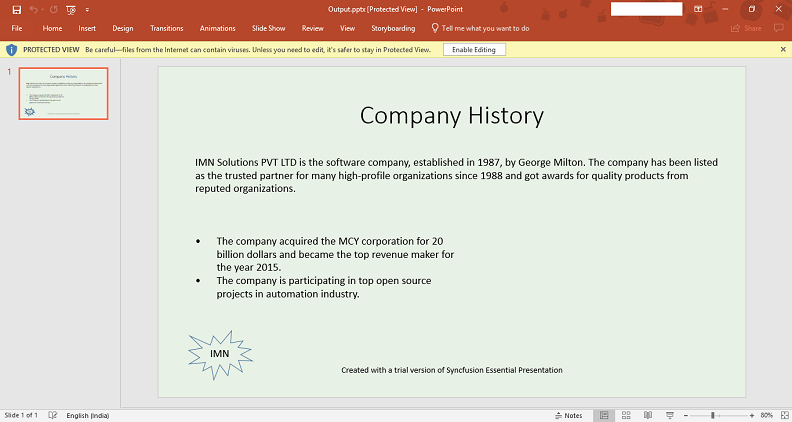
Step 12: Click Create PowerPoint to create a PowerPoint document.You will get the output PowerPoint document as follows.
You can download a complete working sample from GitHub.
Looking for the full .NET PowerPoint Library component overview, features, pricing, and documentation? Visit the .NET PowerPoint Library page.
An online sample link to create a PowerPoint Presentation in ASP.NET Core.