Getting Started with Windows Forms Tree Navigator
25 Nov 20254 minutes to read
This section briefly describes how to design a TreeNavigator Control in a Windows Forms Application.
Assembly Deployment
The following list of assemblies needs to be added as reference to use TreeNavigator in any application,
NameSpace: Syncfusion.Windows.Forms.Tools
Assembly: Syncfusion.Tools.Windows
Dependent Assembly : Syncfusion.Shared.Base
|
Required assemblies |
Description |
|---|---|
|
Syncfusion.Tools.Windows |
Syncfusion.Tools.Windows assembly contains classes that handles all UI operations, fundamentals and base classes of TreeNavigator Control. |
|
Syncfusion.Shared.Base |
Syncfusion.Shared.Base contains style related properties and various other controls which are used in TreeNavigator Control. |
We can Implement Tree navigator in Two ways they are,
- Adding Control Via Designer
- Adding Control Manually in C#
Adding Control Via Designer
- Create a new Windows Forms Application Project in VS IDE through New Project Wizard.
- Then Drag and Drop the TreeNavigator control from the toolbox into the designer page.
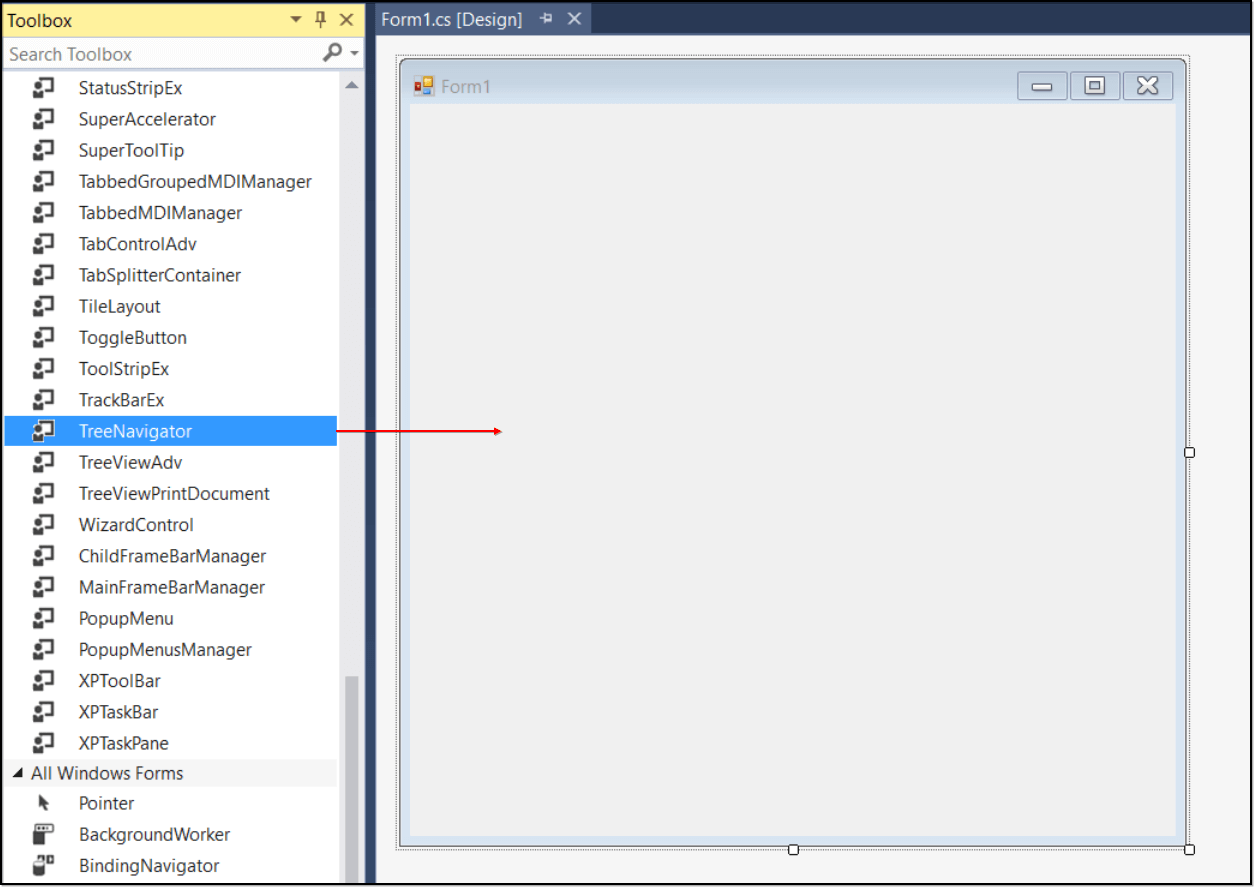
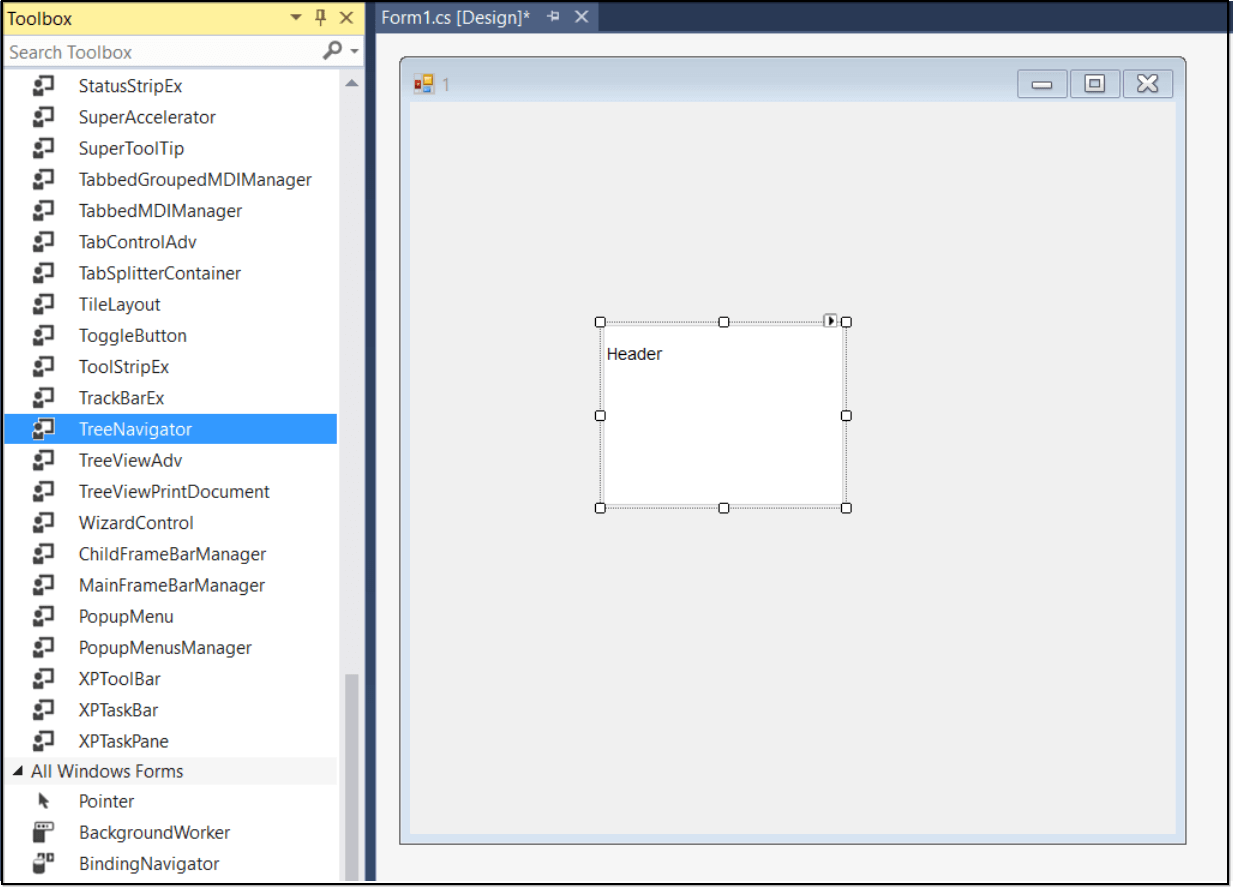
- Once you drag drop the TreeNavigator into the designer page, the TreeNavigator will be added successfully into the application with the required libraries.
Adding control manually in C#
TreeNavigator can be added through code-behind by following the below steps.
- Include the namespaces Syncfusion.Windows.Forms and Syncfusion.Windows.Forms.Tools which are needed for the Control.
//Namespaces.

		using Syncfusion.Windows.Forms.Tools;

using Syncfusion.Windows.Forms;‘Namespaces.
Imports Syncfusion.Windows.Forms
Imports Syncfusion.Windows.Forms.Tools- To add TreeNavigator Control to a Windows Forms Application through code, Create an instance of the TreeNavigator control and add it to the Form.
//Creates the TreeNavigator instance.

		TreeNavigator treeNavigator = new TreeNavigator();

this.Controls.Add(treeNavigator);‘Creates the TreeNavigator instance.
Dim treeNavigator As TreeNavigator = New TreeNavigator()
Me.Controls.Add(treeNavigator)Adding TreeMenuItem to the control
 The TreeNavigator is populated with the collection of TreeMenuItem using the items property. we can add TreeMenuItem in two Ways,

 * Adding items manually in C#
 * Adding items through Designer
The following code example allows you to add TreeMenuItem to the TreeNavigator.
//Adds items to the TreeNavigator.
this.treeNavigator.Header.HeaderText = "This PC";
TreeMenuItem treemenuitem1 = new TreeMenuItem();
this.treeNavigator.Items.Add(treemenuitem1);
treemenuitem1.Text = "Desktop";
TreeMenuItem treemenuitem2 = new TreeMenuItem();
this.treeNavigator.Items.Add(treemenuitem2);
treemenuitem2.Text = "Document";
TreeMenuItem treemenuitem3 = new TreeMenuItem();
this.treeNavigator.Items.Add(treemenuitem3);
treemenuitem3.Text = "Downloads";
'Adds items to the TreeNavigator.
Me.treeNavigator1.Header.HeaderText = "This PC"
Dim treemenuitem1 As TreeMenuItem = New TreeMenuItem()
Me.treeNavigator1.Items.Add(treemenuitem1)
treemenuitem1.Text = "Desktop"
Dim treemenuitem2 As TreeMenuItem = New TreeMenuItem()
Me.treeNavigator1.Items.Add(treemenuitem2)
treemenuitem2.Text = "Document"
Dim treemenuitem3 As TreeMenuItem = New TreeMenuItem()
Me.treeNavigator1.Items.Add(treemenuitem3)
treemenuitem3.Text = "Downloads"The following steps allows you to add TreeMenuItem to the TreeNavigator through Designer,
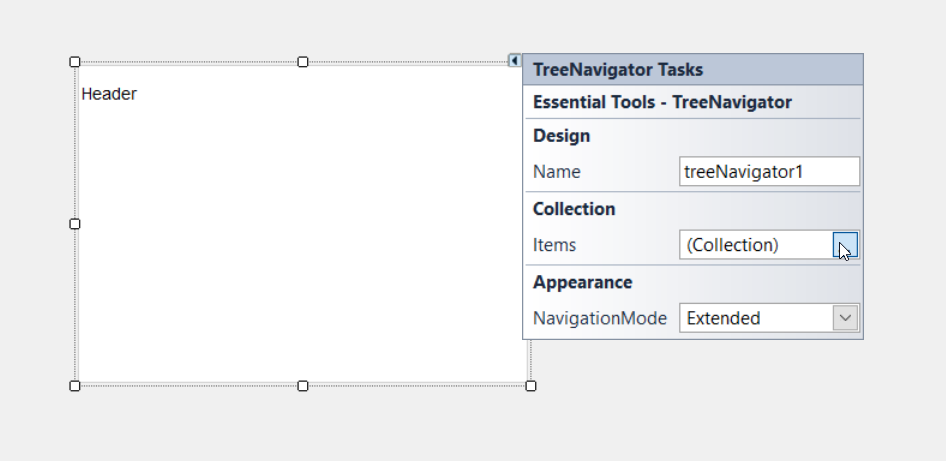
-
Once you drag drop the TreeNavigator into the designer page, the TreeNavigator will be added successfully into the application, you can see the Smart Tag on the top right corner.
-
Click the Smart Tag button and select the items property from the listed properties.
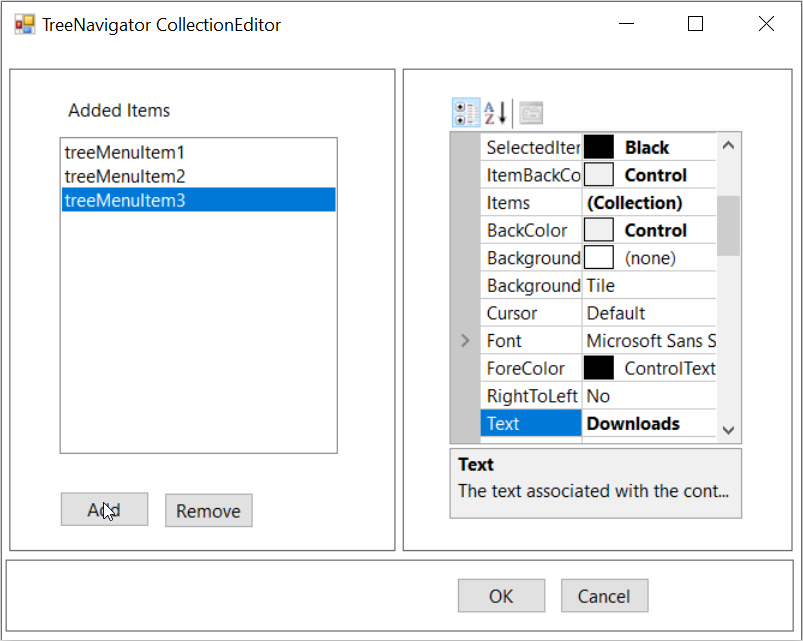
- Then add items as shown below.

NOTE
In .NET Core, when adding child items to a TreeMenuItem directly from the Visual Studio Properties window, the default Collection Editor opens instead of the expected editor.
Workaround: Use the main TreeNavigator Collection Editor to add items, then configure the child items as needed. A permanent fix is in progress.