Convert HTML to PDF file in Azure App Service on Windows
As the Azure Windows platform is a Sandbox environment, the default HTML rendering engine Blink used in our HTML to PDF conversion is incompatible due to GDI Limitations. It is recommended that you use Azure web applications in the Linux container. For converting HTML to PDF in Azure Windows, you can use our CefSharp based HTML converter if is fit your requirement.
NOTE
CefSharp is an open-source library that comes under the BSD license.
Steps to convert HTML to PDF file in Azure App Service on Windows using CefSharp
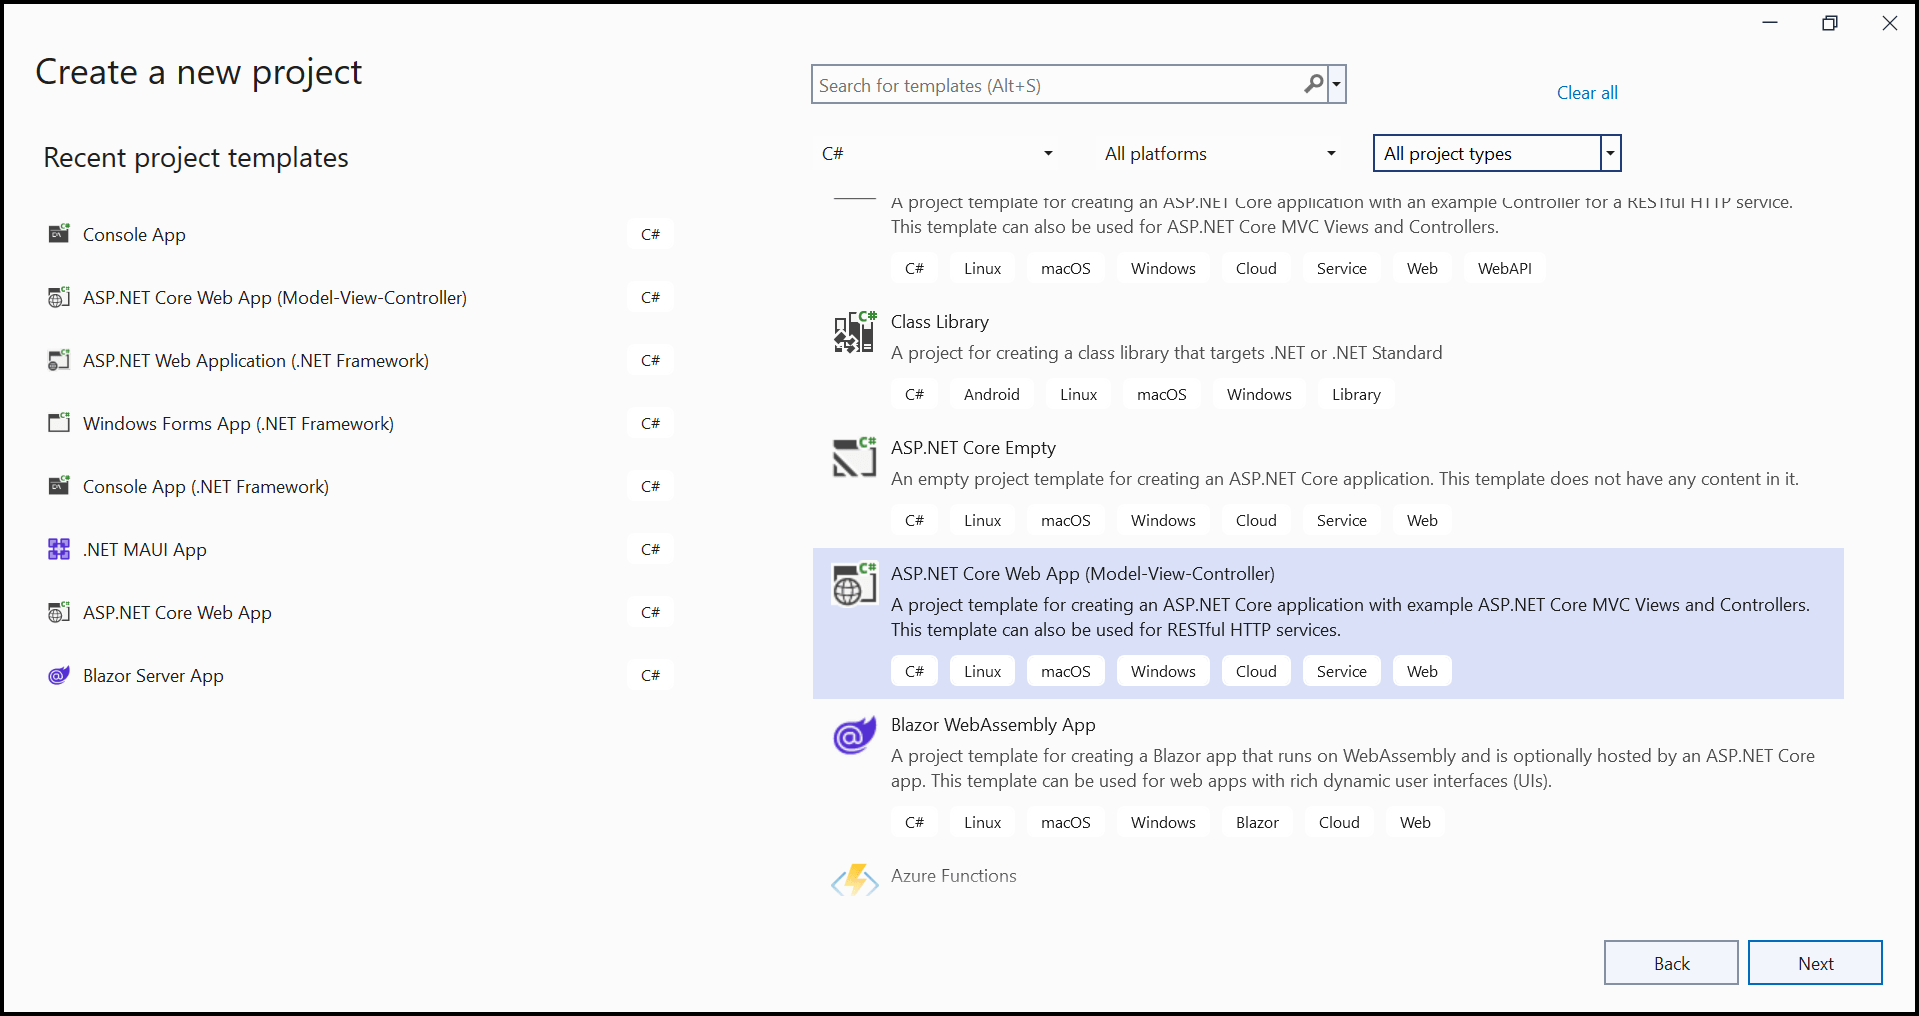
Step 1: Create a new ASP.NET Core Web App (Model-View-Controller).
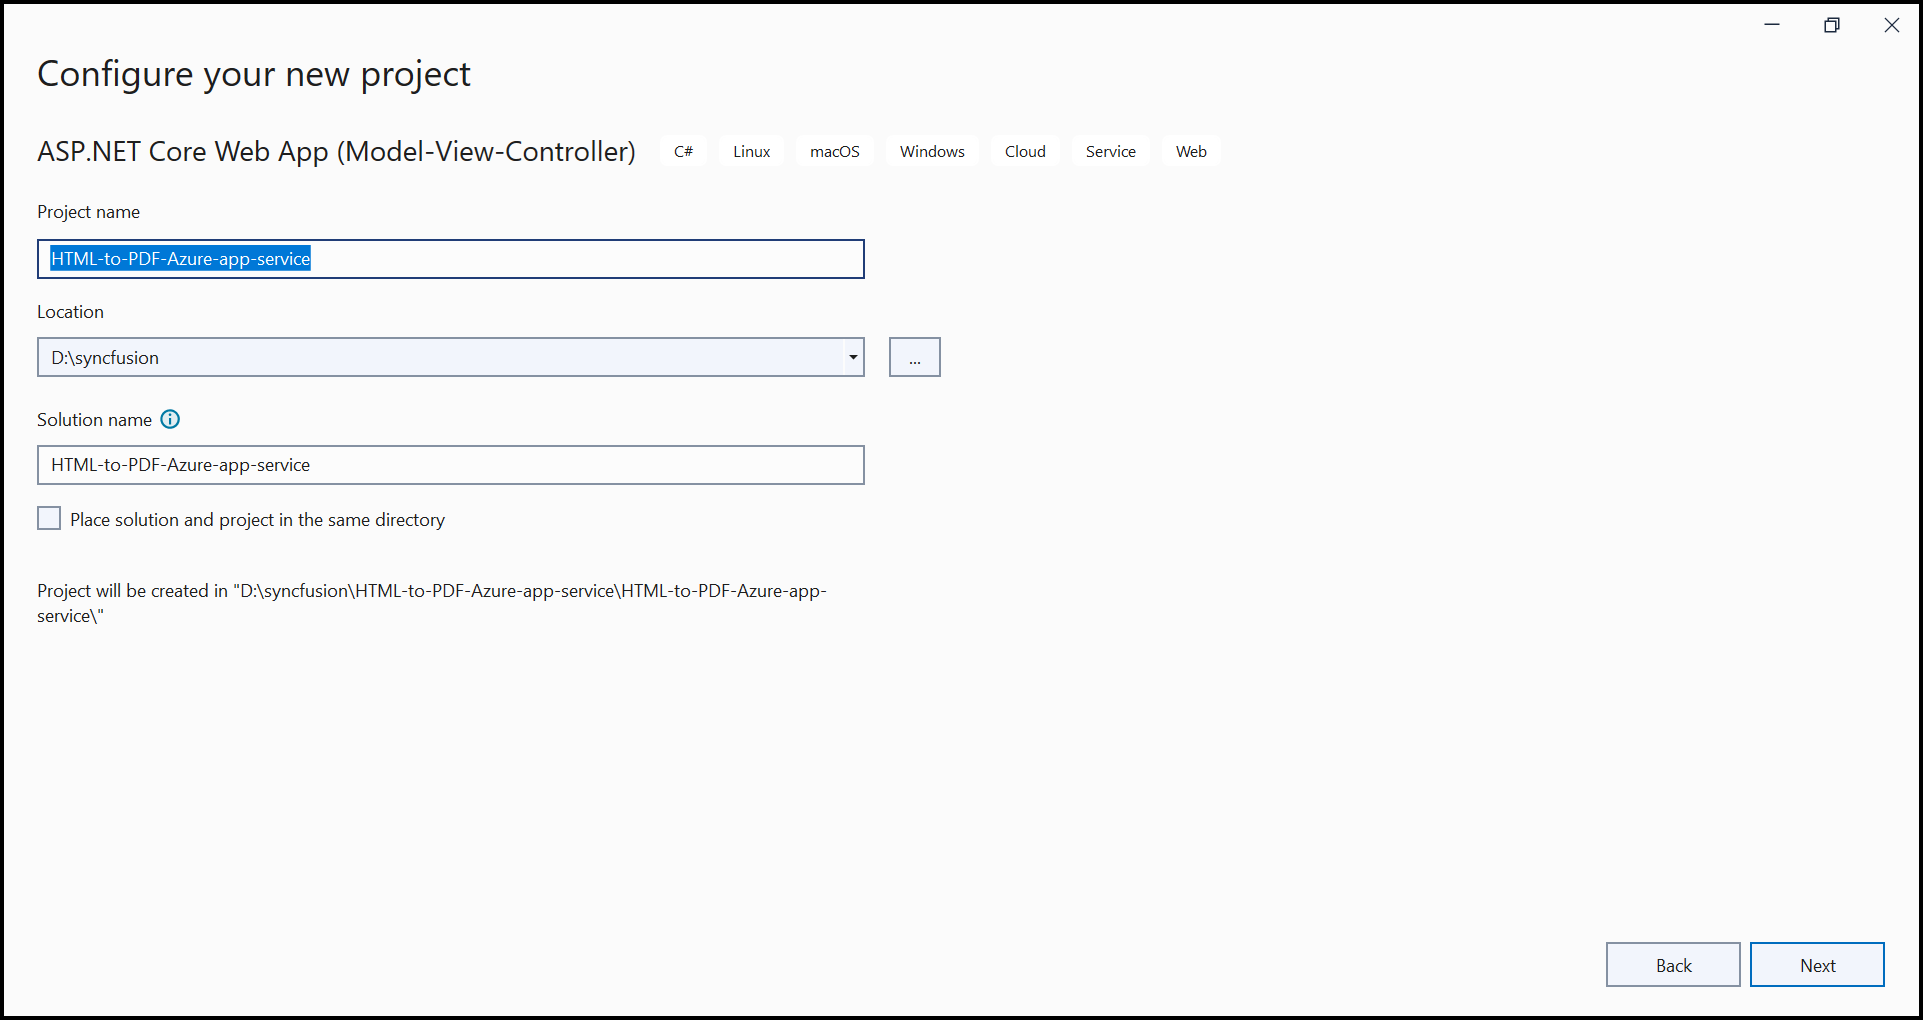
Step 2: Create a project name and select the location.
Step 3: Click Create.
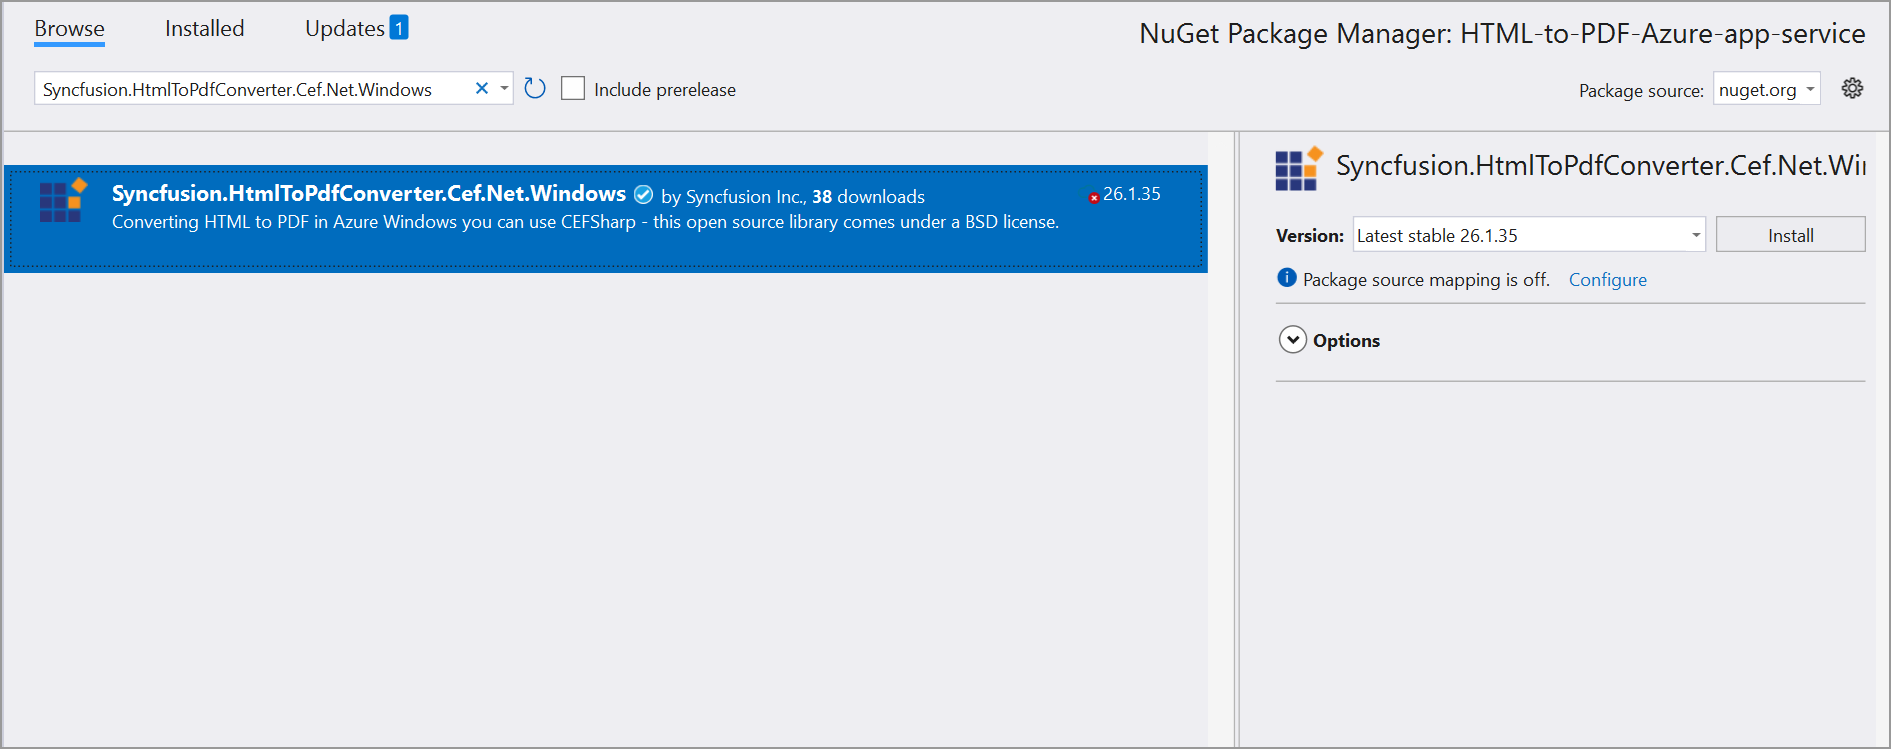
Step 4: Install the Syncfusion.HtmlToPdfConverter.Cef.Net.Windows NuGet package to reference your project using the nuget.org.
NOTE
Starting with v16.2.0.x, if you reference Syncfusion® assemblies from the trial setup or NuGet feed, you also have to add the “Syncfusion.Licensing” assembly reference and include a license key in your projects. Please refer to this link to learn about registering the Syncfusion® license key in your application to use our components.
Step 5: A default action method named Index will be present in HomeController.cs. Right-click on the Index method and select Go To View, where you will be directed to its associated view page Index.cshtml. Add a new button in the Index.cshtml as follows.
@{
    Html.BeginForm("ConvertToPdf", "Home", FormMethod.Get);
    {
        <div>
            <input type="submit" value="Convert To PDF" style="width:200px;height:27px" />
        </div>
    }
    Html.EndForm();
}
Step 6: Include the following namespaces in HomeController.cs.
using Syncfusion.HtmlConverter;
    using Syncfusion.Pdf;
Step 7: Add a new action method named ConvertToPdf in the HomeController.cs file and include the following code example to convert HTML to PDF document in HomeController.cs.
public IActionResult ConvertToPdf()
{
//Initialize HTML to PDF converter.
HtmlToPdfConverter htmlConverter = new HtmlToPdfConverter(HtmlRenderingEngine.Cef);
CefConverterSettings cefConverterSettings = new CefConverterSettings();
//Set Blink viewport size.
cefConverterSettings.ViewPortSize = new Syncfusion.Drawing.Size(1280, 0);
//Assign Blink converter settings to HTML converter.
htmlConverter.ConverterSettings = cefConverterSettings;
//Convert URL to PDF document.
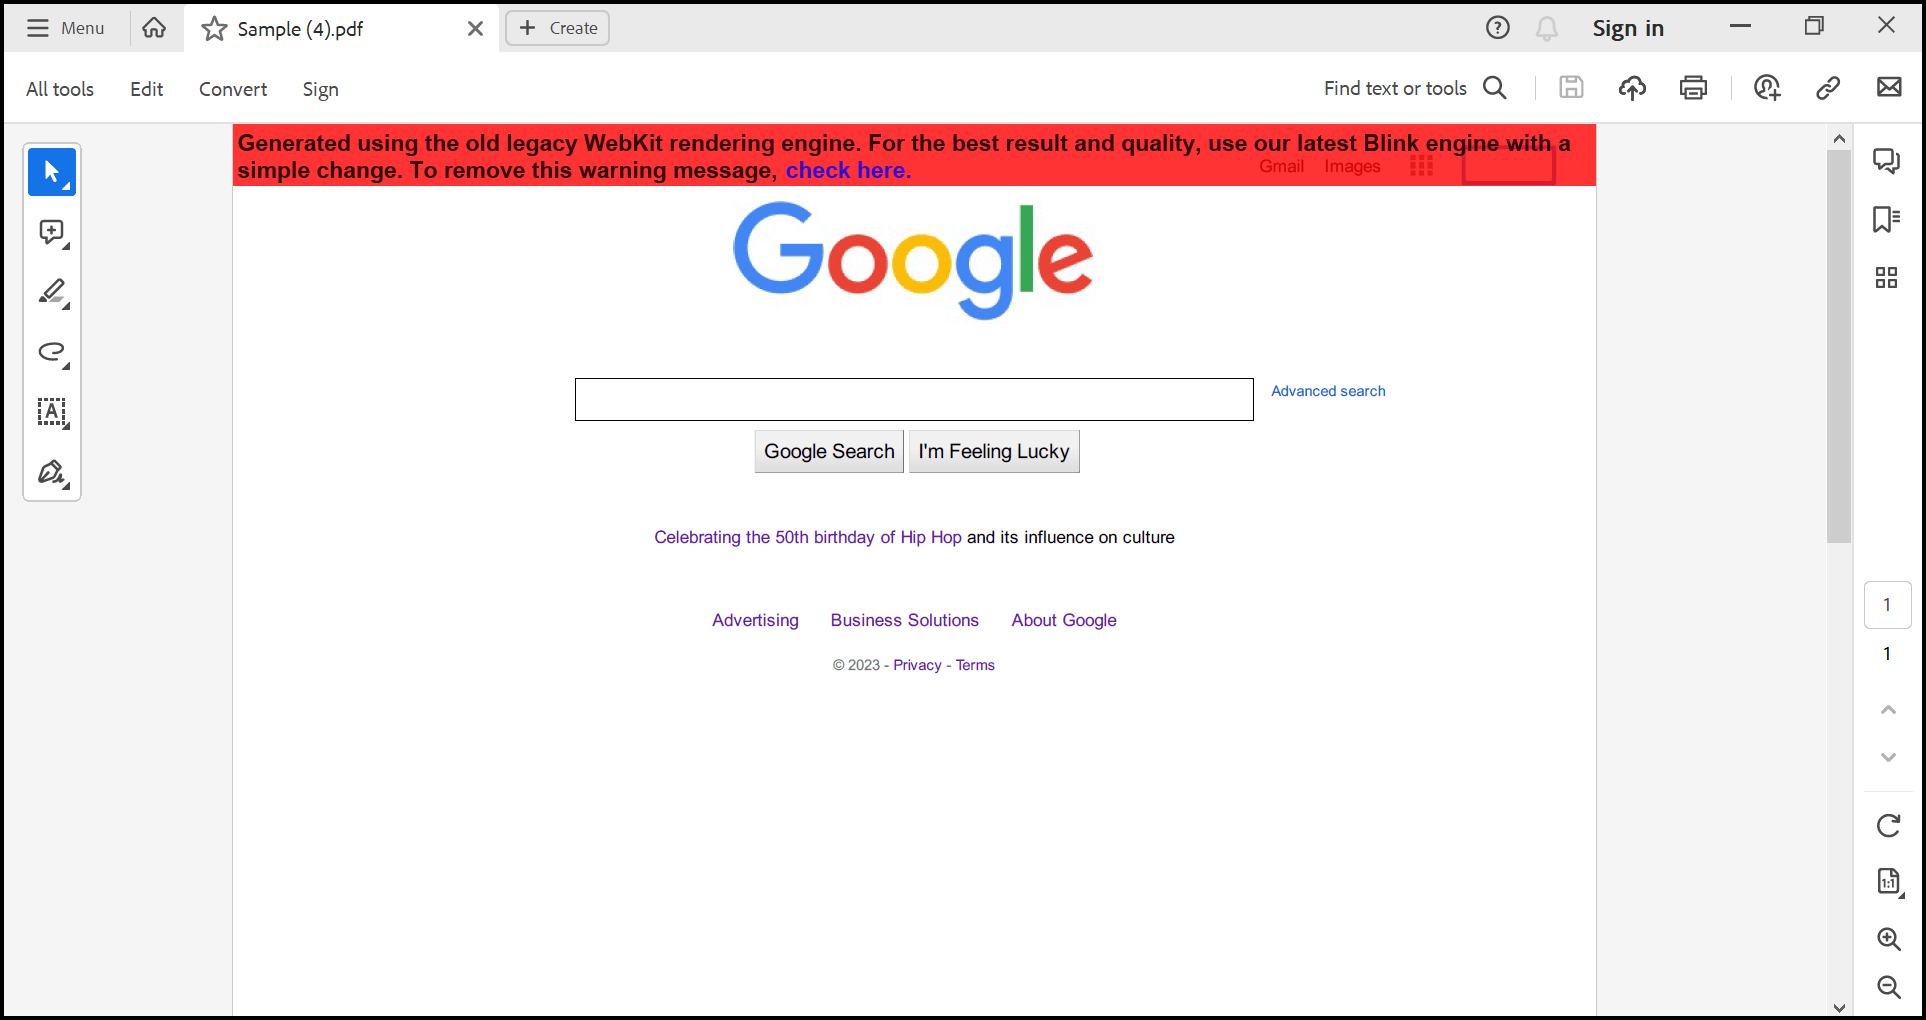
PdfDocument document = htmlConverter.Convert("https://www.google.com");
//Create memory stream.
MemoryStream stream = new MemoryStream();
//Save and close the document.
document.Save(stream);
document.Close();
return File(stream.ToArray(), System.Net.Mime.MediaTypeNames.Application.Pdf, "HTML-to-PDF.pdf");
}Step 8: Refer the steps to publish as Azure App Service on Windows
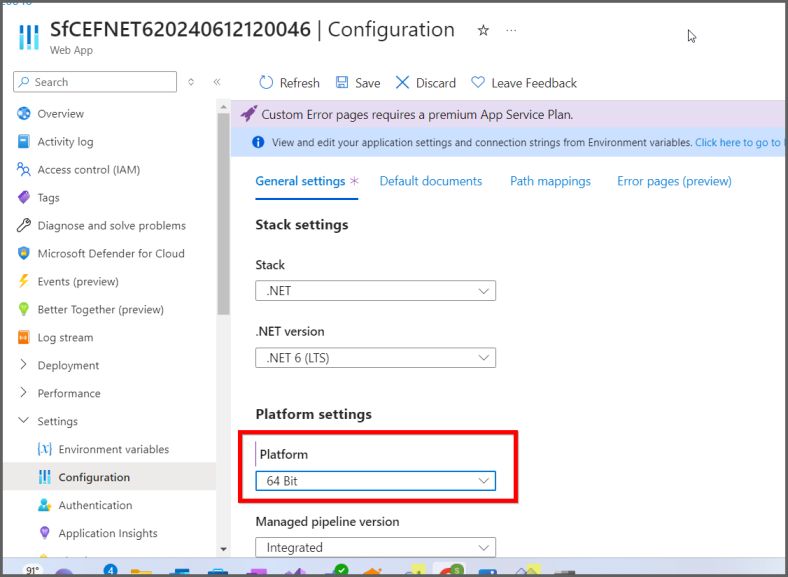
Step 9: Open the created web app service in the Azure portal. Go to Settings -> Configuration -> Platform settings and change the platform to 64-bit.
Step 10: After completing the publish profile setup, click the publish.
Step 11: Publish will be succeeded and the published webpage will open in the browser. Click ExportToPDF button to perform the conversion.
You can download a complete working sample from GitHub.
Steps to publish as Azure App Service on Windows
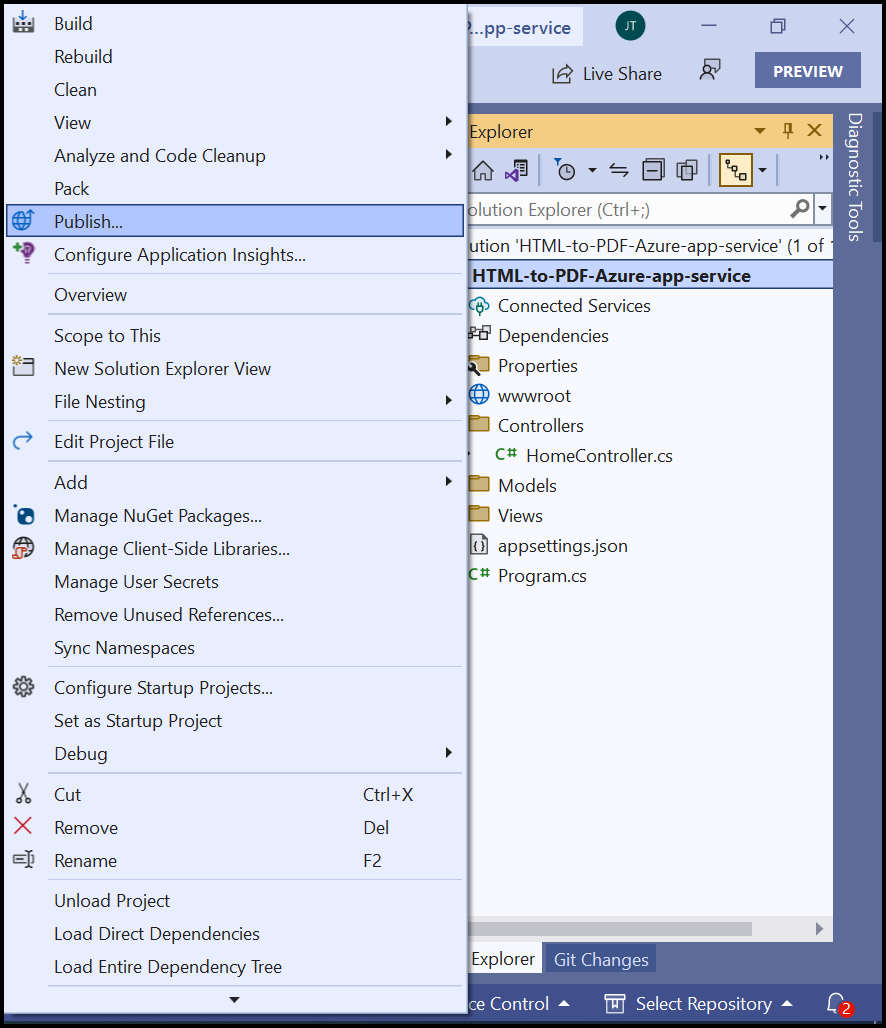
Step 1: Right-click the project and select the Publish option.
Step 2: Click Add a Publish Profile.

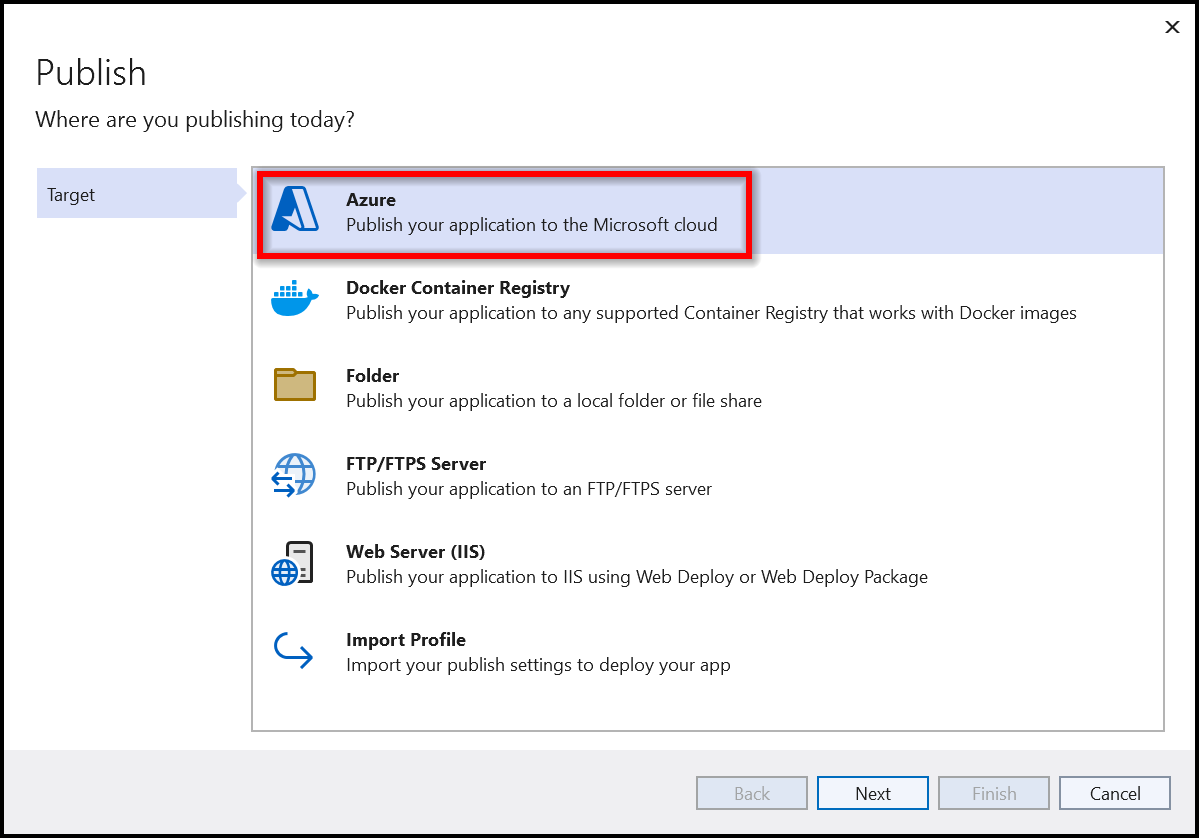
Step 3: Select the publish target as Azure.
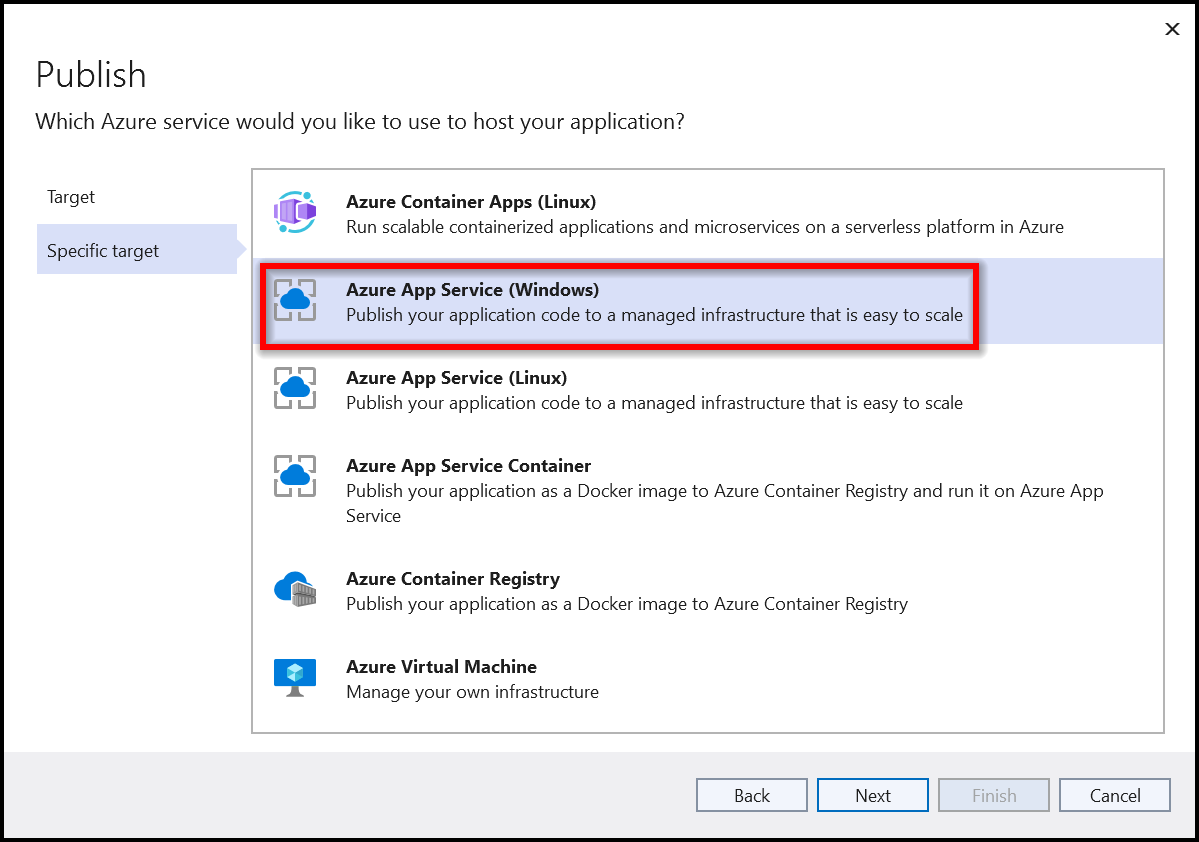
Step 4: Select the Specific target as Azure App Service (Windows).
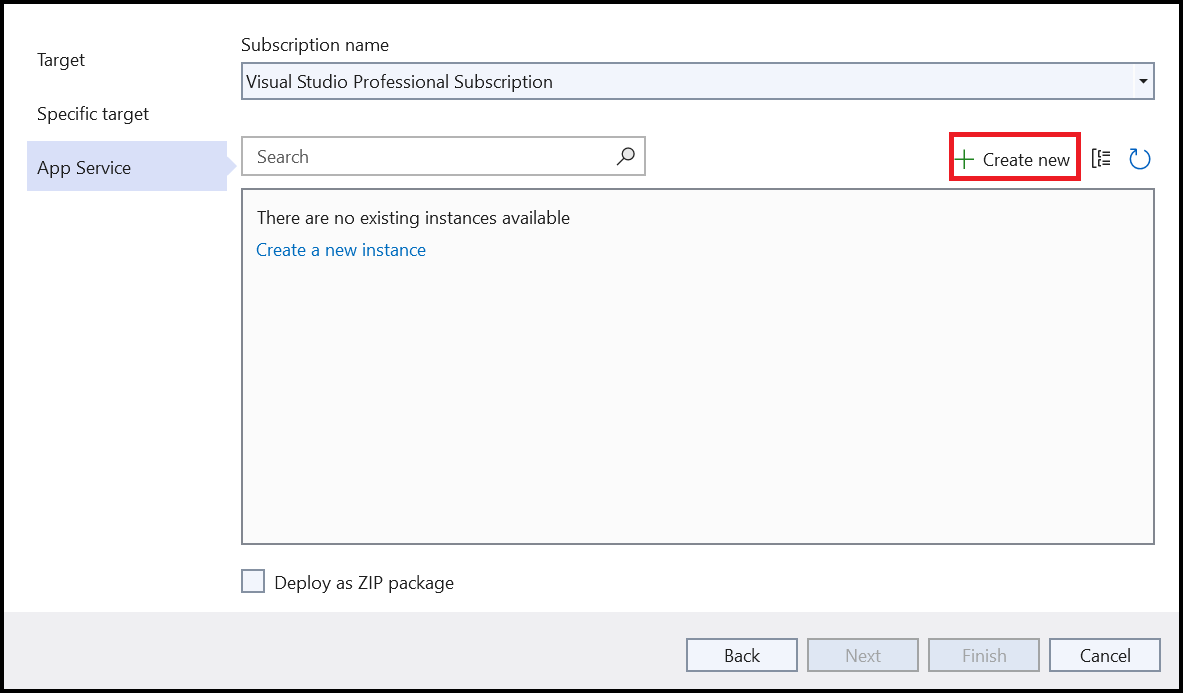
Step 5: Click the Create new option to create a new app service.
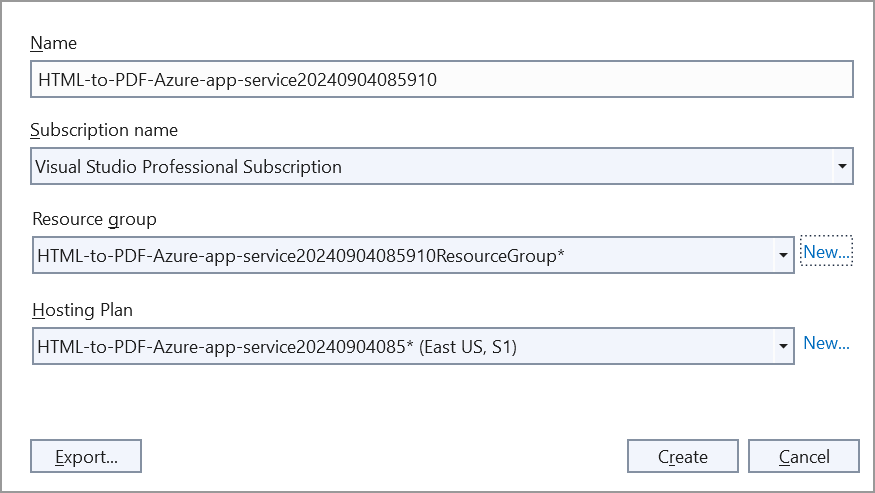
Step 6: Click Create to proceed with App Service creation.
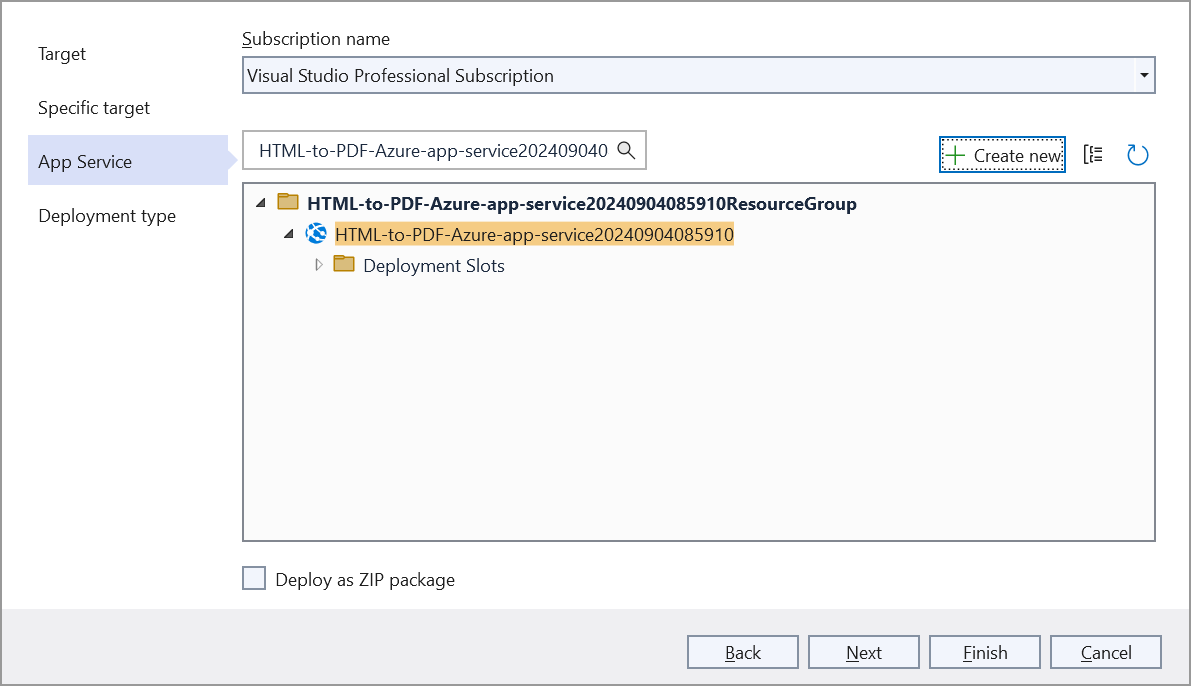
Step 7: Click Finish to finalize the App Service creation.
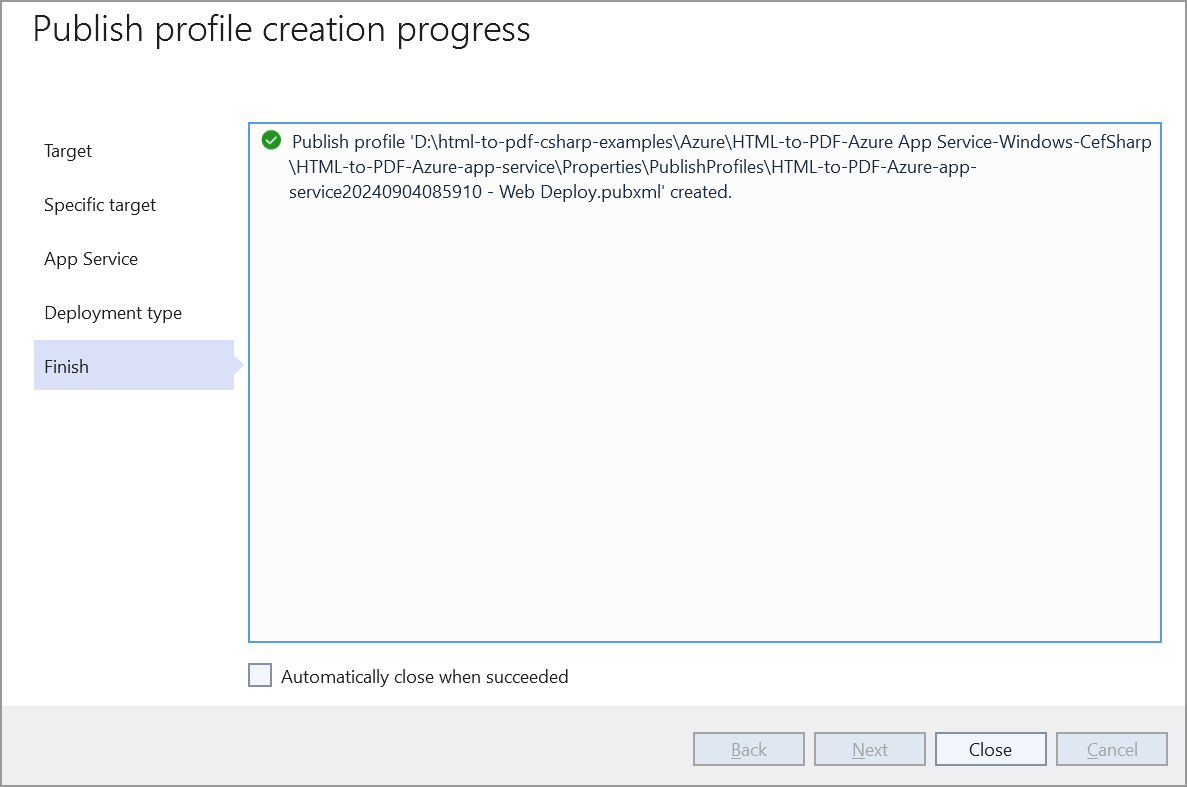
Step 8: Click Close.
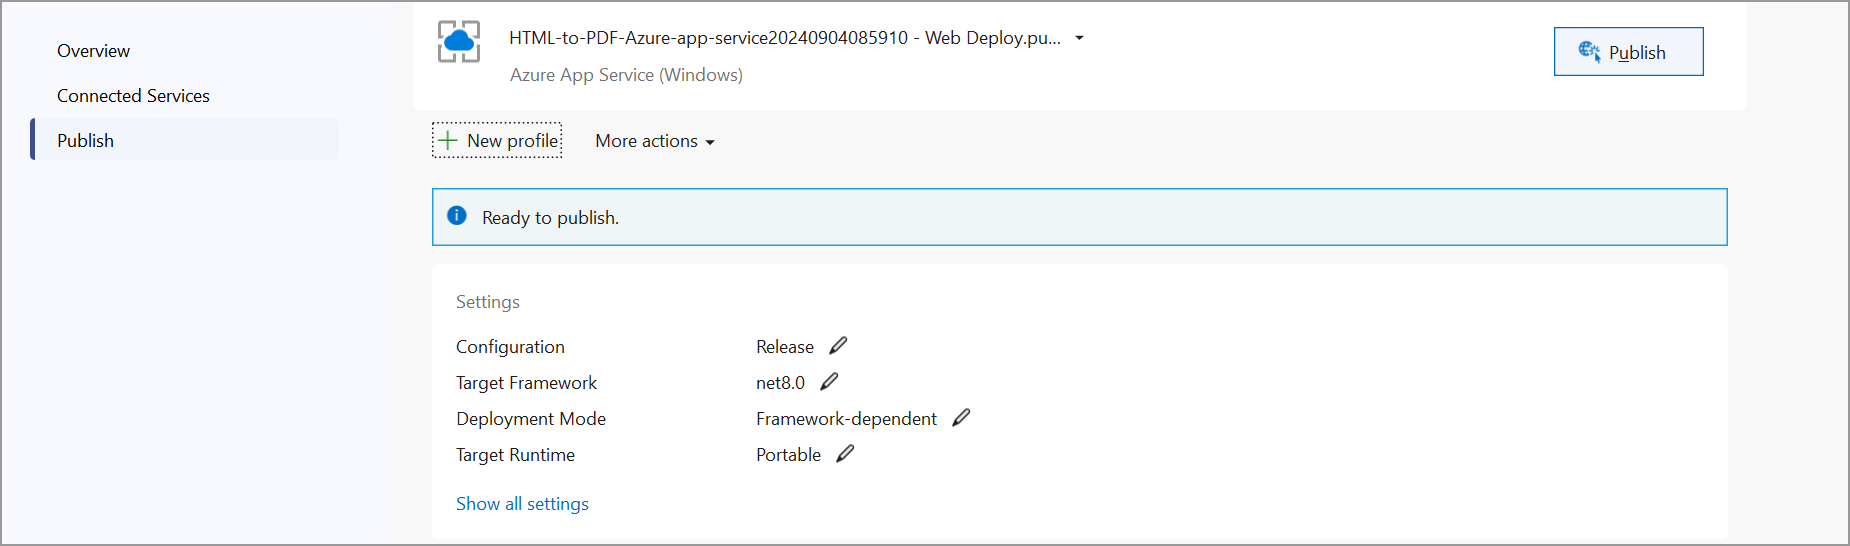
Step 9: Click Publish.
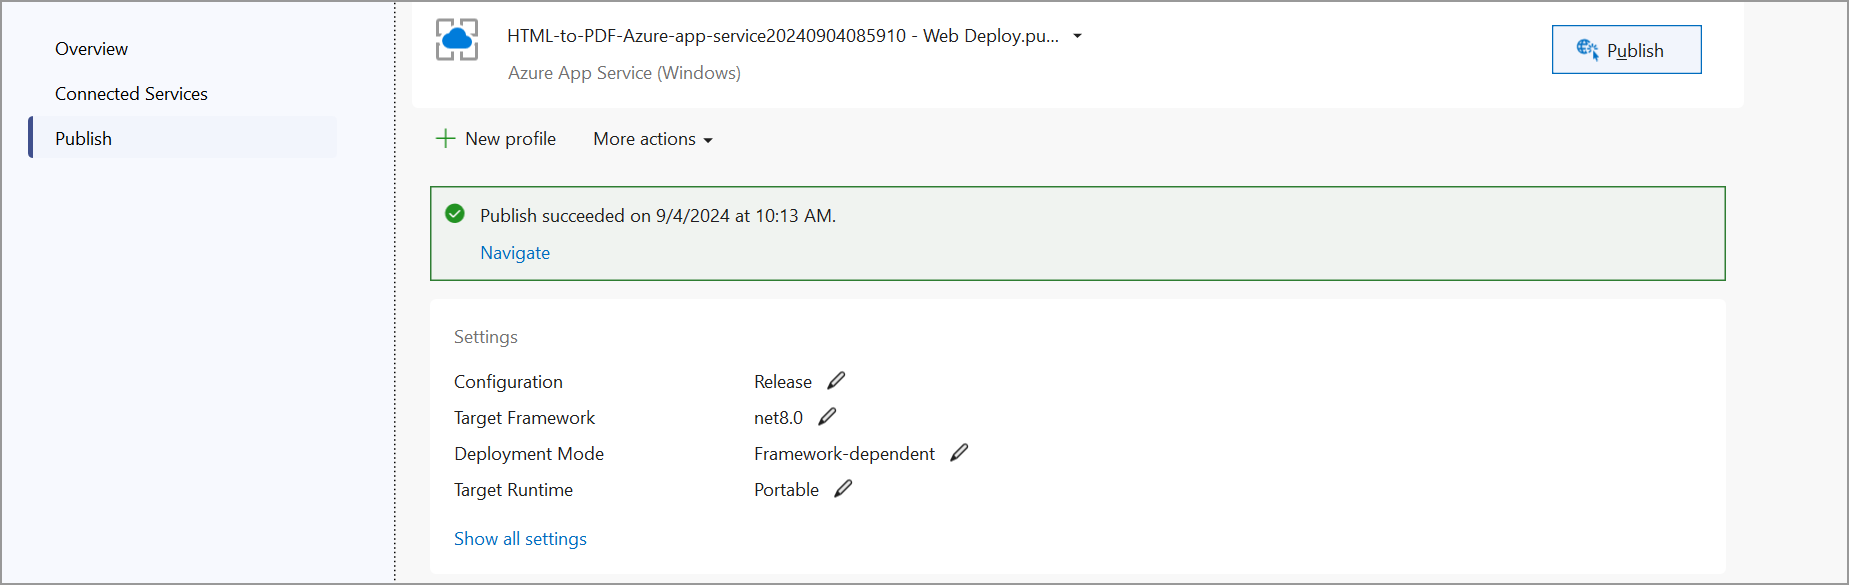
Step 10: Now, Publish has succeeded.
Step 11: Now, the published webpage will open in the browser.

Step 12: Select a PDF document and click Export to PDF to create a PDF document. You will get the output PDF document as follows.