How can I help you?
Formatting in ASP.NET MVC Spreadsheet
Spreadsheet supports many formatting options to make your data easier to view and understand. Use AllowCellFormatting property to enable / disable formatting option in Spreadsheet. The different types of formatting supported in Spreadsheet are,
1) Number Formatting
2) Text Formatting
3) Cell Formatting
Number Formatting
Number formatting is used to represent type for your data in Spreadsheet. The different types of number formatting supported in Spreadsheet are,
1) Number
2) Currency
3) Accounting
4) Percentage
5) Short Date
6) Long Date
7) Time
8) Scientific
9) Fraction
You can apply number format for a cell in following ways,
1) Initial Load
2) Method
3) User Interface
Initial Load
You can set number format for a cell by specifying Format property in cell data binding. The following code example describes the above behavior,
@(Html.EJ().Spreadsheet<object>("Spreadsheet")
.Sheets(sheet =>
{
sheet.Rows(rows =>
{
rows.Cells(cells =>
{
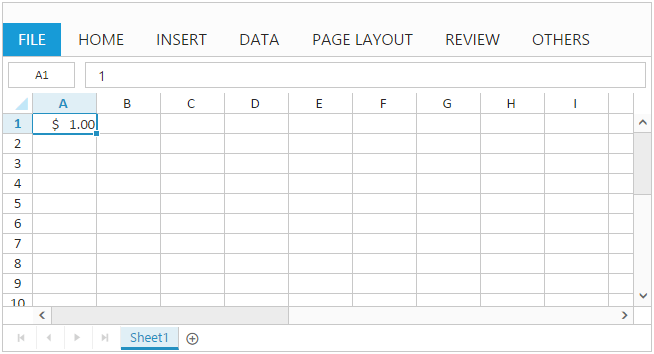
cells.Value("1").Format(format => {
format.Type("currency");
}).Add();
}).Add();
}).Add();
})
)The following output is displayed as a result of the above code example.

Method
You can set number format for a cell using format method. The following code example describes the above behavior,
@(Html.EJ().Spreadsheet<object>("Spreadsheet")
    .Sheets(sheet =>
    {
        sheet.Rows(rows =>
        {
            rows.Cells(cells =>
            {
                cells.Value("1").Add();
            }).Add();
        }).Add();
    })
    .ClientSideEvents(events => events.LoadComplete("loadComplete"))
)

<script>
    function loadComplete() {
        this.XLFormat.format({ type: "accounting" }, "A1"); // applying accounting type to cell A1
    }
</script>
The following output is displayed as a result of the above code example.
User Interface
You can set number format for a cell through number formatting options in ribbon HOME tab.
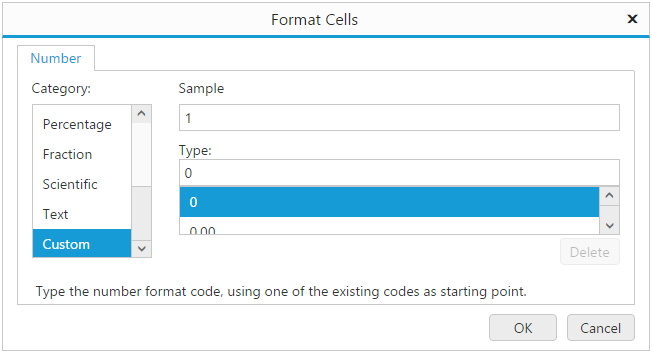
Custom Number Format
Spreadsheet supports many number format to display your data as currency, date, percentage and so on. If these pre-defined number formats do not meet your needs you can create and apply your own number formats using format cell dialog. The following screenshot illustrate this,
NOTE
Spreadsheet supports basic number format customization and it doesn’t have all functionality similar to excel
Text Formatting
To organize and easier to follow your financial, statistical or scientific data, you can apply text formats like font size, font color, text alignment etc. to a cell or range of cells.
Fonts
To distinguish your data from built-in font formats, you can apply different font formats like bold, italic, strike-through, color, font-family and size etc.
Text Alignment
To enhance the visual presentation of your data, you can align text in a cell vertically or horizontally. To align text vertically pick top, middle or bottom align and to align text horizontally pick left, center or right align.
Indents
To enhance the appearance of text in a cell, you can change the indentation of a cell content by increasing or decreasing text indent.
Applying Text Formatting
You can apply text format for a cell in following ways,
1) Initial Load
2) Method
3) User Interface
Initial Load
You can apply text format for a cell by specifying Style property in cell data binding. The following code example describes the above behavior,
@(Html.EJ().Spreadsheet<object>("Spreadsheet")
.Sheets(sheet =>
{
sheet.Rows(rows =>
{
rows.Cells(cells =>
{
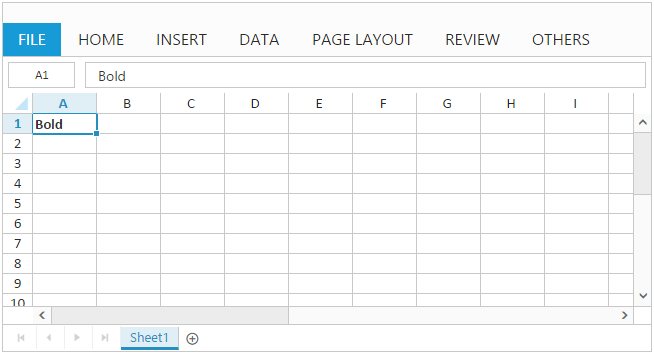
cells.Value("Bold").Style(style =>
{
style.FontWeight("bold");
}).Add();
}).Add();
}).Add();
})
)The following output is displayed as a result of the above code example.
Method
You can apply text format for a cell or range of cells using format method. The following code example describes the above behavior,
@(Html.EJ().Spreadsheet<object>("Spreadsheet")
.Sheets(sheet =>
{
sheet.Rows(rows =>
{
rows.Cells(cells =>
{
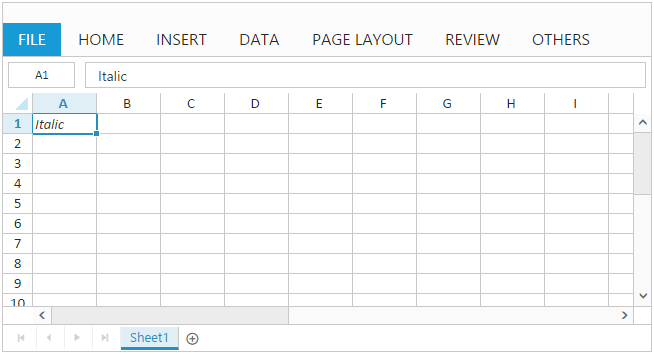
cells.Value("Italic").Add();
}).Add();
}).Add();
})
.ClientSideEvents(events => events.LoadComplete("loadComplete"))
)
<script>
function loadComplete() {
this.XLFormat.format({ style: { "font-style": "italic" } }, "A1");
}
</script>The following output is displayed as a result of the above code example.
User Interface
You can apply text format for a cell through text formatting options in ribbon HOME tab.
Wrap Text
To make text appearance on multiple lines in a cell, you can apply wrap text to the cell. So, that the text wraps automatically or you can enter a manual line break using ALT + ENTER key in edit mode. Use AllowWrap API to enable/disable wrap text. You can apply wrap text for a cell in following ways,
1) Method
2) User Interface
Method
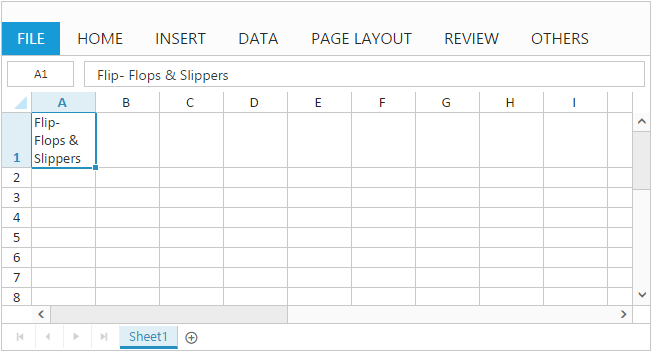
You can wrap, text in a cell using wrapText method and it can be unwrap using unWrapText method. The following code example describes the wrapText behavior,
@(Html.EJ().Spreadsheet<object>("Spreadsheet")
    .Sheets(sheet =>
    {
        sheet.Rows(rows =>
        {
            rows.Cells(cells =>
            {
                cells.Value("Flip-Flops & Slippers").Add();
            }).Add();
        }).Add();
    })
    .ClientSideEvents(events => events.LoadComplete("loadComplete"))
)

<script>
    function loadComplete() {
        this.wrapText("A1");
        //this.unWrapText("A1");
    }
</script>
The following output is displayed as a result of the above code example.
User Interface
You can wrap or unwrap text in a cell using Wrap text option in ribbon HOME tab.
Cell Formatting
To highlight particular cell or section of cells from whole workbook you can use cell formatting options like borders, fill color etc.
Borders
You can add border around a cell or range of cells to define a section of worksheet or table. The different types of borders supported in Spreadsheet are,
1) Bottom Border
2) Top Border
3) Left Border
4) Right Border
5) All Borders
6) Outside Borders
7) Thick Box Border
8) Bottom Double Border
9) Thick Bottom Border
10) Top and Bottom Border
11) Top and Thick Bottom Border
12) Top and Bottom Double Border
You can apply border for a cell or range of cells through following ways,
1) Use format method to apply border via code
2) Apply border for a cell or range of cells using border options in ribbon HOME tab
3) Use Draw Border options in ribbon HOME tab
Fill color
To highlight cell or range of cells from whole workbook you can apply background color for a cell using fill color option in Spreadsheet.
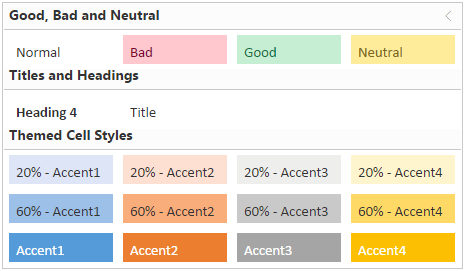
Cell Styles
Cell styles is a collection of pre-defined styles with multiple formatting characteristics to apply several formats in one step. You can apply cell style for a cell using Cell Styles option in ribbon HOME tab. The following screenshot illustrate this,
Format painter
The format painter lets you copy all of the formatting from a cell or range of cells and apply the same formatting to another cell or range of cells including font size, color, style etc.
Clear
Clear option is used to clear cell contents, formats or any attached comments from a cell or range of cells in worksheet. Use AllowClear API to enable/disable clear option in Spreadsheet.You have following clear options in Spreadsheet,
1) Clear All
2) Clear Formats
3) Clear Contents
4) Clear Comments
5) Clear Hyperlinks
Clear All
To clear content, format, comment, hyperlink etc. from a cell or range of cells, use Clear All option in Spreadsheet. Use clearAll method to clear cells via code.
Clear Formats
To clear formats in a cell or range of cells use Clear Formats option in Spreadsheet. Use clearAllFormat method to clear formats via code.
Clear Contents
To clear contents in a cell or range of cells use Clear Contents option in Spreadsheet. Use clearContents method to clear contents via code.
Clear Comments
To clear comment in a cell or range of cells use Clear Comments option in Spreadsheet. Use clearComments method to clear comments via code.
Clear Hyperlinks
To clear hyperlink in a cell or range of cells use Clear Hyperlinks option in Spreadsheet. Use clearHyperlinks method to clear hyperlinks via code.