Timeline View in UWP Scheduler (SfSchedule)
10 May 202124 minutes to read
TimeLine view is used to displays complete TimeLine in selected day, the default visible day of Schedule will be current day. Appointments are added in particular timeslot based on its timeline.
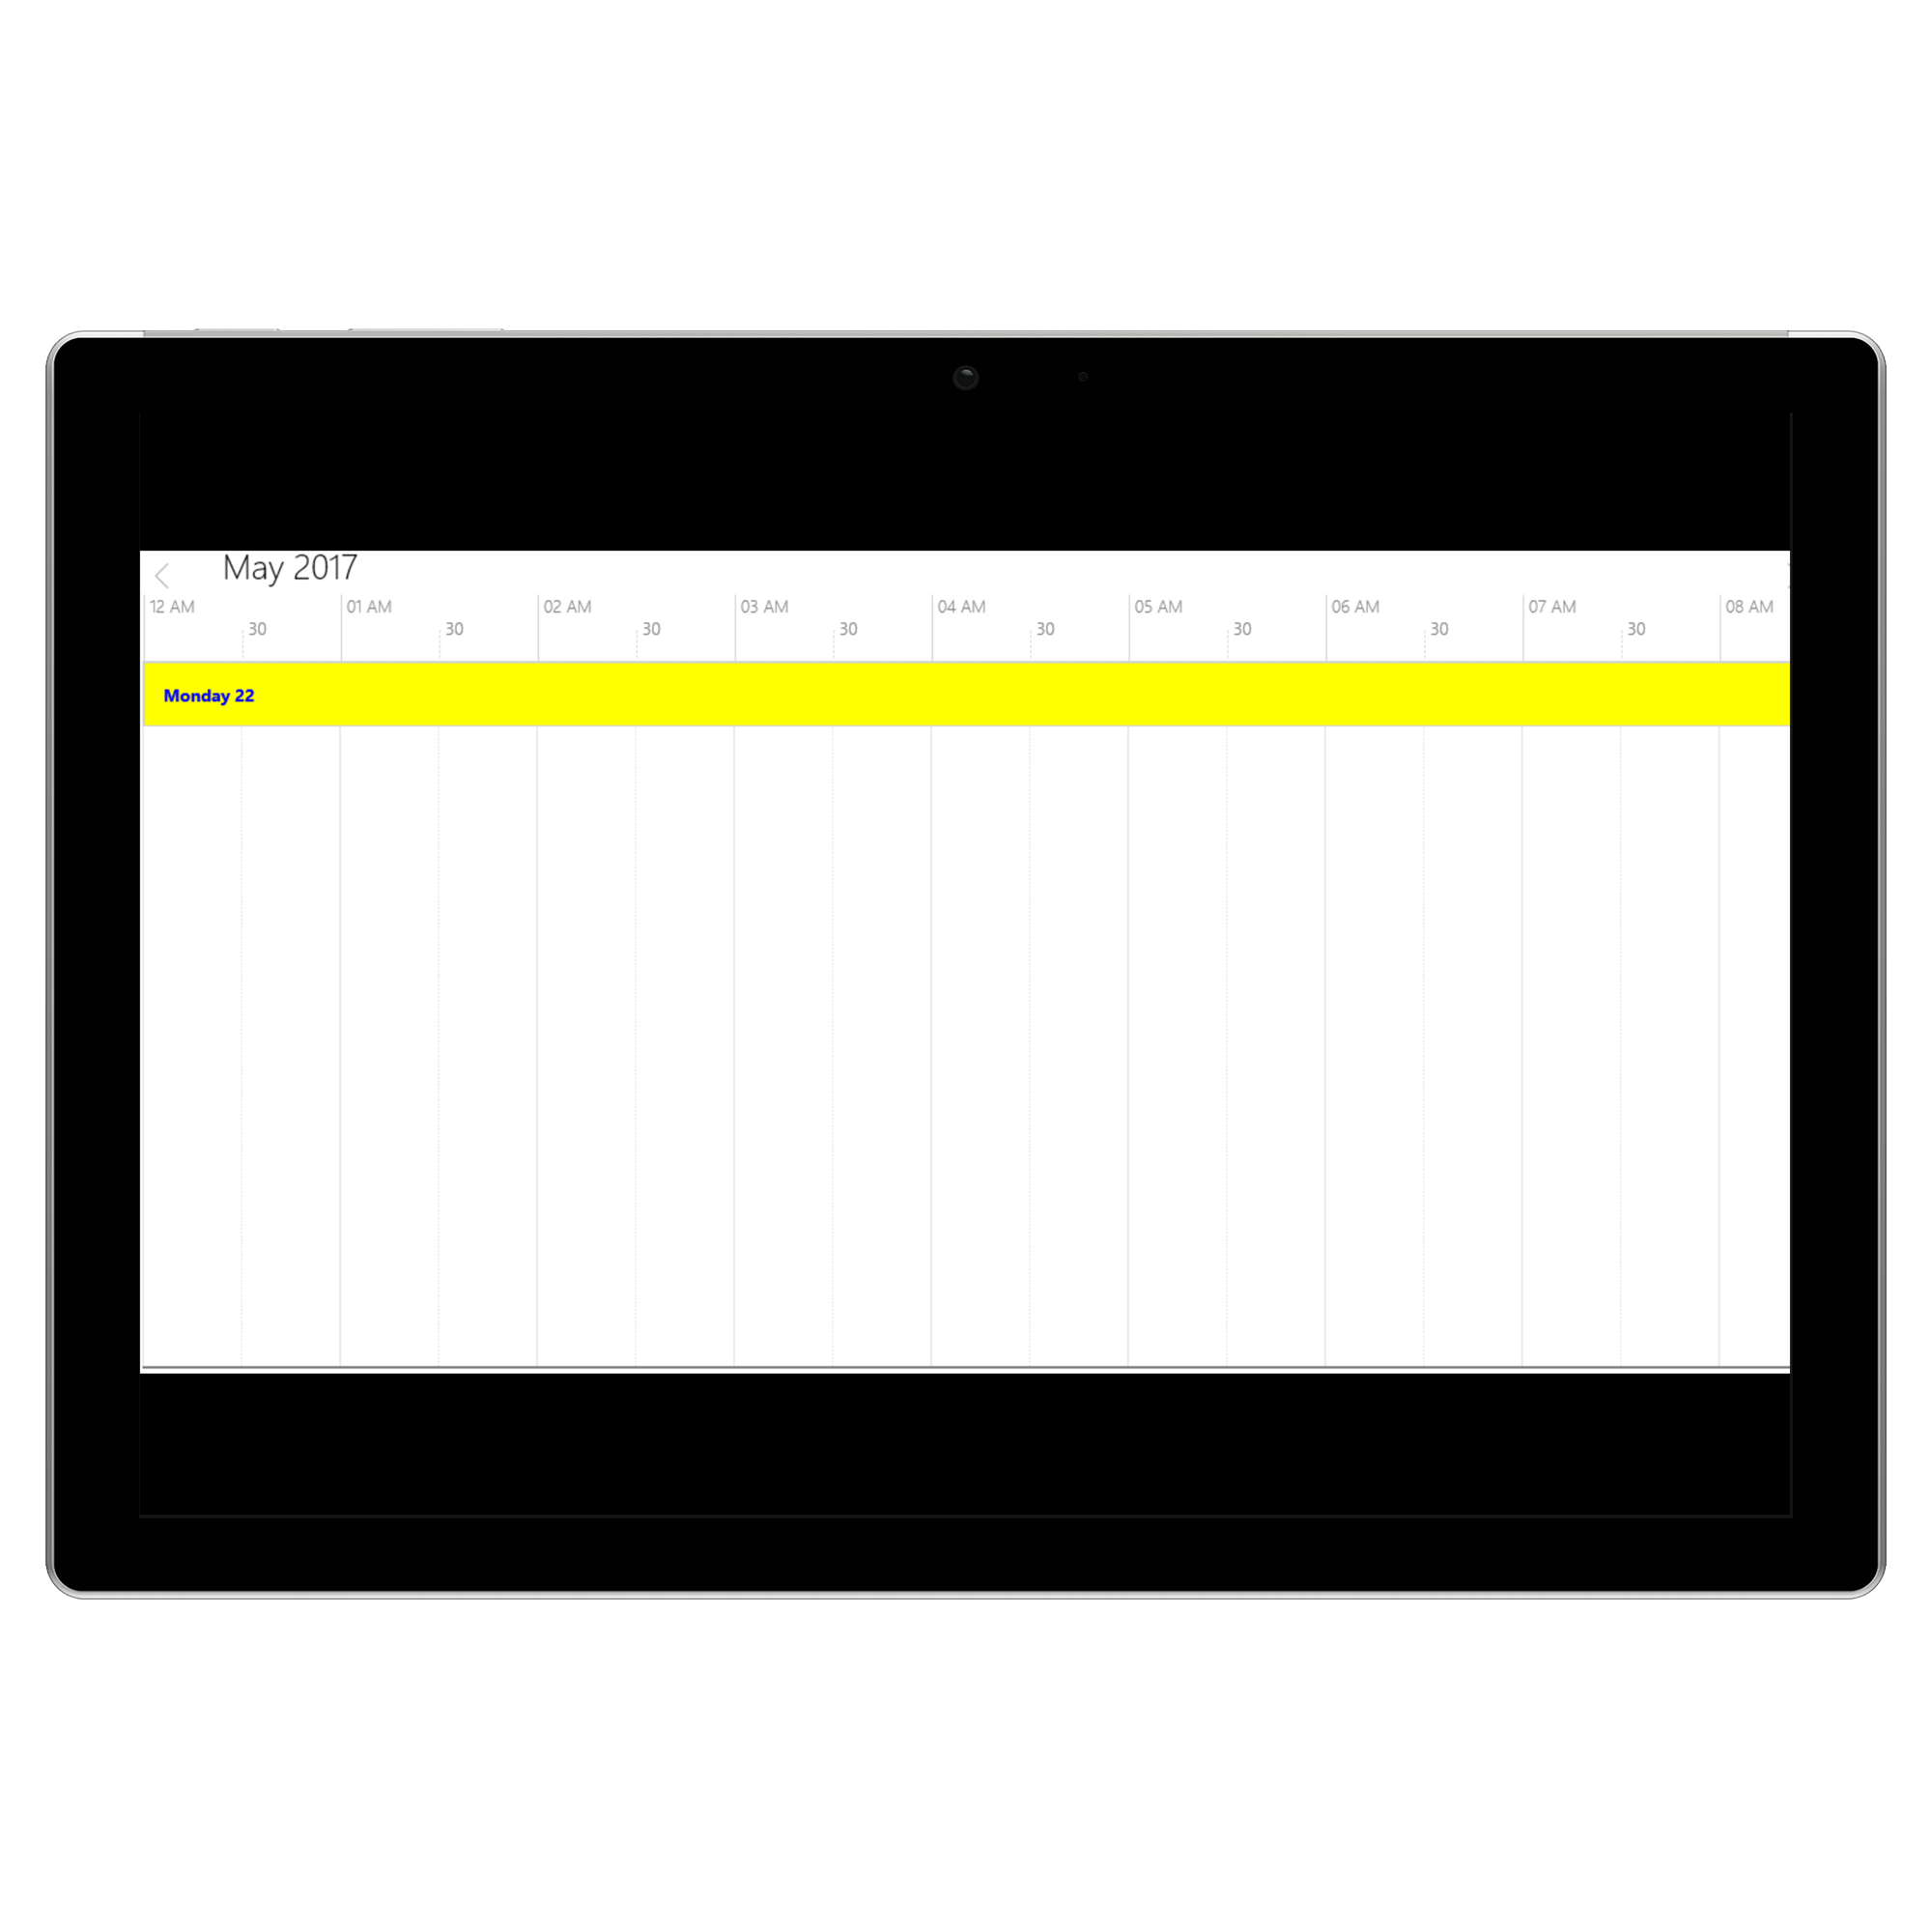
View Header Appearance
You can customize the default appearance of schedule timeline view header using TimeLineViewHeaderStyle property of SfSchedule.
<schedule:SfSchedule x:Name="schedule" ScheduleType="TimeLine">
            <schedule:SfSchedule.TimeLineViewHeaderStyle>
                <schedule:ScheduleTimeLineViewHeaderStyle
                    TimeLineViewCurrentDateBackground="Yellow"
                    TimeLineViewCurrentDateForeground="Blue"
                    TimeLineViewHeaderBackground="LightGray"
                    TimeLineViewHeaderFontFamily="Calibri "
                    TimeLineViewHeaderFontWeight="Bold"
                    TimeLineViewHeaderHeight="50"
                    TimeLineViewHeaderTextColor="Black"
                    TimeLineViewHeaderTextFontStyle="Normal"
                    TimeLineViewHeaderTextHorizontalAlignment="Stretch"
                    TimeLineViewHeaderTextSize="14"
                    TimeLineViewHeaderTextVerticalAlignment="Center" />
            </schedule:SfSchedule.TimeLineViewHeaderStyle>
</schedule:SfSchedule>schedule.ScheduleType = ScheduleType.TimeLine;
schedule.TimeLineViewHeaderStyle = new ScheduleTimeLineViewHeaderStyle()
{
TimeLineViewCurrentDateBackground = new SolidColorBrush(Colors.Yellow),
TimeLineViewCurrentDateForeground = new SolidColorBrush(Colors.Blue),
TimeLineViewHeaderBackground = new SolidColorBrush(Colors.LightGray),
TimeLineViewHeaderFontFamily = new FontFamily("Calibri"),
TimeLineViewHeaderFontWeight = FontWeights.Bold,
TimeLineViewHeaderHeight = 50,
TimeLineViewHeaderTextColor = new SolidColorBrush(Colors.Black),
TimeLineViewHeaderTextFontStyle = FontStyle.Normal,
TimeLineViewHeaderTextHorizontalAlignment = HorizontalAlignment.Center,
TimeLineViewHeaderTextSize = 14,
TimeLineViewHeaderTextVerticalAlignment = VerticalAlignment.Center
};
Change Time Interval
You can customize the time intervals of timeslots in timeline by using TimeInterval property of SfSchedule.
<schedule:SfSchedule
            x:Name="schedule"
            TimeInterval="FifteenMin"
ScheduleType="TimeLine" />schedule.ScheduleType = ScheduleType.TimeLine;
schedule.TimeInterval= TimeInterval.FifteenMin;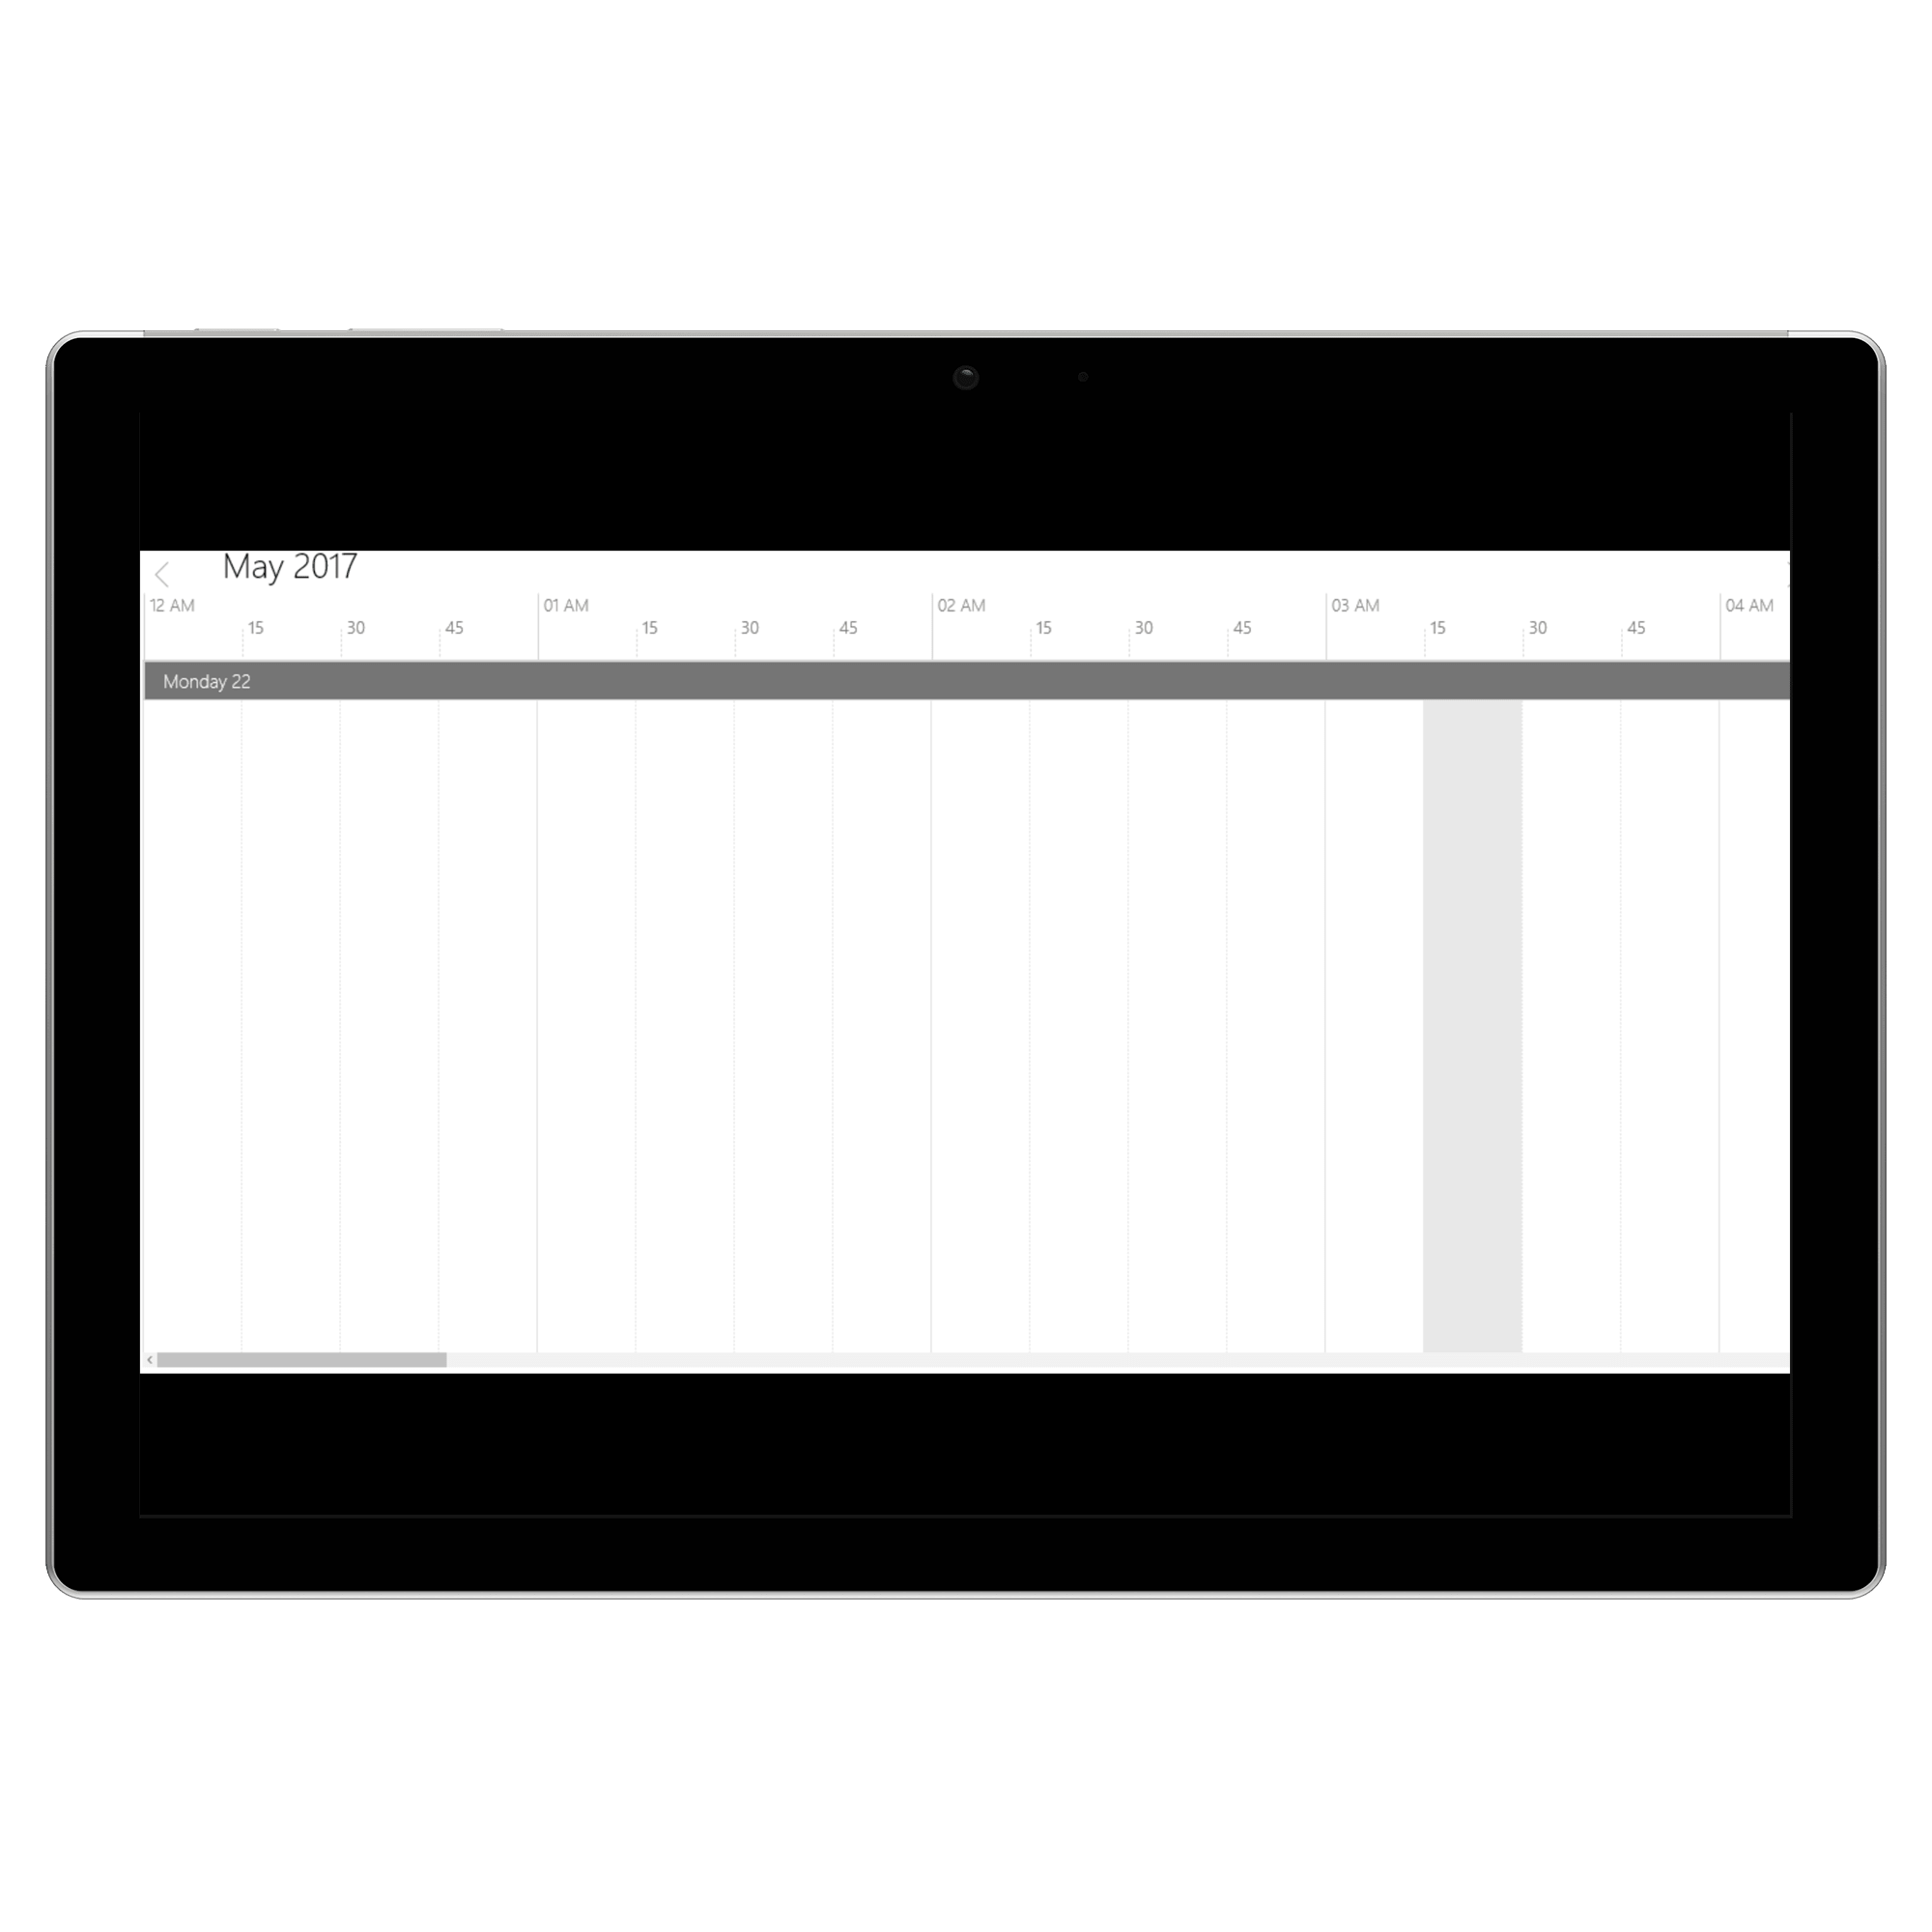
You can also set the custom time interval for timeslots by using CustomTimeInterval property of SfSchedule by making TimeInterval as Custom.
<schedule:SfSchedule
            x:Name="schedule"
            TimeInterval="Custom"
            CustomTimeInterval="120"
ScheduleType="TimeLine" />schedule.TimeInterval= TimeInterval.Custom;
schedule.CustomTimeInterval = 120;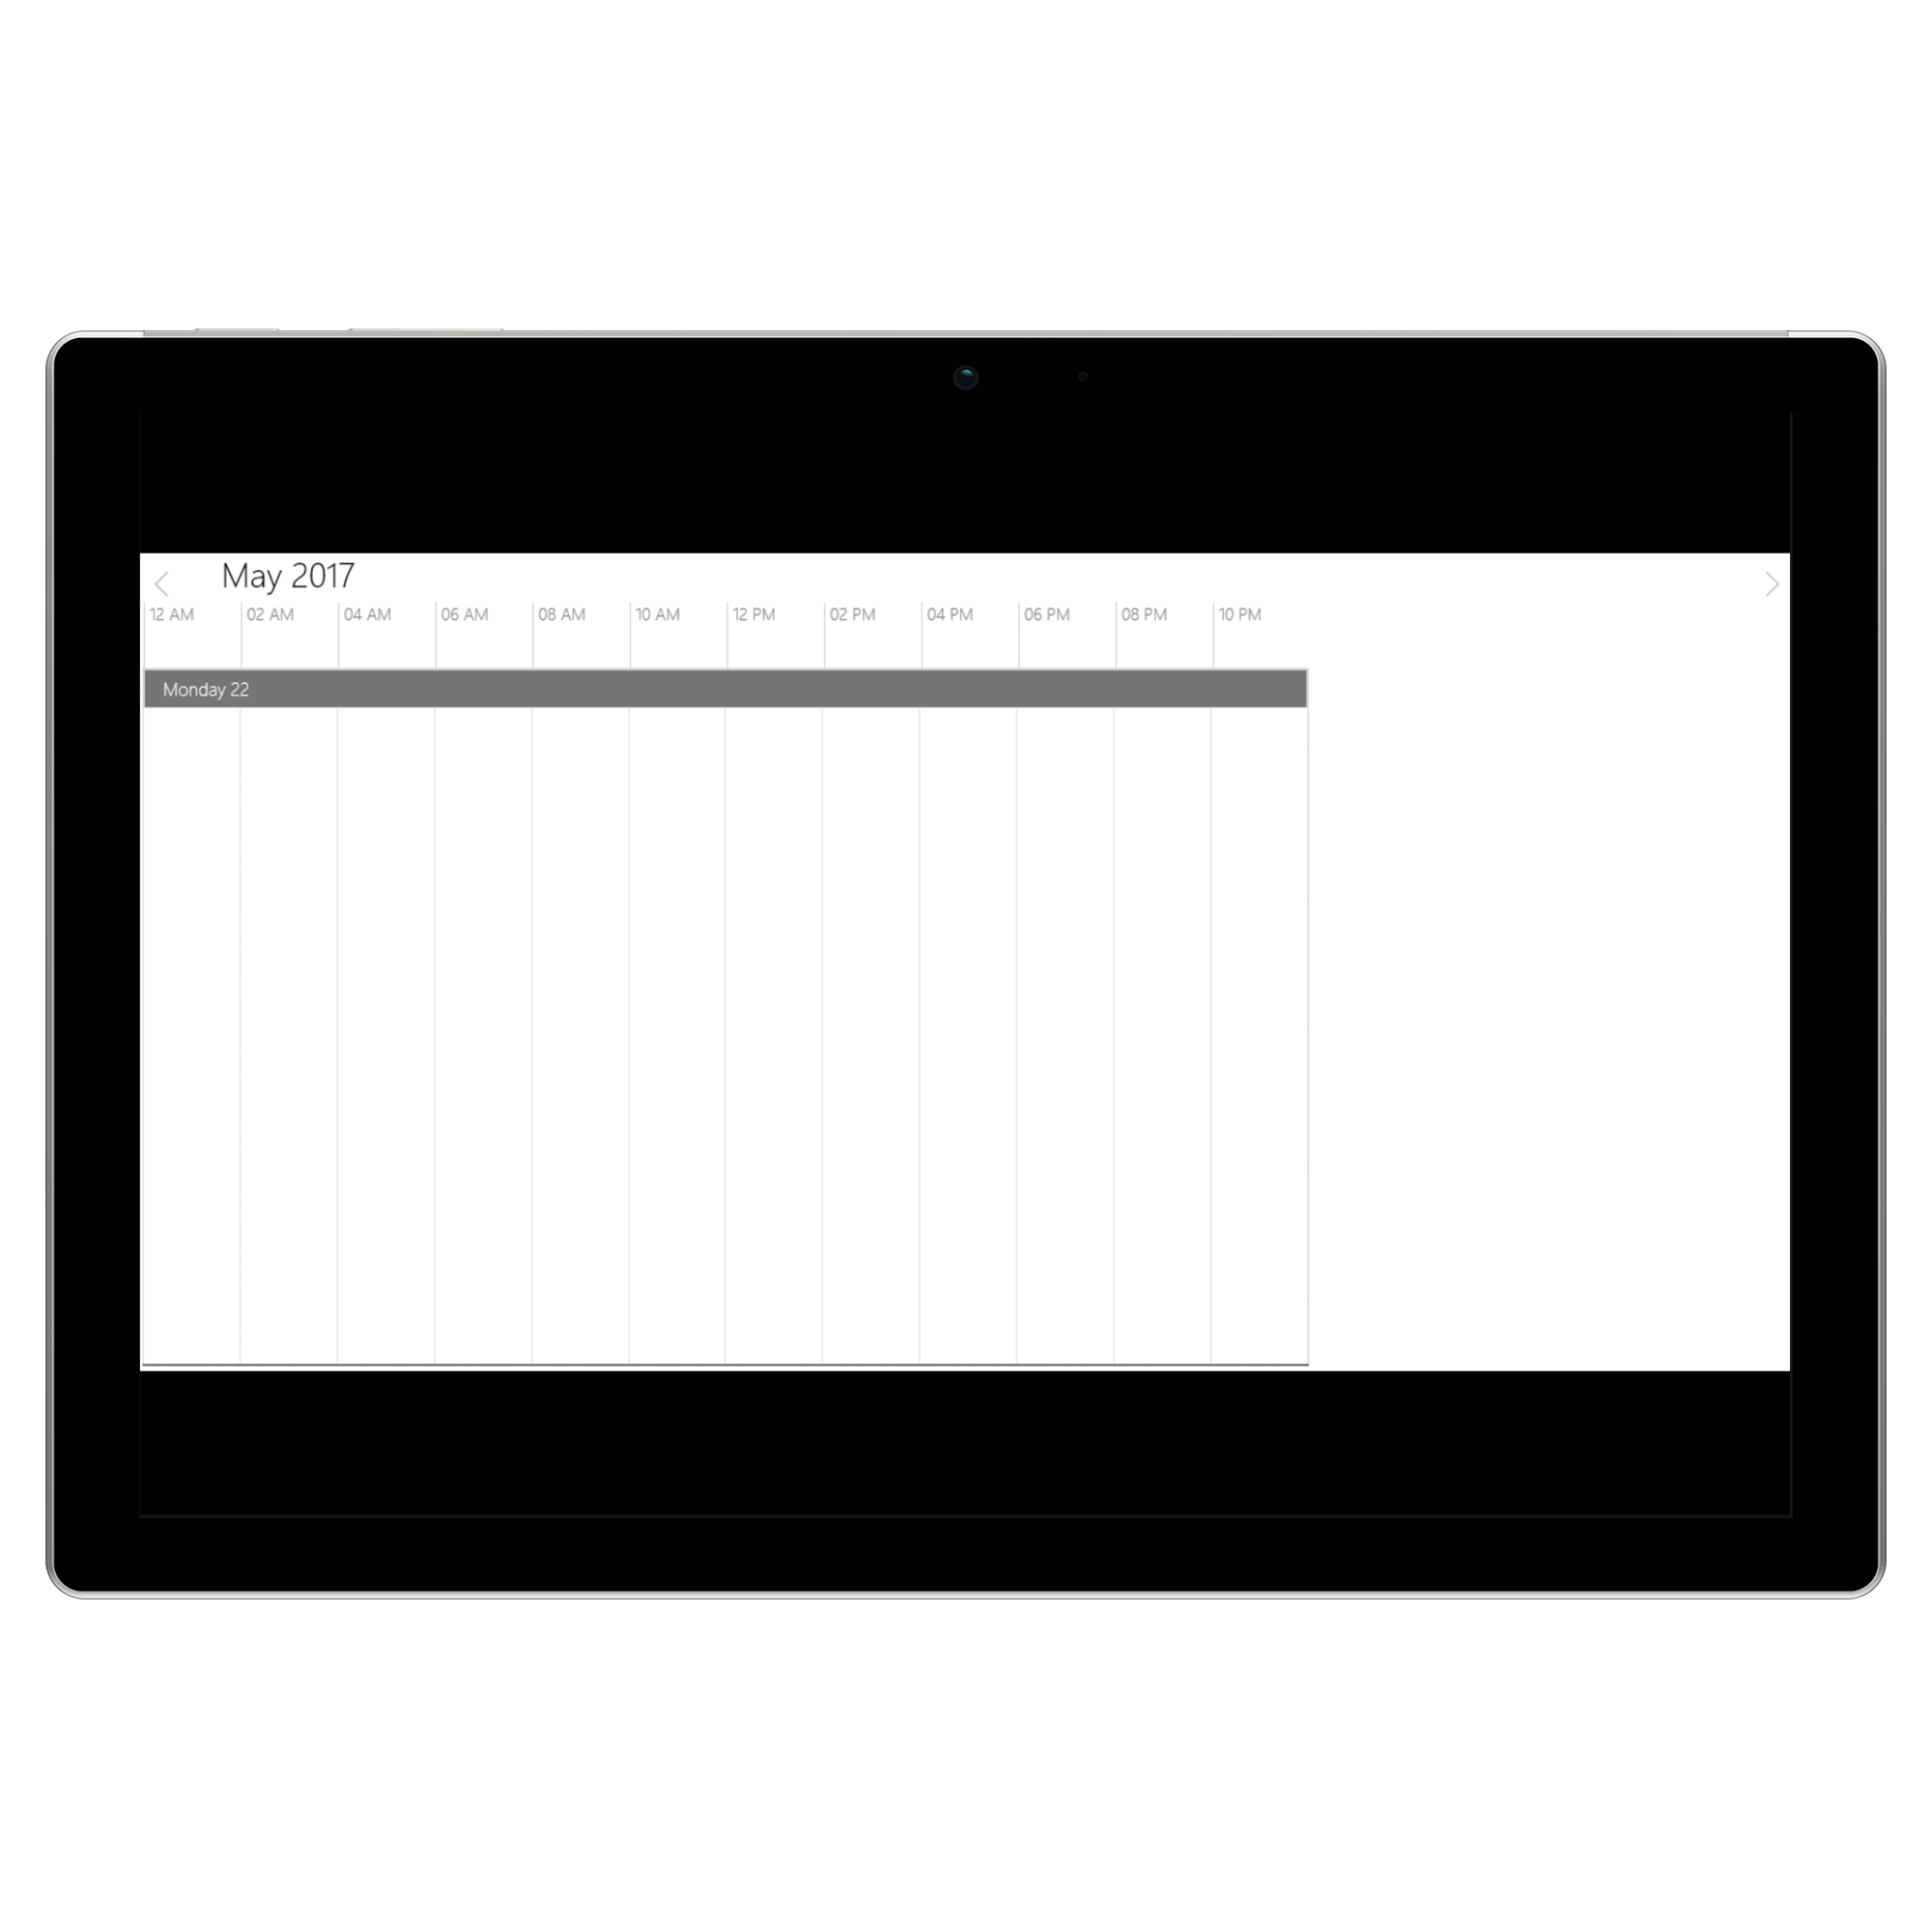
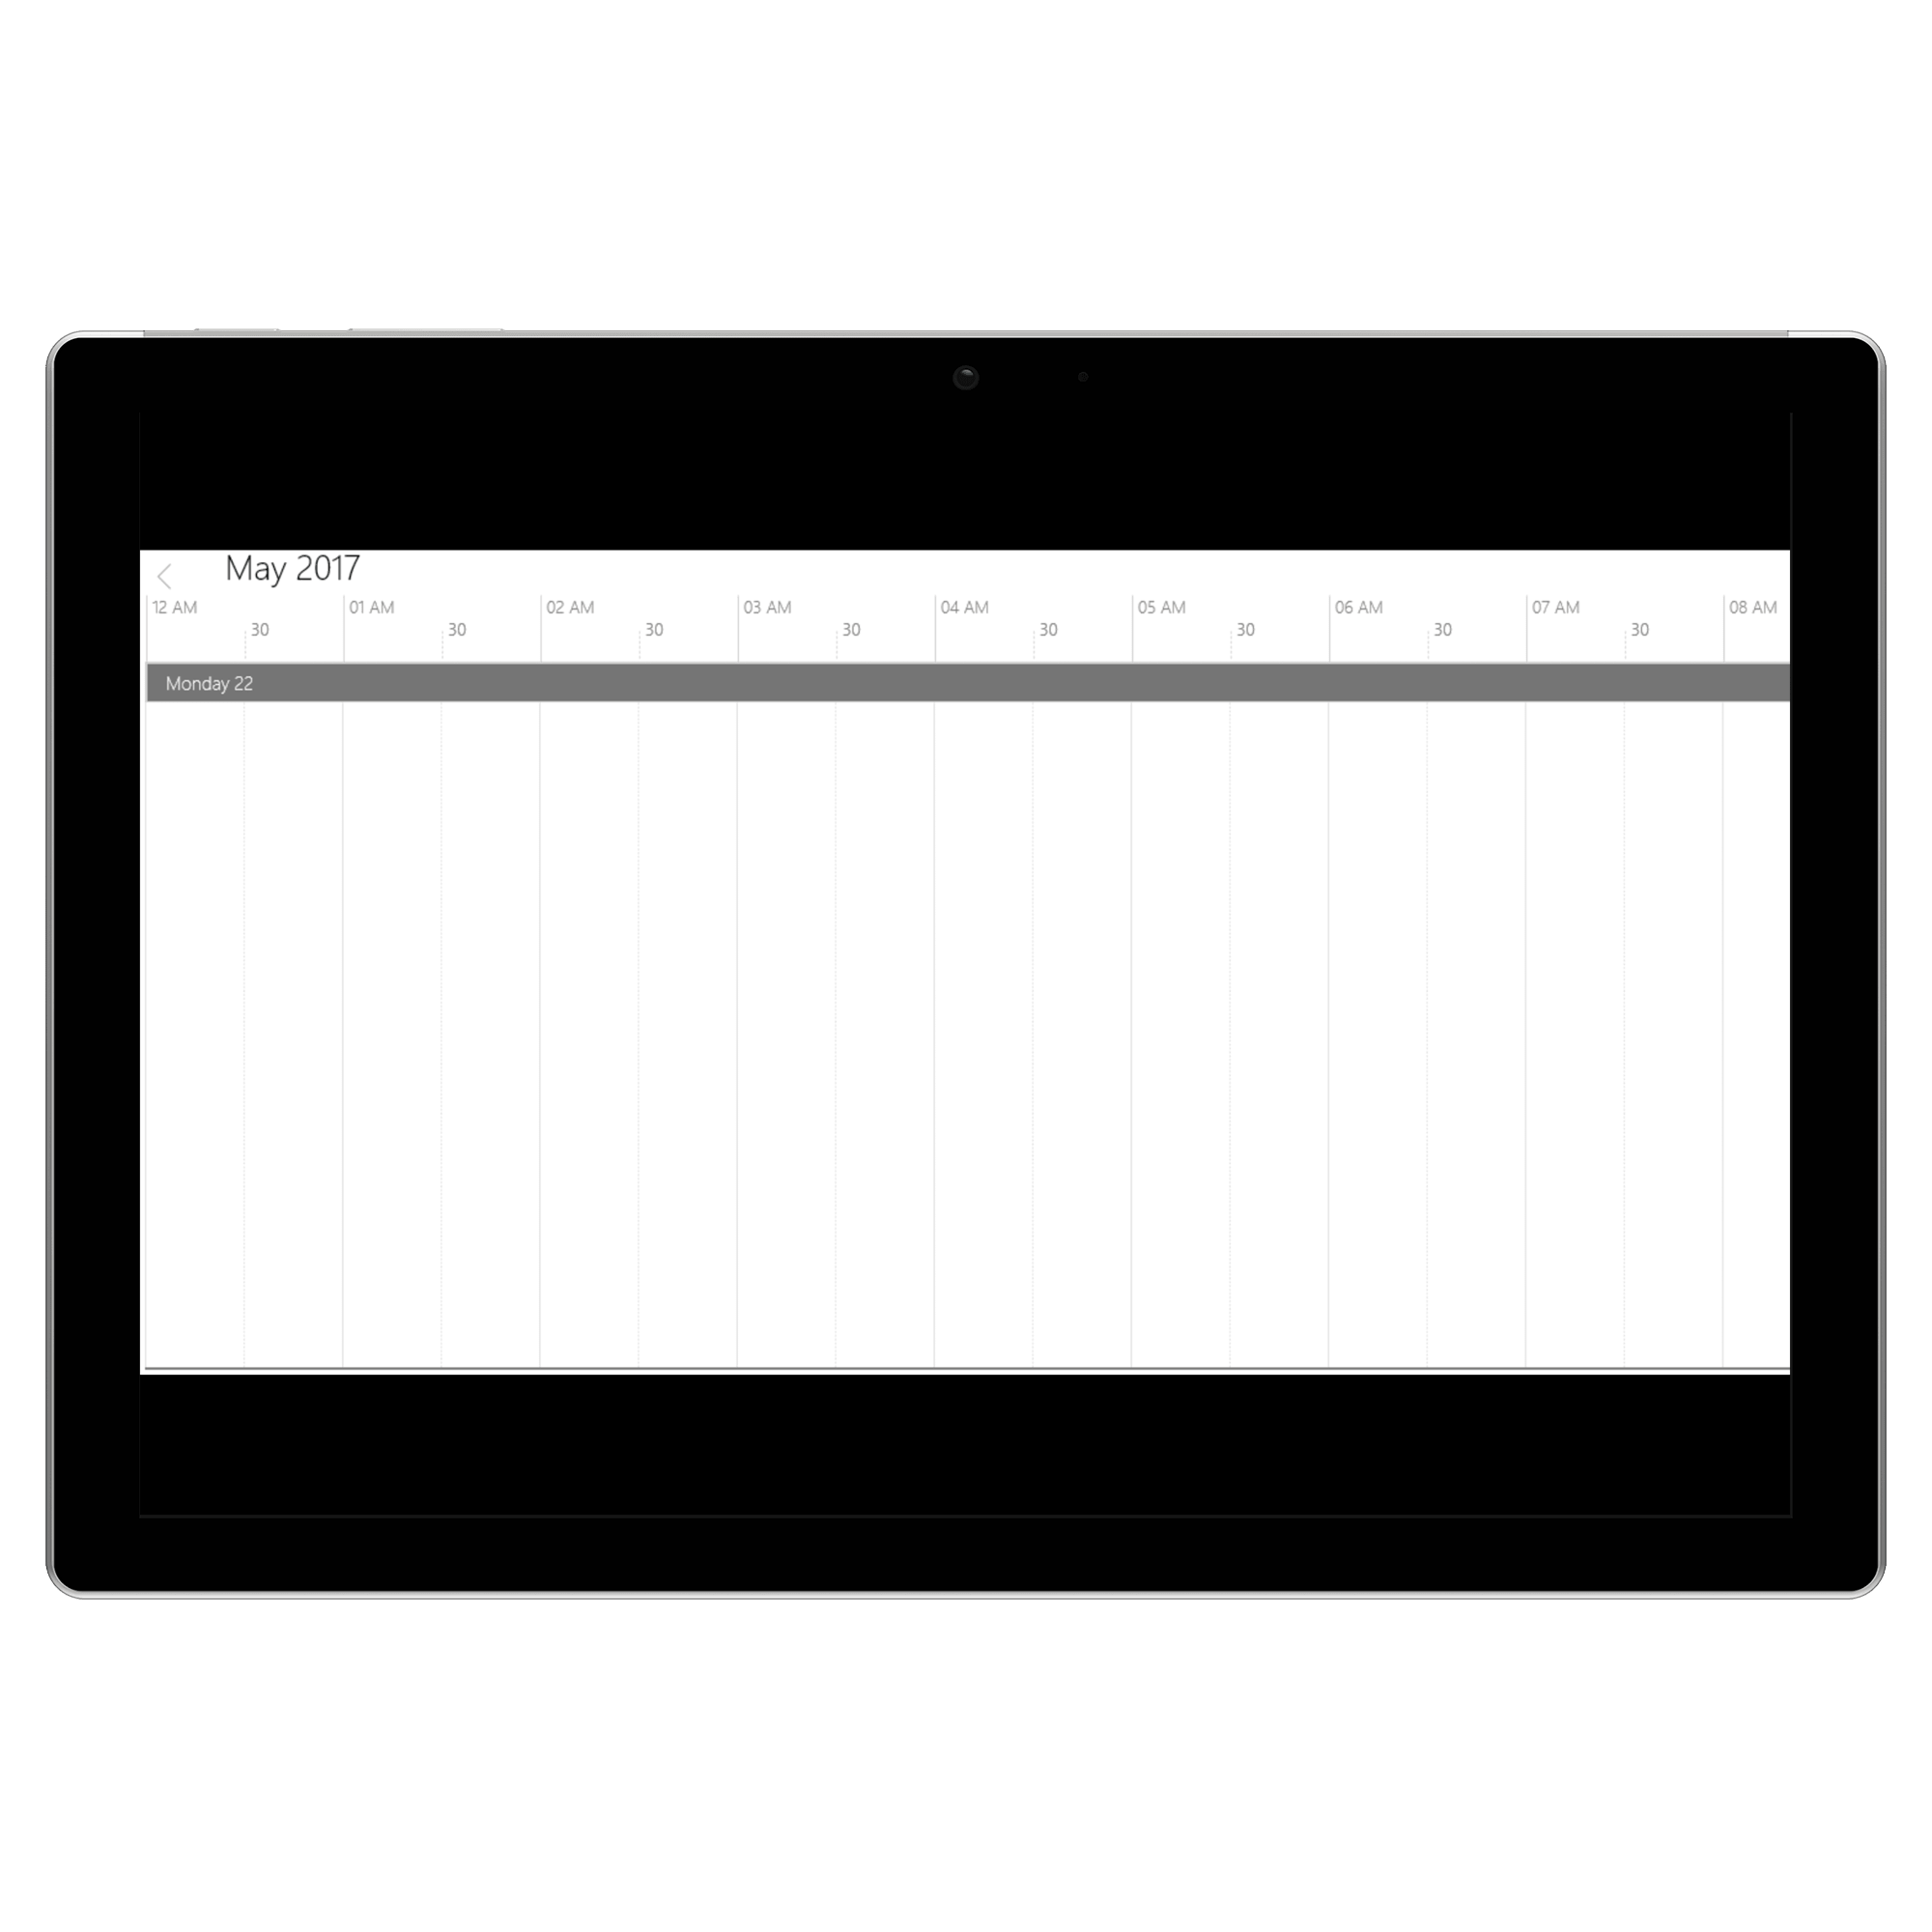
Change Working Hours
Working hours in TimeLine of Schedule control will be differentiated with non-working hours by separate color. By default working hours will be between 09 to 18. You can customize the working hours by setting WorkStartHour and WorkEndHour properties of SfSchedule.
Non-working hours can be disabled by setting ShowNonWorkingHours to false and non-working hours color can be changed by using NonWorkingHourBrush property of SfSchedule.
<schedule:SfSchedule
            x:Name="schedule"
            IsHighLightWorkingHours="True"
            NonWorkingHourBrush="Blue"
            ScheduleType="TimeLine"
            ShowNonWorkingHours="True"
            WorkEndHour="20"
WorkStartHour="8" />schedule.WorkStartHour = 8;
schedule.WorkEndHour = 20;
schedule.IsHighLightWorkingHours = true;
schedule.NonWorkingHourBrush = new SolidColorBrush(Colors.Blue);
schedule.ShowNonWorkingHours = true;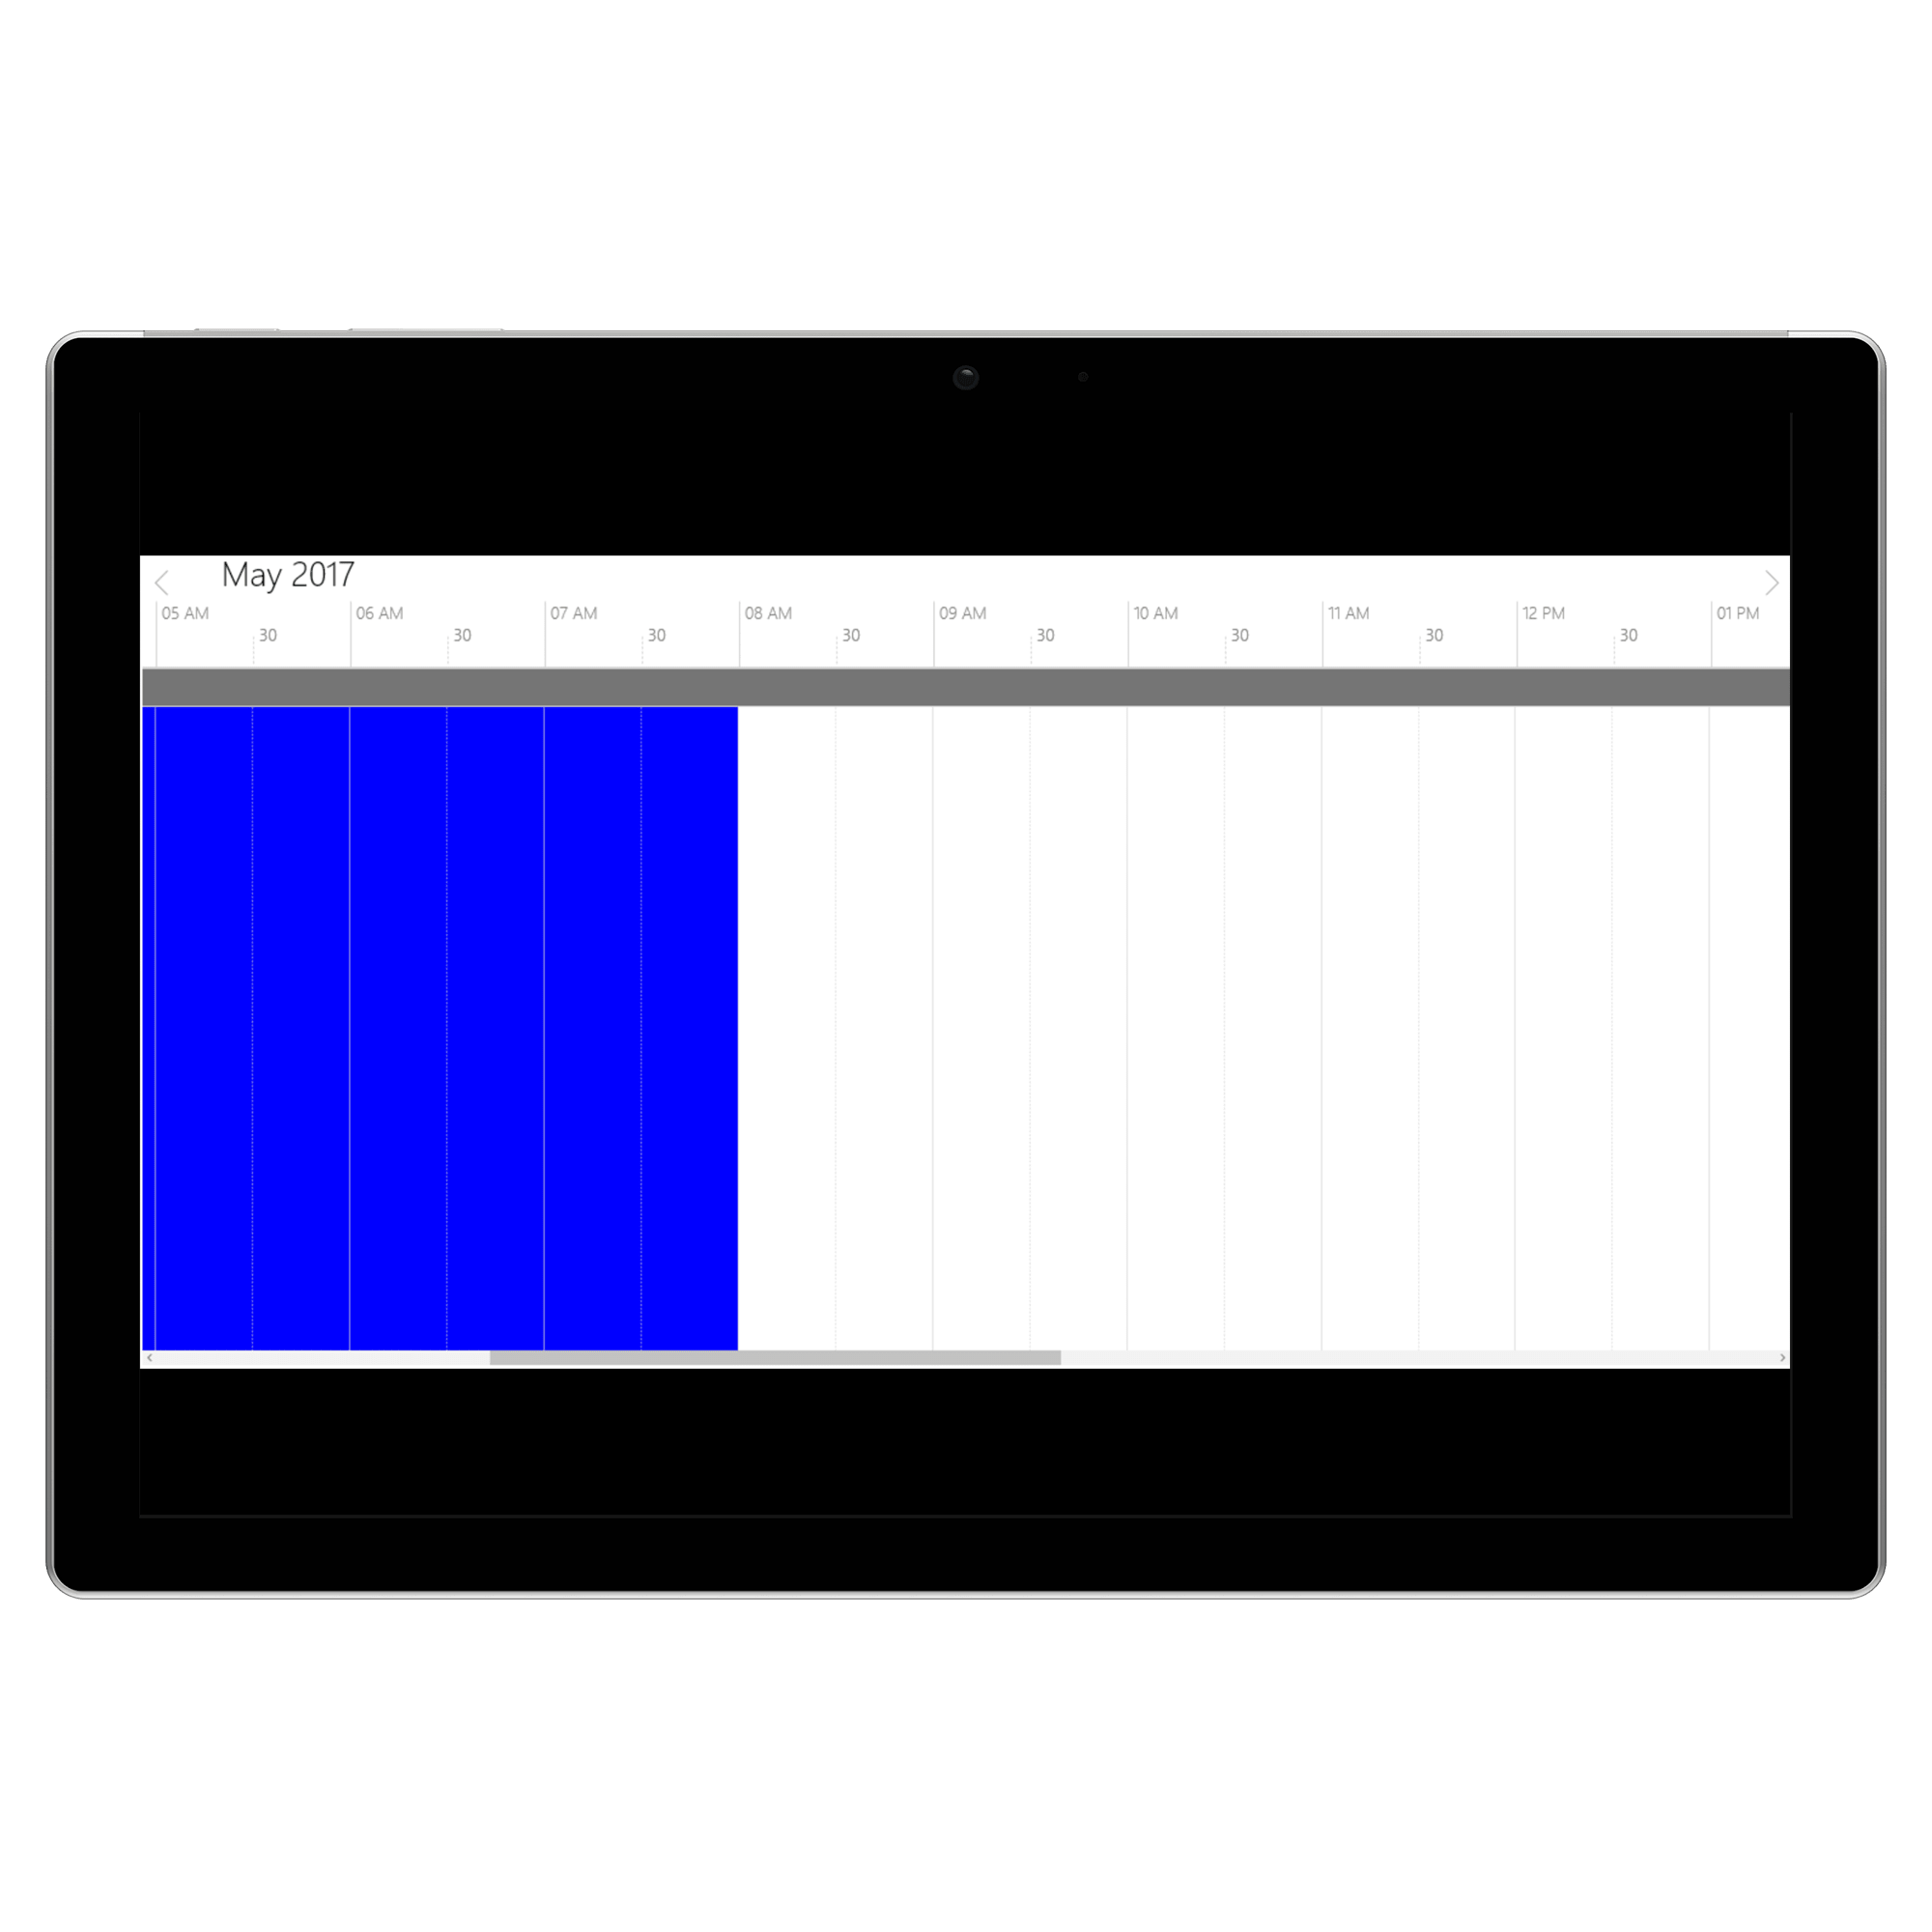
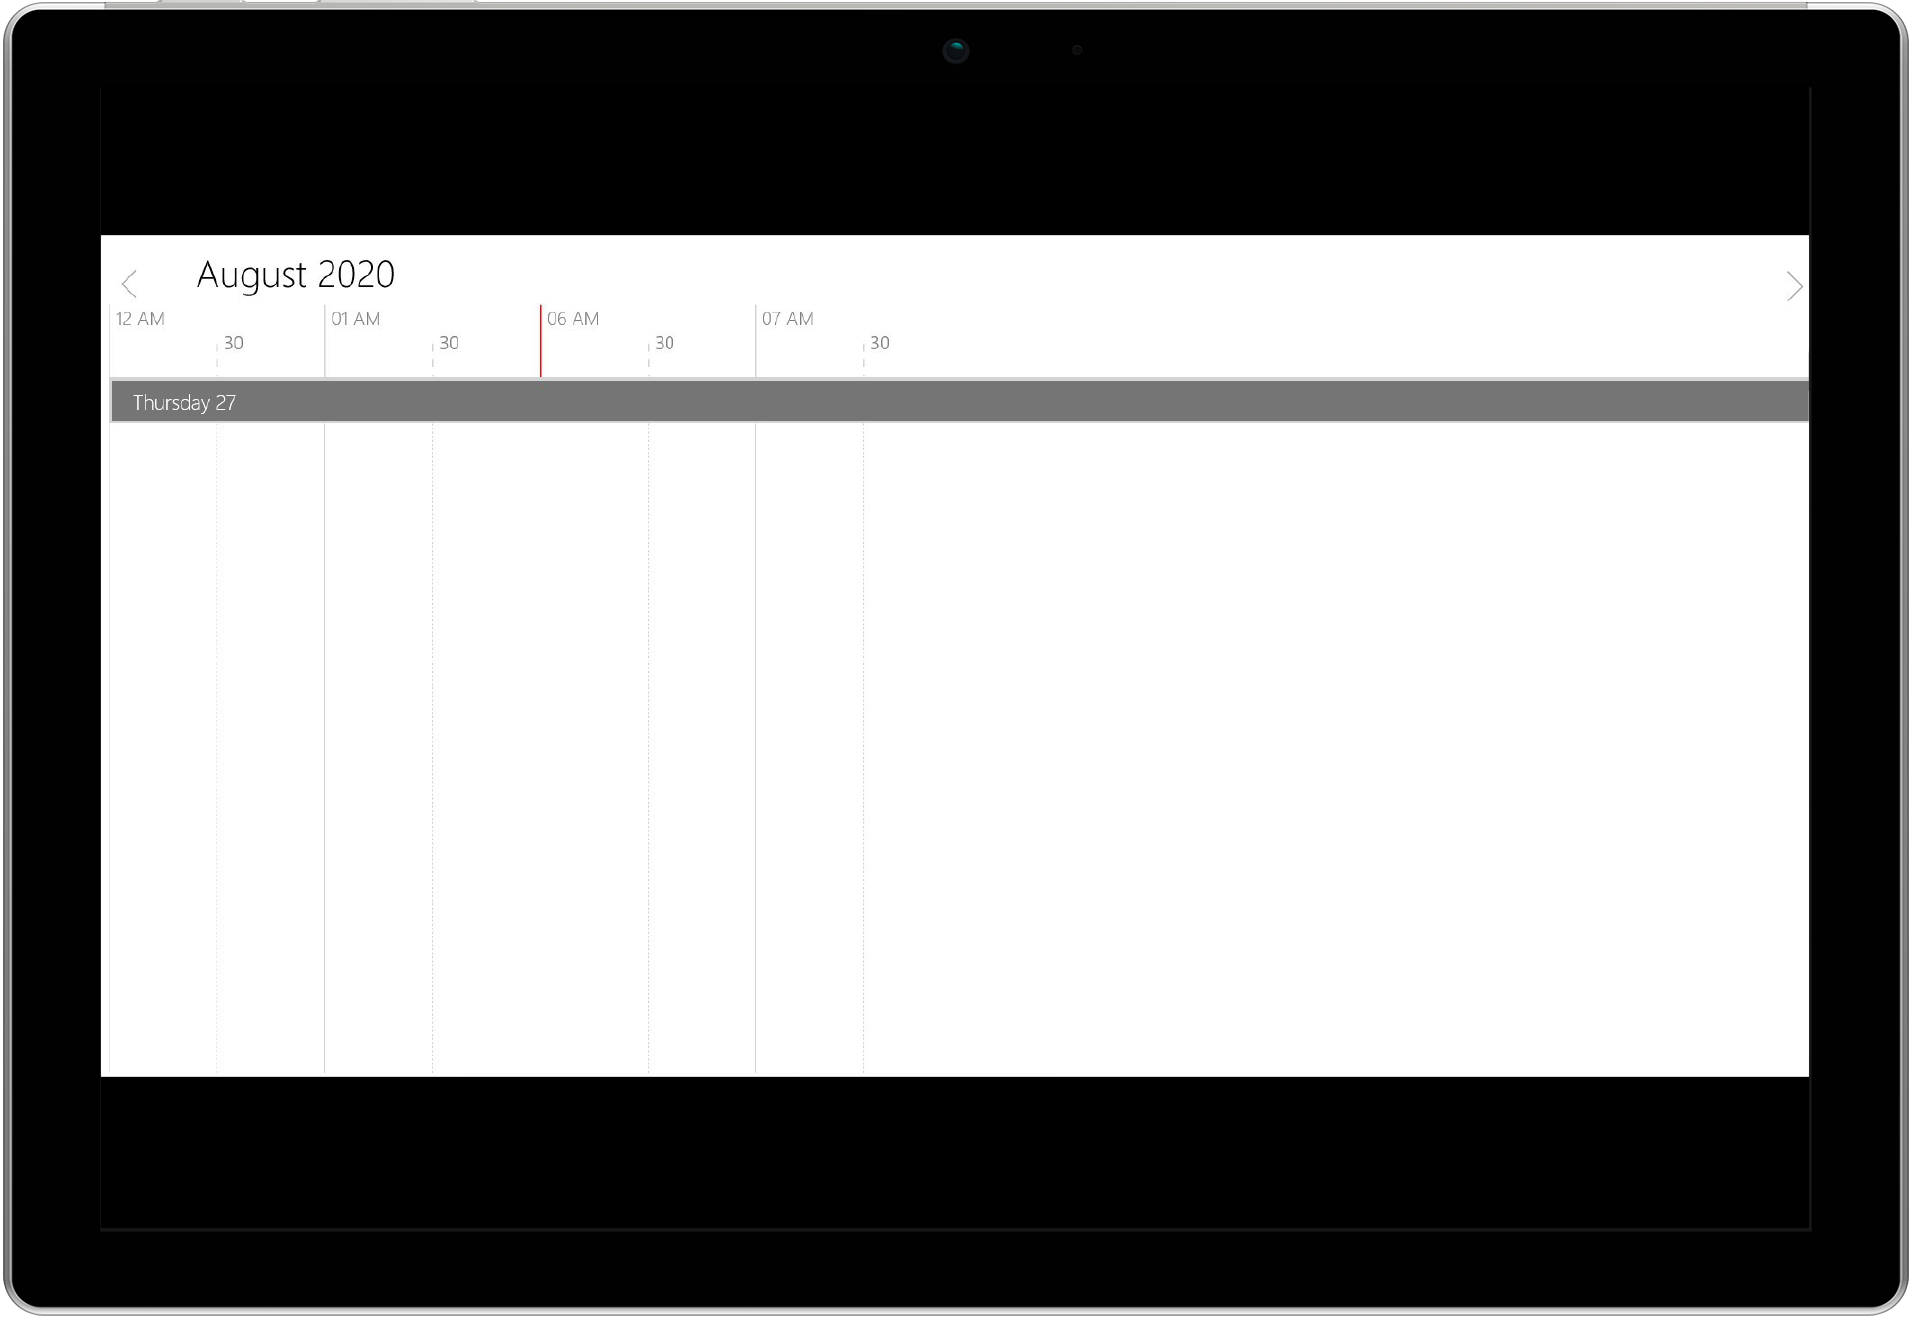
Collapse hours
You can collapse the hours in TimeLineView and DayView by adding hours in the CollapsedHour collection using the CollapsedHours property.
schedule.CollapsedHours.Add(new ScheduleCollapsedHour()
    {
        StartHour = 02,
        EndHour = 06,
    });
Timeslot Appearance
You can customize the default timeslot appearance in timeline view by changing its stoke dash array by using MajorTickStrokeDashArray and MinorTickStrokeDashArray properties of SfSchedule. And, you can change the color by using MajorTickStroke and MinorTickStroke properties of SfSchedule control.
<schedule:SfSchedule
            x:Name="schedule"
            MajorTickStroke="Blue"
            MinorTickStroke="Blue"
            MajorTickStrokeDashArray="10"
            MinorTickStrokeDashArray="10"
ScheduleType="TimeLine" />schedule.MajorTickStroke = new SolidColorBrush(Colors.Blue);
schedule.MinorTickStroke = new SolidColorBrush(Colors.Blue);
schedule.MajorTickStrokeDashArray = new DoubleCollection() {10};
schedule.MinorTickStrokeDashArray = new DoubleCollection() {10};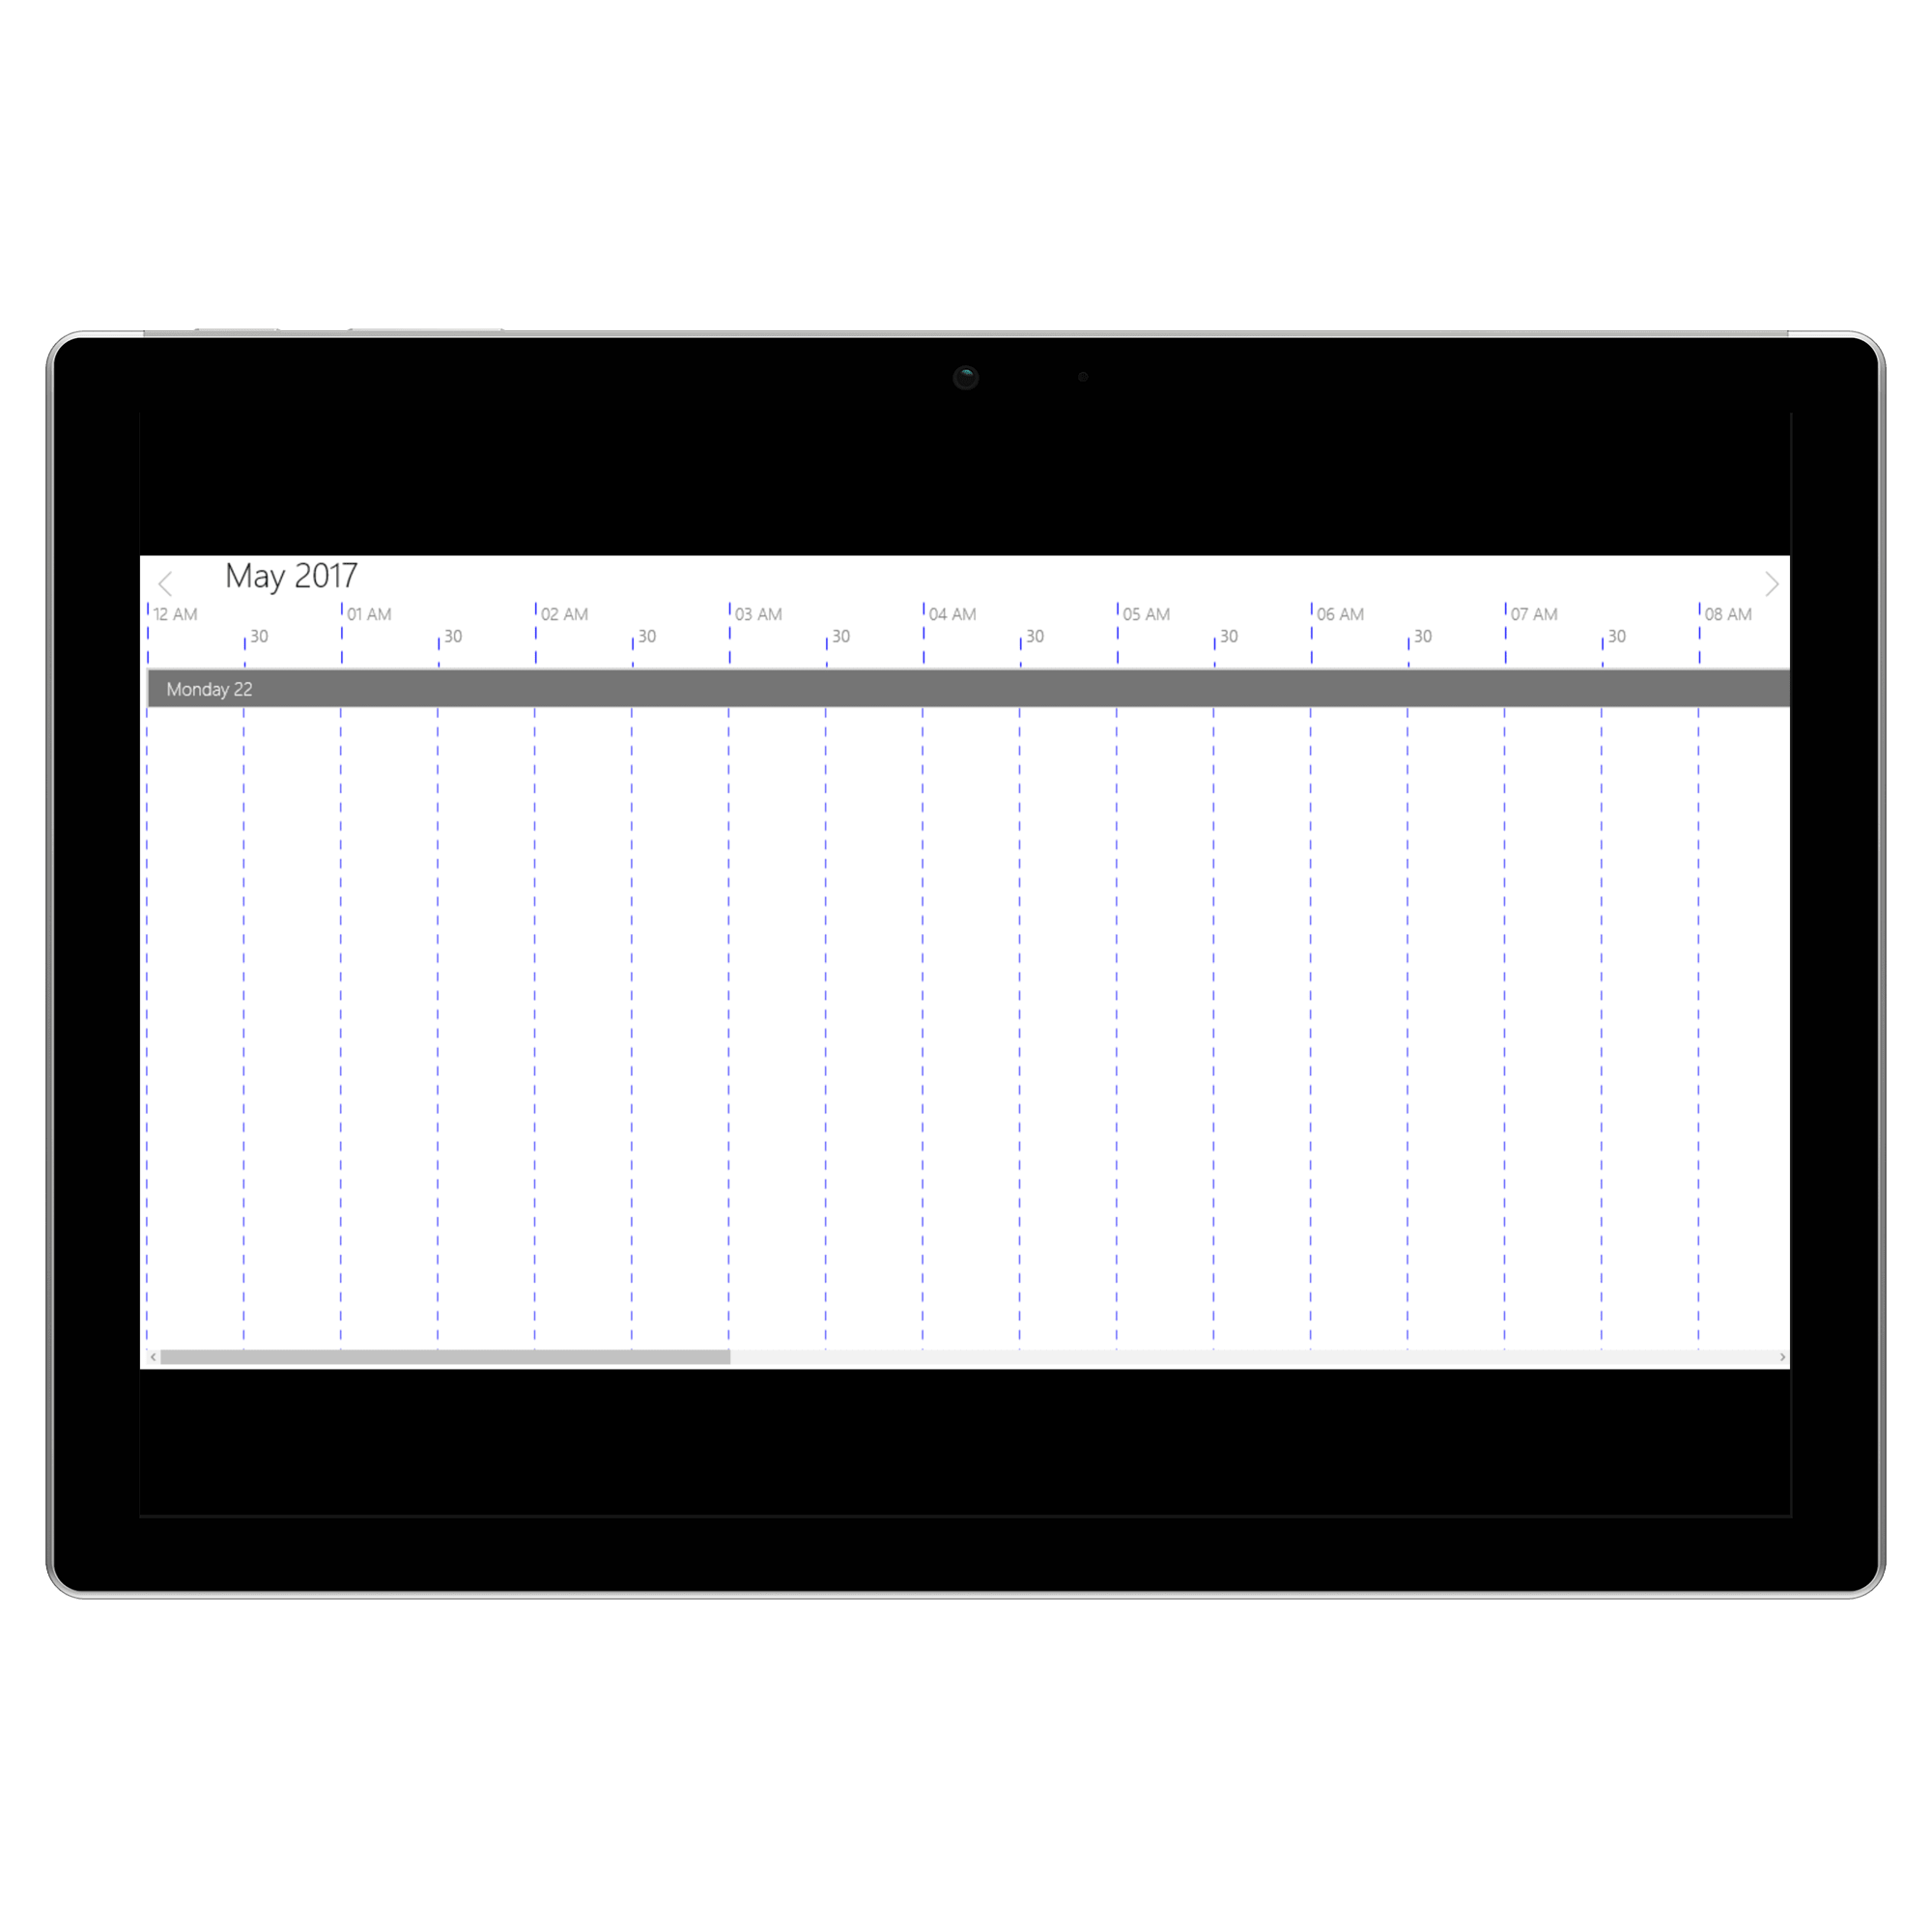
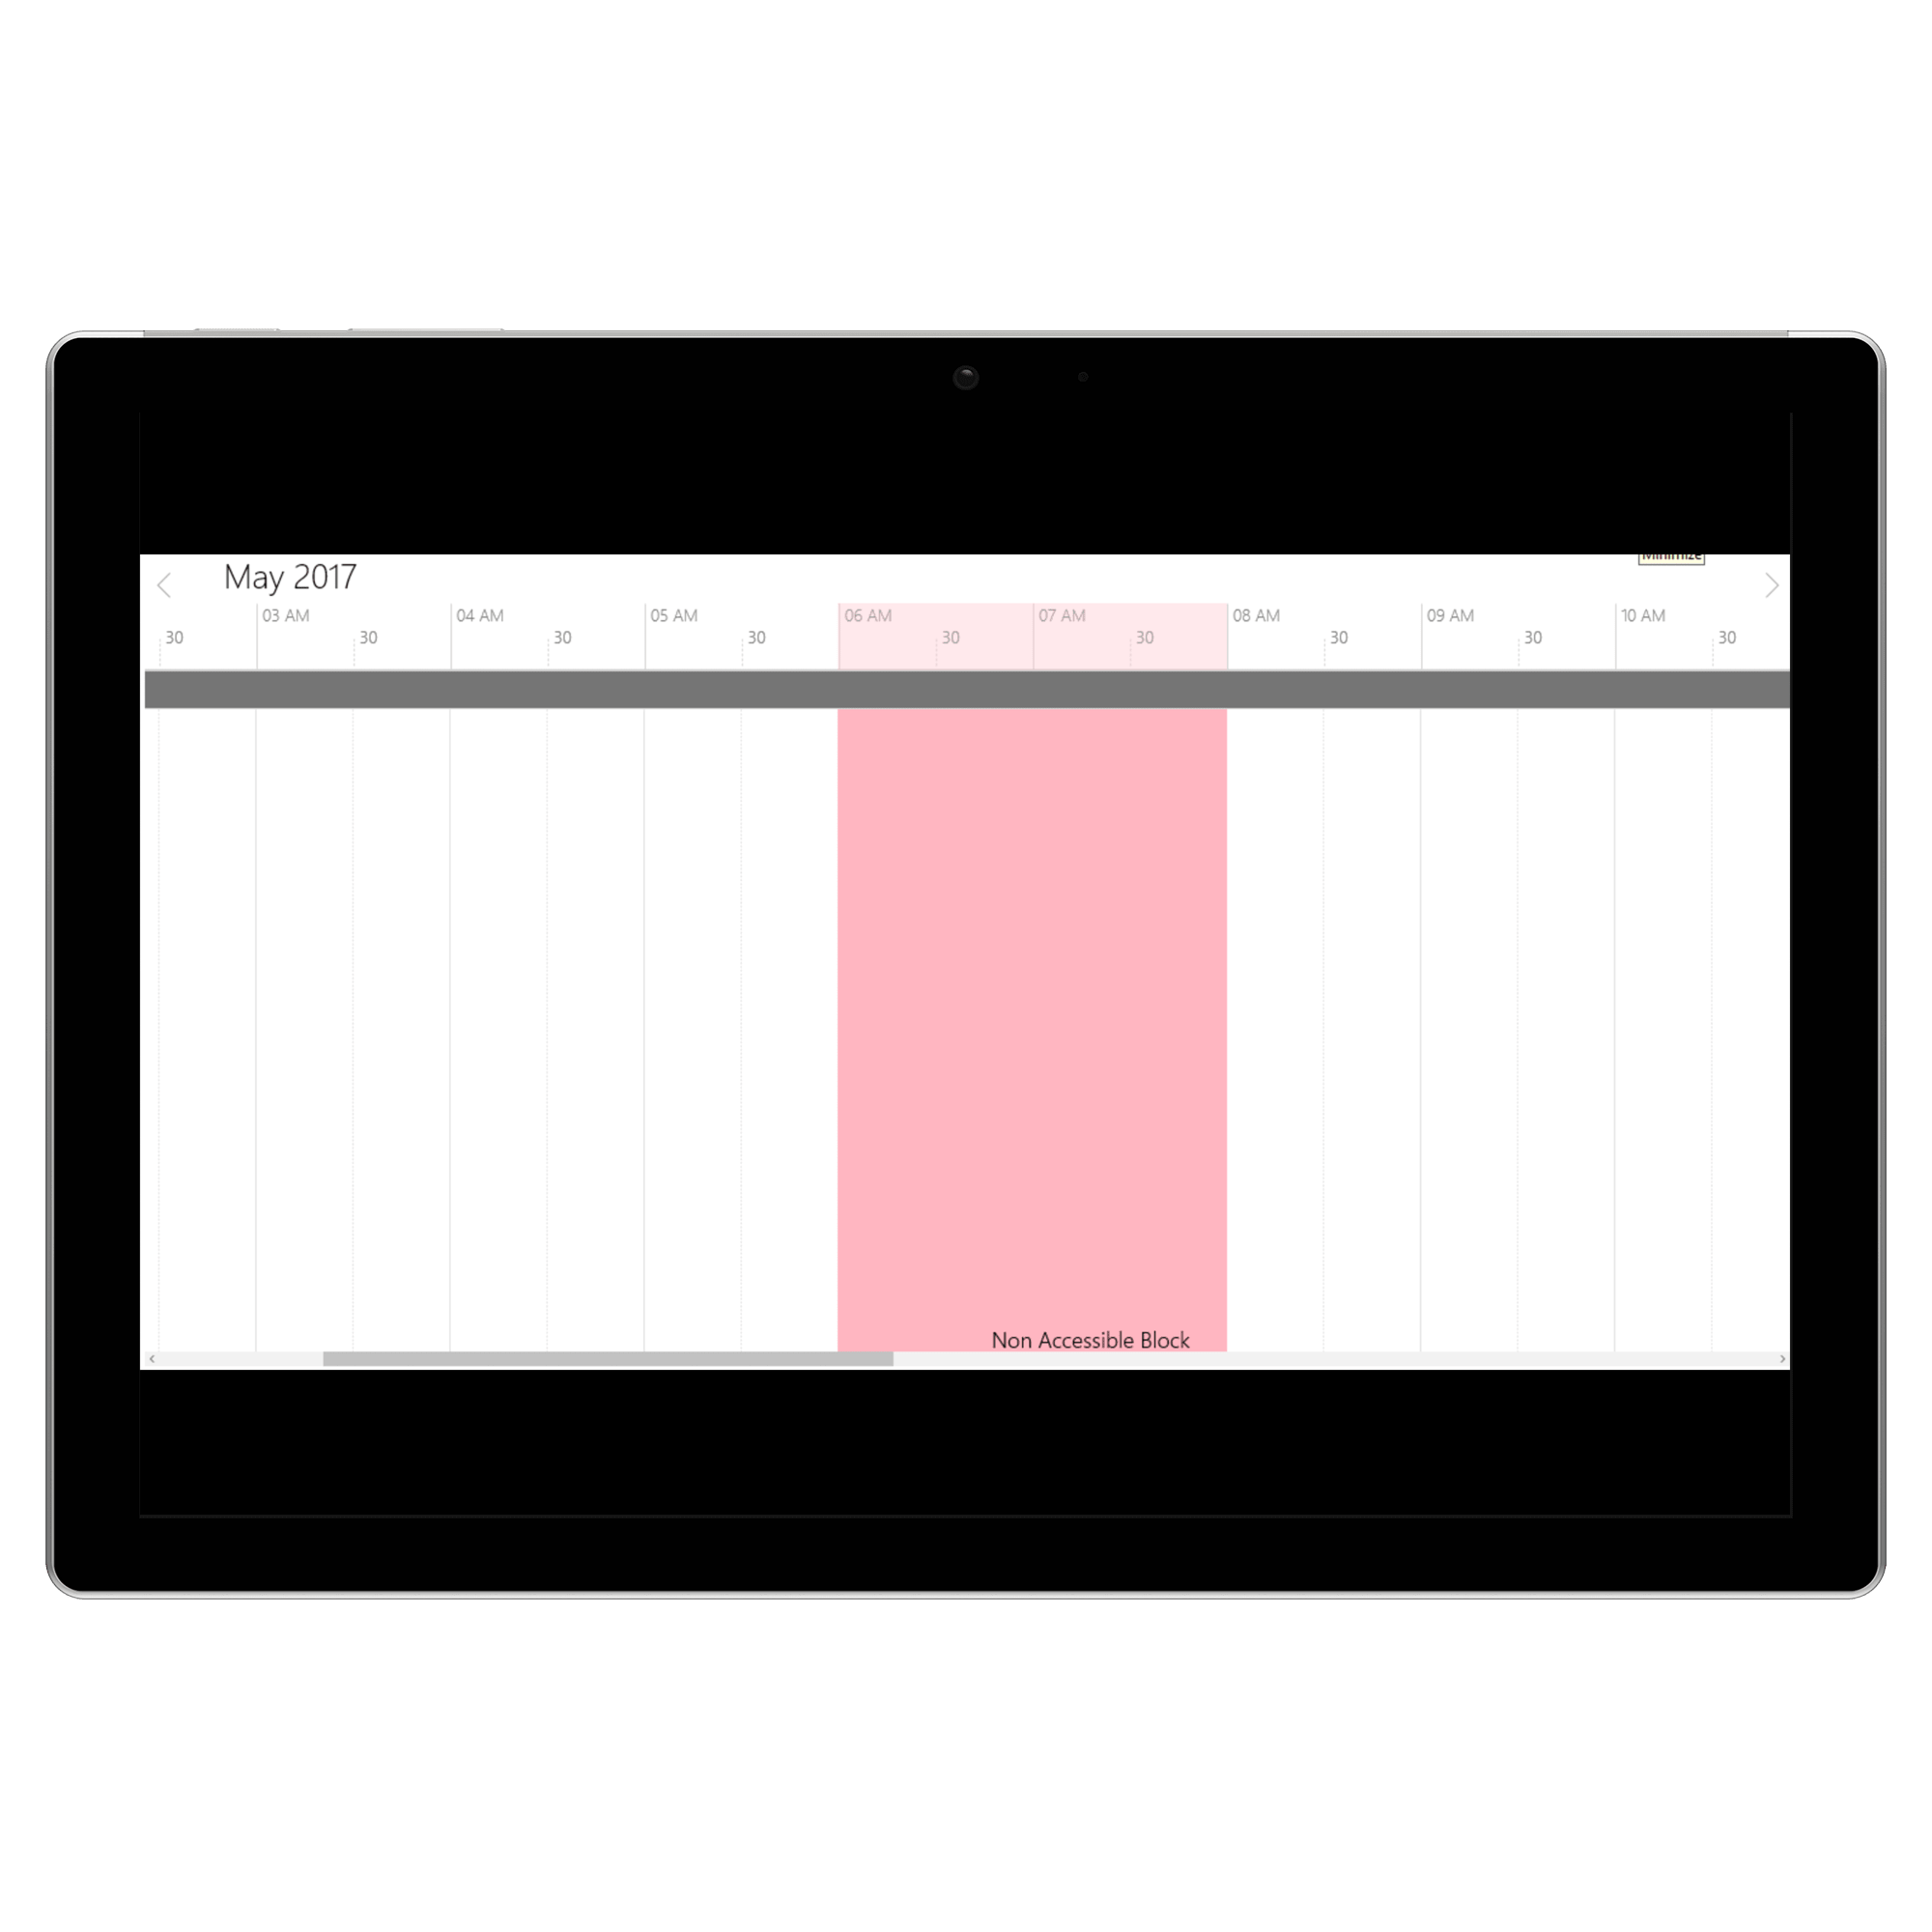
Non-Accessible timeslots.
You can restrict/allocate certain timeslot as Non-accessible block using NonAccessibleBlocks property of SfSchedule, so that can allocate those timeslots for predefined events/activities like Lunch hour.
<schedule:SfSchedule ScheduleType="TimeLine">
            <schedule:SfSchedule.NonAccessibleBlocks>
                <schedule:NonAccessibleBlock
                    Background="LightPink"
                    EndHour="8.00"
                    Label="Non Accessible Block"
                    StartHour="6.00" />
            </schedule:SfSchedule.NonAccessibleBlocks>
</schedule:SfSchedule>schedule.ScheduleType = ScheduleType.TimeLine;
schedule.NonAccessibleBlocks.Add(new NonAccessibleBlock()
{
Background = new SolidColorBrush(Colors.LightPink),
StartHour = 6.00,
EndHour = 8.00,
Label = "Non Accessible Block"
});
Time Label Formatting
You can customize the default label format of time in timeline view by using MajorTickTimeFormat and MinorTickTimeFormat properties of SfSchedule.
<schedule:SfSchedule
            x:Name="schedule"
            MajorTickTimeFormat="HH"
            MinorTickTimeFormat="HH mm"
ScheduleType="TimeLine" />schedule.ScheduleType = ScheduleType.TimeLine;
schedule.MajorTickTimeFormat = "HH";
schedule.MinorTickTimeFormat = "HH mm";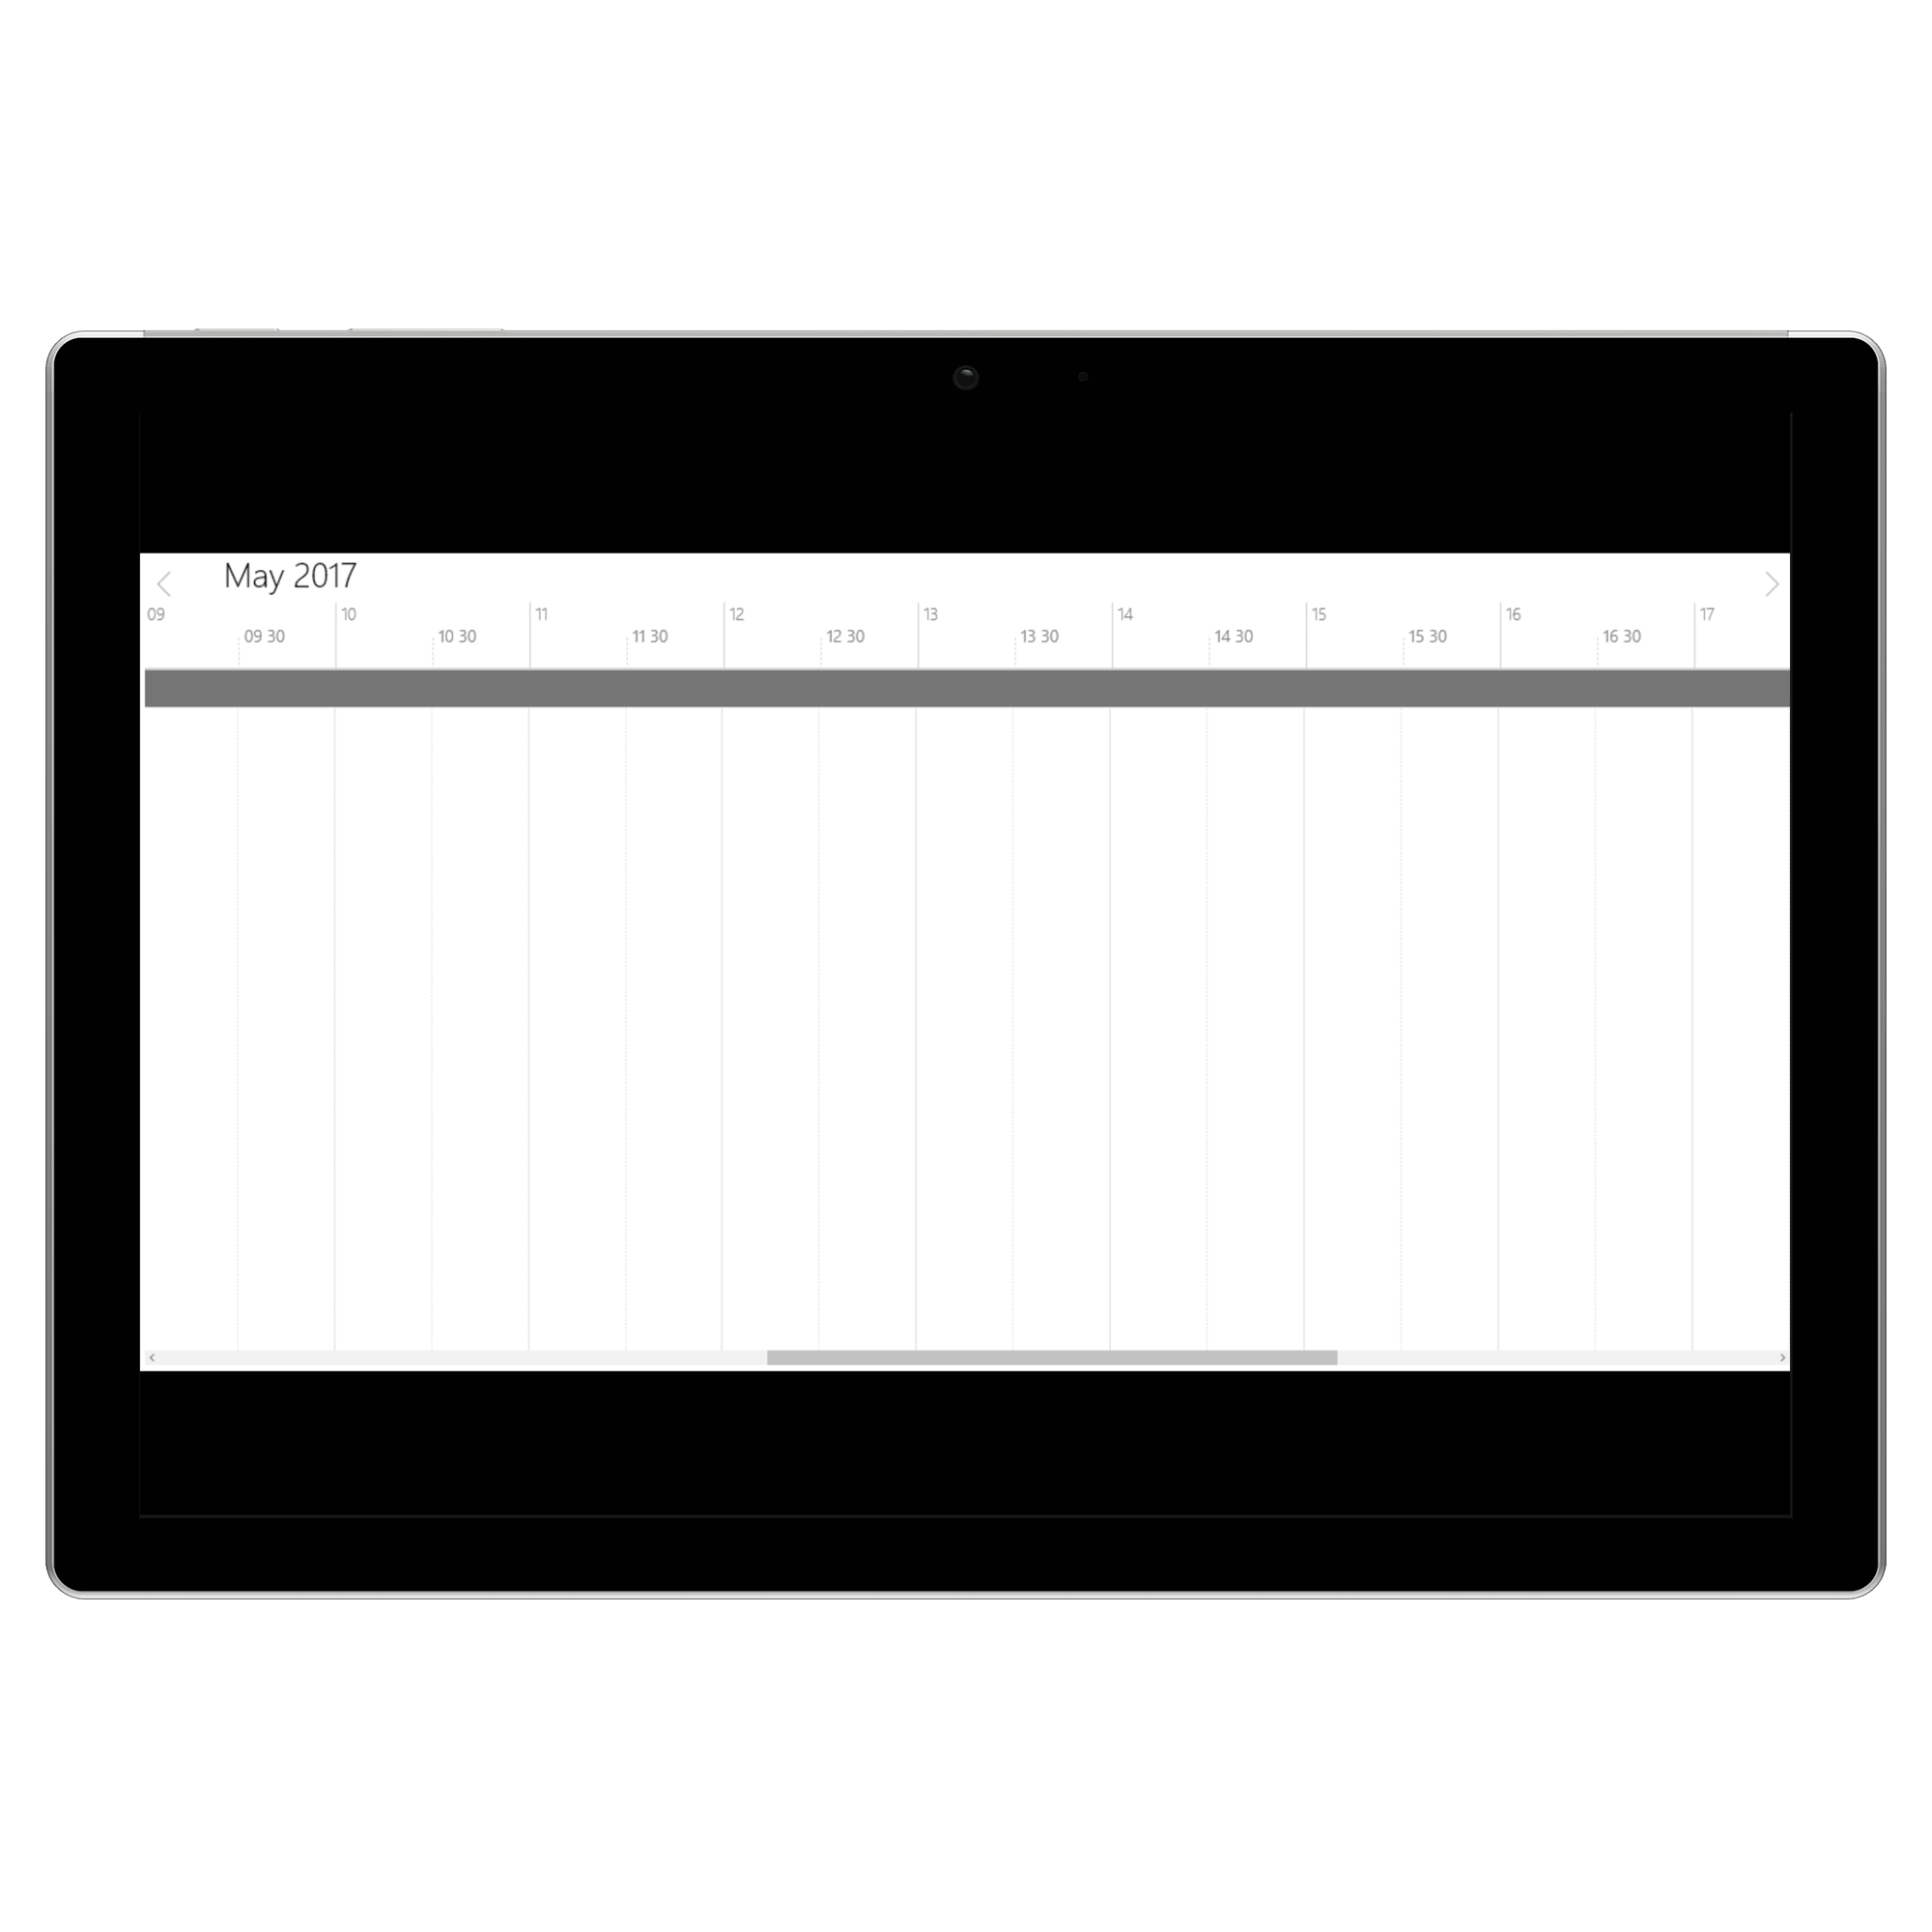
Time Label appearance
You can the customize the default color of time label in timeline view by using the MajorTickLabelStroke and MinorTickLabelStroke properties of SfSchedule.
<schedule:SfSchedule
            x:Name="schedule"
            MajorTickLabelStroke="Blue"
            MinorTickLabelStroke="Blue"
ScheduleType="TimeLine" />schedule.MajorTickLabelStroke=new SolidColorBrush(Colors.Blue);
schedule.MinorTickLabelStroke = new SolidColorBrush(Colors.Blue);You can the customize the default font size of time label in timeline view by using the MajorTickLabelSize and MinorTickLabelSize properties of SfSchedule.
<schedule:SfSchedule
            x:Name="schedule"
            MajorTickLabelSize="20"
            MinorTickLabelSize="20"
ScheduleType="TimeLine" />schedule.MajorTickLabelSize=20;
schedule.MinorTickLabelSize =20;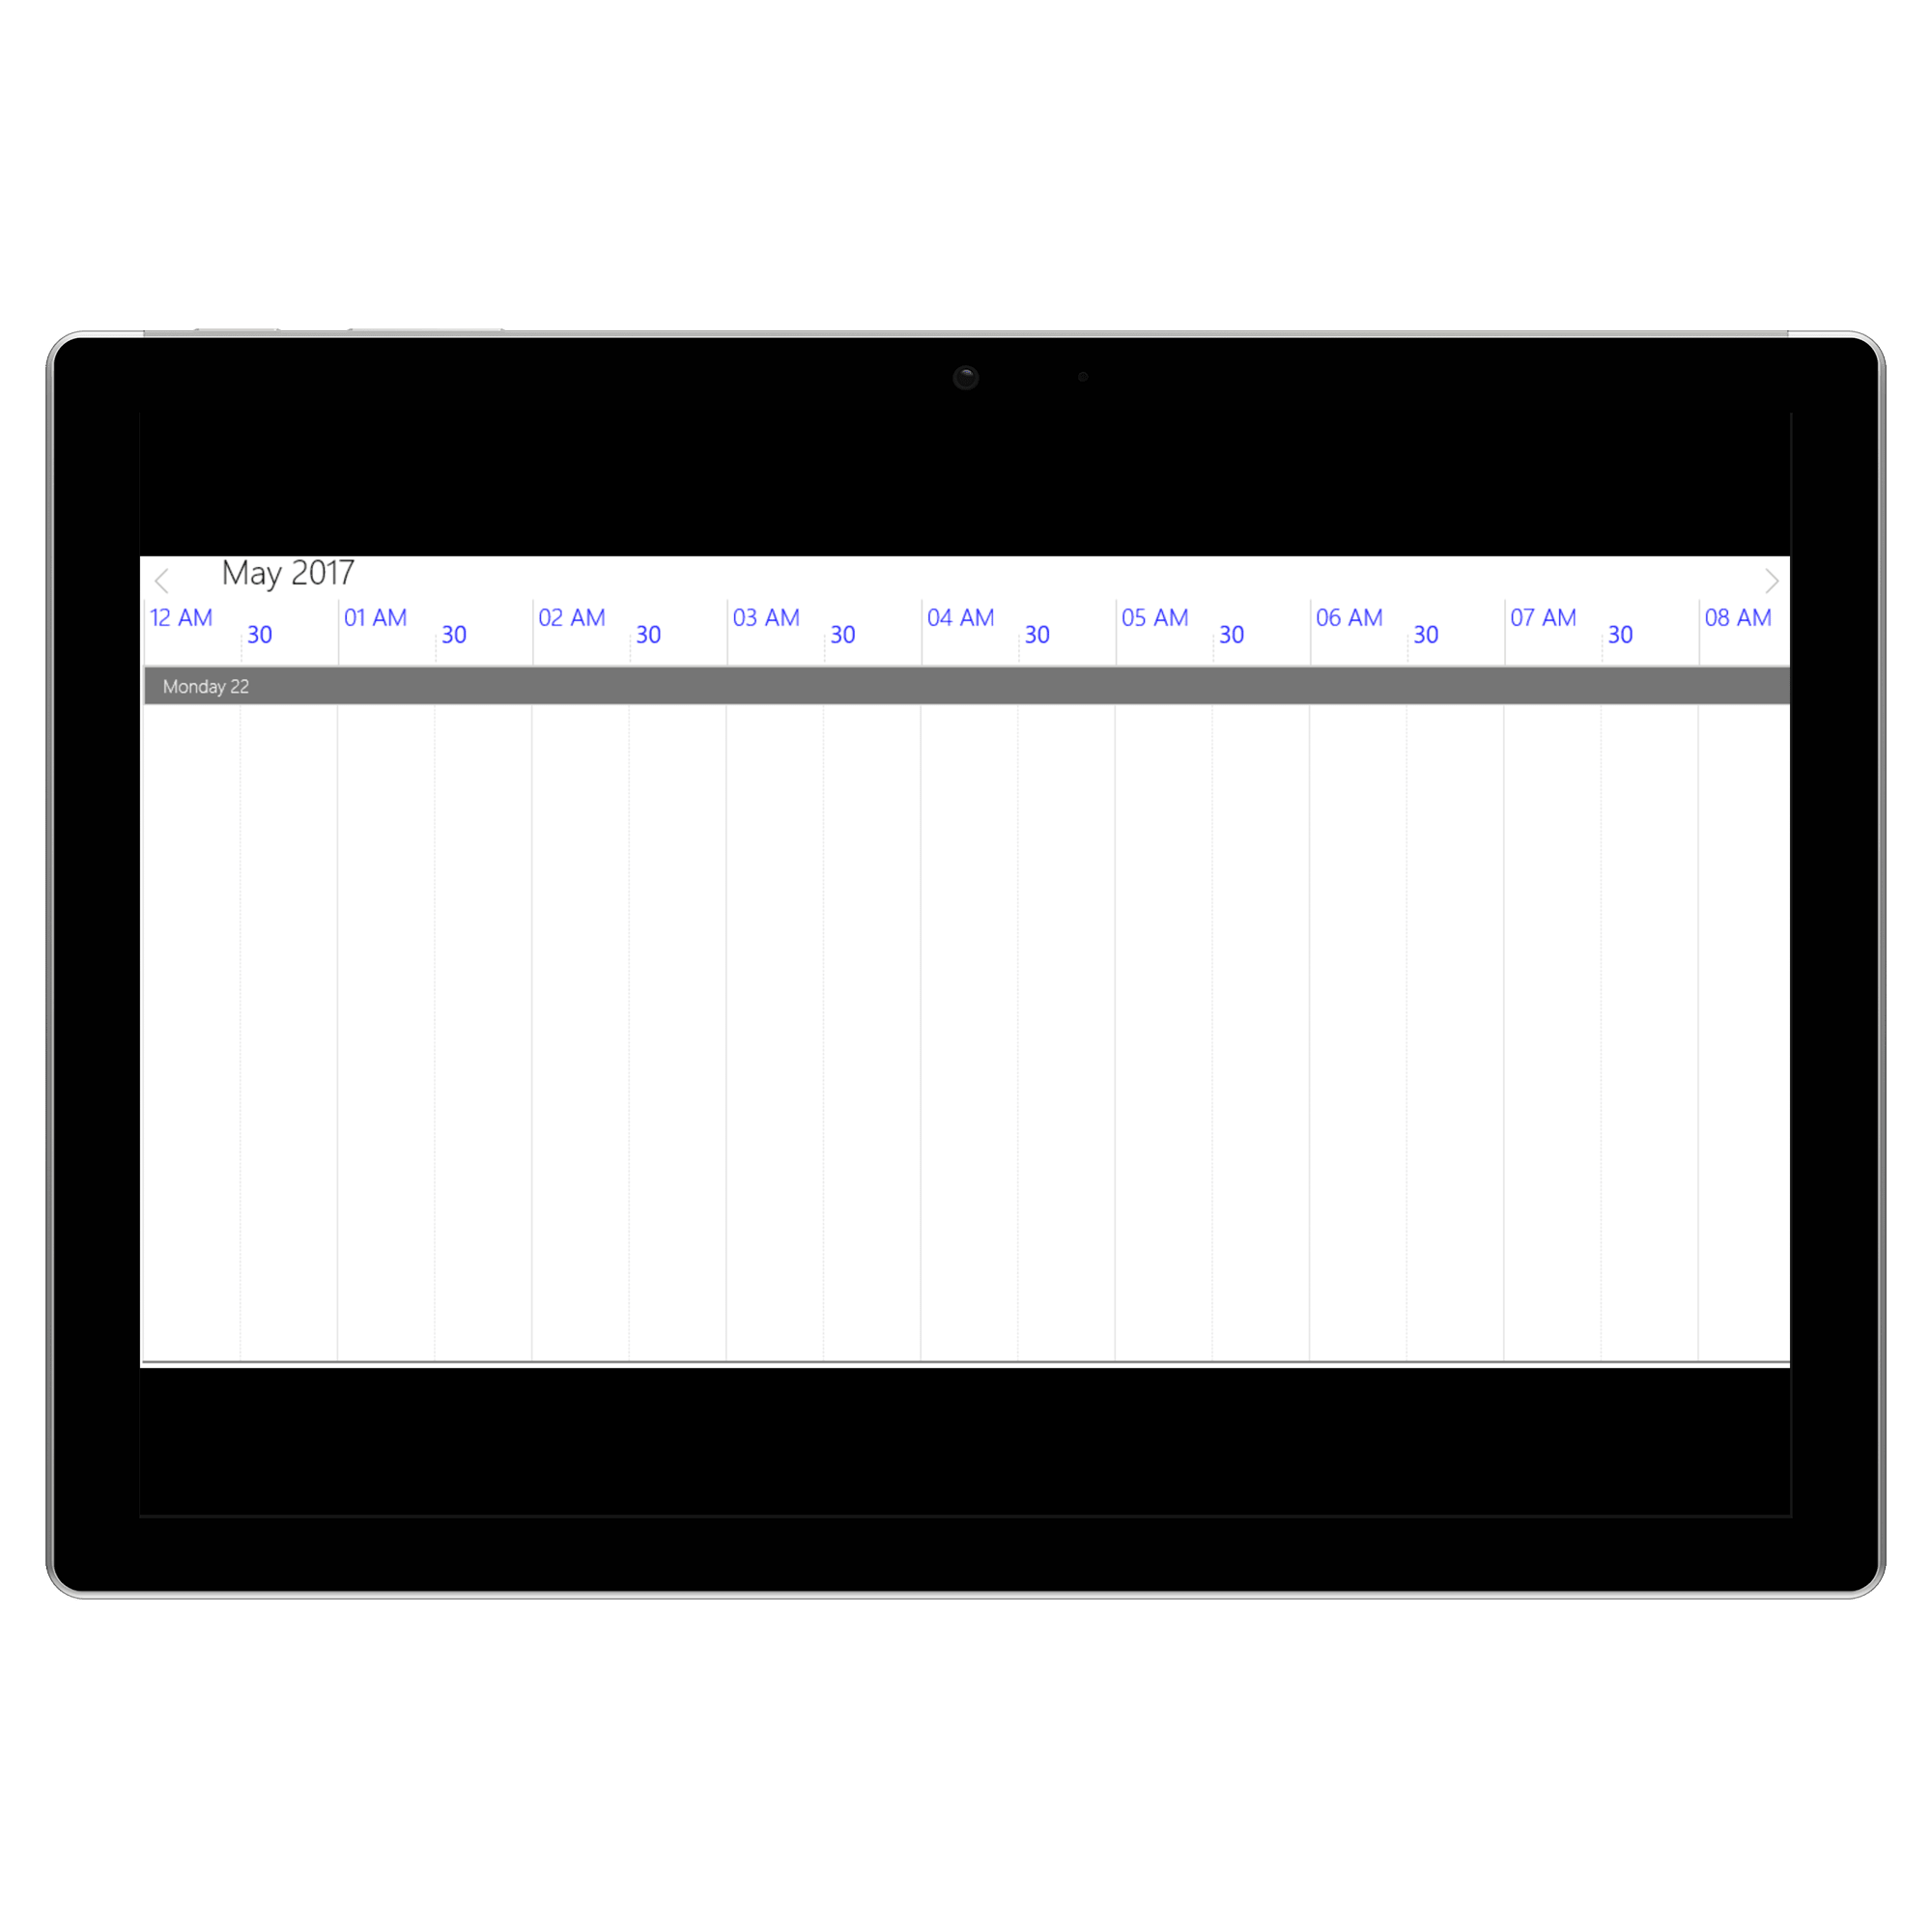
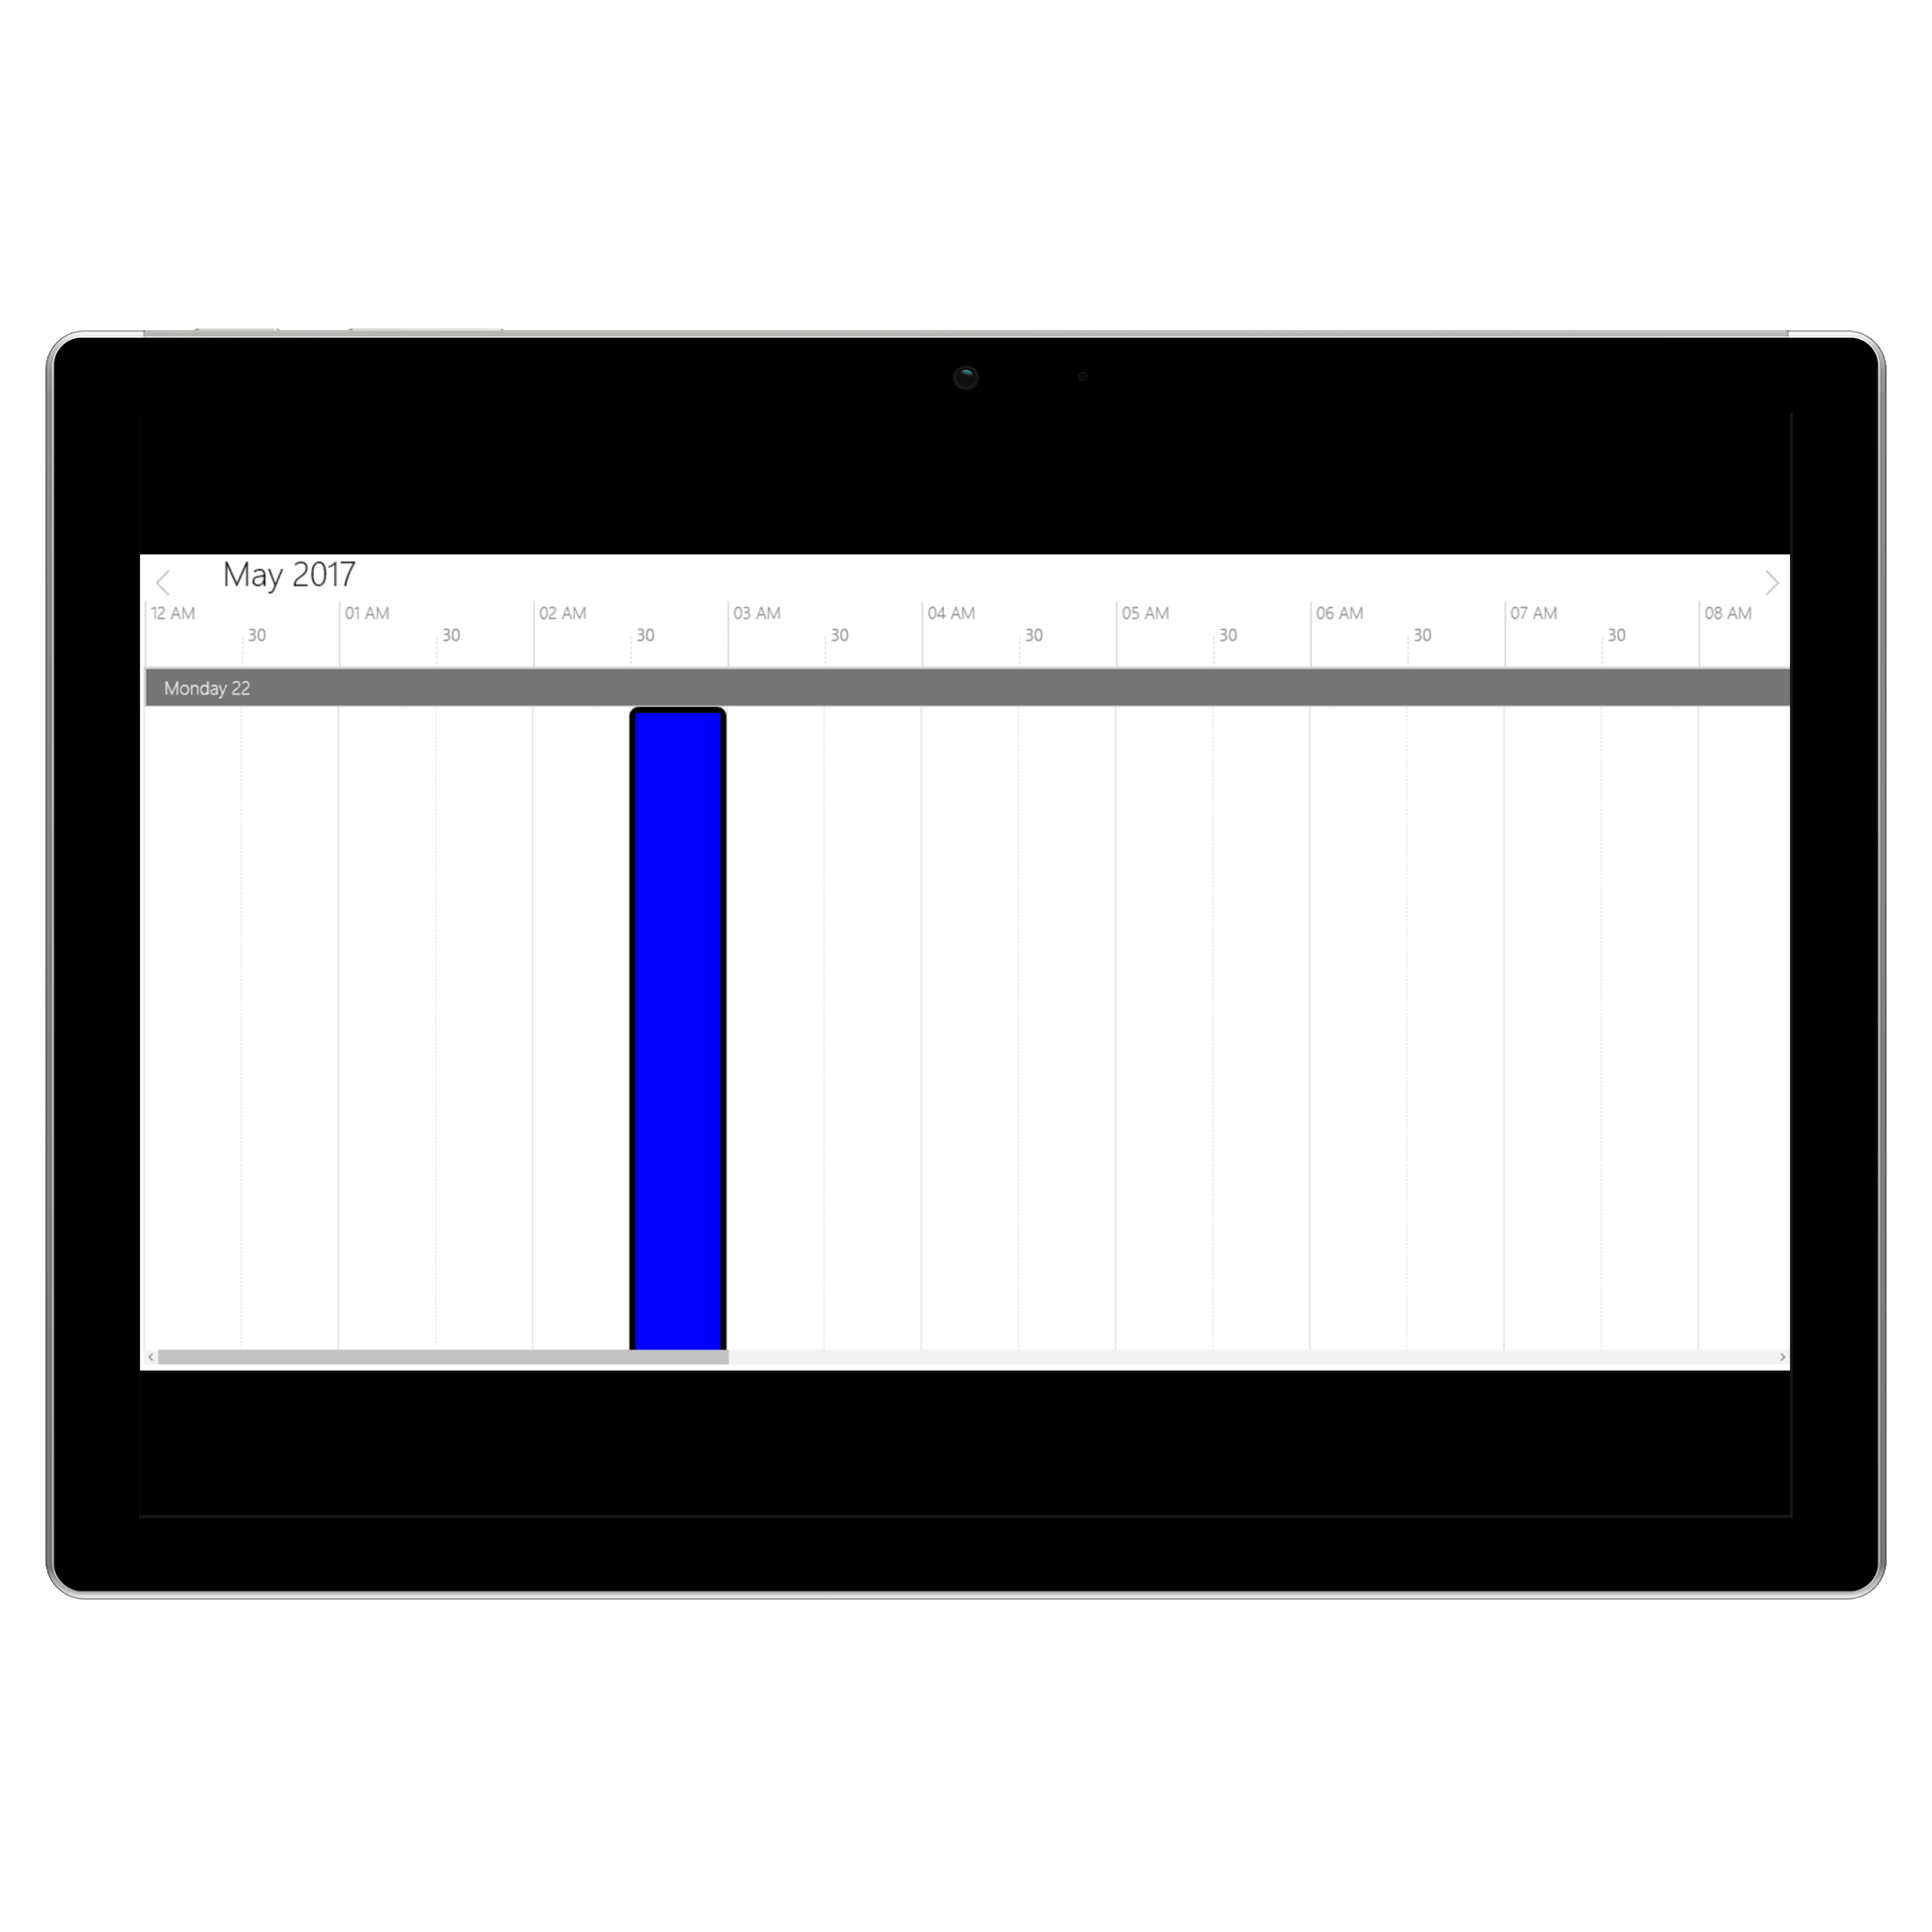
Selection
You can customize the default appearance of selection UI in the timeslots.
- Selection customization using style
- Selection customization using custom View.
Selection customization using style
You can customize the timeslot selection by using ScheduleSelectionStyle property of SfSchedule.
<schedule:SfSchedule ScheduleType="TimeLine">
            <schedule:SfSchedule.ScheduleSelectionStyle>
                <schedule:ScheduleSelectionStyle
                    Background="Blue"
                    BorderBrush="Black"
                    BorderCornerRadius="5"
                    BorderThickness="5" />
            </schedule:SfSchedule.ScheduleSelectionStyle>
</schedule:SfSchedule>schedule.ScheduleSelectionStyle= new ScheduleSelectionStyle()
{
Background = new SolidColorBrush(Colors.Blue),
BorderBrush = new SolidColorBrush(Colors.Black),
BorderCornerRadius = new CornerRadius(5),
BorderThickness = new Thickness(5)
};
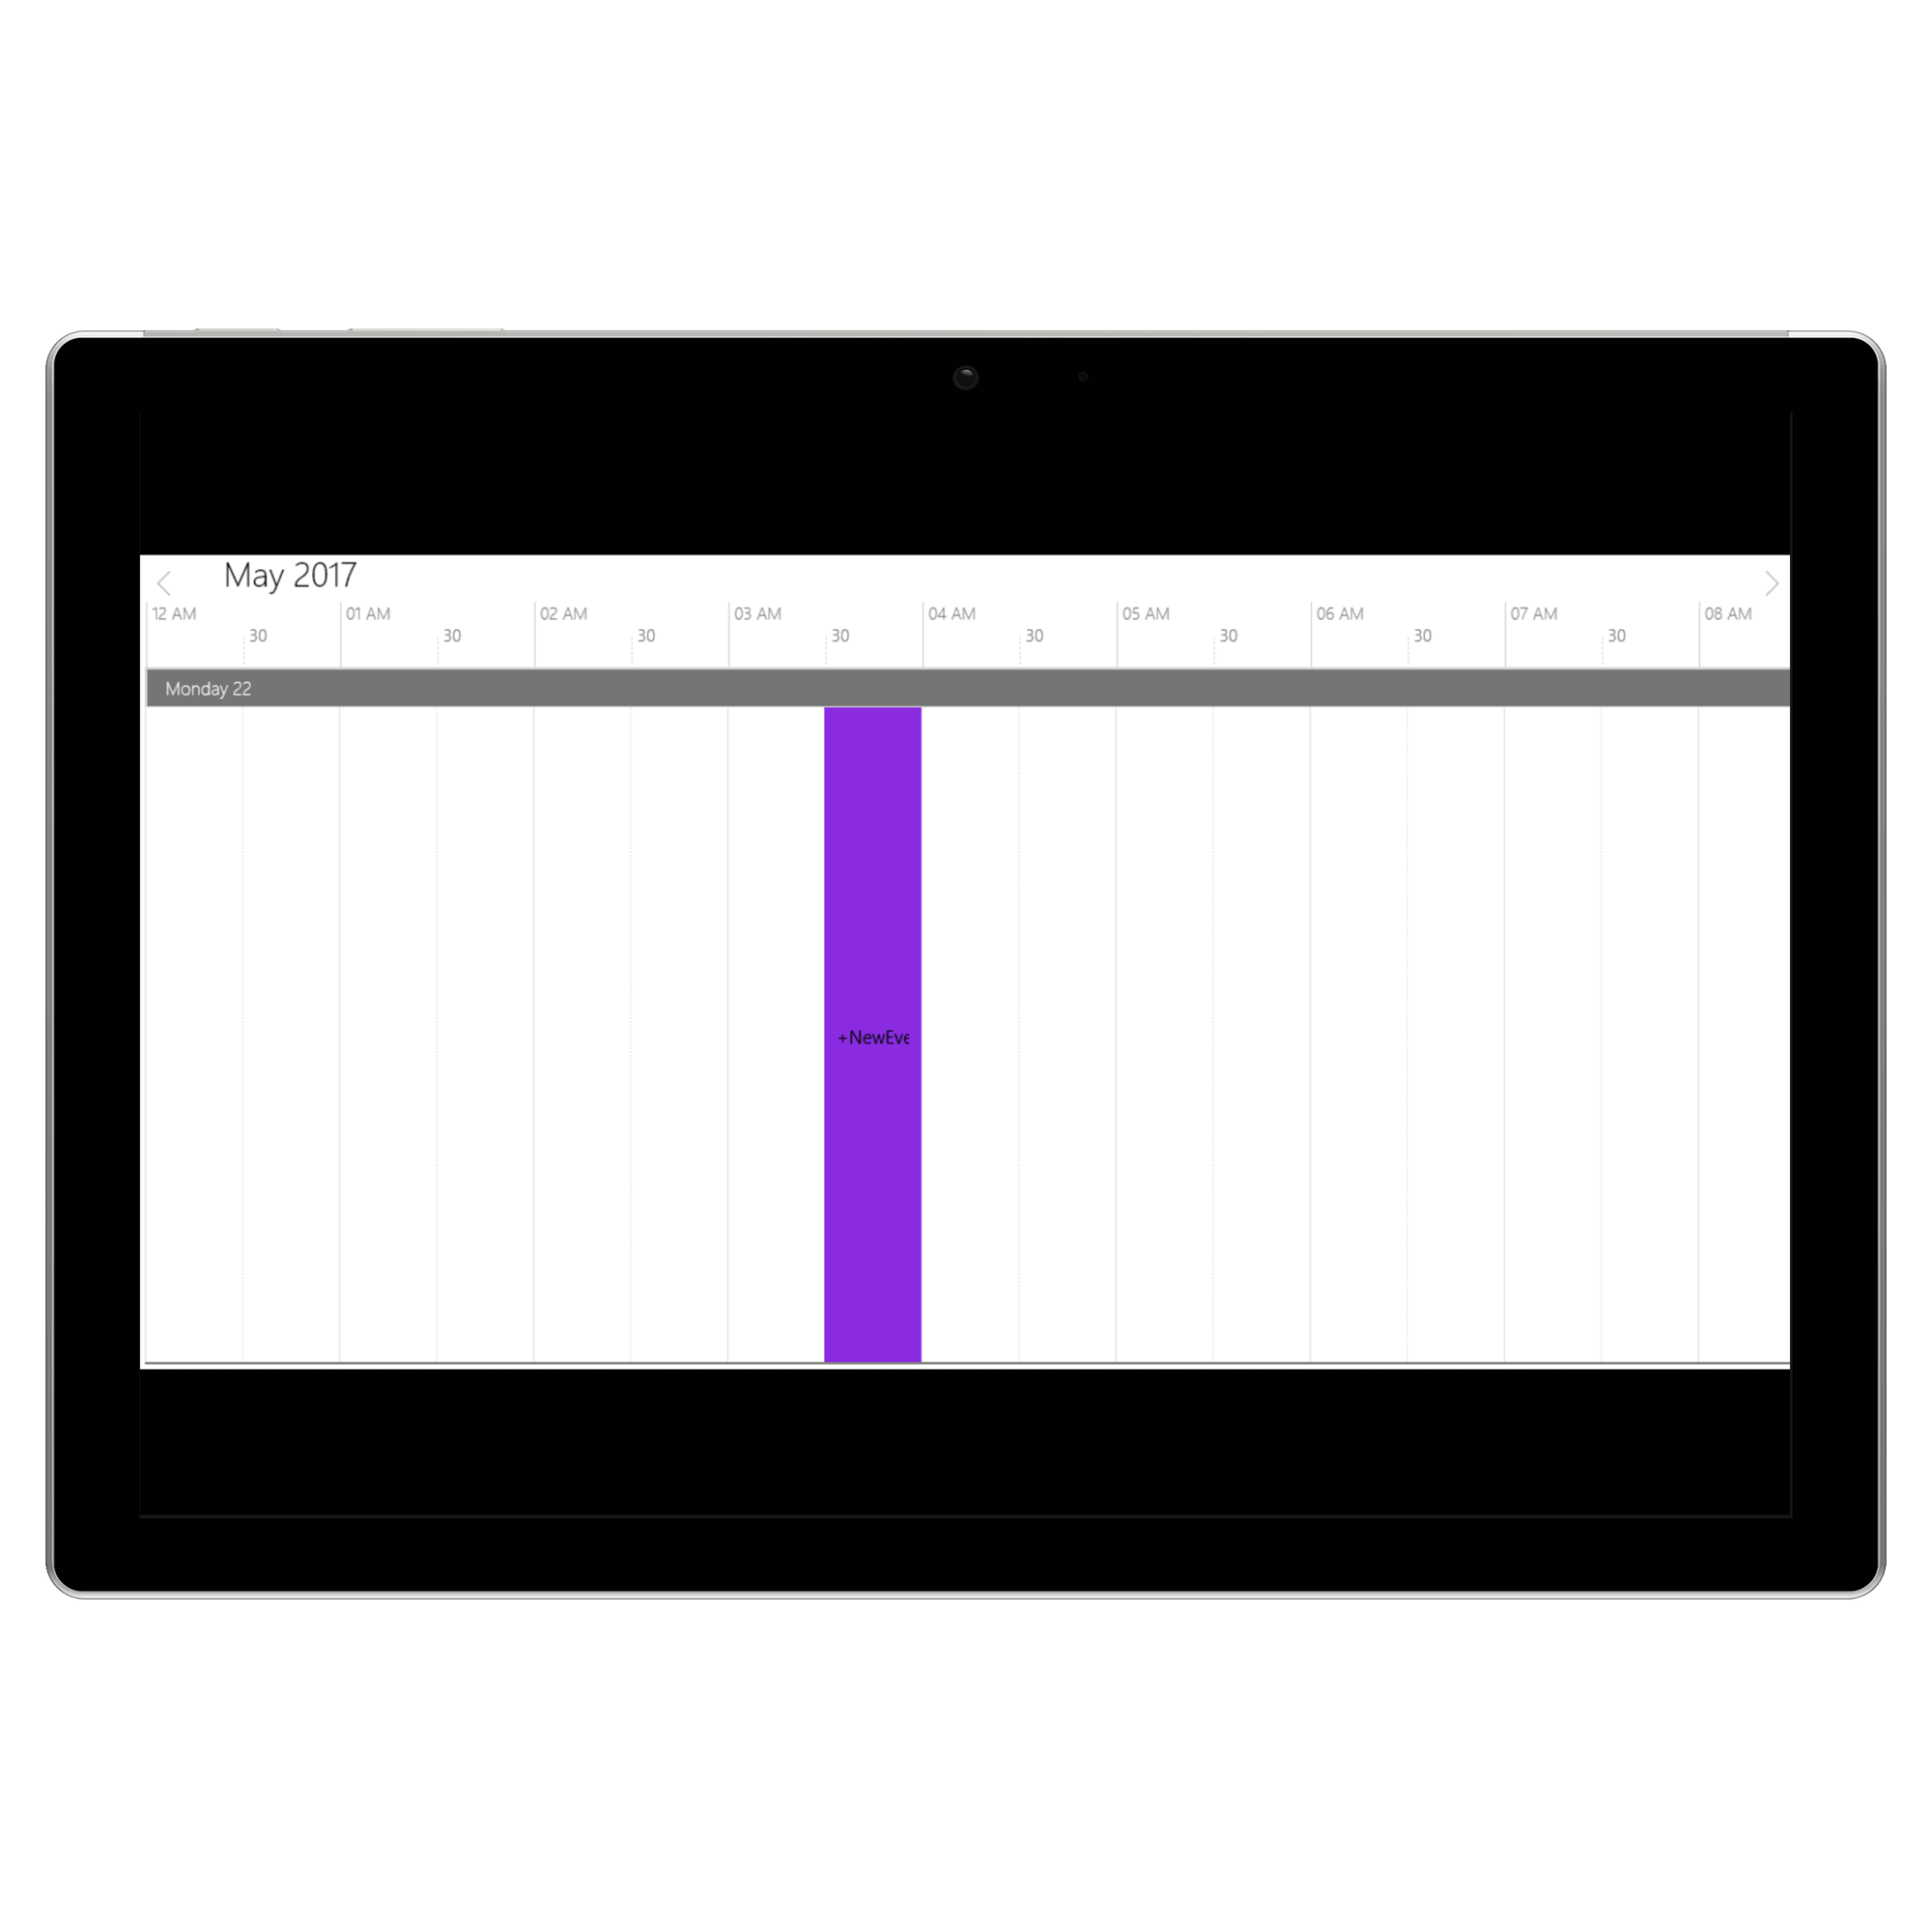
Selection customization using custom View.
You can replace the default selection UI with your custom view by setting SelectionView property of SfSchedule.
<schedule:SfSchedule x:Name="schedule" ScheduleType="TimeLine">
            <schedule:SfSchedule.SelectionView>
                <Button Background="BlueViolet" Content="+NewEvent" />
            </schedule:SfSchedule.SelectionView>
</schedule:SfSchedule>schedule.SelectionView=new Button()
{
Content = "+NewEvent",
Background = new SolidColorBrush(Colors.BlueViolet)
};
Configuration Resources
The Schedule control allows you to define resources that can be assigned to appointments. Resources let you associate additional information with your appointments. The schedule can group appointments based on the resources associated with them.
Adding resource
Resource can be added to the schedule control by setting Resource and ScheduleResourceTypeCollection of SfSchedule. After that add the ResourceType for ScheduleResourceTypeCollection and assign Resource to ResourceType.
<schedule:SfSchedule
            x:Name="schedule"
            Resource="Doctors"
            ScheduleType="TimeLine">
            <schedule:SfSchedule.ScheduleResourceTypeCollection>
                <schedule:ResourceType TypeName="Doctors">
                    <schedule:Resource
                        DisplayName="Dr.Jacob"
                        ResourceName="Dr.Jacob"
                        TypeName="Doctors" />
                    <schedule:Resource
                        DisplayName="Dr.Darsy"
                        ResourceName="Dr.Darsy"
                        TypeName="Doctors" />
                </schedule:ResourceType>
            </schedule:SfSchedule.ScheduleResourceTypeCollection>
        </schedule:SfSchedule>
var currentDate=DateTime.Now;
ScheduleAppointment app = new ScheduleAppointment()
{
StartTime = currentDate.Date.AddHours(5),
EndTime = currentDate.Date.AddHours(6),
Subject = "Meeting",
Location = "Chennai",
AppointmentBackground =new SolidColorBrush(Colors.Red)
};
app.ResourceCollection.Add(new Resource()
{
ResourceName = "Dr.Jacob",
TypeName = "Doctors"
});
ScheduleAppointment app1 = new ScheduleAppointment()
{
StartTime = currentDate.Date.AddHours(7),
EndTime = currentDate.Date.AddHours(8),
Subject = "Conference",
Location = "Chennai",
AppointmentBackground = new SolidColorBrush(Colors.Yellow)
};
app1.ResourceCollection.Add(new Resource()
{
ResourceName = "Dr.Darsy",
TypeName = "Doctors"
});
schedule.Appointments.Add(app);
schedule.Appointments.Add(app1);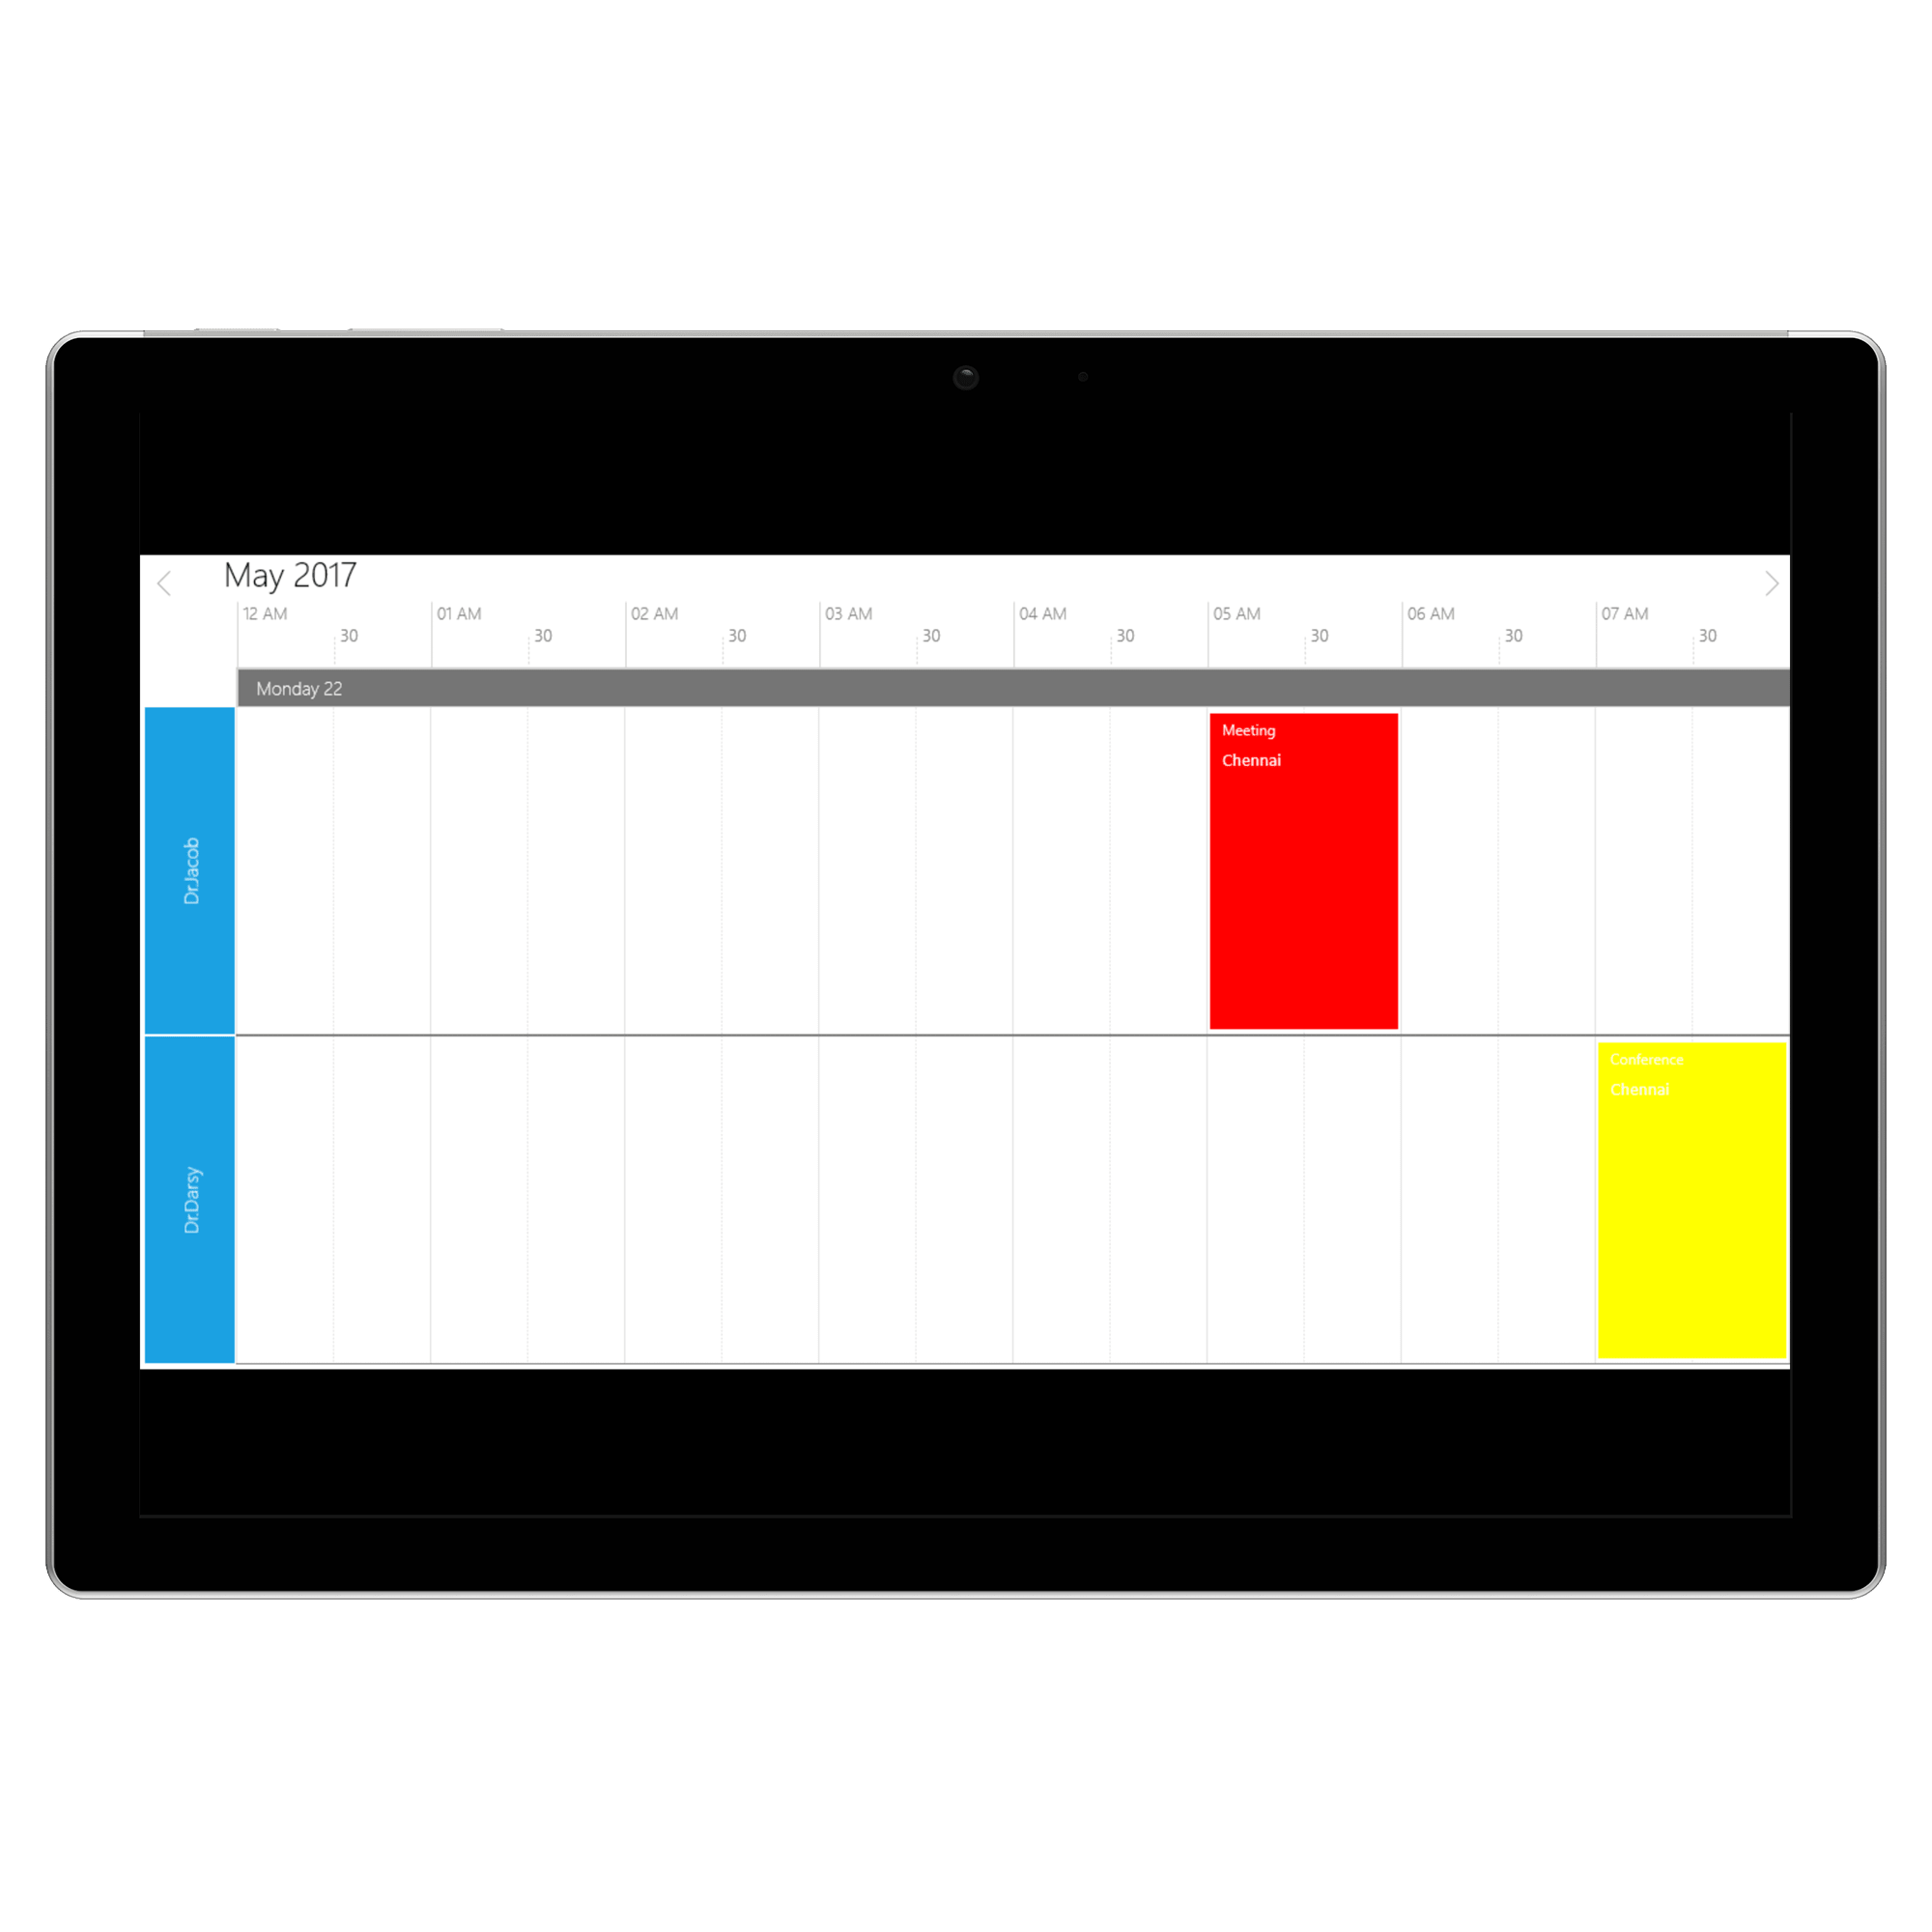
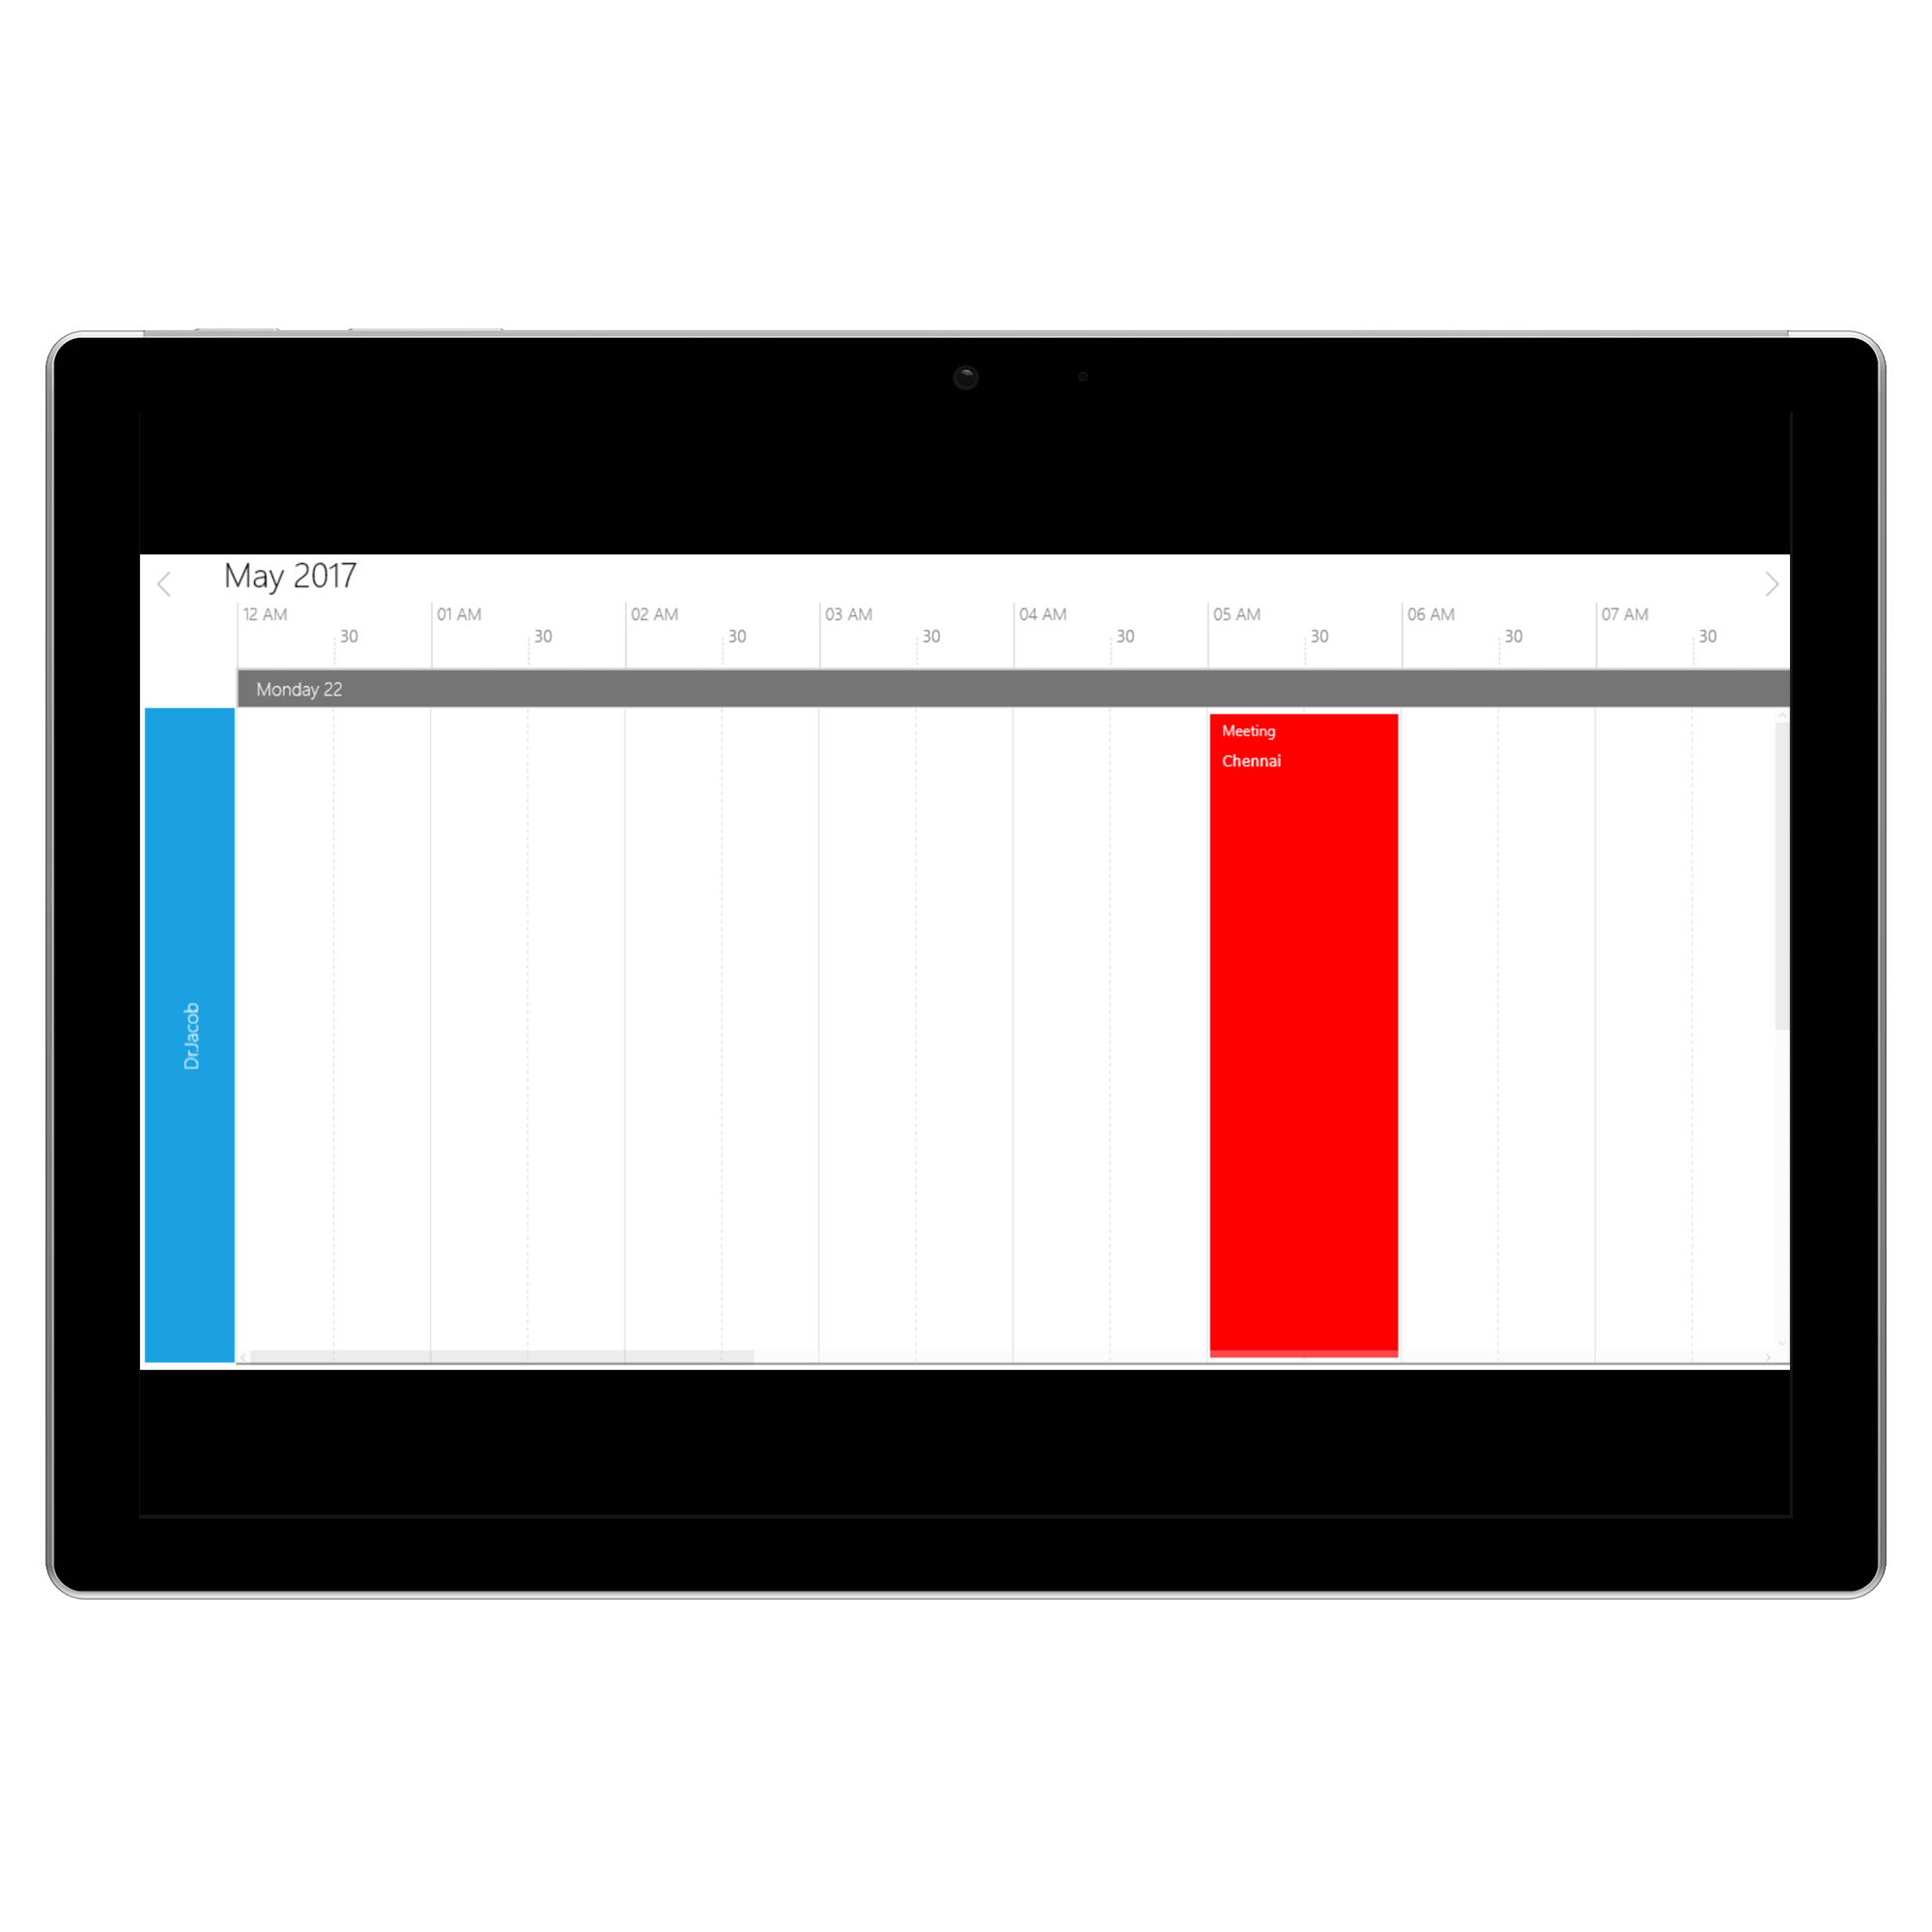
Customizing resource visibility
This feature supports to display ‘N’ number of rows in TimeLine view. You can achieve this by specifying the count of resources that needs to be displayed per view. This support is offered for TimeLine view alone.
This support can be enabled by using property TimeLineViewRowCount in SfSchedule. By default, its value is “zero”.
<schedule:SfSchedule
x:Name="schedule" TimeLineViewRowCount="1"
Resource="Doctors"
ScheduleType="TimeLine">
<schedule:SfSchedule.ScheduleResourceTypeCollection>
<schedule:ResourceType TypeName="Doctors">
<schedule:Resource
DisplayName="Dr.Jacob"
ResourceName="Dr.Jacob"
TypeName="Doctors" />
<schedule:Resource
DisplayName="Dr.Darsy"
ResourceName="Dr.Darsy"
TypeName="Doctors" />
</schedule:ResourceType>
</schedule:SfSchedule.ScheduleResourceTypeCollection>
</schedule:SfSchedule>schedule.TimeLineViewRowCount = 1;
var currentDate=DateTime.Now;
            ScheduleAppointment app = new ScheduleAppointment()
            {
                StartTime = currentDate.Date.AddHours(5),
                EndTime = currentDate.Date.AddHours(6),
                Subject = "Meeting",
                Location = "Chennai",
                AppointmentBackground =new SolidColorBrush(Colors.Red)
            };
            app.ResourceCollection.Add(new Resource()
            {
                ResourceName = "Dr.Jacob",
                TypeName = "Doctors"
            });

            ScheduleAppointment app1 = new ScheduleAppointment()
            {
                StartTime = currentDate.Date.AddHours(7),
                EndTime = currentDate.Date.AddHours(8),
                Subject = "Conference",
                Location = "Chennai",
                AppointmentBackground = new SolidColorBrush(Colors.Yellow)
            };
            app1.ResourceCollection.Add(new Resource()
            {
                ResourceName = "Dr.Darsy",
                TypeName = "Doctors"
            });


            schedule.Appointments.Add(app);
            schedule.Appointments.Add(app1);