Add Syncfusion® UWP Controls
22 Jan 20257 minutes to read
The Syncfusion® UWP controls can be added in a Visual Studio projects by using either of the following ways,
- Through Designer
- Through Code-Behind
- Through Project Templates
- Through NuGet Packages
Through Designer
Syncfusion® UI for UWP are added automatically to the Visual Studio Toolbox during installation. The following steps helps to add required Essential® UWP control through drag and drop from Toolbox. For example: SfTextBoxExt
-
Create a Universal Windows Platform project in Visual Studio.
-
Find
SfTextBoxExtby typing the text “SfTextBoxExt” in search box.
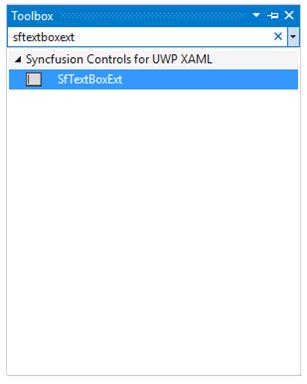
3.Drag SfTextBoxExt and drop it in the designer.

Through XAML
The following steps helps to add a required Essential® UWP control through XAML Code, for example: SfTextBoxExt.
1.Create a Universal Windows Platform project in Visual Studio and refer the following assemblies.
- Syncfusion.SfInput.UWP.dll
- Syncfusion.SfShared.UWP.dll
2.Include XML namespace for the above assemblies in MainPage.xaml.
<Page xmlns="(http://schemas.microsoft.com/winfx/2006/xaml/presentation"

xmlns:x="http://schemas.microsoft.com/winfx/2006/xaml"

xmlns:input="using:Syncfusion.UI.Xaml.Controls.Input">
3.Now, Add the SfTextBoxExt control with a required optimal name, using the included namespace.
<input:SfTextBoxExt x:Name="sftextboxExt">Through Code-Behind
Syncfusion® UI for UWP can added at runtime using C# / VB. The following steps helps to add required Essential® UWP control through code. For example: SfTextBoxExt.
1.Create a Universal Windows Platform project in Visual Studio and refer to the following assemblies.
- Syncfusion.SfInput.UWP.dll
- Syncfusion.SfShared.UWP.dll
2.Create an instance of SfTextBoxExt using its namespace and set the required properties.
Syncfusion.UI.Xaml.Controls.Input.SfTextBoxExt textBoxExt1 = new Syncfusion.UI.Xaml.Controls.Input.SfTextBoxExt();

textBoxExt1.Height = 20;

textBoxExt1.Width = 120;

textBoxExt1.Margin = new Thickness(10, 10, 10, 10);

textBoxExt1.VerticalAlignment = VerticalAlignment.Center;

textBoxExt1.HorizontalAlignment = HorizontalAlignment.Center;
Dim textBoxExt1 As New Syncfusion.UI.Xaml.Controls.Input.SfTextBoxExt()
textBoxExt1.Height = 20
textBoxExt1.Width = 120
textBoxExt1.Margin = New Thickness(10, 10, 10, 10)
textBoxExt1.VerticalAlignment = VerticalAlignment.Center
textBoxExt1.HorizontalAlignment = HorizontalAlignment.Center3.Add the created instance to MainPage.
this.Content = textBoxExt1;Me.Content = textBoxExt1NOTE
Syncfusion® controls for UWP package can be added (available under Universal Windows Platform => Extensions tab in Add reference dialog) in the cases of using most of the controls from Syncfusion® toolkit.
Through Project Templates
Syncfusion® provides the Visual Studio Project Templates for the Syncfusion® UWP platform to create Syncfusion® UWP Applications.
IMPORTANT
The Syncfusion® UWP project templates are available from Essential Studio® v15.3.0.26.
Create Syncfusion® UWP Application
The following steps direct you to create the Syncfusion UWP Application through the Visual Studio Project Template.
-
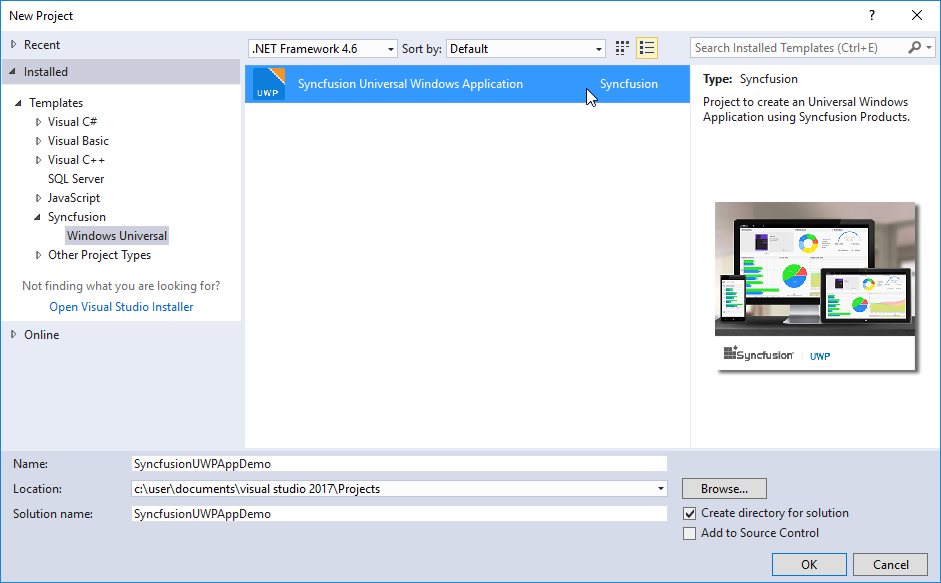
To create a Syncfusion® UWP project, choose New Project-> Syncfusion->Universal Windows->Syncfusion Universal Windows Application from Visual Studio.
-
Name the Project and choose the destination location if required, then click OK.
-
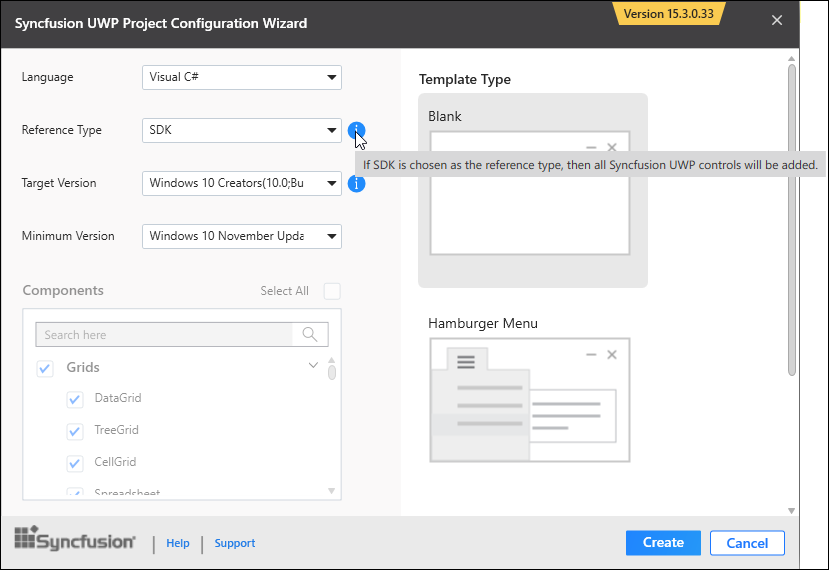
Then Project Configuration Wizard appears. Choose the options to configure the Syncfusion® UWP Application by using the following Project Configuration dialog.
Project configurations:
Language: Select the language, either Visual C# or Visual Basic.
Reference Type: Select the reference type of UWP Project, either Assemblies or SDK.
Target Version: Choose the Target Version of the UWP platform that your project is targeting. This sets the TargetPlatformVersion setting in your project file.
Minimum Version: Choose the Minimum Version of the UWP platform that your project can work with. This sets the TargetPlatformMinVersion setting in your project file.
Template Type: Select the template type of UWP Project, either Blank or Hamburger Menu or Hamburger Menu (MVVM).
Components: Choose the required Syncfusion® components to configure.
NOTE
If SDK is chosen as the reference type, then all the Syncfusion® UWP controls will be added. So, you no need to select any components.
-
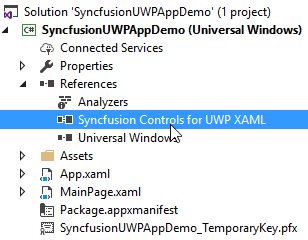
Once you click Create button, the Syncfusion® UWP Application is created.
-
Once the Project Configuration Wizard is done, the Syncfusion® UWP Application is created with required SDK/references and pages.
-
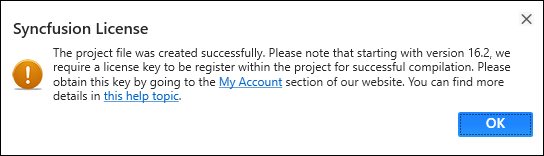
Then, Syncfusion® licensing registration required message box will be shown as follow, if you are installed the trial setup or NuGet packages since Syncfusion® introduced the licensing system from 2018 Volume 2 (v16.2.0.41) Essential Studio® release. Please navigate to the help topic which is shown in the licensing message box to generate and register the Syncfusion® license key to your project. Refer to this blog post for understanding the licensing changes introduced in Essential Studio®.
Through NuGet Packages
Syncfusion® UI for UWP are added automatically to the specific Visual Studio UWP application Toolbox during Syncfusion® NuGet package installation. Please refer below topic to configure and install the Syncfusion® UWP NuGet packages in UWP application from Visual Studio.
Configuring Syncfusion NuGet packages in Visual Studio
After Installed required Syncfusion® UWP NuGet packages in your application, we can utilize the Syncfusion® UWP controls by following ways.
- Through Designer
- Through XMAL
- Through Code-Behind
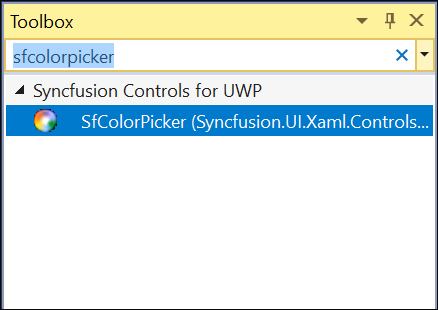
1.Syncfusion® UI for UWP are added automatically to the specific Visual Studio UWP application Toolbox during Syncfusion® NuGet package installation. We can add required Syncfusion® UWP control through drag and drop from ToolBox. Toolbox configured from Syncfusion® UWP NuGet package, controls will be listed under “Syncfusion® controls for UWP” category. For example: SfColorPicker
NOTE
Toolbox configuration by installing UWP NuGet packages support available from v15.4.0.17.
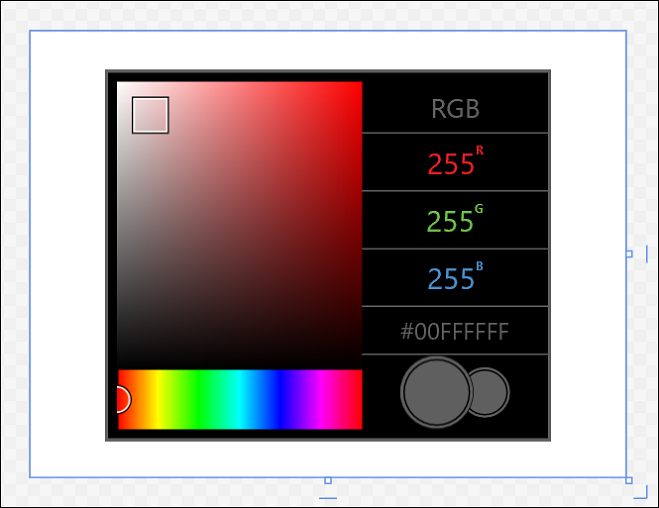
2.The following steps helps to add a required Essential® UWP control through XAML code, for example: SfColorPicker
a. Include the namespace for Syncfusion.SfColorPickers.UWP assembly from Syncfusion.SfColorPickers.UWP NuGet package in MainPage.xaml.
<Page xmlns="http://schemas.microsoft.com/winfx/2006/xaml/presentation"

        xmlns:x="http://schemas.microsoft.com/winfx/2006/xaml"

        xmlns:media="using:Syncfusion.UI.Xaml.Controls.Media">
b. Now add the SfColorPicker control with a required optimal name using the included namespace
<media:SfColorPicker x:Name="colorPicker">3.The following steps helps to add a required Essential® UWP control through code, for example: SfColorPicker
a. Include the namespace for Syncfusion. SfColorPickers.UWP assembly in MainPage.xaml.cs
using Syncfusion.UI.Xaml.Controls.Media;Imports Syncfusion.UI.Xaml.Controls.Mediab. Now add the SfColorPicker control with a required optimal name
SfColorPicker colorPicker = new SfColorPicker();Dim colorPicker As New SfColorPicker()