IMPORTANT
Starting with version 4.1.0.x, Dashboard Platform SDK has been temporarily suspended from working with dashboards that are created using web-based Dashboard Designer integrated within Dashboard Server.
TypeScript
Overview
The Syncfusion Dashboard Platform SDK provides the default type definition file ej.dashboardviewer.all.d.ts to include the support for type-checking while initializing the DashboardViewer. The important step you need to do is to copy the ej.dashboardviewer.all.d.ts file into your project and then need to refer it in your TypeScript application (app.ts file), so that you will get the IntelliSense support and the compile time type-checking.
Apart from ej.dashboardviewer.all.d.ts file, it is also necessary to make use of the jquery.d.ts file in your TypeScript application.
Prerequisites
To work with TypeScript, the below mentioned System requirements are necessary,
- Microsoft Visual Studio 2012 or higher [upto VS2017]
- Install the TypeScript Extension for Visual Studio.
Creating a TypeScript application with DashboardViewer Control Wrapper
Start Visual Studio 2015 and Create a new TypeScript Application from File|New|Project and save it with a meaningful name as shown below (Select the TypeScript option, which is available by default in the listed Templates on the left side pane in the New Project ),

Add the required Scripts and style sheets into your Project, as shown below – Copy the required Scripts ,themes and fonts from the sample installed location on your machine into your new TypeScript application for rendering the DashboardViewer.
Here is the default sample installation location.
%localappdata%\Syncfusion\Dashboard Platform SDK\Getting Started Samples\JavaScript\typescript app

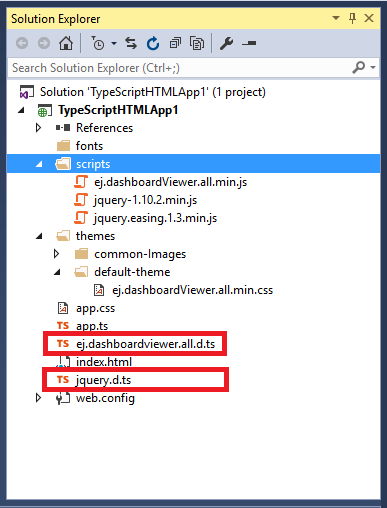
Scripts & themes and fonts folder copied into current project
Add the ej.dashboardviewer.all.d.ts and jquery.d.ts type-definition files in your project and refer it in the app.ts file of your project as shown below,which is available in sample installed location mentioned below,
%localappdata%\Syncfusion\Dashboard Platform SDK\Getting Started Samples\JavaScript\typescript app\tsFiles
Now, refer these two files within the app.ts file (before referring these files, remove all the unwanted content in that app.ts file) as shown below,
/// <reference path="jquery.d.ts" />
/// <reference path="ej.dashboardviewer.all.d.ts" />
Within the Index.html page, define the container name for the DashboardViewer control to be used and make the Script and CSS references in this page as shown below,
<html>
    <head>
    <title>Getting Started TypeScript - DashboardViewer</title>
	<link href="themes/default-theme/ej.dashboardViewer.all.min.css" rel="stylesheet">

    <script src="scripts/jquery-1.10.2.min.js"></script>
	<script src="scripts/jquery.easing.1.3.min.js"></script>
    <script src="scripts/ej.dashboardViewer.all.min.js"></script>
    <script src="app.js"></script>
    <style>
    body, html, #dashboard {
              overflow: hidden !important;
	          width: 100%;
              height: 100%;
    }
    </style>
    </head>
    <body style="background-color: #fcf7f7; height: 100%; width: 100 %;">
       <!-- Control Initialization -->
    </body>
    </html>
Control Initialization
The DashboardViewer can be created from a HTML ‘div’ element with the HTML ‘id’ attribute.
<div class="content-container-fluid" style="height:100%;width:100%;">
        <div style="height:100%;width:100%;" id="dashboard">
        </div>
 </div>
open the app.ts file and paste the below code
/// <reference path="jquery.d.ts" />
/// <reference path="ej.dashboardviewer.all.d.ts" />

module DashboardViewerComponent {
    $(function () {
        var dashboardviewer = new ej.DashboardViewer($("#dashboard"), {
            dashboardPath: "https://dashboardsdk.syncfusion.com//Dashboards//WorldWideCarSalesDashboard.sydx",
            serviceUrl: "https://dashboardsdk.syncfusion.com/DashboardService/DashboardService.svc"

        });
   });
}
NOTE
Provided online Dashboard Service URL and Dashboard Path are for demo purpose.
Make sure the given dashboard path should be accessible with the given Dashboard Service URL.
Now build your application, so that the app.js file is automatically generated and got added to your project (User have nothing to do with this file). Now, whatever code changes that you make in app.ts file will be reflected in app.js file automatically.
Usually, the DashboardViewer widget initialization is done within this app.ts file using either of the following two ways.
- Widget Class
- jQuery Interface
Widget Class
Initialization of DashboardViewer widget can be done through the instance created for its class.
Initializing DashboardViewer widget through ej.DashboardViewer class
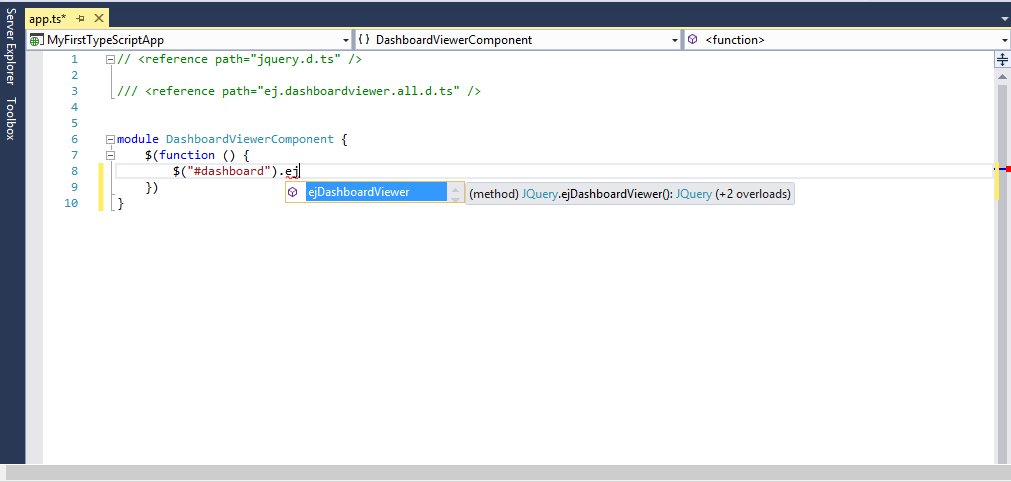
jQuery Interface
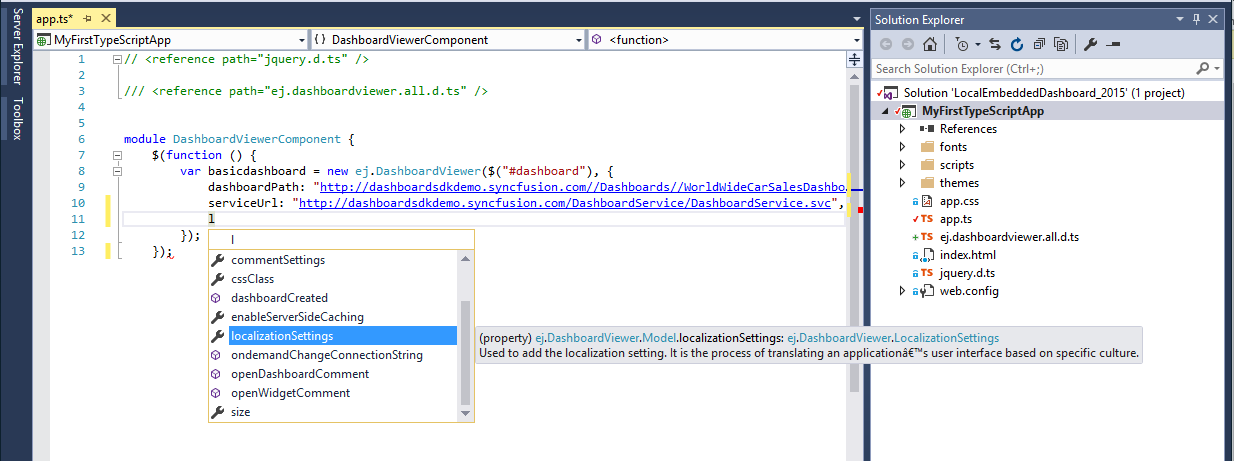
Here, the widget are initialized using the plug-in name, by passing all the required widget properties to it. The property names can be accessible through intelliSense and while providing input values to those properties – if any wrong data values were assigned to the properties by the user, then it will be automatically notified to the user at the compile time itself with an error message.
Initializing the DashboardViewer widget through intelliSense
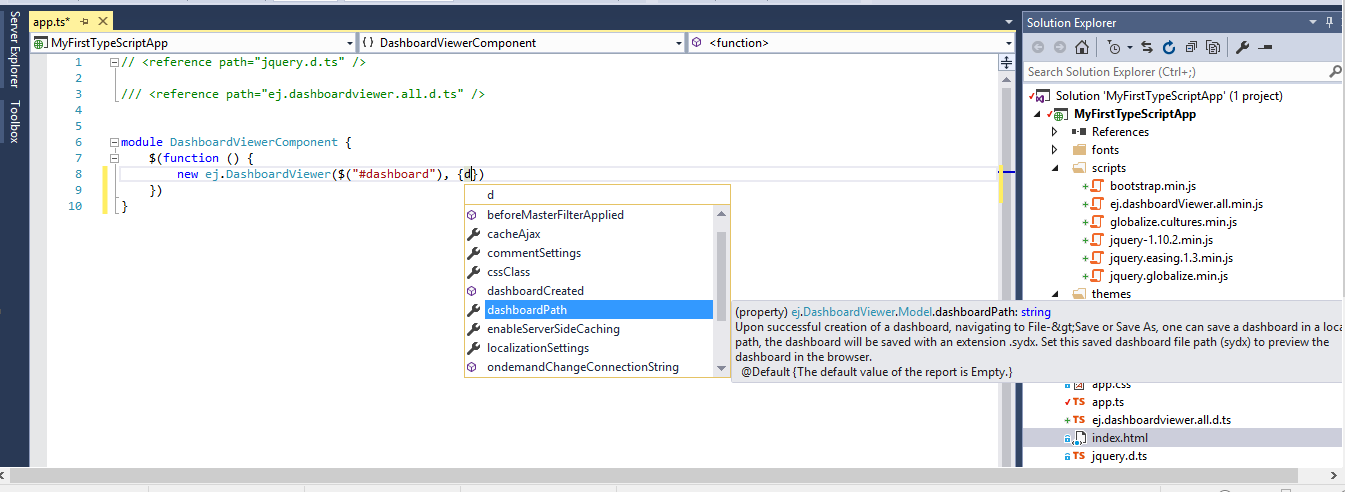
Configuring the DashboardViewer properties
Configure the Service URL and the dashboard file to access through respective properties to render in DashboardViewer.
Binding Dashboard Service
To initiate the dashboard service instance you can follow anyone of the below methods
IMPORTANT
Hosting dashboard service at IIS is recommended for the production environment for object management and other memory management features.
Running the application
Build and Run your new TypeScript Project. DashboardViewer will be rendered with a dashboard embedded like below.

