Getting Started
JSP
System Requirements
To work with JSP, you need to meet the below configuration.
- Java Development Kit (JDK), Java Runtime Environment (JRE) version (1.7 or 1.8) needs to be installed and configured.
- Any web servers (Apache Tomcat 7) that’s supports the Java Servlet, JSP specification. Also, ensure that the web servers need to be tested and configured with the IDE.
- Eclipse IDE for Enterprise developers with J2EE support – (Lune, Kepler, Mars, or later) or NetBeans IDE with Java2E support.
Steps to deploy the DashboardViewer JSP demo in Apache Tomcat
- Download the Apache Tomcat from the official download page.
- You can find a DashboardViewer JSP sample JSP from [Dashboard Platform SDK] (https://help.syncfusion.com/dashboard-platform/dashboard-sdk/installation-and-deployment) build installed location mentioned below.
%localappdata%\Syncfusion\Dashboard Platform SDK\Getting Started Samples\JSP\DashboardViewer
- Copy the DashboardViewer folder to your Webapps folder of Apache Tomcat.
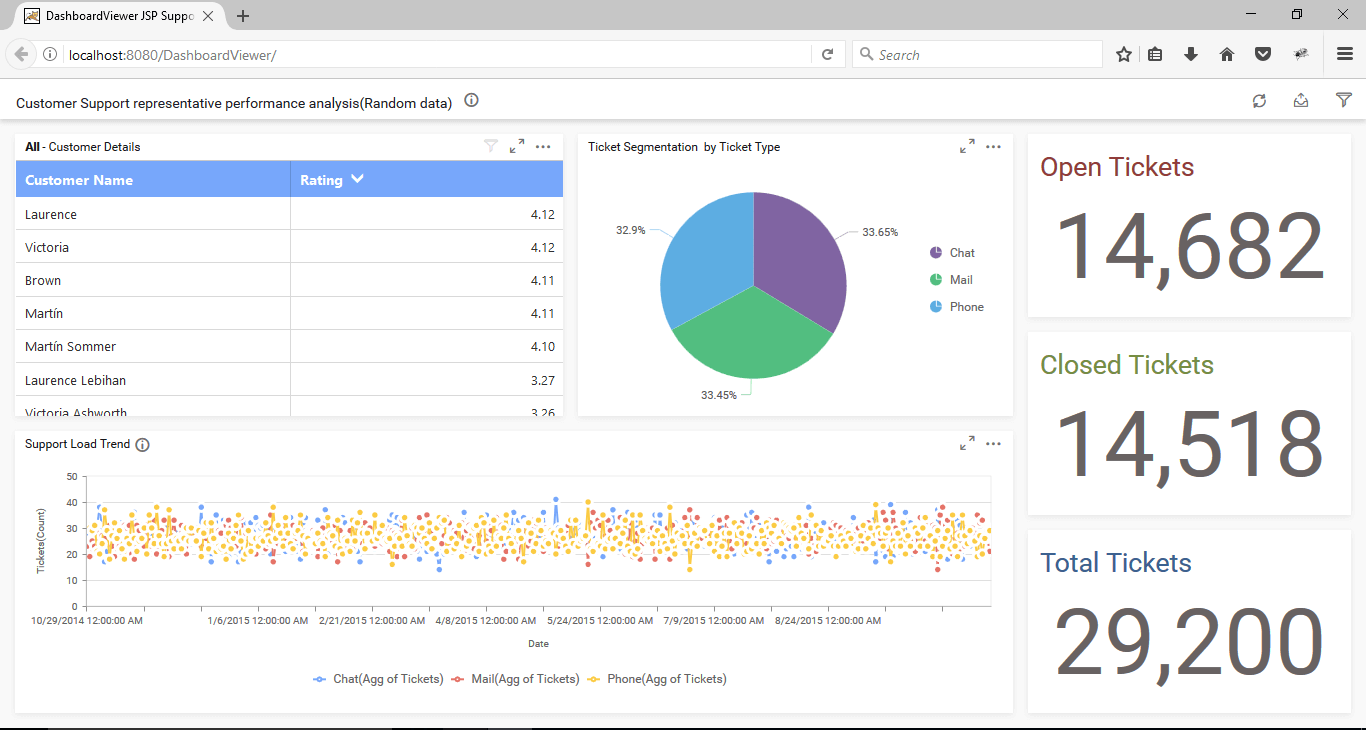
- Browse to http://localhost:8080/DashboardViewer to see the Dashboard.
Create a DashboardViewer JSP Dynamic web application with Eclipse environment
To use DashboardViewer JSP in eclipse environment, follow the steps below:
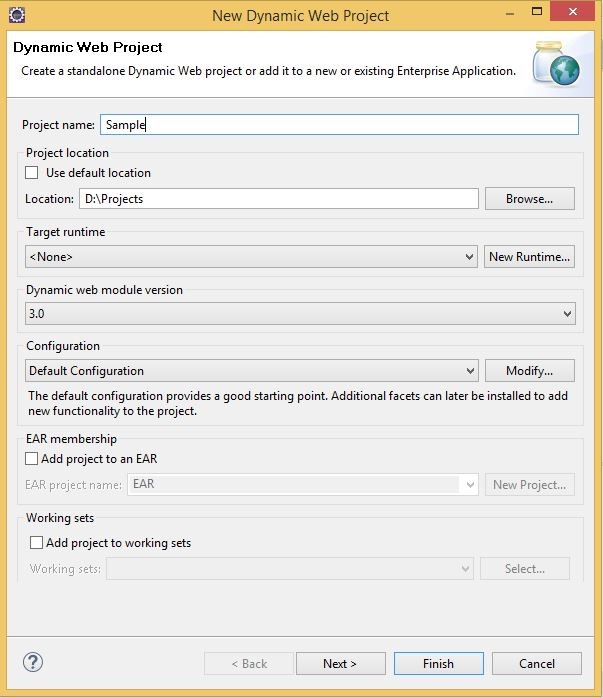
- To create the Dynamic web project from File -> New -> Dynamic web project.
-
In this Dynamic Web project window specify the project name and click the Next button to create the project.
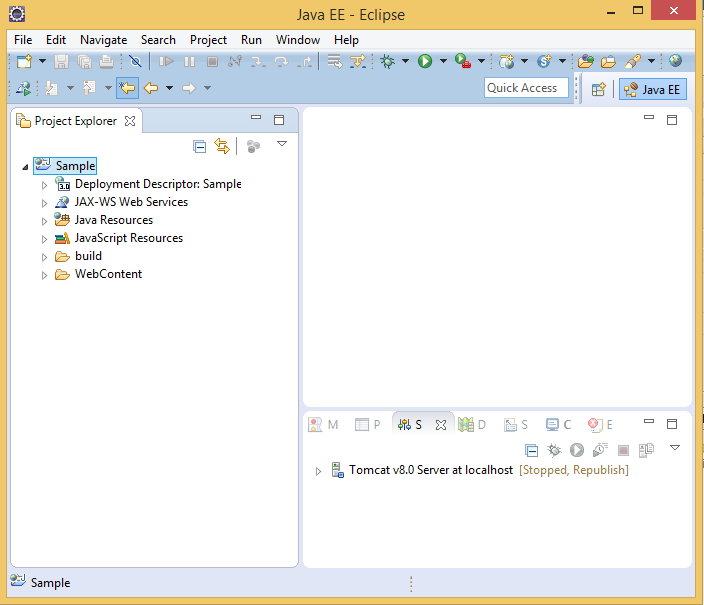
-
Once the project has been created successfully, the project file showcased in the left side project Explorer pane in the IDE.
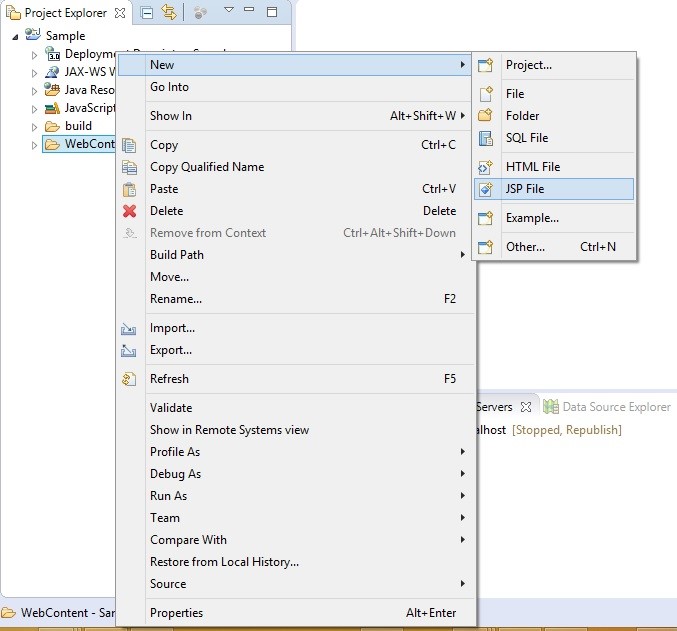
-
Then add the new JSP file to the project by right click the WebContent folder in your project and choose New -> JSP.
-
Specify the file name for your new JSP file.

-
Now the JSP file created with default template content.

-
Copy the scripts, themes and fonts folders from Dashboard Platform SDK build installed location
%localappdata%\Syncfusion\Dashboard Platform SDK\Getting Started Samples\JSP\DashboardViewerand paste into your project WebContent folder. Then, add the scripts and CSS references in the order mentioned below.
Example
<html>
      <head>
      <title> Getting Started DashboardViewer JSP </style>
	  <link href="Content/themes/default-theme/ej.dashboardViewer.all.min.css" rel="stylesheet" />
      <script type="text/javascript" src="scripts/jquery-1.10.2.min.js"></script>
      <script type="text/javascript" src="scripts/jquery.easing.1.3.min.js"></script>
      <script type="text/javascript" src="scripts/ej.dashboardViewer.all.min.js"></script>
      <style>
           #dashboard, html, body{
               height:100%;
               width:100%;
               overflow:hidden !important;
           }
      </style>
      </head>
      <body>
           < !-- DashboardViewer JSP Custom Tag -->
      </body>
</html>-
Now add the DashboardViewer JSP source package from \JSP\DashboardViewer\WEB-INF\lib\syncfusion.dashboardviewer.jar to your project’s /WebContent/WEB-INF/lib folder.
-
Add the Custom taglib from \JSP\DashboardViewer\WEB-INF\EJ.tld to your project’s /WebContent/WEB-INF.
-
Import the DashboardViewer component package into your JSP page.
Example
<%@ page import="com.syncfusion.*"%>-
Add the mapping Tag Library descriptor (tld) file to support Dashboard Platform SDK DashboardViewer JSP custom tag.
Example
<%@ taglib prefix="ej" uri="/WEB-INF/EJ.tld"%>-
Use the Dashboard Platform SDK DashboardViewer JSP custom tag within your JSP file.
Example
<div class="content-container-fluid" style="height:100%; width:100%;">
            <ej:dashboardViewer id="dashboard" serviceUrl="https://dashboardsdk.syncfusion.com/DashboardService/DashboardService.svc" dashboardPath="https://dashboardsdk.syncfusion.com//Dashboards//WorldWideCarSalesDashboard.sydx"></ej:dashboardViewer>
    </div>
NOTE
Make sure the given dashboard path should be accessible with the given Dashboard Service URL.
Provided online Dashboard Service URL above, only for demo purpose.
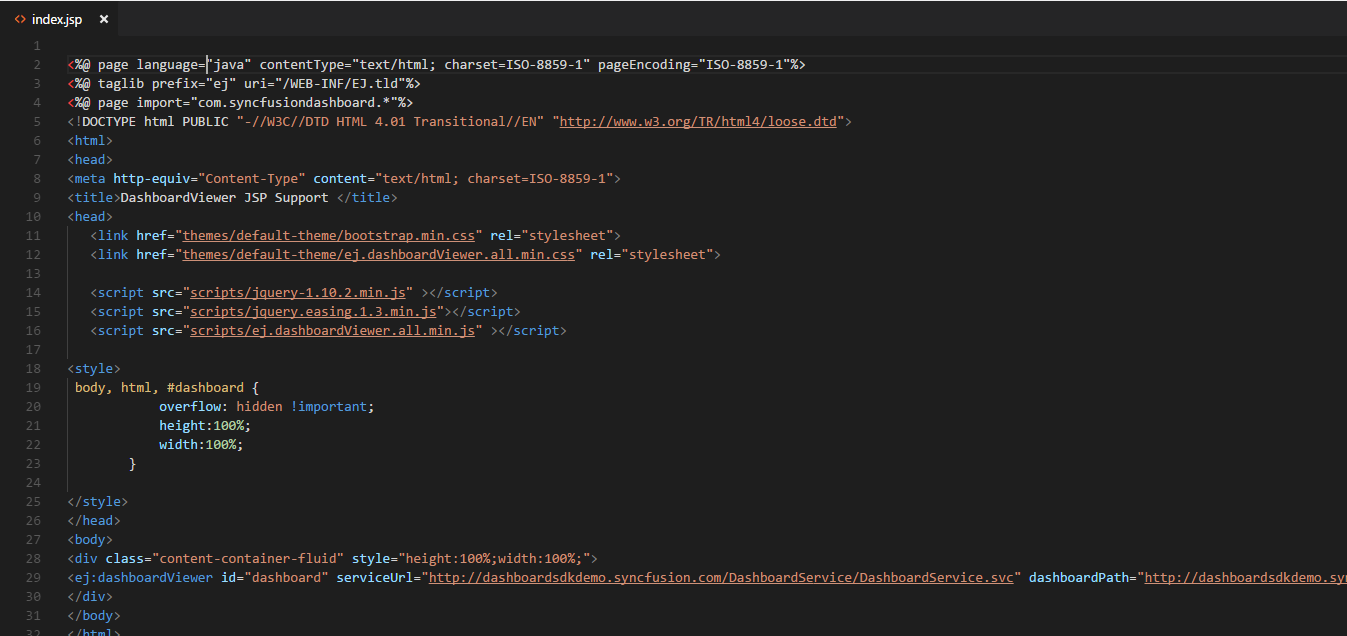
- Finally, the index.jsp file looks like below:
Binding Dashboard Service
To initiate the dashboard service instance you can follow anyone of the below methods
IMPORTANT
Hosting dashboard service at IIS is recommended for the production environment for object management and other memory management features.
Start the server to deploy our project
- For initial time server configuration open the Windows -> Preferences options.
-
In Preferences window, choose the Server -> Runtime Environment.
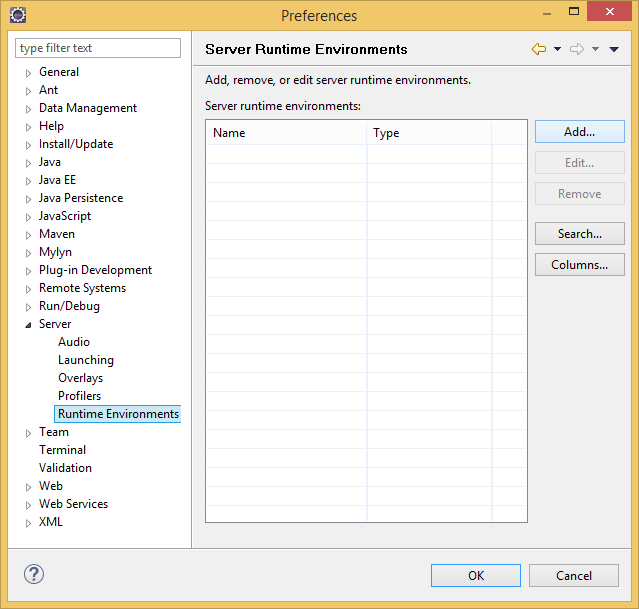
- Now click the Add button to configure the new server for your project deployment.
-
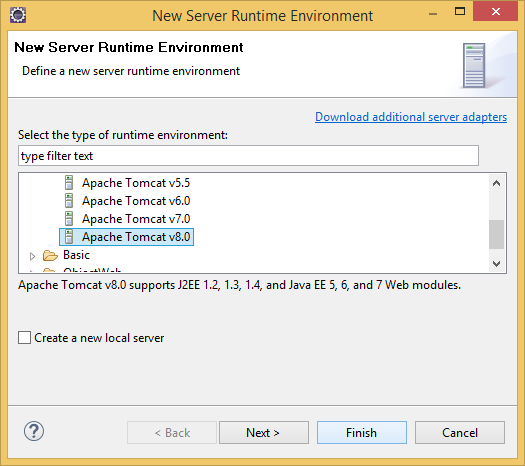
In this New Server Runtime Environment window, choose the latest Apache Tomcat version and click the Next button.
-
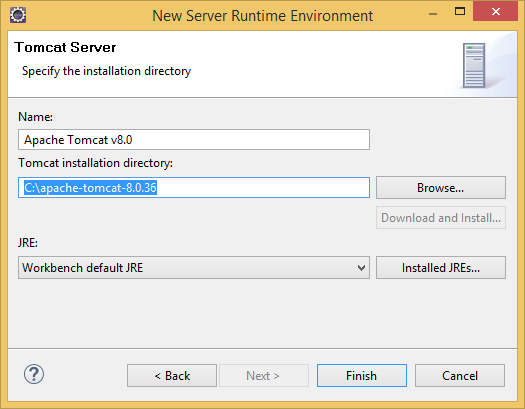
Now specify your Apache Tomcat installation location by using browse button. Then Click the Finish button to complete server configurations.
-
Now your application is ready for deployment. Right click your project in your Project Explorer window, then choose the Run As - > Run on Server option.

-
In the Run on Server Window select our Apache Tomcat version and click the Next button.
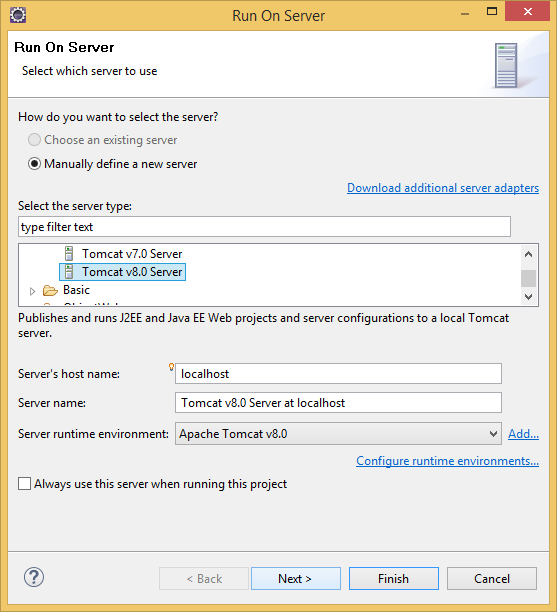
-
Select your application project in the right side pane and click the Finish button.
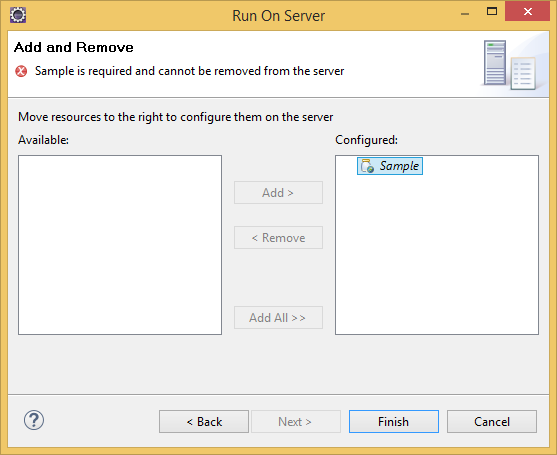
-
Now your JSP sample will be deployed in Apache sever and the output will be displayed.