- HTML page creation
Contact Support
Embedding Dashboard Viewer in a HTML page
HTML page creation
Create a new document and save it as .html extension.
Adding required files in HTML page
NOTE
Follow the link to install Dashboard Platform SDK.
Adding help files
After installing Dashboard SDK setup, scripts, themes, font folders will be found in the below location.
%localappdata%\Syncfusion\Dashboard Platform SDK\Getting Started Samples\Common\Html
Include these scripts, themes, font folders in your application and refer the files of each folder in the HTML page as mentioned below:
<head>
<script src="scripts/jquery-1.10.2.min.js"></script>
<script src="scripts/jquery.easing.1.3.min.js"></script>
<script src="scripts/ej.dashboardViewer.all.min.js"></script>
<link href="themes/default-theme/ej.dashboardViewer.all.min.css" rel="stylesheet" />
</head>
Hosting Dashboard Service
After installing the Dashboard SDK setup you will find Service and DashboardServiceInstaller folder in the following location and these folders are required to start the Dashboard Service.
%localappdata%\Syncfusion\Dashboard Platform SDK\Getting Started Samples\Common
To host the Dashboard Service in IIS, Please run the SyncfusionDashboardServiceInstaller-IIS.exe from the following location and enter the port number in which dashboard service to be hosted.
%localappdata%\Syncfusion\Dashboard Platform SDK\DashboardServiceInstaller
For Example:
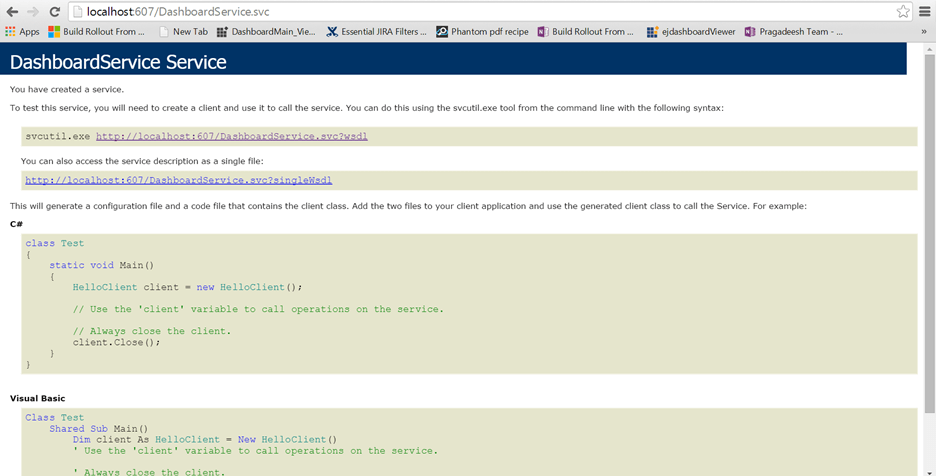
If you are hosting Dashboard Service at port #607 in localhost, then Dashboard Service URL will be framed as below:
http://localhost:607/DashboardService.svc
Open this URL in any of the browser and make sure Dashboard Service is running.
Adding Dashboard Service and Dashboard File Location
Add the hosted Dashboard Service URL and the Dashboard file (*.SYDX) file location to the Dashboard Viewer like below.
<div id="dashboard" style="width: 100%; height: 100%;" ></div>
   <script type="text/javascript">
    $(document).ready(function () {
    $('#dashboard').ejDashboardViewer({
 serviceUrl: "http://localhost:607/DashboardService.svc",
 dashboardPath: "D:\\Syncfusion\\Dashboard\\Dashboards\\WorldWideCarSalesDashboard.sydx",
 });
  });
  </script>
NOTE
The Dashboard file path should be accessible from the provided Dashboard Service path (or link).
NOTE
To initiate the dashboard service instance you can follow anyone of the below methods
NOTE
NOTE
NOTE
Finally you get the complete Dashboard Viewer Sample structure like below.
<html>
<style>
body, html {
height: 100%;
overflow: auto !important;}
</style>
<head>
<script src="scripts/jquery-1.10.2.min.js"></script>
<script src="scripts/jquery.easing.1.3.min.js"></script>
<script src="scripts/ej.dashboardViewer.all.min.js"></script>
<link href="themes/default-theme/ej.dashboardViewer.all.min.css" rel="stylesheet" />
</head>
<body>
  <div id="dashboard" style="width: 100%; height: 100%;" ></div>
   <script type="text/javascript">
    $(document).ready(function () {
    $('#dashboard').ejDashboardViewer({
 serviceUrl: "http://localhost:607/DashboardService.svc",
 dashboardPath: "D:\\Syncfusion\\Dashboard\\Dashboards\\WorldWideCarSalesDashboard.sydx",
 });
  });
  </script>
</body>
</html>
IMPORTANT
Hosting dashboard service at IIS is recommended for the production environment for object management and other memory management features.
