Getting Started with WPF Tile Control
18 Nov 20183 minutes to read
This section explains how to get started with the Hub Tile and Pulsing Tile controls in a WPF application.
Assembly deployment
Refer to the Hub Tile and Pulsing Tile control dependencies sections for the list of assemblies and NuGet package required to use these controls in a WPF application.
Creating a simple application with Hub Tile and Pulsing Tile
In this walkthrough, you will create a WPF application that contains Hub Tile and Pulsing Tile controls.
Adding control via Designer
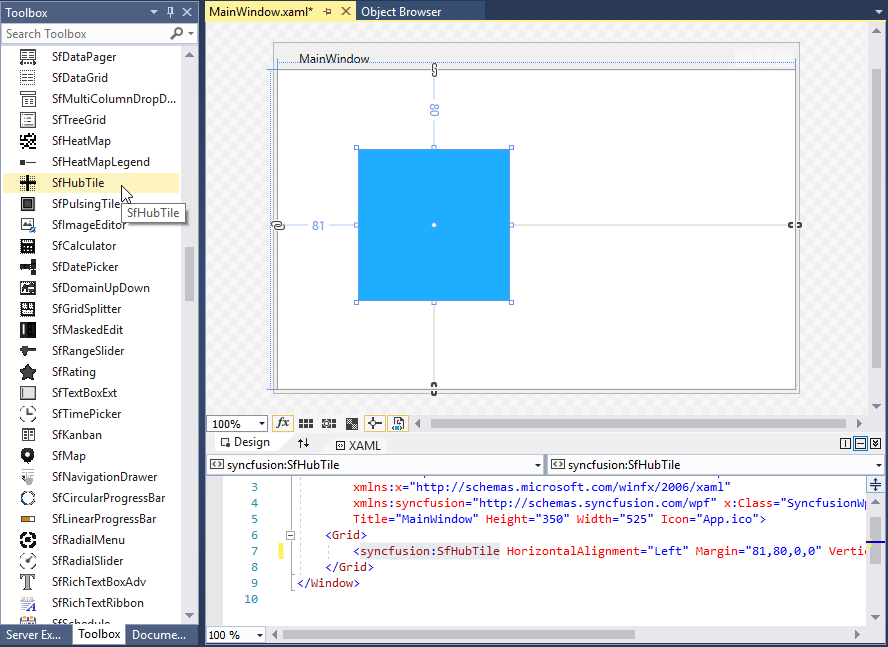
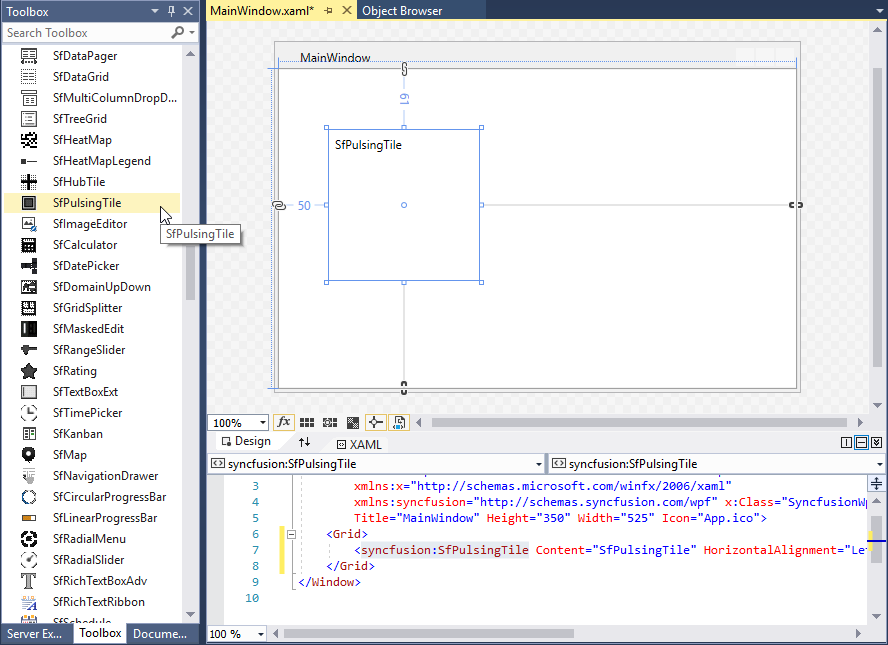
You can add the Hub Tile and Pulsing Tile controls to your application by dragging SfHubTile and SfPulsingTile from the Toolbox and dropping them onto the designer surface. When you add the controls through the designer, the required assemblies, such as Syncfusion.SfHubTile.WPF and Syncfusion.SfShared.WPF, are automatically added to the project. The following XAML code is generated automatically.
<!--For Hub Tile-->
<syncfusion:SfHubTile Content="SfHubTile" HorizontalAlignment="Left" VerticalAlignment="Top"/>
<!--For Pulsing Tile-->
<syncfusion:SfPulsingTile Content="SfPulsingTile" HorizontalAlignment="Left" VerticalAlignment="Top"/>
syncfusionin XAML is an auto-generated namespace.
Adding control manually in XAML
To add the controls manually in XAML, follow these steps:
- Add the following required assembly references to the project.
- Syncfusion.SfHubTile.WPF
- Syncfusion.SfShared.WPF
- Import the Syncfusion WPF schema
http://schemas.syncfusion.com/wpfor the control namespaceSyncfusion.Windows.Controls.Notificationin the XAML page. -
Add the
SfHubTileandSfPulsingTilecontrols to the XAML page.<Window xmlns="http://schemas.microsoft.com/winfx/2006/xaml/presentation" xmlns:x="http://schemas.microsoft.com/winfx/2006/xaml" xmlns:syncfusion="http://schemas.syncfusion.com/wpf" x:Class="WpfApplication1.MainWindow" Title="MainWindow" Height="350" Width="525"> <Grid x:Name="grid"> <!--Hub Tile--> <syncfusion:SfHubTile Content="This is a Hub Tile" HorizontalAlignment="Left"/> <!--Pulsing Tile--> <syncfusion:SfPulsingTile Content="This is a Pulsing Tile" HorizontalAlignment="Right"/> </Grid> </Window>
Adding control manually in C#
To add the control manually in C#, follow these steps:
- Add the following required assembly references to the project.
- Syncfusion.SfHubTile.WPF
- Syncfusion.SfShared.WPF
- Import the
Syncfusion.Windows.Controls.Notificationnamespace. -
Create instances of
SfHubTileandSfPulsingTile, and then add them to the layout container. - C#
using Syncfusion.Windows.Controls.Notification;

namespace WpfApplication1
{
	public partial class MainWindow : Window
	{
		public MainWindow()
		{
			InitializeComponent();
			// Hub Tile
			SfHubTile hubTile = new SfHubTile();
			hubTile.Content="This is a Hub Tile";
			hubTile.HorizontalAlignment = HorizontalAlignment.Left;
			grid.Children.Add(hubTile);

			//Pulsing Tile
			SfPulsingTile pulseTile = new SfPulsingTile();
			pulseTile.Content="This is a Pulsing Tile";
			pulseTile.HorizontalAlignment = HorizontalAlignment.Right;
			grid.Children.Add(pulseTile);
		}
	}
}
Setting Title, Header, and Image in the Tile
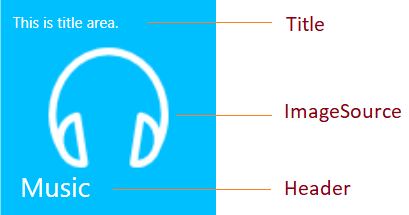
Use the Title, Header and ImageSource properties to specify the title, header, and image displayed in the tile.

Hub Tile
Pulsing Tile
The title is displayed at the top of the tile, the header is displayed at the bottom, and the image is displayed in the center.
Theme
Hub Tile and Pulsing Tile controls support a variety of built-in themes. Refer to the following articles to learn how to apply themes to the Hub Tile and Pulsing Tile controls: