Add Syncfusion® WPF Controls
13 Jul 20266 minutes to read
The Syncfusion® WPF controls can be added to a Visual Studio project by using any of the following ways:
- Using Designer
- Using XAML
- Using Code-Behind
- Using Project Template
Using Designer
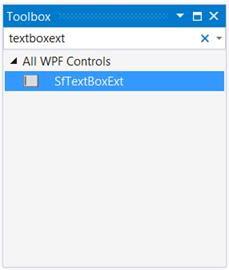
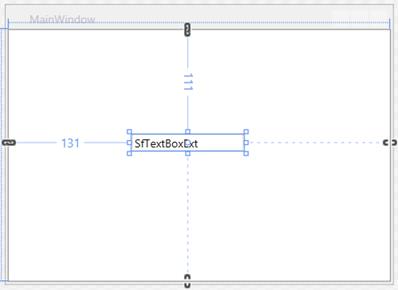
Syncfusion® UI for WPF controls are added automatically to the Visual Studio Toolbox during the installation. The following steps help you to add the required Essential® WPF control using drag and drop from the Toolbox. For example: SfTextBoxExt
-
Create a WPF project in Visual Studio.
-
Find SfTextBoxExt by typing “SfTextBoxExt” in the search box of the Toolbox.
- Drag SfTextBoxExt and drop it in the designer.
Using XAML
The following steps help you to add the required Essential® WPF control using XAML, for example: SfTextBoxExt.
- Create a WPF project in Visual Studio and refer the following assemblies:
- Syncfusion.SfInput.WPF.dll
- Syncfusion.SfShared.WPF.dll
-
Include an XML namespace for the above assemblies to the Main window.
<Window xmlns="http://schemas.microsoft.com/winfx/2006/xaml/presentation" xmlns:x="http://schemas.microsoft.com/winfx/2006/xaml" xmlns:syncfusion="http://schemas.syncfusion.com/wpf"> -
Now, add the SfTextBoxExt control with the required name using the included namespace.
<syncfusion:SfTextBoxExt HorizontalAlignment="Center" Name="textBoxExt1" Margin="10" Height ="20" Width="120" Text="SfTextBoxExt" VerticalAlignment="Center"/>
Using Code-Behind
Syncfusion® UI for WPF controls can be added at runtime using C# / VB. The following steps help you to add a required Essential® WPF control using code. For example: SfTextBoxExt.
-
Create a WPF project in Visual Studio and refer to the following assemblies:
- Syncfusion.SfInput.WPF.dll
- Syncfusion.SfShared.WPF.dll
-
Create an instance of SfTextBoxExt, using its namespace.
using Syncfusion.Windows.Controls.Input;

SfTextBoxExt textBoxExt1 = new SfTextBoxExt();
Imports Syncfusion.Windows.Controls.Input Dim textBoxExt1 As New SfTextBoxExt() -
Set the Size and Alignment of the control with the required values.
textBoxExt1.Height = 20; textBoxExt1.Width = 120; textBoxExt1.Margin = new Thickness(10, 10, 10, 10); textBoxExt1.VerticalAlignment = VerticalAlignment.Center; textBoxExt1.HorizontalAlignment = HorizontalAlignment.Center;textBoxExt1.Height = 20 textBoxExt1.Width = 120 textBoxExt1.Margin = New Thickness(10, 10, 10, 10) textBoxExt1.VerticalAlignment = VerticalAlignment.Center textBoxExt1.HorizontalAlignment = HorizontalAlignment.Center -
Add the created instance to the parent window (or to a layout panel such as a
Grid).// Here this denotes parent Window this.Content = textBoxExt1;' Here this denotes parent Window Me.Content = textBoxExt1

Using Project Template
Syncfusion® provides the Visual Studio Project Templates for the Syncfusion® WPF platform to create Syncfusion® WPF Application.
IMPORTANT
The Syncfusion® WPF templates are available from v16.1.0.24.
Create Syncfusion® WPF project
The following steps direct you to create the Syncfusion® WPF project using the Visual Studio Project Template.
- To create a Syncfusion® WPF project, choose New Project-> Syncfusion->Windows->Syncfusion WPF Application from Visual Studio.
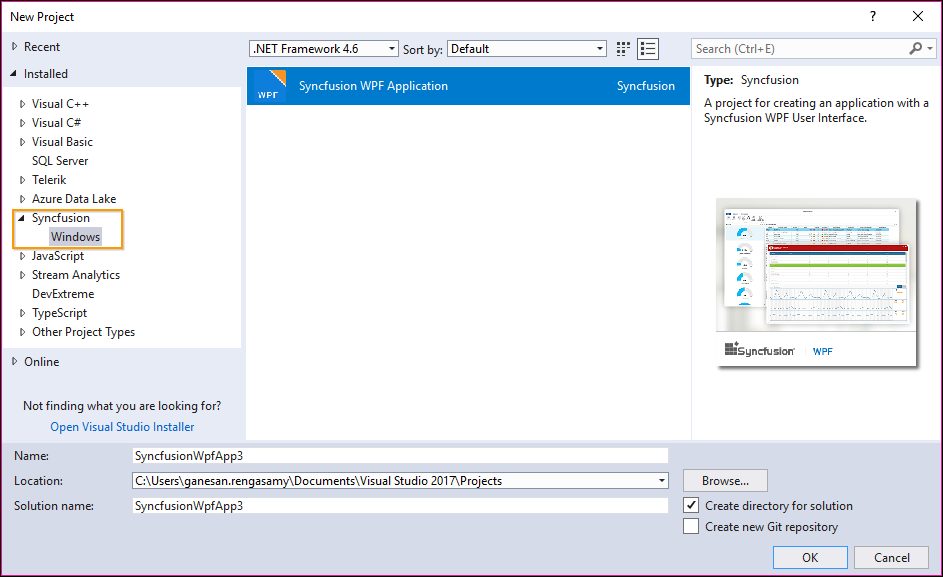
- Name the Project, choose the destination location when required and set the framework of the project, then click OK.
NOTE
Minimum target Framework is 4.0 for Syncfusion® WPF project templates.
- Choose the options to configure the Syncfusion® WPF Application by using the following Project Configuration Wizard.
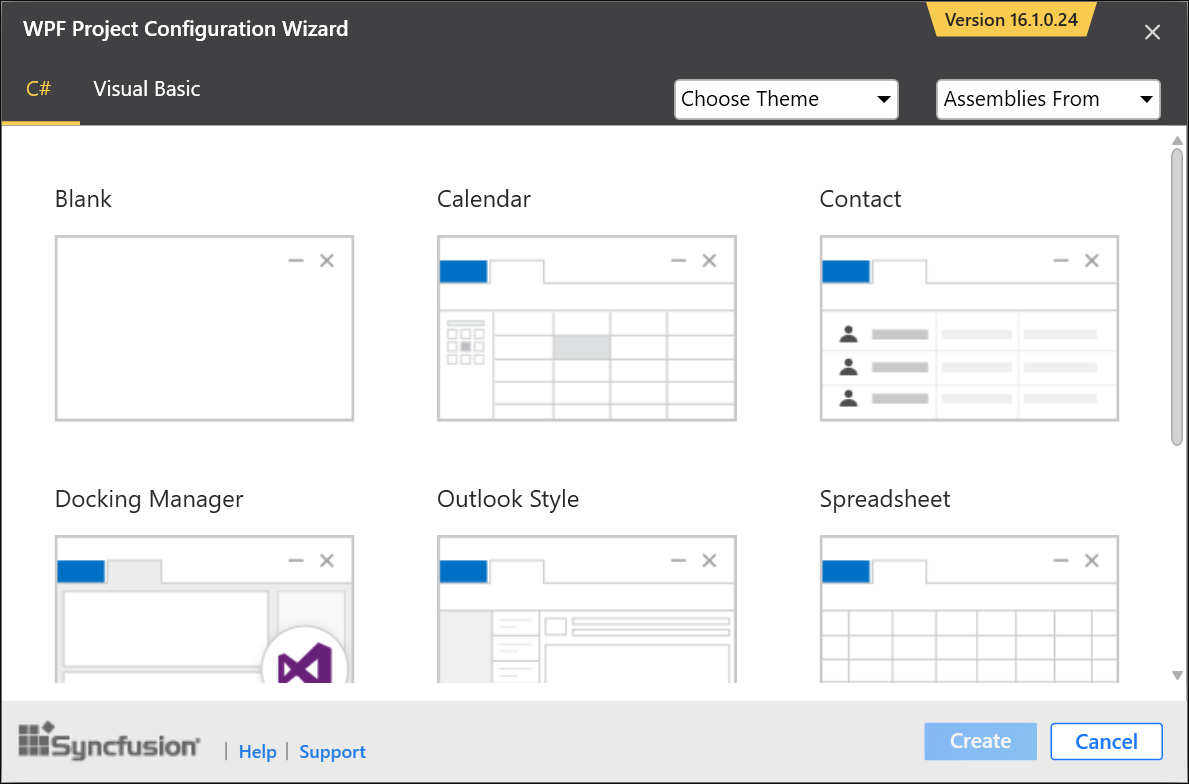
Project configurations
Language: Select the language, either C# or VB.

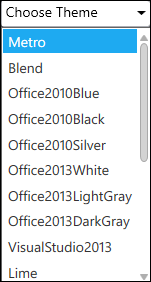
Choose Theme: Choose the required theme.
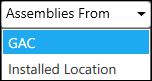
Assemblies From: Choose the assembly location from where it will be added to the project.
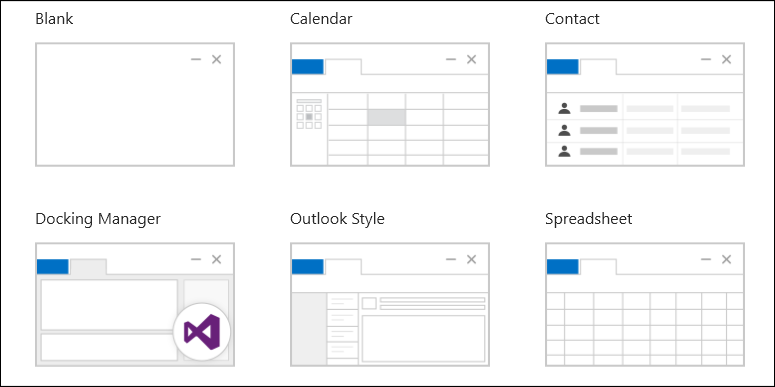
Select Control: Choose the control based on your need.
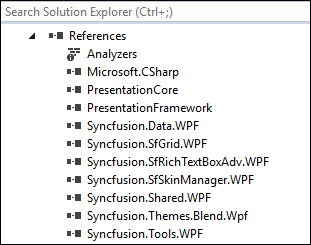
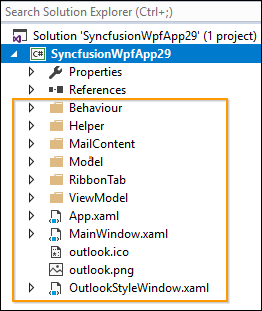
- Once the Project Configuration Wizard is done, the Syncfusion WPF project is created with required references and XAML.
`
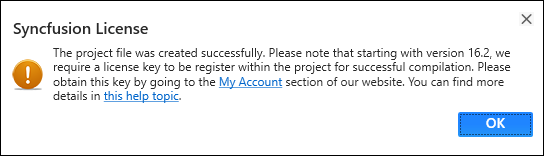
- Then, Syncfusion® licensing registration required message box will be shown as follows, if you have installed the trial setup or NuGet packages since Syncfusion introduced the licensing system with the 2018 Volume 2 (v16.2.0.41) Essential Studio® release. Please navigate to the help topic, which is shown in the licensing message box to generate and register the Syncfusion® license key for your project. Refer to this blog post for understanding the licensing changes introduced in Essential Studio®.