How can I help you?
Installation and Deployment
This section explains on how to install and deploy the Syncfusion Report Server.
Download Setup
- You can download the Report Server setup from here
- Licensed customers can download the install from the downloads section
NOTE
The key to unlock the setup will be sent to your registered e-mail address.
Installation
This topic details the steps required to install the Report Server.
To learn about the system requirements needed to deploy the Report Server in your business environment, see System Requirements.
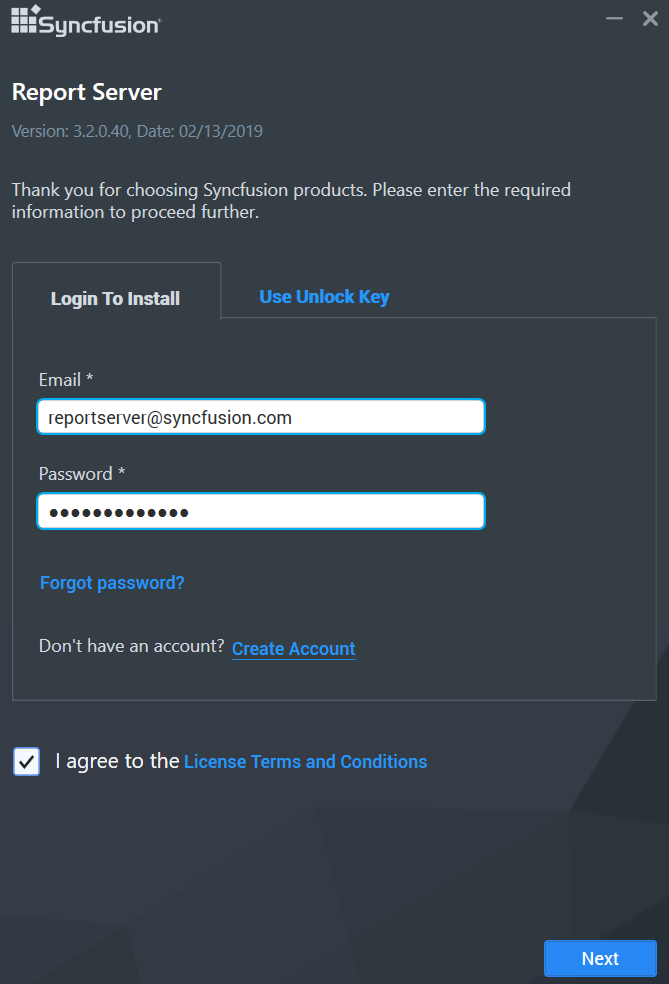
Run the Report Server Installer and type in the credentials of your Syncfusion account to unlock the setup.
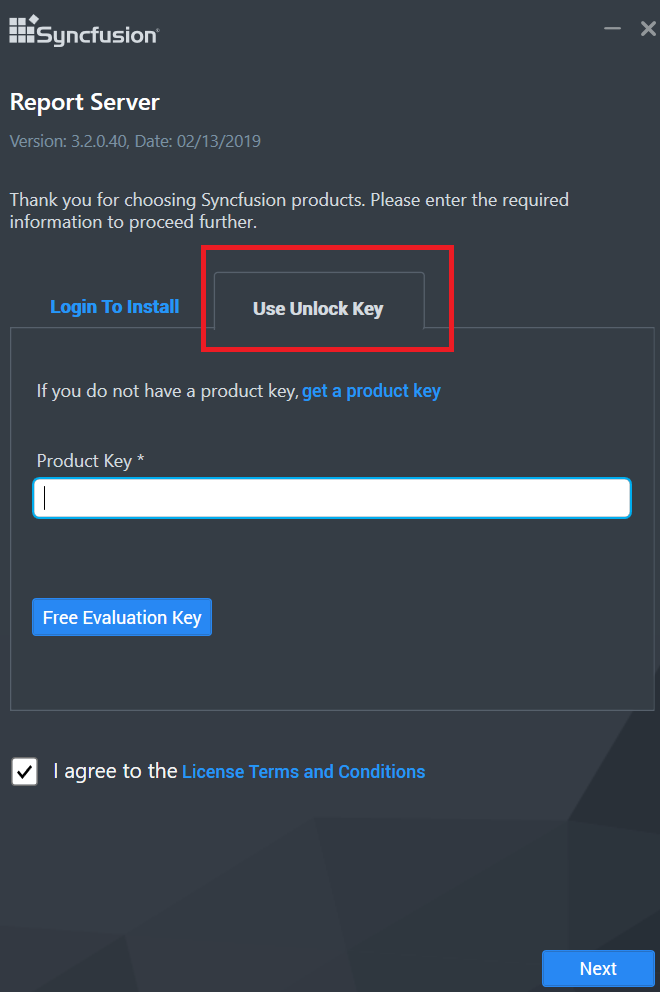
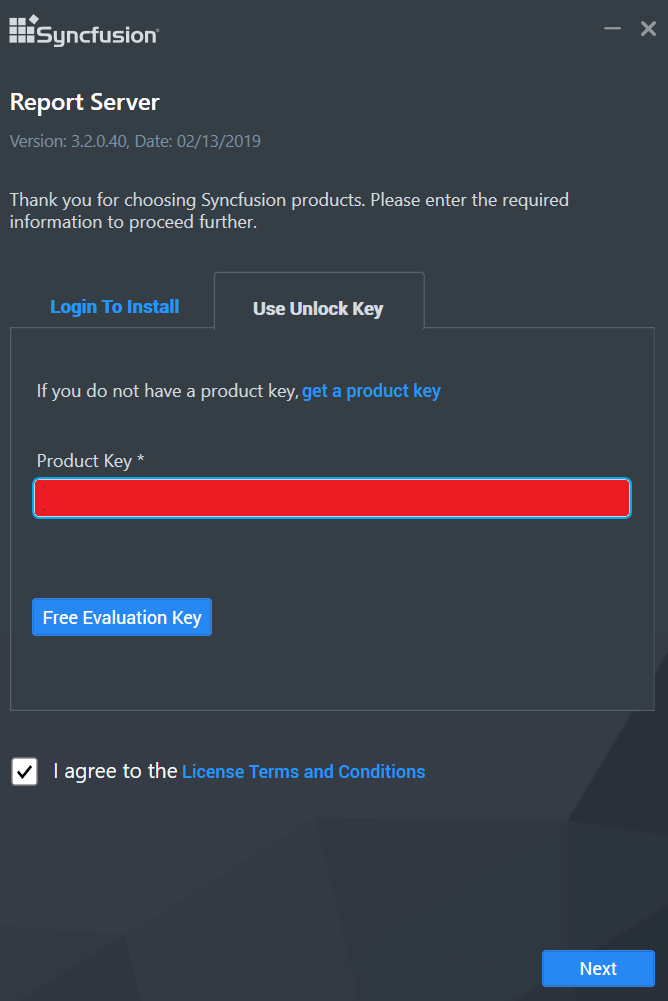
You can alternatively type the unlock key that has been sent to your registered e-mail address to unlock the setup, by selecting the Use Unlock key option.
You can check the License Agreement of Report Server by clicking on the License Terms and Conditions.
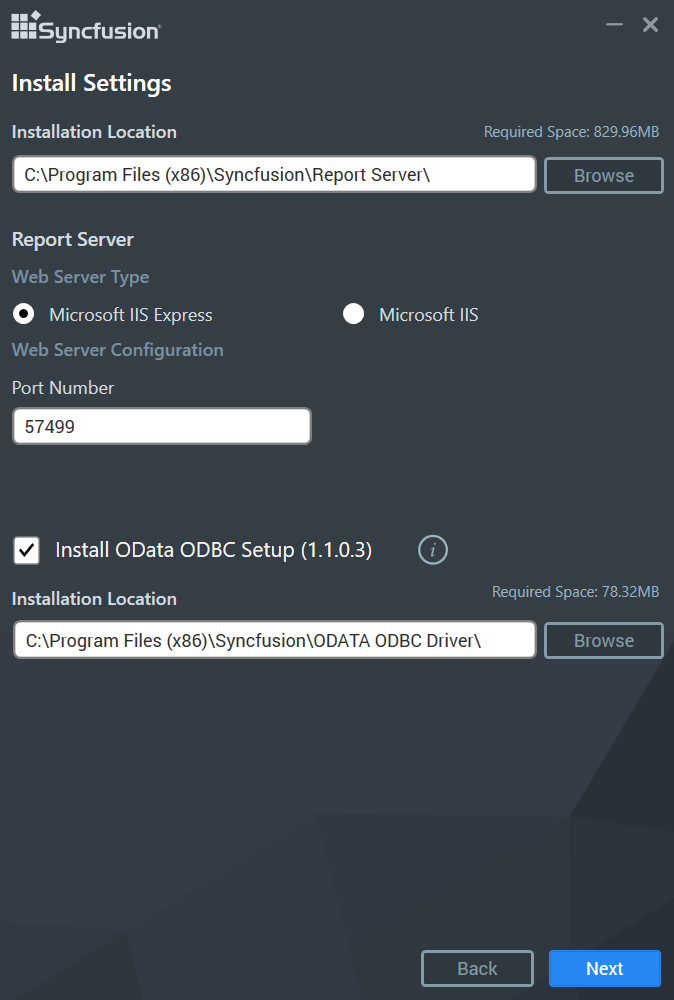
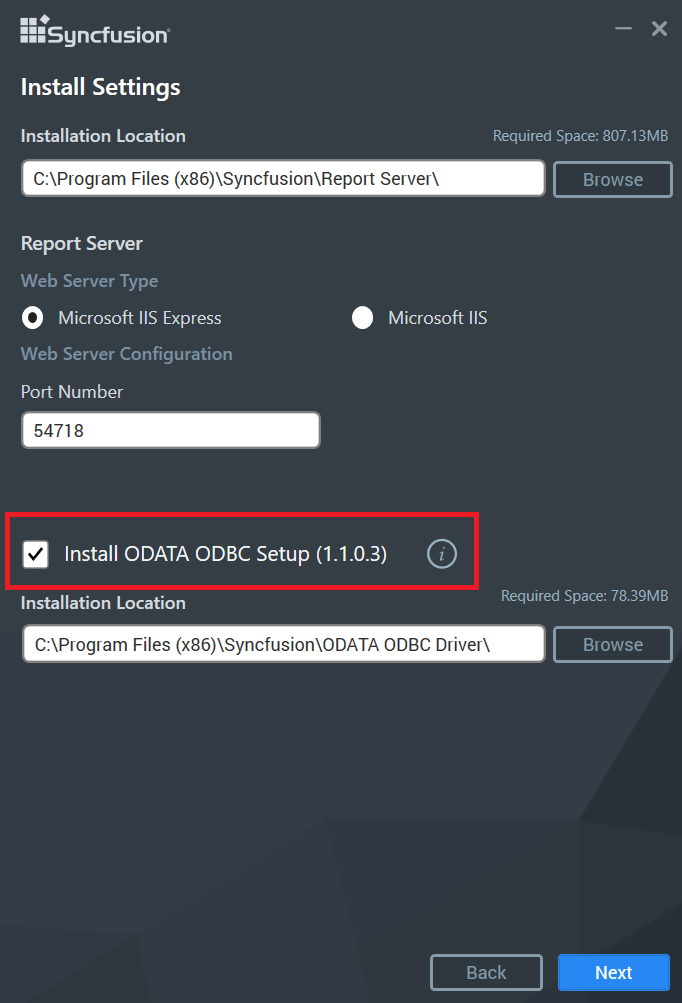
After you read the license agreement, click on Next to select the installation server type, location and the port number on where the Report Server has to be hosted.
We have provided the Report Server to be hosted into the following two web server types
- IIS Express
- IIS
IIS Express
IIS
Need to provide the Port number, Location and Site Name to host the Report Server into the IIS.

Report Server will be installed with the below components in the mentioned installation location.
- Report Server web application
- Scheduling Service
OData ODBC Installation
We have provided an option to install the OData ODBC setup. If you want to install the OData ODBC setup, you can check the Install OData ODBC setup. Otherwise, you can uncheck it . You can also install the OData ODBC Setup later.
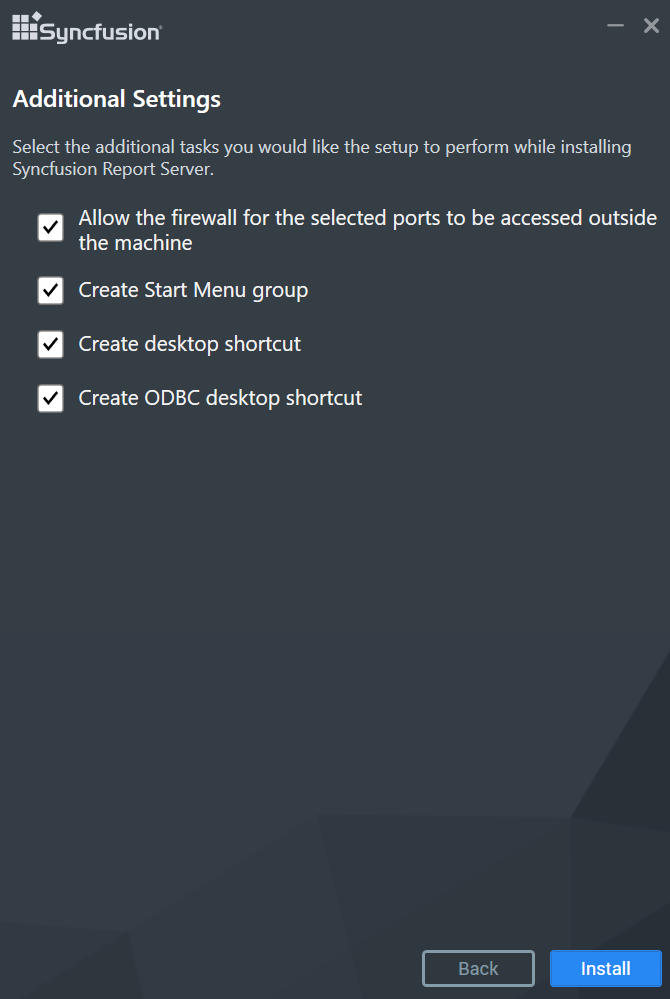
Additional Settings
Perform the additional tasks like desktop shortcuts creation and start menu shortcut creations. If you want to perform the additional tasks, you can check the options. Otherwise, you can uncheck.
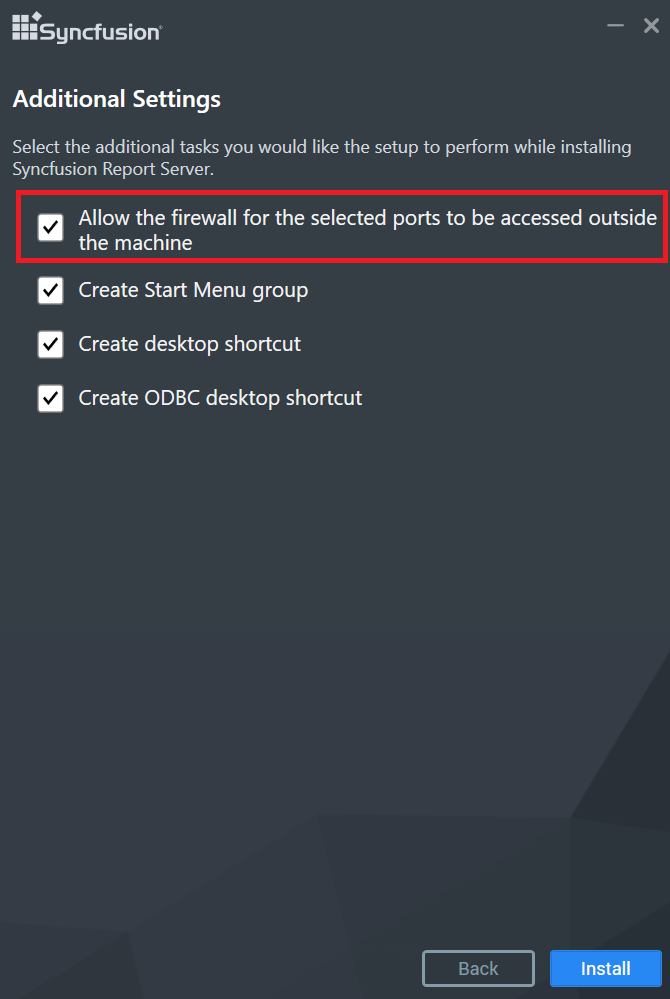
Allow firewall for selected ports
This option will allow selected port of Report Server in firewall to make it accessible outside of the installed machine.
Once the installation completes you can start the Report Server by checking the “Start Report Server” in the last screen and click on finish.
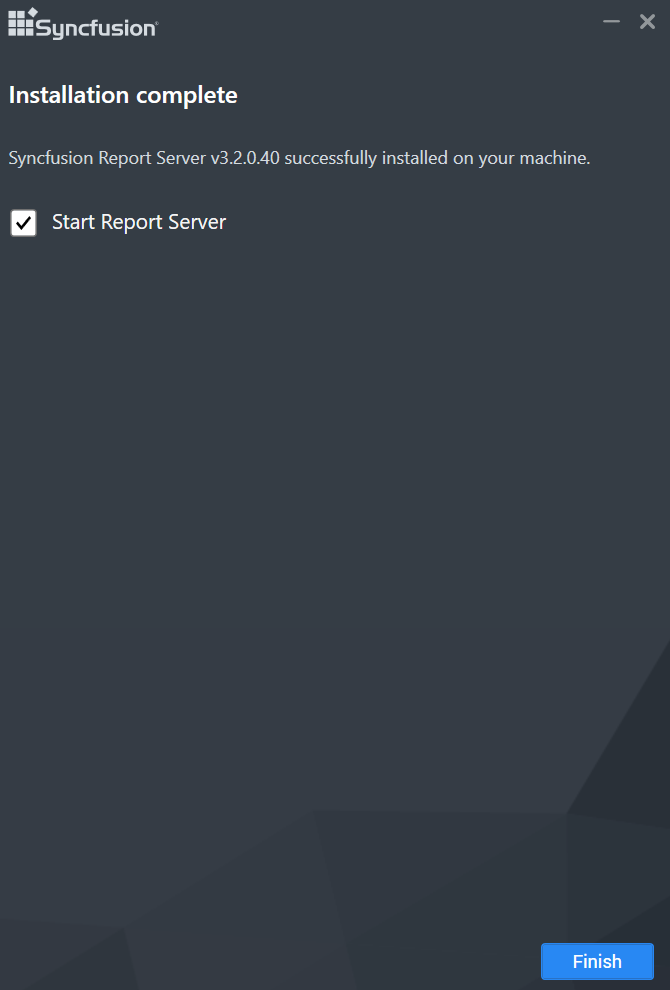
Or you can also start the Report Server from the shortcuts available in the desktop.
Desktop shortcuts will be provided for starting and stopping the Report Server and for the report designer.
NOTE
Report Server does not support multiple versions installed on the same machine.
NOTE
Report Server cannot be downgraded to the previous version.
Silent Installation
1.Double click the Syncfusion Report Server setup.
2.Syncfusion Report Server setup will be extracted in temp location (%temp%).

3.Copy the extracted Report Server setup to some other location and cancel the installation.
4.Open the command prompt with administrative privileges and run the extracted Report Server setup with the following arguments.
Arguments:
IIS Express
/Install silent /InstallPath:{InstallationPath} /pidkey:{unlock_key} /portno:{port_no} /servertype:{server_type} /isdesktopshortcut:{TRUE or FALSE} /isstartmenushortcut:{TRUE or FALSE} /Log “{LogFilePath\filename.log}”
Example:
/Install silent /InstallPath:C:\Program Files (x86)\New\Report Server /pidkey:@1243453sdffdfvv /portno:54321 /servertype:IISExpress /isdesktopshortcut:TRUE /isstartmenushortcut:FALSE /Log “C:\Program Files (x86)\New\Install.log”
IIS
/Install silent /InstallPath:{InstallationPath} /pidkey:{unlock_key} /portno:{port_no} /sitename:{site_name} /servertype:{server_type} /isdesktopshortcut:{TRUE or FALSE} /isstartmenushortcut:{TRUE or FALSE} /Log “{LogFilePath\filename.log}”
Example:
/Install silent /InstallPath:C:\Program Files (x86)\New\Report Server /pidkey:@1243453sdffdfvv /portno:54321 /sitename:SyncfusionReportServer /servertype:IIS /isdesktopshortcut:TRUE /isstartmenushortcut:FALSE /Log “C:\Program Files (x86)\New\Install.log”

Now, Syncfusion Report Server has been installed in silent mode.
Deployment
- Report Server web application opens in your default browser with the specified port number at
http://localhost:[port_number]/ - By default the Report Server will be hosted in IIS Express.
We have shipped two utilities with Report Server to host the application in IIS and IIS Express.
Host as website in IIS Express
-
Run the program ConfigureReportServerIISExpress.exe from the following installed location to host the Report Server in IIS Express.
{Installed_ Location}\Syncfusion\Report Server\Utilities\ReportServerIISExpress\ConfigureReportServerIISExpress.exe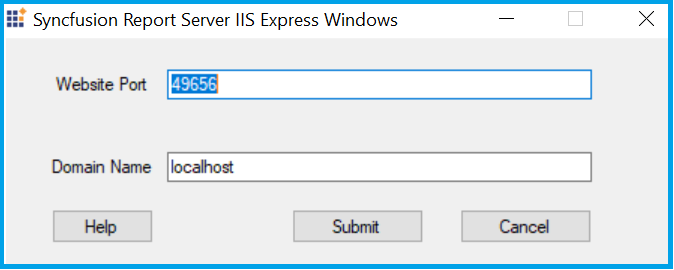
Note: By default, it will show a random port number. An unused port can also be chosen to host in that port.
-
Click Submit and this program will host the application in IIS Express and Report Server application will be launched in browser.
Host as website in IIS
Report Server can also be hosted as website in IIS by following the below steps.
-
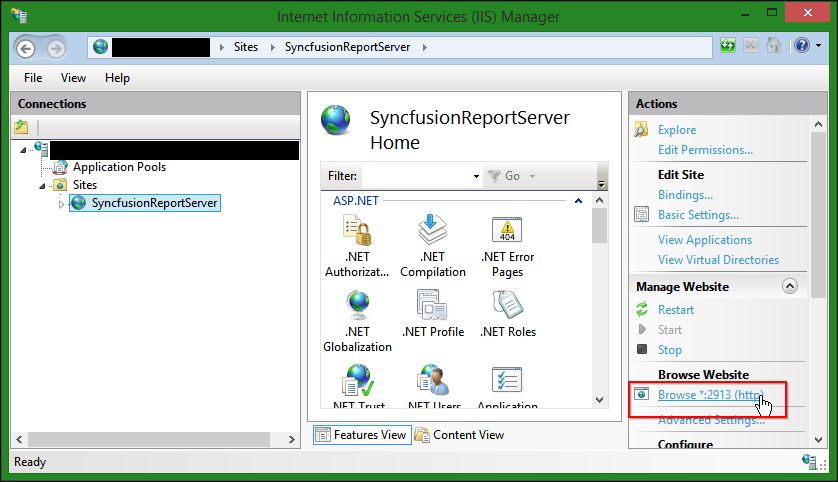
Run the program “ReportServerIIS.exe” from the following installed location to host the Report Server in IIS
installed_Location\Syncfusion\Report Server\Utilities\StartReportServerIIS\ReportServerIISWindows.exe
-
Type in a unused port for the Report Server as like in the above image. This program will host the application in IIS and you can open the Report Server from the browse button in the IIS.
Host as Application in IIS
Report Server can also be hosted as Application in IIS by following the below steps.
Add Report Server as application
Right click the Website hosted in IIS and choose Add Application as below figure
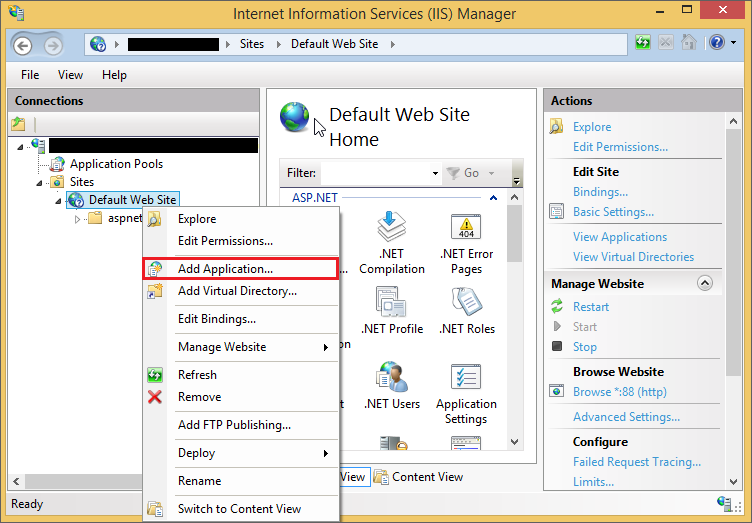
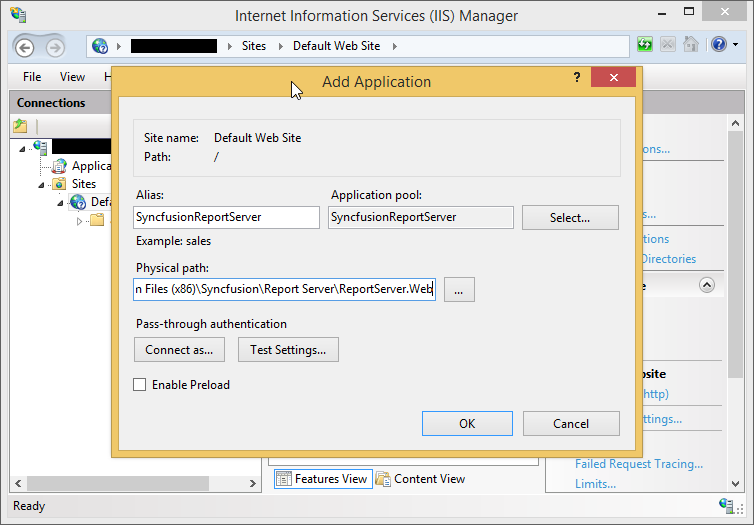
And Fill the following details as below figure
- Alias name
- Application pool
- Physical path
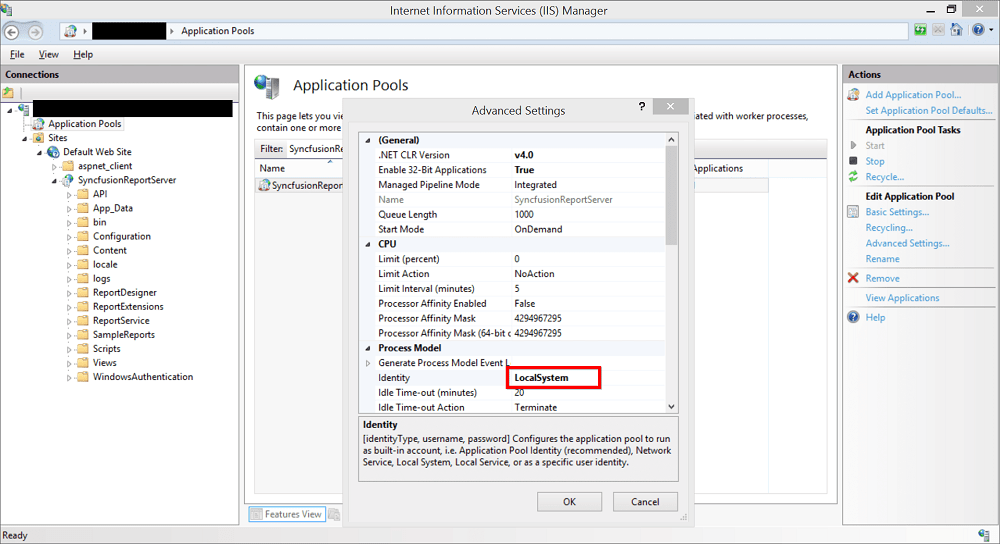
Application Pool
Syncfusion recommends the identity LocalSystem for an Application Pool.
Report Server works without any problem when the identity is bound with the LocalSystem.
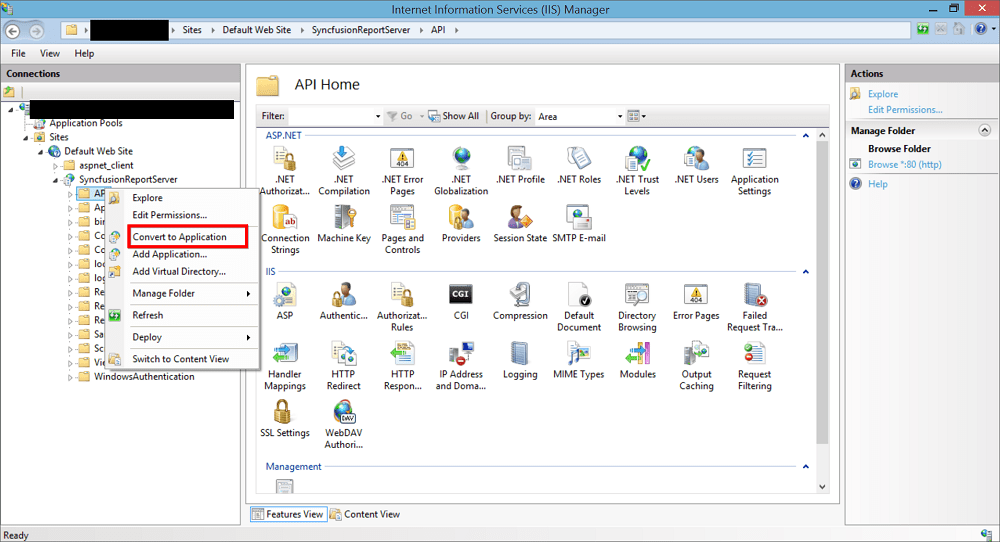
Convert the sub folders as application
We have the following folders to be converted as application.
- API
- WindowsAuthentication
- ReportService
Right click the folder and choose Convert to Application as below figure
SSL
To enable SSL for the Report Server application, you will need a valid SSL certificate. Please check the below link on how to Obtain an SSL certificate and install it to a website in IIS.
http://www.iis.net/learn/manage/configuring-security/how-to-set-up-ssl-on-iis
NOTE
If you want to access Report Server from a different machine to the one it’s installed on, use the URL http://machine_name:[port_number] or http://machine_ip_address:[port_number]
Upgrading Syncfusion Report Server
Syncfusion releases several major versions in a year. Each version includes new features, bug fixes and other improvements.
Syncfusion Report Server can be upgraded to latest version at any time manually, and there are no automatic updates for Syncfusion Report Server. Before upgrading, you can refer the features and enhancements from the Release Notes.
Upgrading Guidelines
Syncfusion recommends you to follow below guidelines while upgrading the Report Server from an older version to latest version.
- Save all the open settings and the unsaved items.
- Ensure no one is currently working with reports.
- Inform about the maintenance time to the users.
- For SQL, MySQL, Oracle and Postgre SQL databases, make sure you have a valid network connection to the database while upgrading to the new version.
- Download the latest Syncfusion Report Server from here.
- Follow the installation steps from the above section Installation.
The upgrade process will retain all the resources and settings from the previous installation.
Report Server updates the database schema of your current version to the new version.