How can I help you?
Create ASP.NET Web API Service
In this section, you will learn how to create a Web API Service for Report Viewer using the new ASP.NET Empty Web Application template.
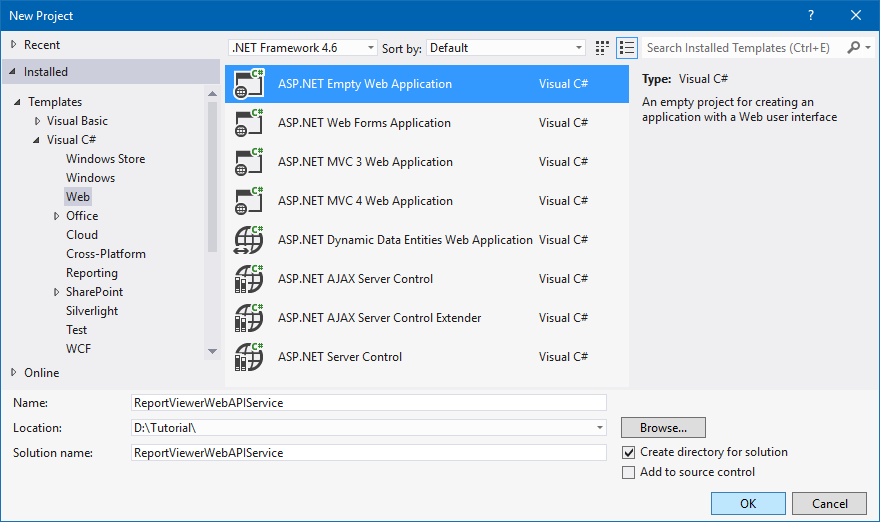
1.Open Visual Studio 2012, from the File menu, select New Project.
2.Select the Visual C#, Web project type from the project type, then select the ASP.NET Empty Web Application project type. Set the project name and click OK.
List of dependency libraries
The Web API service configuration requires reporting server-side assembly references.
1.In the Solution Explorer, right-click the References and click Add Reference.
2.Add the following mentioned libraries to the application from the installed location or GAC (Global Assembly Cache).
NOTE
If you have installed any version of Essential Studio, then the location of Syncfusion libraries is
System drive:\Program Files (x86)\Syncfusion\Essential Studio\JavaScript\33.1.44\Assemblies.
- System.Web.Routing
- System.Web.Http
- System.Web.Http.WebHost
- System.Net.Http
- System.Net.Http.WebRequest
- System.Net.Http.Formatting
- Syncfusion.Linq.Base
- Syncfusion.Compression.Base
- Syncfusion.EJ.ReportViewer
- Syncfusion.Pdf.Base
- Syncfusion.XlsIO.Base
- Syncfusion.DocIO.Base
- Syncfusion.Shared.Wpf
- Syncfusion.Chart.Wpf
- Syncfusion.Gauge.Wpf
- Syncfusion.SfMaps.Wpf
NOTE
If you have not installed any version of Essential Studio, then you can add the above assemblies from the Syncfusion NuGet package
Syncfusion.Web.ReportViewer. The Syncfusion reporting NuGet packages are published in publicNuGet.org. So, any additional configurations are not required to utilize theSyncfusion.Web.ReportViewerNuGet package.
IMPORTANT
Starting with
v16.2.0.x, if you refer to the Syncfusion assemblies from trial setup or from the NuGet feed, include a license key in your projects. Refer to this link to learn about registering Syncfusion license key in the ASP.NET application to use our components.
3.Install the Newtonsoft.Json NuGet package via the NuGet package manager console.
Install-Package Newtonsoft.Json -Version 9.0.1NOTE
It is a mandatory package for the report viewer to serialize and deserialize the JSON data and the package version should be 9.0.1 or higher.
4.Make sure to add <bindingRedirect> for Newtonsoft.Json inside the <configuration> tag in the project’s web.config file.
<runtime>
    <assemblyBinding xmlns="urn:schemas-microsoft-com:asm.v1">
      <dependentAssembly>
        <assemblyIdentity name="Newtonsoft.Json" publicKeyToken="30ad4fe6b2a6aeed" culture="neutral" />
        <bindingRedirect oldVersion="0.0.0.0-9.0.0.0" newVersion="9.0.0.0" />
      </dependentAssembly>
    </assemblyBinding>
  </runtime>
Add Web API Service
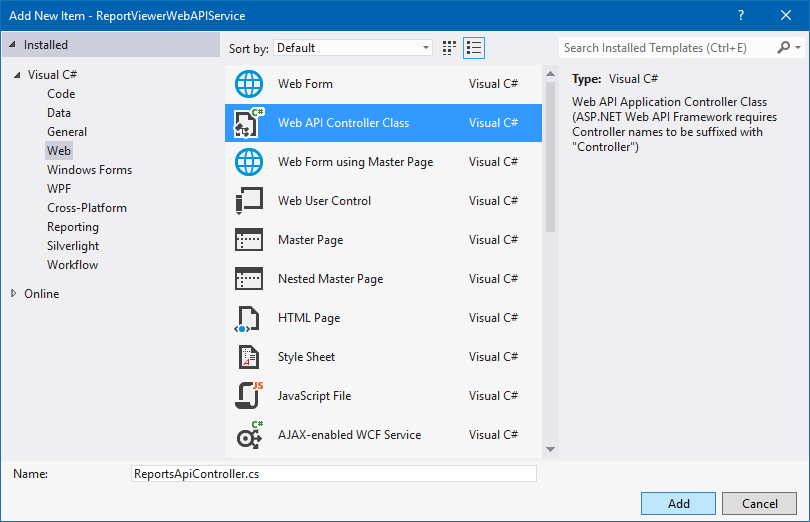
1.Right-click the project and select Add > New Item from the context menu.
2.In the Add New Item dialog, select Web API Controller class and name it as ReportsApiController, and then click Add.
NOTE
While adding Web API Controller class, name it with the suffix
Controllerthat is mandatory.
Inherit IReportController
The IReportController interface contains the required actions and helper methods declaration to process the report. The ReportHelper class contains methods that help to process Post or Get request from the control and return the response.
1.Open the ReportsApiController and add the following using statement.
using Syncfusion.EJ.ReportViewer;2.Inherit the IReportController interface, and implement its methods (replace the following code in newly created Web API controller).
public class ReportsApiController : ApiController, IReportController
    {
        //Post action for processing the rdl/rdlc report
        public object PostReportAction(Dictionary<string, object> jsonResult)
        {
            return ReportHelper.ProcessReport(jsonResult, this);
        }

        //Get action for getting resources from the report
        [System.Web.Http.ActionName("GetResource")]
        [AcceptVerbs("GET")]
        public object GetResource(string key, string resourcetype, bool isPrint)
        {
            return ReportHelper.GetResource(key, resourcetype, isPrint);
        }

        //Method will be called when initialize the report options before start processing the report
        public void OnInitReportOptions(ReportViewerOptions reportOption)
        {
            //You can update report options here
        }

        //Method will be called when reported is loaded
        public void OnReportLoaded(ReportViewerOptions reportOption)
        {
            //You can update report options here
        }
    }
Add Routing Information
The following steps guide you to configure the routing to include an action name in the URI.
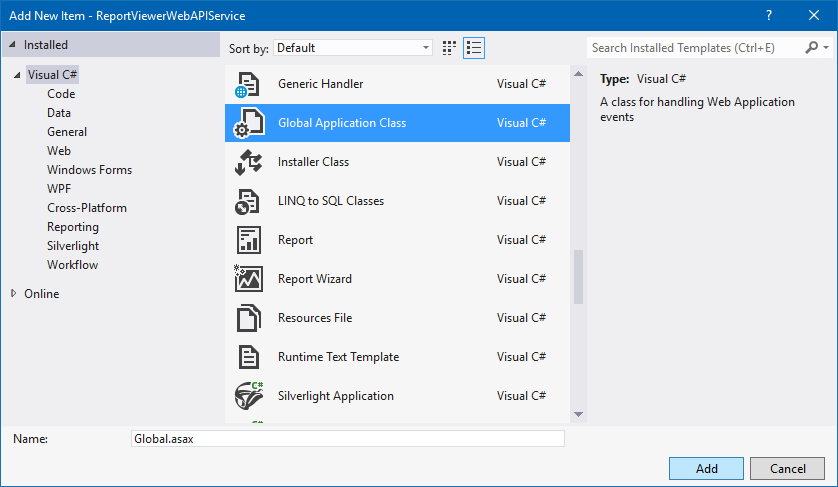
1.Right-click the project in the solution explorer and select Add > New item.
2.In the Add New Item window, select Global Application class and name it as Global.asax, and then click Add.
3.Open the code-behind file Global.asax.cs and add the following using statement.
using System.Web.Http;4.Then add the following code to the Application_Start method:
protected void Application_Start(object sender, EventArgs e)
        {
            System.Web.Http.GlobalConfiguration.Configuration.Routes.MapHttpRoute(
                name: "DefaultApi",
                routeTemplate: "api/{controller}/{action}/{id}",
                defaults: new { id = RouteParameter.Optional });
        }
NOTE
For more information about routing tables, see Routing in ASP.NET Web API.
5.Compile and run the Web API service application.