How can I help you?
Getting Started
This section helps to understand the getting started of the Dialog widget with the step-by-step instructions.
Create a Dialog
Create a MVC Project and add the necessary DLL and scripts with the help of the given MVC Getting Started documentation.
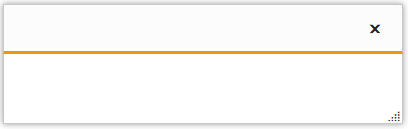
Add the following code snippet to the corresponding view page to render the Dialog.
@{
        Html.EJ()
            .Dialog("dialog")
            .Render();
    }
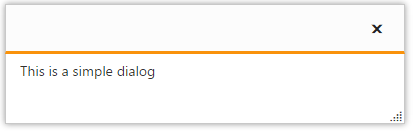
Set content
Add the contents for the dialog using ContentTemplate property as below.
@{
        Html.EJ()
            .Dialog("dialog")
            .ContentTemplate(@<p>This is a simple dialog</p>)
            .Render();
    }
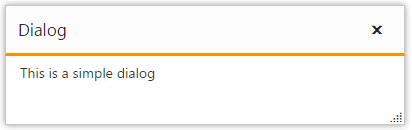
Set Title
The Dialog widget’s title can be set as follows.
@{
        Html.EJ()
            .Dialog("dialog")
            .Title("Dialog")
            .ContentTemplate(@<p>This is a simple dialog</p>)
            .Render();
    }
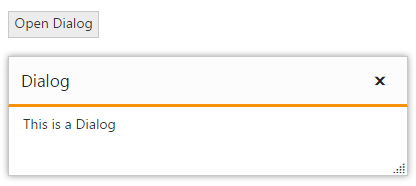
Open Dialog dynamically
In most cases, the Dialog widgets are needed only in dynamic actions like showing some messages on clicking a button, to provide alert, etc. So the Dialog widget provides “open” and “close” methods to open/close the dialogs dynamically.
The Dialog widget can be hidden on initialize using ShowOnInit property which should be set to false.
See Also
Refer the below example. The dialog will be opened on clicking the Button widget.
@*button widget*@
    @{
        Html.EJ()
            .Button("button")
            .Text("Open Dialog")
            .Type(ButtonType.Button)
            .ClientSideEvents(evt => evt.Click("openDialog"))
            .Render();
    }

    @{
        Html.EJ()
            .Dialog("dialog")
            .Title("Dialog")
            .ShowOnInit(false)
            .ContentTemplate(@<p>This is a Dialog</p>)
            .Render();
    }
Add the below script to the view page
<script>
        function openDialog() {
            $("#dialog").ejDialog("open");
        }
    </script>