Using Smart PDF Viewer Component in the WPF Blazor Hybrid App
17 Jul 20268 minutes to read
This guide explains how to add the Syncfusion® Blazor Smart PDF Viewer component to a WPF Blazor Hybrid App using Visual Studio or Visual Studio Code. The result is a desktop application (WPF) that hosts Blazor UI inside a BlazorWebView control.
Prerequisites
Create a new WPF Blazor Hybrid app in Visual Studio
Create a WPF Blazor Hybrid application using Visual Studio 2022 with the WPF Blazor Hybrid App project template. The app will later host Blazor components via BlazorWebView. For reference, see Microsoft Blazor tooling or the Syncfusion® Blazor Extension.
Install Blazor Smart PDF Viewer NuGet package in a WPF Blazor Hybrid app
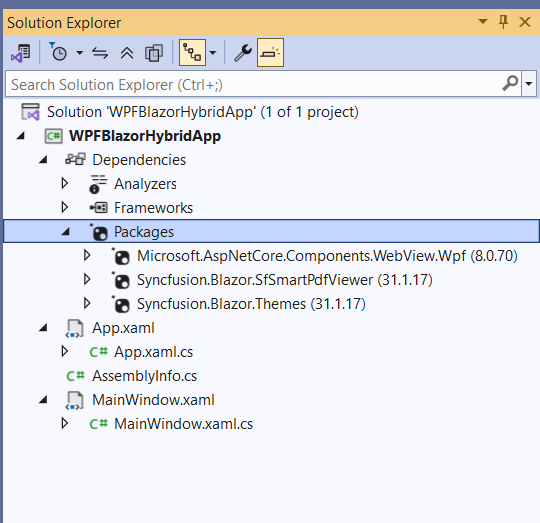
To add the Blazor Smart PDF Viewer component in the app, open the NuGet package manager in Visual Studio (Tools → NuGet Package Manager → Manage NuGet Packages for Solution), search and install
- Syncfusion.Blazor.SfSmartPdfViewer
- Syncfusion.Blazor.Themes
- Microsoft.AspNetCore.Components.WebView.Wpf
NOTE
Ensure that the package
Microsoft.AspNetCore.Components.WebView.Wpfis updated to version8.0.16.
Prerequisites
Create a new WPF Blazor Hybrid app in Visual Studio Code
Create a WPF Blazor Hybrid App project using the .NET CLI in Visual Studio Code. This project will host Blazor UI through BlazorWebView. For guidance, see Microsoft templates or the Syncfusion® Blazor Extension.
dotnet new wpf -n WPFBlazorHybridAppInstall Blazor Smart PDF Viewer and Themes NuGet packages in the app
Install the required NuGet packages in the WPF Blazor Hybrid app that will host the Blazor UI.
- Press Ctrl+` to open the integrated terminal in Visual Studio Code.
- Ensure the current directory contains the WPF project
.csprojfile. - Run the following commands to install Syncfusion.Blazor.SfSmartPdfViewer, Syncfusion.Blazor.Themes, and Microsoft.AspNetCore.Components.WebView.Wpf. This adds the Smart PDF Viewer, theme, and the BlazorWebView host control.
dotnet add package Syncfusion.Blazor.SfSmartPdfViewer -v 34.1.29
dotnet add package Syncfusion.Blazor.Themes -v 34.1.29
dotnet add package Microsoft.AspNetCore.Components.WebView.Wpf
dotnet restore
NOTE
Syncfusion® Blazor components are available on nuget.org. See NuGet packages for the list of available packages and component details.
NOTE
Ensure that the package
Microsoft.AspNetCore.Components.WebView.Wpfis updated to version8.0.16.
Register Syncfusion® Blazor service
The WPF Blazor Hybrid app must target Windows and enable WPF. A typical project file looks like the following.
<Project Sdk="Microsoft.NET.Sdk">

    ....

</Project>
Create an _Imports.razor and add the component namespace
@using Microsoft.AspNetCore.Components.Web
@using Syncfusion.Blazor.SmartPdfViewer
Configure Azure OpenAI Service
This section is required only when enabling AI-powered features in Smart PDF Viewer (such as document summarization, smart redaction, or smart fill). It is not required for basic PDF rendering.
In Visual Studio, Go to Tools → NuGet Package Manager → Package Manager Console. Run these commands one by one:
Install-Package Azure.AI.OpenAI
Install-Package Microsoft.Extensions.AI
Install-Package Microsoft.Extensions.AI.OpenAI
In Visual Studio Code, open the terminal and run these commands:
dotnet add package Azure.AI.OpenAI
dotnet add package Microsoft.Extensions.AI
dotnet add package Microsoft.Extensions.AI.OpenAI
Add the following using directives to the ~/MainWindow.xaml.cs file.
using Microsoft.Extensions.DependencyInjection;
using Azure.AI.OpenAI;
using Microsoft.Extensions.AI;
using Syncfusion.Blazor;
using Syncfusion.Blazor.AI;
using System.ClientModel;
Register Syncfusion Blazor services, AI services and BlazorWebView in ~/MainWindow.xaml.cs after the component is initialized so that the WPF window can host Blazor components.
ServiceCollection serviceCollection = new ServiceCollection();
serviceCollection.AddWpfBlazorWebView();
serviceCollection.AddMemoryCache();
serviceCollection.AddSyncfusionBlazor();
string azureOpenAiKey = "api-key";
string azureOpenAiEndpoint = "endpoint URL";
string azureOpenAiModel = "deployment-name";
AzureOpenAIClient azureOpenAIClient = new AzureOpenAIClient(new Uri(azureOpenAiEndpoint), new ApiKeyCredential(azureOpenAiKey));
IChatClient azureOpenAiChatClient = azureOpenAIClient.GetChatClient(azureOpenAiModel).AsIChatClient();
serviceCollection.AddChatClient(azureOpenAiChatClient);
serviceCollection.AddSingleton<IChatInferenceService, SyncfusionAIService>();
Resources.Add("services", serviceCollection.BuildServiceProvider());
Replace these placeholders in the code above:
- apiKey: Azure OpenAI API key.
- deploymentName: Azure OpenAI deployment name.
- endpoint: Azure OpenAI deployment endpoint URL.
For Azure OpenAI, first deploy an Azure OpenAI Service resource and model, then the values for apiKey, deploymentName, and endpoint will be available.
Create wwwroot folder and index.html file
-
Create a new folder named wwwroot in the WPF Blazor Hybrid app project root.
-
Inside wwwroot, create an index.html host page for the Blazor UI. This host page is required by BlazorWebView to initialize the Blazor runtime and load static assets (themes and scripts). Use the following index.html:
<!DOCTYPE html>
<html>
<head>
    <meta charset="utf-8" />
    <meta name="viewport" content="width=device-width, initial-scale=1.0" />
    <title>WPF Blazor Hybrid App</title>
    <base href="/" />
    <link href="_content/Syncfusion.Blazor.Themes/bootstrap5.css" rel="stylesheet" />
</head>
<body>
    <div id="app">Loading...</div>
    <script src="_framework/blazor.webview.js"></script>
    <script src="_content/Syncfusion.Blazor.SfSmartPdfViewer/scripts/syncfusion-blazor-sfsmartpdfviewer.min.js" type="text/javascript"></script>
</body>
</html>
NOTE
Ensure that the Smart PDF Viewer static assets (themes and scripts) are loaded properly.
Adding Blazor Smart PDF Viewer component
Create a Razor component (for example, Main.razor) in the project and add the Syncfusion® Smart PDF Viewer component to it.
@using Syncfusion.Blazor.SmartPdfViewer
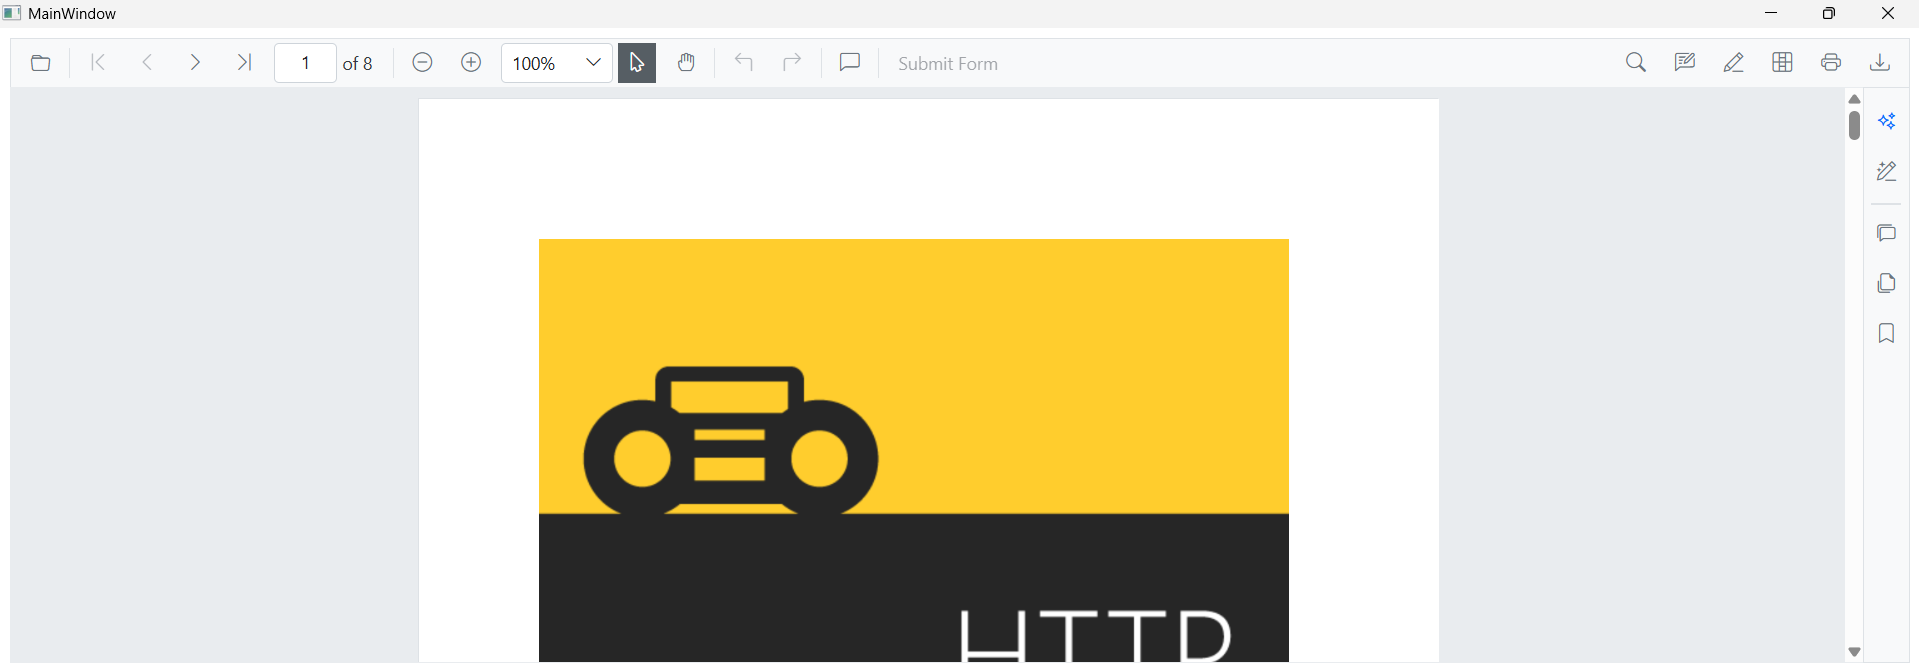
<SfSmartPdfViewer Height="100%" Width="100%" DocumentPath="https://cdn.syncfusion.com/content/pdf/http-succinctly.pdf">
</SfSmartPdfViewer>Integrate Blazor into MainWindow.xaml
- Open MainWindow.xaml.
- Add the Microsoft.AspNetCore.Components.WebView.Wpf namespace.
- Embed the BlazorWebView control, set HostPage to wwwroot/index.html, and map a RootComponent that matches the Razor component type and the selector in index.html (#app).
- In App.xaml, define a
DynamicResourceentry namedserviceswhose value is the service provider registered inMainWindow.xaml.cs(this is whatServices="{DynamicResource services}"resolves to).
<Window x:Class="WPFBlazorHybridApp.MainWindow"
        ....
        xmlns:blazor="clr-namespace:Microsoft.AspNetCore.Components.WebView.Wpf;assembly=Microsoft.AspNetCore.Components.WebView.Wpf"
        ....
        Title="MainWindow" Height="450" Width="800">
    <Grid>
        <blazor:BlazorWebView HostPage="wwwroot\index.html" Services="{DynamicResource services}">
            <blazor:BlazorWebView.RootComponents>
                <blazor:RootComponent Selector="#app" ComponentType="{x:Type local:Main}" />
                <!-- 'Main' is the Razor component created in the previous step. Replace it with your component's class name if different. -->
            </blazor:BlazorWebView.RootComponents>
        </blazor:BlazorWebView>
    </Grid>
</Window>
Run the application
Run the WPF application. The Syncfusion® Blazor Smart PDF Viewer renders inside the WPF window.
See also
- Getting Started with Blazor Smart PDF Viewer Component in Blazor Web App
- Getting Started with Blazor Smart PDF Viewer Component in WinForms Blazor Hybrid App
- Getting Started with Blazor Smart PDF Viewer Component in MAUI Blazor App
- Document Summarizer in Blazor Smart PDF Viewer
- Smart Redaction in Blazor Smart PDF Viewer
- Smart Fill in Blazor Smart PDF Viewer.