Getting Started with Smart PDF Viewer in Blazor MAUI App
17 Jul 20268 minutes to read
This section explains how to add the Syncfusion® Blazor Smart PDF Viewer component to a .NET MAUI Blazor app and run it on Windows and Android.
Prerequisites
To use MAUI project templates, install the Mobile development with .NET workload for Visual Studio. For detailed steps, see Install .NET MAUI on Windows in the Microsoft documentation. For more information, see the System requirements for Blazor components.
Create a new Blazor MAUI App in Visual Studio
Create a new .NET MAUI Blazor App in Visual Studio by selecting the template named .NET MAUI Blazor Hybrid APP.
Install Smart PDF Viewer NuGet package in Blazor MAUI App
To add NuGet packages into the Blazor MAUI app, open the NuGet package manager in Visual Studio (Tools → NuGet Package Manager → Manage NuGet Packages for Solution), search and install Syncfusion.Blazor.SfSmartPdfViewer and Syncfusion.Blazor.Themes. See the NuGet packages topic for the full package list and component details.
Alternatively, you can utilize the following package manager command to achieve the same.
Install-Package Syncfusion.Blazor.SfSmartPdfViewer -Version 34.1.29
Install-Package Syncfusion.Blazor.Themes -Version 34.1.29
Register Syncfusion® Blazor Service
- In the
~/_Imports.razorfile, add the following namespaces:
@using Syncfusion.Blazor
@using Syncfusion.Blazor.SmartPdfViewer- Add the
Syncfusion.Blazornamespace to the~/MauiProgram.csfile.
using Syncfusion.Blazor;- Register the Syncfusion® Blazor Service in the
~/MauiProgram.csfile.
// Enable memory caching
builder.Services.AddMemoryCache();
// Register Syncfusion Blazor service
builder.Services.AddSyncfusionBlazor();
NOTE
Ensure the Syncfusion® license is registered in the application before using Syncfusion® components. See the Licensing overview for details on registering a license key.
Configure Azure OpenAI Service
This article is required only when enabling AI-powered features in Smart PDF Viewer (such as document summarization, smart redaction, or smart fill). It is not required for basic PDF rendering.
In Visual Studio, Go to Tools → NuGet Package Manager → Package Manager Console. Run these commands one by one:
Install-Package Azure.AI.OpenAI
Install-Package Microsoft.Extensions.AI
Install-Package Microsoft.Extensions.AI.OpenAI
In Visual Studio Code, open the terminal and run these commands:
dotnet add package Azure.AI.OpenAI
dotnet add package Microsoft.Extensions.AI
dotnet add package Microsoft.Extensions.AI.OpenAI
Add the following namespaces to the ~/MauiProgram.cs file.
using Azure.AI.OpenAI;
using Microsoft.Extensions.AI;
using Syncfusion.Blazor.AI;
using System.ClientModel;
To configure the AI service, add the following settings to the *~/MauiProgram.cs file in your MAUI Blazor app.
// Azure OpenAI configuration values
string azureOpenAiKey = "api-key";
string azureOpenAiEndpoint = "endpoint URL";
string azureOpenAiModel = "deployment-name";
// Configure Azure OpenAI client and register chat with Syncfusion AI services
AzureOpenAIClient azureOpenAIClient = new AzureOpenAIClient(new Uri(azureOpenAiEndpoint), new ApiKeyCredential(azureOpenAiKey));
IChatClient azureOpenAiChatClient = azureOpenAIClient.GetChatClient(azureOpenAiModel).AsIChatClient();
builder.Services.AddChatClient(azureOpenAiChatClient);
builder.Services.AddSingleton<IChatInferenceService, SyncfusionAIService>();
Here,
- apiKey: Azure OpenAI API key.
- deploymentName: Azure OpenAI deployment name.
- endpoint: Azure OpenAI deployment endpoint URL.
For Azure OpenAI, first deploy an Azure OpenAI Service resource and model, then the values for azureOpenAiKey, azureOpenAiModel, and azureOpenAiEndpoint will be available.
Add stylesheet and script resources
Add the following stylesheet and script to the ~/wwwroot/index.html file.
Include the stylesheet reference in the <head> of the ~/wwwroot/index.html file.
<!-- Syncfusion Blazor Smart PDF Viewer control's theme style sheet -->
<link href="_content/Syncfusion.Blazor.Themes/fluent2.css" rel="stylesheet" />
Add the script reference at the end of the <body> in the ~/wwwroot/index.html file.
<!-- Syncfusion Blazor Smart PDF Viewer control's scripts -->
<script src="_content/Syncfusion.Blazor.SfSmartPdfViewer/scripts/syncfusion-blazor-sfsmartpdfviewer.min.js" type="text/javascript"></script>
Add Smart PDF Viewer component
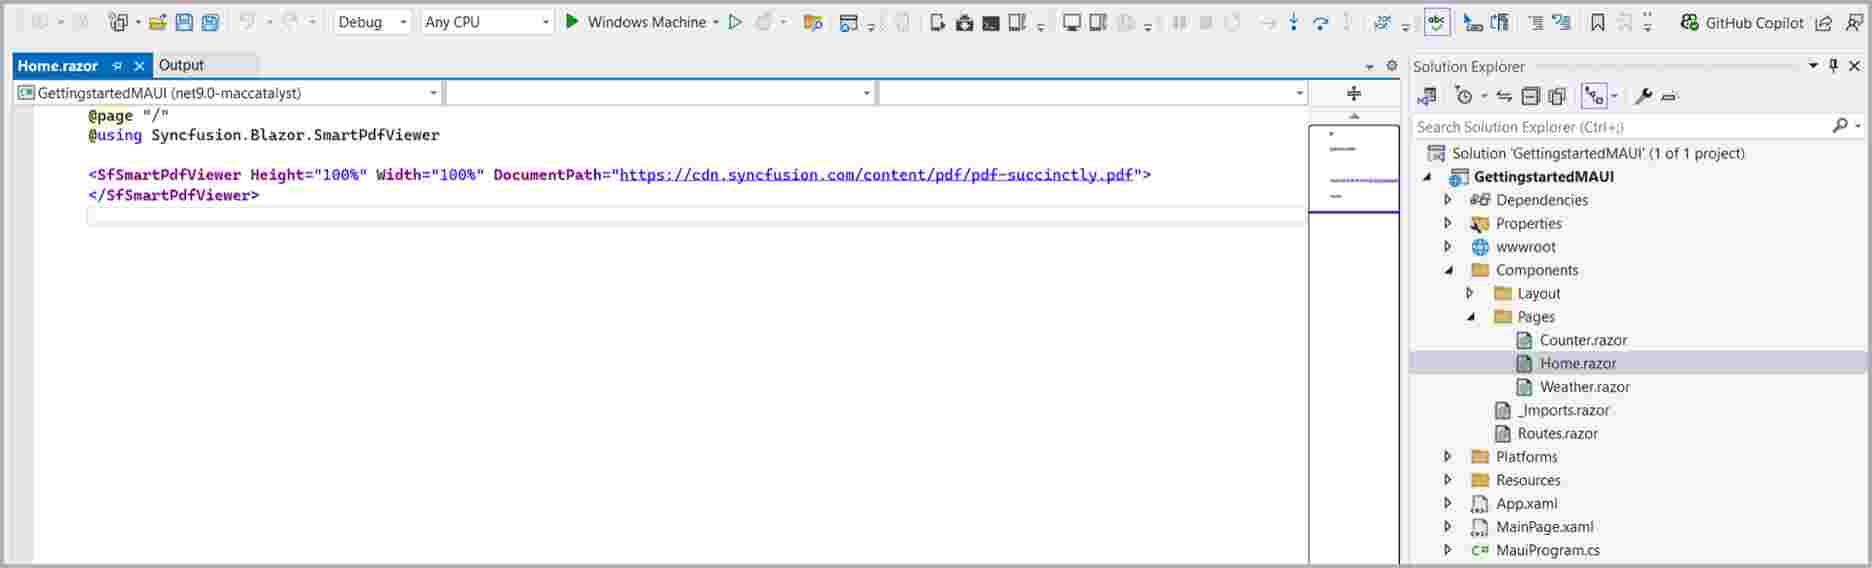
Add the Syncfusion Blazor Smart PDF Viewer component in the ~/Pages/Index.razor file.
<SfSmartPdfViewer Height="100%" Width="100%" DocumentPath="https://cdn.syncfusion.com/content/pdf/http-succinctly.pdf">
</SfSmartPdfViewer>
The following parameters are used in the SfSmartPdfViewer component:
-
Height: Height of the PDF Viewer (for example,
"100%"). -
Width: Width of the PDF Viewer (for example,
"100%"). - DocumentPath: URL of the PDF document to be loaded. The host must allow CORS requests, or the document must be served from the same origin.
Run on Windows
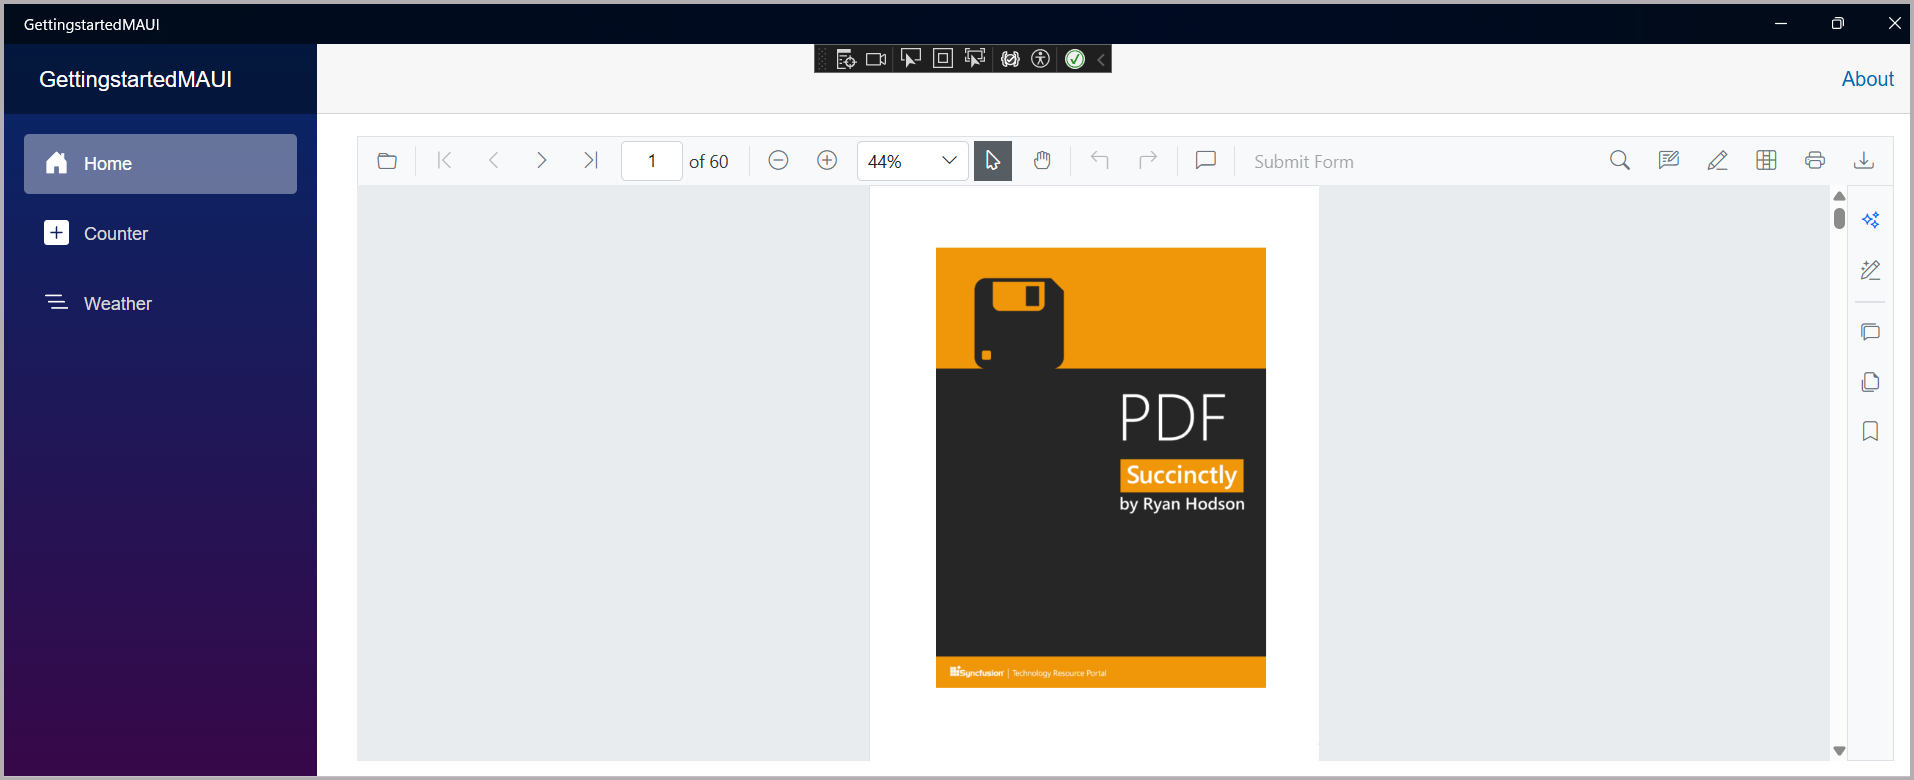
Run the sample in Windows Machine mode. The application will run the Blazor MAUI app targeting Windows.
After the application launches, the PDF Viewer component renders the specified PDF document within its interface.
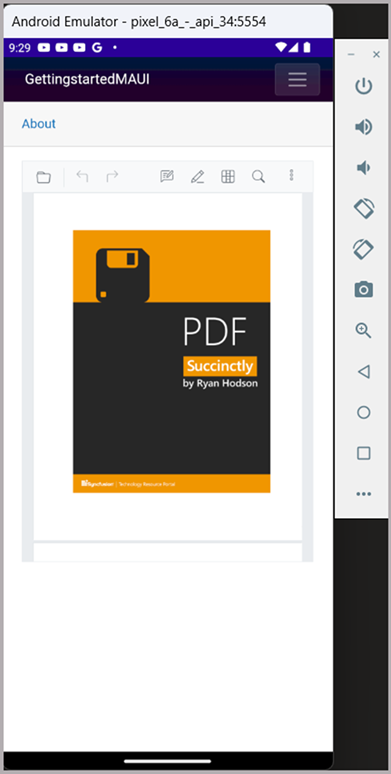
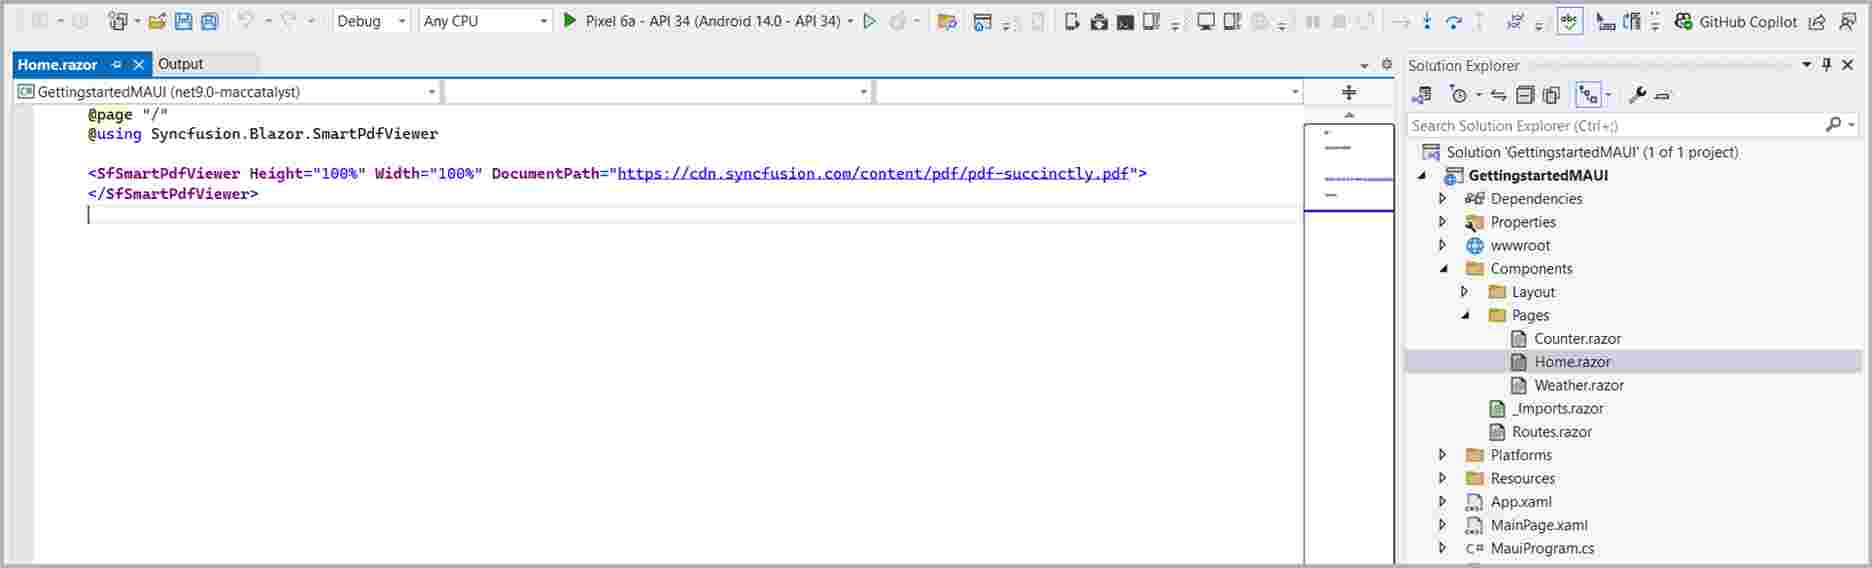
Run on Android
Set the debug target to the Android emulator in Visual Studio and run the application. The Blazor MAUI app launches on the Android emulator and the Smart PDF Viewer renders the PDF document.
-
Add the following asset files to the project by creating an Assets folder (Platforms → Android → Assets):
model and vocab. - Right-click the added files and set Properties → Build Action to AndroidAsset.
- Add the following entries to the project .csproj file:
<ItemGroup>
        <AndroidAsset Include="Platforms\Android\Assets\model.onnx" />
        <AndroidAsset Include="Platforms\Android\Assets\vocab.txt" />
</ItemGroup>- Add the following code in
MauiProgram.cs:
public static class MauiProgram
{
    public static MauiApp CreateMauiApp()
    {
       ...
       builder.Services.AddSyncfusionBlazor();
#if ANDROID
       EnsureModelExistsAsync();
#endif
       return builder.Build();
    }
    private static async void EnsureModelExistsAsync()
    {
        string[] requiredFiles = { "model.onnx", "vocab.txt" };
        string targetDir = Path.Combine(FileSystem.AppDataDirectory, "LocalEmbeddingsModel/default");
        Directory.CreateDirectory(targetDir);
        foreach (string fileName in requiredFiles)
        {
            string targetPath = Path.Combine(targetDir, fileName);
            if (!File.Exists(targetPath))
            {
                using Stream assetStream = await FileSystem.OpenAppPackageFileAsync(fileName);
                using FileStream fileStream = File.Create(targetPath);
                await assetStream.CopyToAsync(fileStream);
            }
        }
    }
}
NOTE
Refer here to set up the Android emulator with Android Device Manager.
NOTE
If any errors occur while using the Android Emulator, see Troubleshooting the Android Emulator.