How can I help you?
File Actions
Save File Action
To save the uploaded file in JS, create the handler class and trigger the same in saveUrl property. In that handler, save and specify the target location for uploaded files. The data type is string.
The following code helps you for the configuration of saveUrl property in the Uploadbox.
<div style="width:100px;height:35px;">

<ej-uploadbox id="UploadDefault" [saveUrl]="saveURL"></ej-uploadbox>

</div>import {Component} from '@angular/core';
@Component({
selector: 'ej-app',
templateUrl: 'app/components/uploadbox/uploadbox.component.html'
})
export class UploadBoxComponent {
saveURL:string;
removeURL:string;
constructor() {
this.saveURL = '../saveFiles.ashx';
}
}Configure the handler to save the file. Create a folder (for example,files) and save the uploaded files into this folder.
saveFiles.ashx
public class saveFiles : IHttpHandler {
public void ProcessRequest(HttpContext context)
{
string targetFolder = HttpContext.Current.Server.MapPath("files");
if (!Directory.Exists(targetFolder))
{
Directory.CreateDirectory(targetFolder);
}
HttpRequest request = context.Request;
HttpFileCollection uploadedFiles = context.Request.Files;
if (uploadedFiles != null && uploadedFiles.Count > 0)
{
for (int i = 0; i < uploadedFiles.Count; i++)
{
string fileName = uploadedFiles[i].FileName;
int index = fileName.LastIndexOf("\\");
if (index > -1)
{
fileName = fileName.Substring(index + 1);
}
uploadedFiles[i].SaveAs(targetFolder + "\\" + fileName);
}
}
}
public bool IsReusable
{
get
{
return false;
}
}
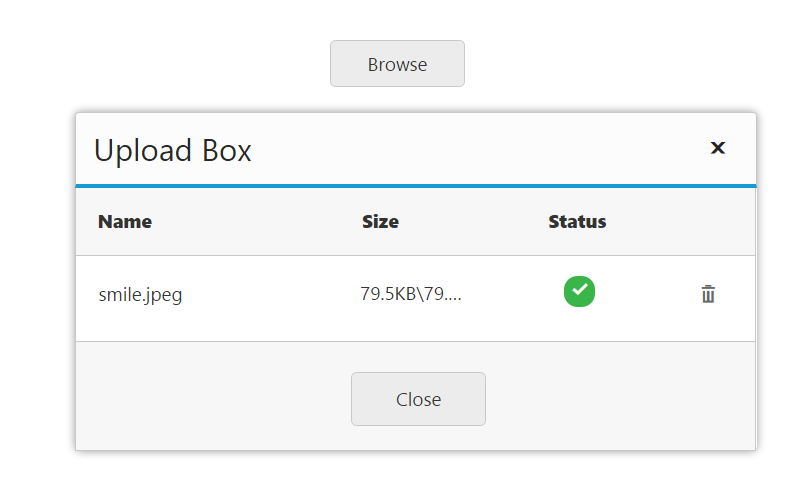
}The following screenshot displays the output.
Remove File Action
To remove the uploaded file in JS, create a handler class and trigger the same in removeUrl property. The uploaded file has to be removed from the handler where the file is saved. This is achieved by clicking remove button on upload dialog. The data type is string.
The following code helps you for the configuration of removeUrl property in Uploadbox.
<div style="width:100px;height:35px;">

<ej-uploadbox id="UploadDefault" [removeUrl]="removeURL"></ej-uploadbox>

</div>import {Component} from '@angular/core';
@Component({
selector: 'ej-app',
templateUrl: 'app/components/uploadbox/uploadbox.component.html'
})
export class UploadBoxComponent {
saveURL:string;
removeURL:string;
constructor() {
this.saveURL = '../removeFiles.ashx';
}
}Configure the handlers to remove the file from the target location. From that location, the file is searched and removed from the ‘files’ folder.
removeFiles.ashx
public class removeFiles : IHttpHandler
{
public void ProcessRequest(HttpContext context)
{
System.Collections.Specialized.NameValueCollection s = context.Request.Params;
string fileName = s["fileNames"];
string targetFolder = HttpContext.Current.Server.MapPath("files");
if (!Directory.Exists(targetFolder))
{
Directory.CreateDirectory(targetFolder);
}
string physicalPath = targetFolder + "\\" + fileName;
if (System.IO.File.Exists(physicalPath))
{
System.IO.File.Delete(physicalPath);
}
}
public bool IsReusable
{
get
{
return false;
}
}
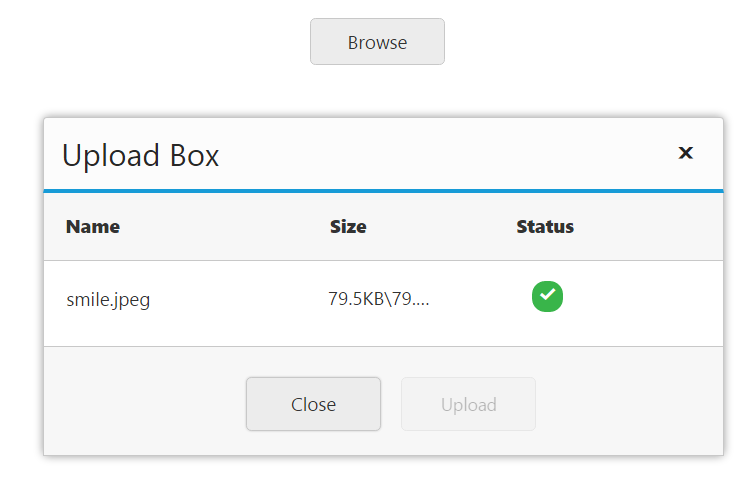
}The following screenshot displays the output.
Auto Upload
The Uploadbox widget provides support to upload the file automatically once file is selected by using browse button, that is, without clicking upload button. To achieve this, set the autoUpload property to ‘true’. The data type is Boolean. By default, the value is set to ‘false’, so upload button is clicked to upload the files.
The following code helps you for the configuration of autoUpload property in Uploadbox
<div style="width:100px;height:35px;">

<ej-uploadbox id="UploadDefault" [saveUrl]="saveURL" [removeUrl]="removeURL" [autoUpload]="true"></ej-uploadbox>

</div>import {Component} from '@angular/core';
@Component({
selector: 'ej-app',
templateUrl: 'app/components/uploadbox/uploadbox.component.html'
})
export class UploadBoxComponent {
saveURL:string;
removeURL:string;
constructor() {
this.saveURL = '../saveFiles.ashx';
this.saveURL = '../removeFiles.ashx';
}
}Configure saveFiles.ashx and removeFiles.ashx files as mentioned in the Save file action and Remove file action respectively.
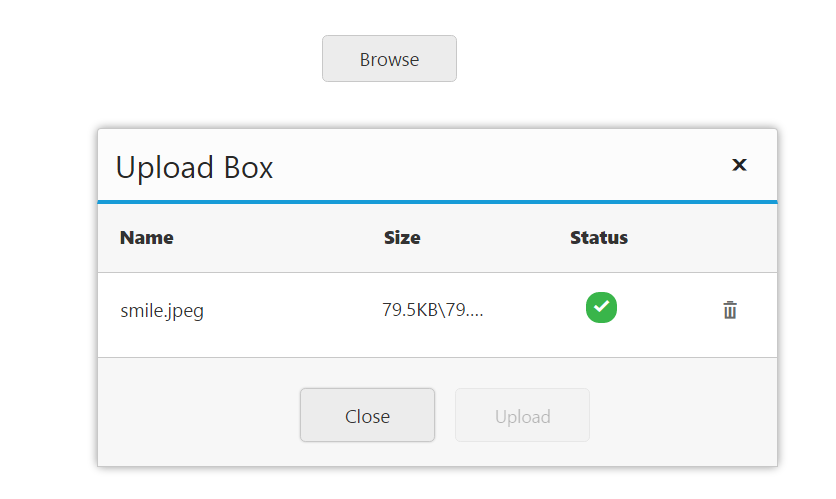
The following screenshot displays the output.