Utilities
9 Jan 20253 minutes to read
The Syncfusion® Xamarin Extension provides quick access, so that you can easily create or configure the Syncfusion® Xamarin projects. The Syncfusion® Xamarin Extensions provides the following features.
- Syncfusion® Project Template for Xamarin.Forms
- Syncfusion® Toolbox for Xamarin.Forms
The Syncfusion® Xamarin Visual Studio Extensions are installed along with the Essential Studio® for Xamarin setup.
NOTE
Refer to the installation guideline.
Project Template
Syncfusion® provides the Visual Studio Project Templates for the Syncfusion® Xamarin platform to easily create a Syncfusion® Xamarin Application.
IMPORTANT
Syncfusion® Xamarin Project Templates are available from v16.2.0.41.
Create Syncfusion® Xamarin Application
The following steps direct you to create a Syncfusion® Xamarin Application using Visual Studio 2017:
-
To create a Syncfusion® Xamarin project, choose New Project->Syncfusion®-> Cross-Platform->Syncfusion® Xamarin Application in Visual Studio 2017.
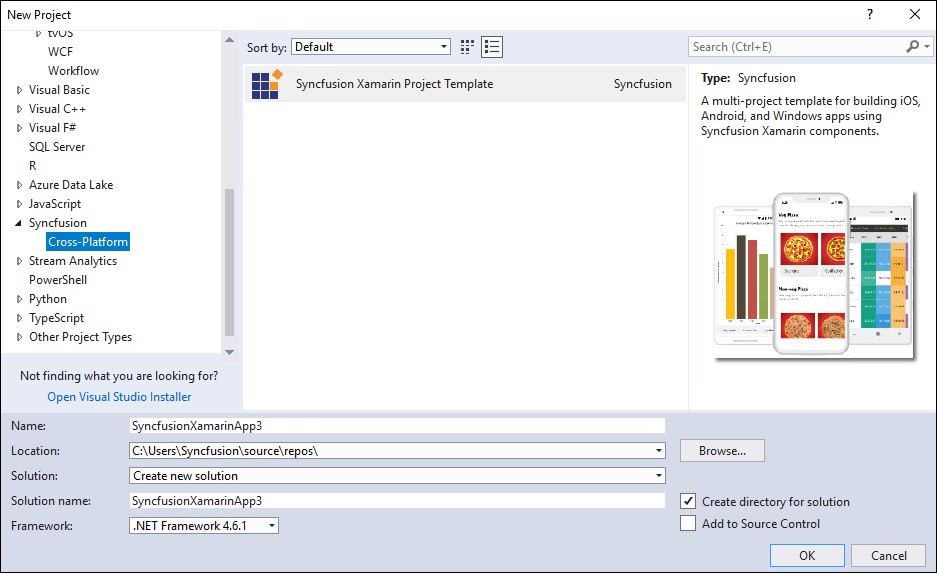
-
Name the Project, choose the destination location, and set the Framework of the project, and then click OK. The Project Configuration Wizard appears.
-
Choose the options to configure the Syncfusion® Xamarin Application by using the following Project Configuration dialog.
Project Configuration:
Choose the required Project platforms: Android, iOS, and UWP.
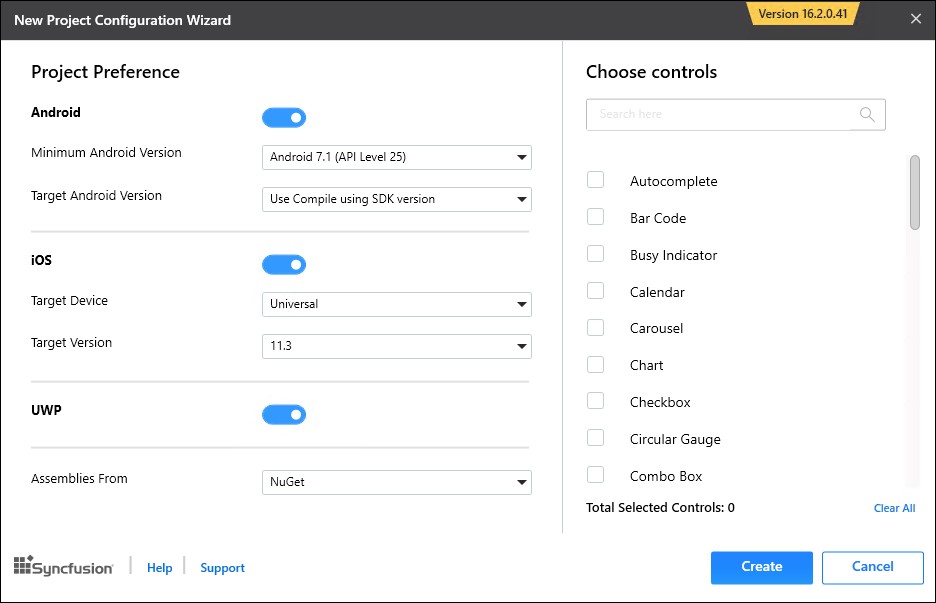
Assemblies From: Specify where the Syncfusion® Xamarin assemblies need to be loaded from: either NuGet or Installed Location.
NOTE
Installed location option will be available only when the Syncfusion® Xamarin setup has been installed.
Android:
- Minimum Android Version: Select the oldest Android version that you want to support your application.
- Target Android Version: Select the version of Android to run your application.
iOS:
- Target Device: Select the device of Xamarin.iOS Project, either Unified, iPhone/iPod, or iPad.
- Target Version: Choose the version of Xamarin.iOS Project.
Choose controls
Choose the Syncfusion® controls that need to be added to the created project.
4.Click Create and the Syncfusion® Xamarin Application will be created.
NOTE
Choose any one of the project types and controls from the Project Configuration Wizard.
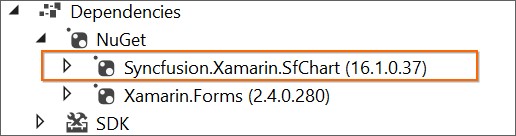
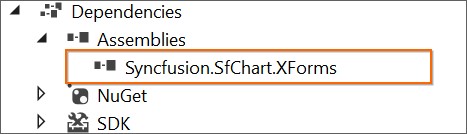
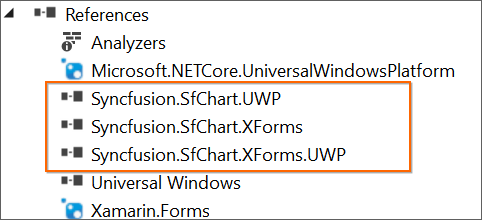
5.Required Syncfusion® NuGet/Assemblies and configuration have been added to the project based on the control(s) chosen.
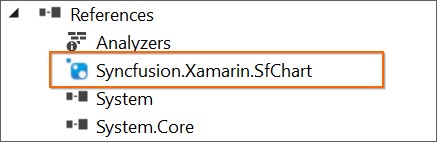
Net Standard /PCL:
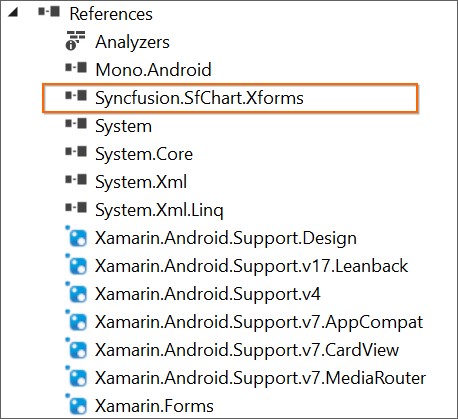
Android:

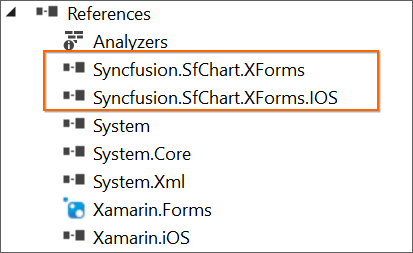
iOS:
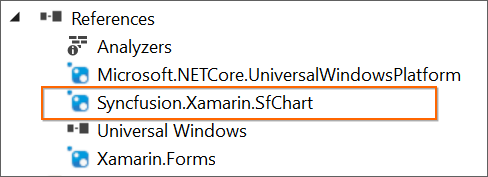
UWP:
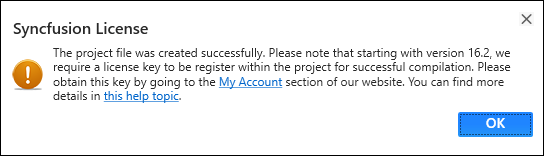
6.Then, Syncfusion® licensing registration required message box will be shown as follow, if you have installed the trial setup or NuGet packages since Syncfusion® introduced the licensing system from 2018 Volume 2 (v16.2.0.41) Essential Studio® release. Please navigate to the help topic which is shown in the licensing message box to generate and register the Syncfusion® license key to your project. Refer to this blog post for understanding the licensing changes introduced in Essential Studio®.
Toolbox
Syncfusion® provides the Visual Studio Toolbox for the Syncfusion® Xamarin platform to help add the Syncfusion® Xamarin (Xamarin.Forms) controls in your project. It supports Microsoft Visual Studio 2015 and 2017. The Syncfusion® Xamarin Toolbox enables easy drag and drop of Syncfusion® controls without XAML coding in the Visual Studio designer.
IMPORTANT
The Syncfusion® Xamarin Toolbox is available from v16.2.0.41.
NOTE
Syncfusion® Xamarin Toolbox will get installed when installed the Syncfusion® Xamarin setup with Additional Settings (Configure Syncfusion® Extensions in Visual Studio). In any case, if toolbox not installed, please run the VSIX Installer utility to configure it in Visual Studio.
Add Syncfusion® Xamarin (Xamarin.Forms) Controls in your Project
Create the Xamarin or Syncfusion® Xamarin project. The following steps direct you to add the Syncfusion® controls through the Visual Studio Toolbox:
-
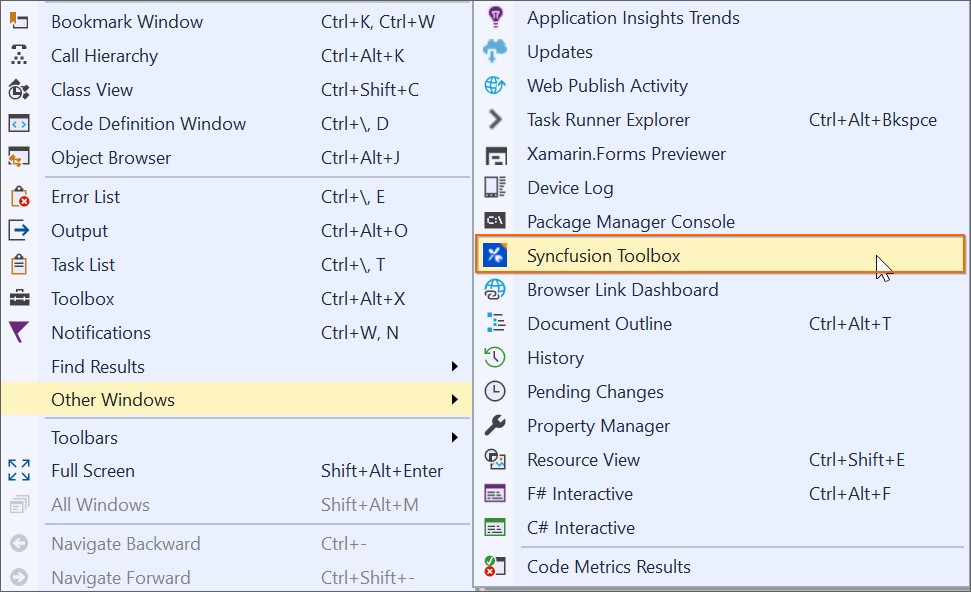
Choose View -> Other Windows -> Syncfusion®* **Toolbox from Visual Studio.
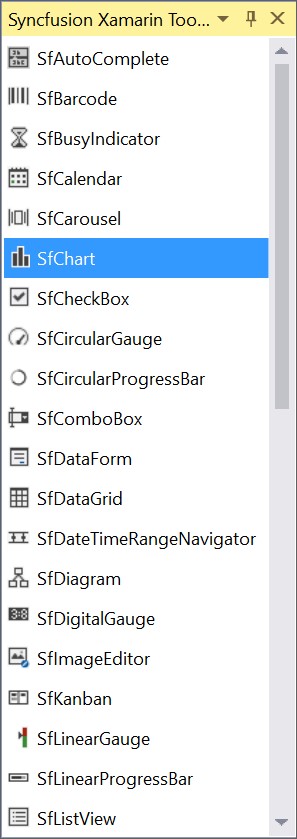
-
Click Syncfusion® Toolbox menu item, the Syncfusion® Toolbox wizard has been appeared. The Syncfusion® control will be enabled when opening the Xamarin.Forms designer page. There is no Syncfusion® control appears till open the appropriate .xaml file from the Xamarin shared/.NET Standard /PCL project.
-
The required Syncfusion® controls design (.xaml) snippet and namespace will be added by drag and drop the required control from the toolbox to the designer.
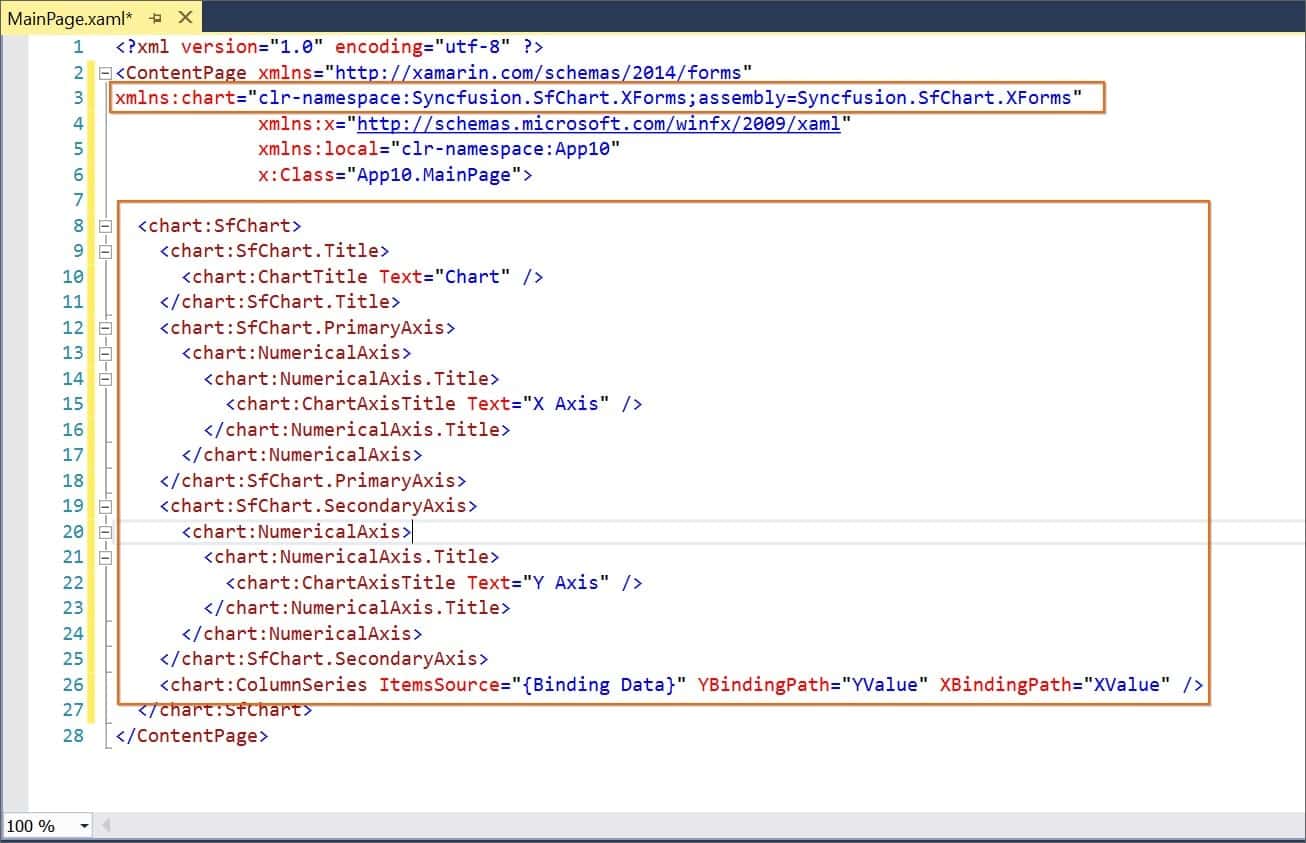
Also, the required control Syncfusion® Xamarin NuGet packages will be installed automatically when drag and drop the control to the designer to render the Syncfusion® control.