Getting Started with WPF Barcode (SfBarcode)
9 Jul 20261 minute to read
Add the Barcode control to an application
The following assembly reference is required for deploying the Barcode control.
-
Namespace:
Syncfusion.UI.Xaml.Controls.Barcode -
Assembly:
Syncfusion.SfBarcode.WPF
To create the SfBarcode control in Visual Studio:
-
Create a new WPF project.
-
Drag the
SfBarcodecontrol from the Toolbox window to the Design view to create an instance of the control.
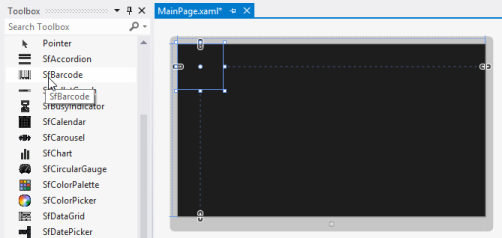
The SfBarcode control after being dragged to the Design view
The following code example shows how to create the Barcode control using XAML:
<Page xmlns:sync="using:Syncfusion.UI.Xaml.Controls.Barcode">

    <Grid>

        <sync:SfBarcode x:Name="barcode" Text="http://www.syncfusion.com" Symbology="QRBarcode">

                    <sync:SfBarcode.SymbologySettings>

                        <sync:QRBarcodeSetting XDimension="8"/>

                    </sync:SfBarcode.SymbologySettings>

                </sync:SfBarcode>

    </Grid>

</Page>
Text
The text to be encoded can be set using the Text property. By default, this text is displayed at the bottom of the barcode. The location of the text can be toggled between Top and Bottom using the TextLocation property, and its horizontal alignment can be set using the TextAlignment property. The text color and font can also be customized using the built-in font properties. To hide the barcode text, set the DisplayText property to false.
<sync:SfBarcode x:Name="barcode" Text="http://www.syncfusion.com" DisplayText="False" Symbology="QRBarcode"/>Rotation
The Barcode control can be rotated to save space using the Rotation property. The barcode can be rotated to 90, 180, and 270 degrees.