Syncfusion® Project Templates for ASP.NET MVC (Essential® JS 1)
28 Jan 20256 minutes to read
Syncfusion® provides the Visual Studio Project Templates for the Syncfusion® ASP.NET MVC, Syncfusion® ASP.NET MVC (Classic) and ASP.NET MVC (Mobile) platforms to create a Syncfusion® MVC application.
Syncfusion® ASP.NET MVC and ASP.NET MVC (Classic) Project Templates are included here,
- Essential Studio® for Enterprise Edition with the platforms ASP.NETMVC or ASP.NET MVC(Classic)
- Essential Studio® for ASP.NET MVC
- Essential Studio® for ASP.NET MVC (Classic)
IMPORTANT
This is not applicable from v.12.1.0.43 to v.13.1.0.30. Syncfusion® ASP.NET MVC and ASP.NET MVC (Classic) Project Templates are excluded from MVC Extension setup and integrated into Essential Studio® ASP.NET MVC and ASP.NET MVC (Classic) platforms.
ASP.NET MVC Extensions:
By default, the Syncfusion® ASP.NET MVC extensions are configured in Visual Studio. When you want the ASP.NET MVC (Classic) extension, you can install it from the installed location.
Project Templates (ASP.NET MVC (Classic):
Location: {Drive}\Program Files (x86)\Syncfusion\Essential Studio\<Version>\Utilities\Extensions\ASP.NET MVC \Classic
For Example – VS2013:C:\Program Files (x86)\Syncfusion\Essential Studio\13.2.0.18\Utilities\Extensions\ASP.NET MVC\Classic\4.5.1\Syncfusion.MVC.VSPackage.Web.Classic.vsix
Refer to the following steps to create the Syncfusion® ASP.NET MVC and ASP.NET MVC (Classic) applications.
Create Syncfusion® MVC (Web) Project
The following steps help you create the Syncfusion® ASP.NET MVC (Essential® JS 1) Application via the Visual Studio Project Template:
Before use the Syncfusion® ASP.NET MVC (Essential® JS 1) Project Template, check whether the Syncfusion® Essential® JS1 AspNet MVC VSExtensions installed or not in Visual Studio Extension Manager by clicking on the Tools -> Extensions and Updates -> Installed for Visual Studio 2017 or lower and for Visual Studio 2019 by clicking on the Extensions -> Manage Extensions -> Installed.
-
To create a Syncfusion® ASP.NET MVC (Essential® JS 1) project, follow either one of the options below:
Option 1:
Click Syncfusion® Menu and choose Essential Studio® for ASP.NET MVC (EJ1) > Create New Syncfusion® Project… in Visual Studio.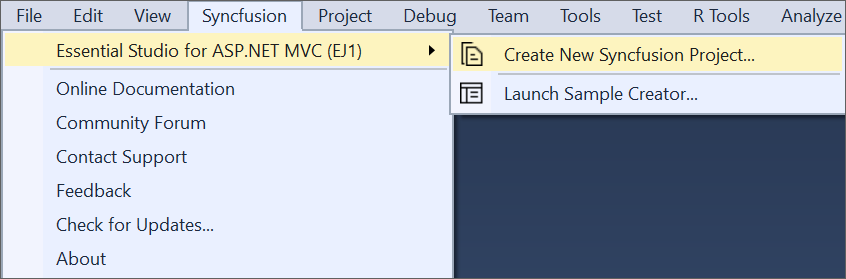
NOTE
In Visual Studio 2019, Syncfusion® menu available under Extension in Visual Studio menu.
Option 2:
Choose File > New > Project and navigate to Syncfusion® > Web > Syncfusion® ASP.NET MVC (Essential® JS 1) Application in Visual Studio.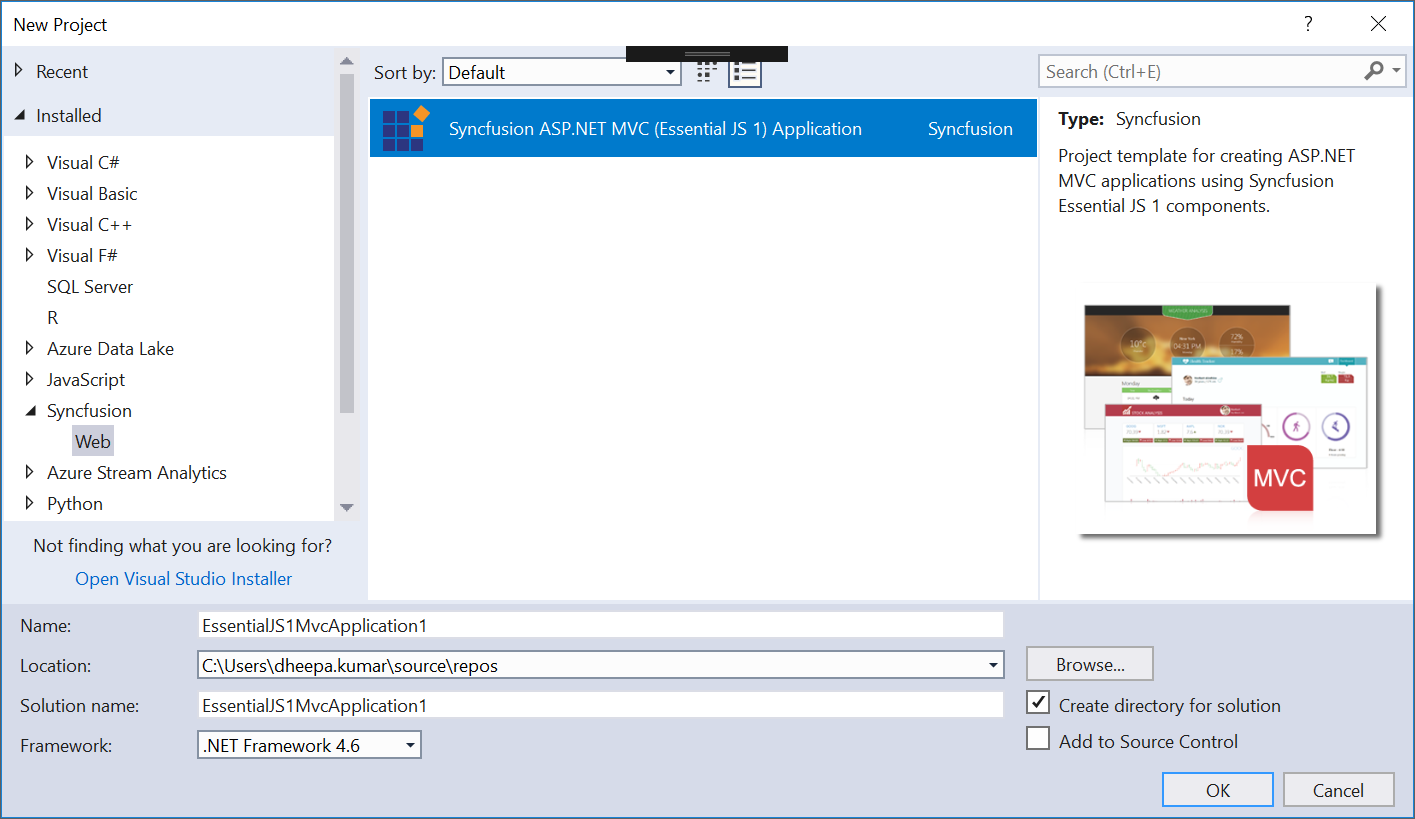
-
Name the Project, choose the destination location as required and set the Framework of the project then click OK. The Project Configuration Wizard appears.
-
Choose the options to configure the Syncfusion® ASP.NET MVC Application by using the following Project Configuration window.
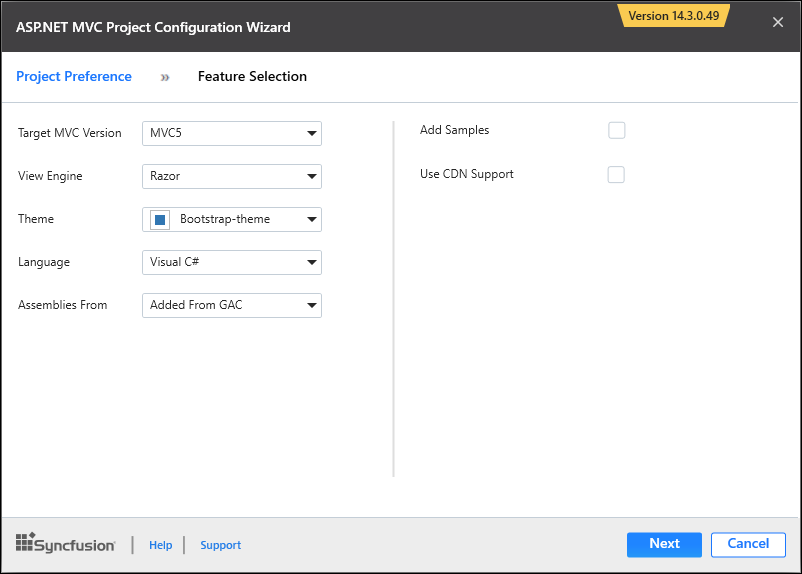
Project configurations:
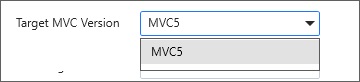
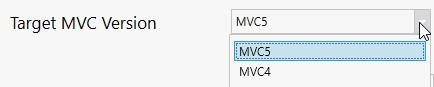
Target MVC Version: Choose the required MVC Version.
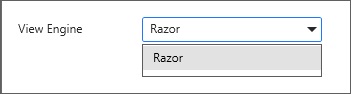
View Engine: Choose the View Engine of the Sample.
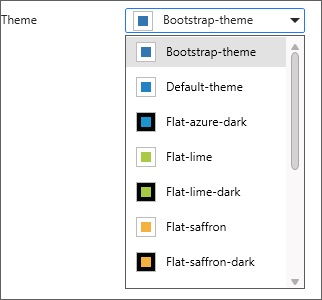
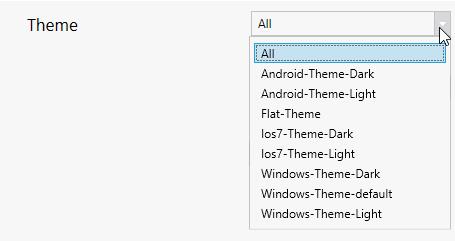
Theme: Choose the Required Theme.
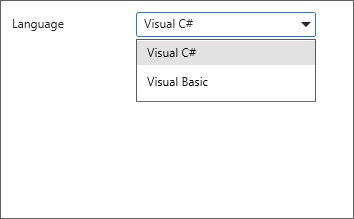
Language: Select the language, either C# or VB.
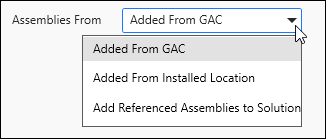
Assemblies From: Choose the assembly location from where it is going to be added to the project.
Use CDN Support: The master page of the project will be updated based on required Syncfusion® CDN links.

-
When you have not chosen the Add Samples option then the Syncfusion® ASP.NET MVC/ Syncfusion® ASP.NET MVC (Classic) project is created with required assemblies, CSS and Script files only.
-
By choosing the Add Samples option you can add the code examples for your selected controls and its features.
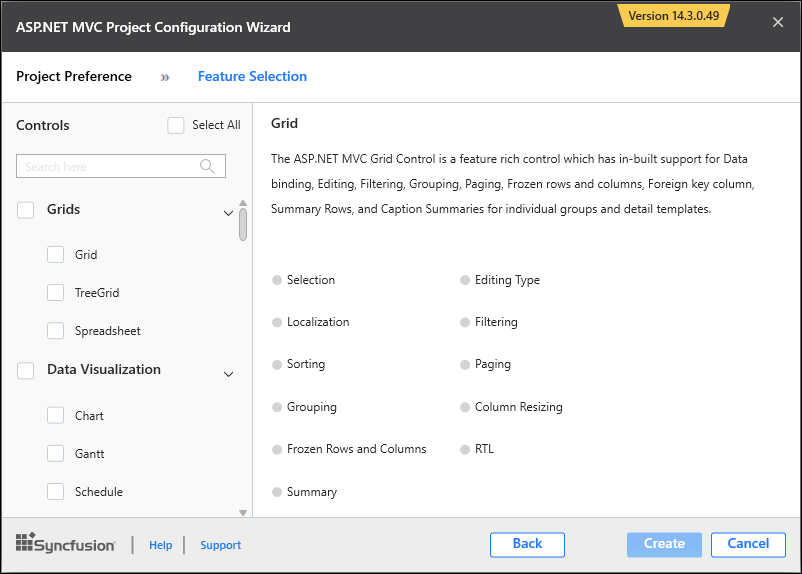
Select Control: Choose the control based on your need.
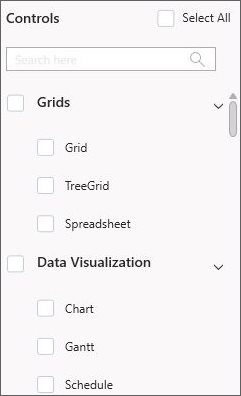
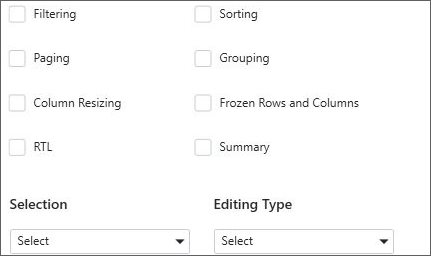
Select Feature: Choose Feature based on your need.
-
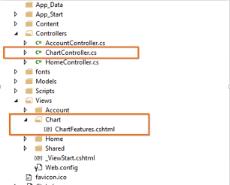
Once the Project Configuration Wizard is done, the Syncfusion® MVC Project is created.
-
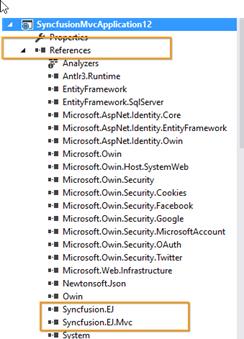
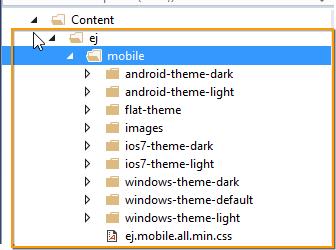
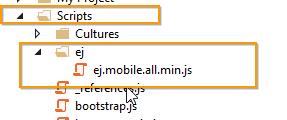
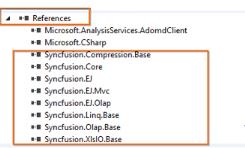
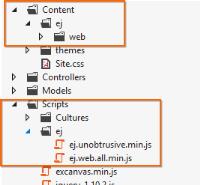
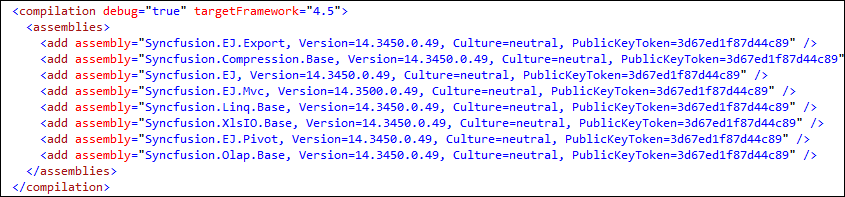
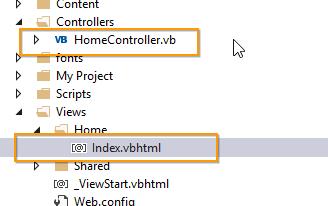
Syncfusion® references, Scripts, CSS and required Web.config entries are added to the Project.
-
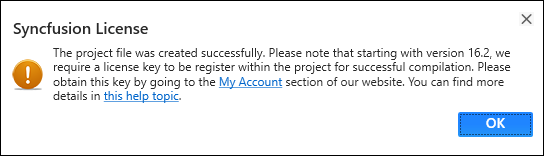
Then, Syncfusion® licensing registration required message box will be shown as follow, if you are installed the trial setup or NuGet packages since Syncfusion® introduced the licensing system from 2018 Volume 2 (v16.2.0.41) Essential Studio® release. Please navigate to the help topic which is shown in the licensing message box to generate and register the Syncfusion® license key to your project. Refer to this blog post for understanding the licensing changes introduced in Essential Studio®.
Create Syncfusion® MVC (Mobile) Project
The following steps help you create the Syncfusion® ASP.NET MVC (Mobile) Project via the Visual Studio Project Template.
-
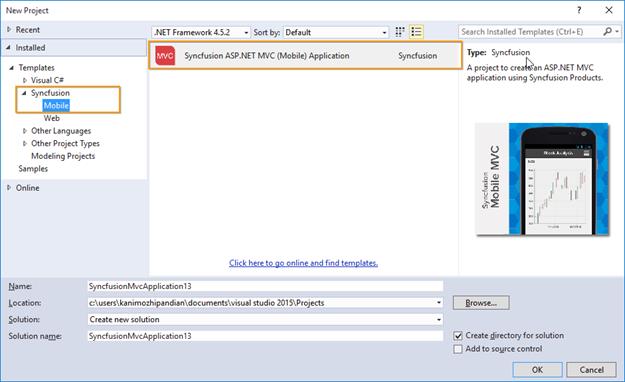
To create a Syncfusion® Project, choose New Project -> Syncfusion® -> Mobile -> Syncfusion® ASP.NET MVC(Mobile) Application from Visual Studio.
- Name the Project, choose the destination location as required and set the Framework of the project then click OK. The Project Configuration Wizard appears.
-
Choose the options to configure the Syncfusion® ASP.NET MVC Application by using the following Project Configuration window.
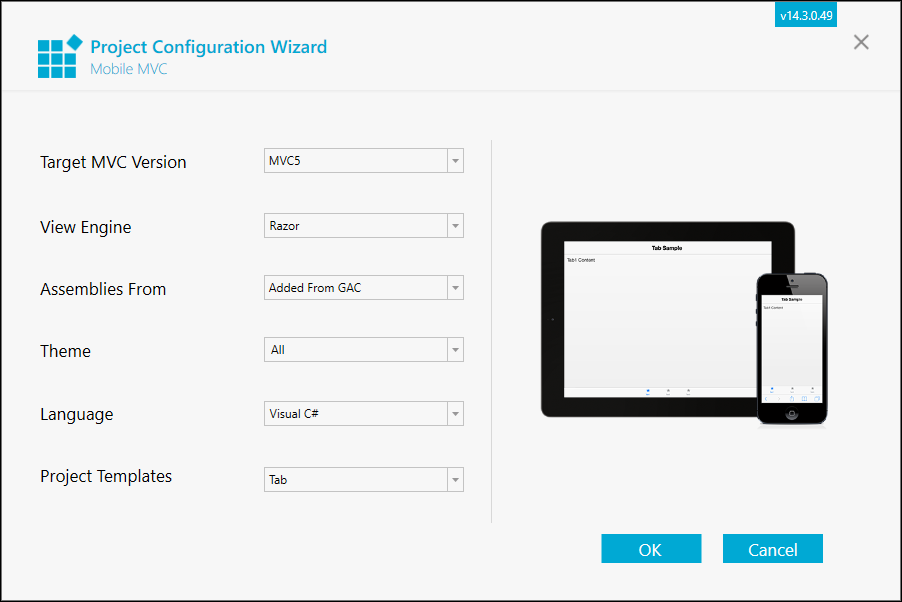
Project configurations:
Target MVC Version: Choose the required MVC Version.
View Engine: Choose the View Engine of the Sample.

Theme: Choose the Required Theme.
Language: Select the language, either C# or VB.

Assemblies From: Choose the assembly location from where it is going to be added to the project.
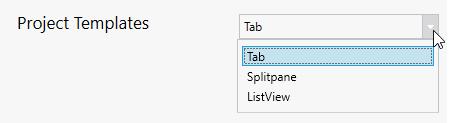
Project templates: Choose the required Control.
-
Once the Project Configuration Wizard is done, the Syncfusion® MVC Project is created.
-
Syncfusion® references, Scripts, CSS and required Web.config entries are added to the Project.