Add DataSource in WPF ReportDesigner Control
2 Jun 20211 minute to read
This feature allows you to add a DataSource to the Report Designer. It binds the database from the server. The following steps are used to add the DataSource to the Report Designer.
-
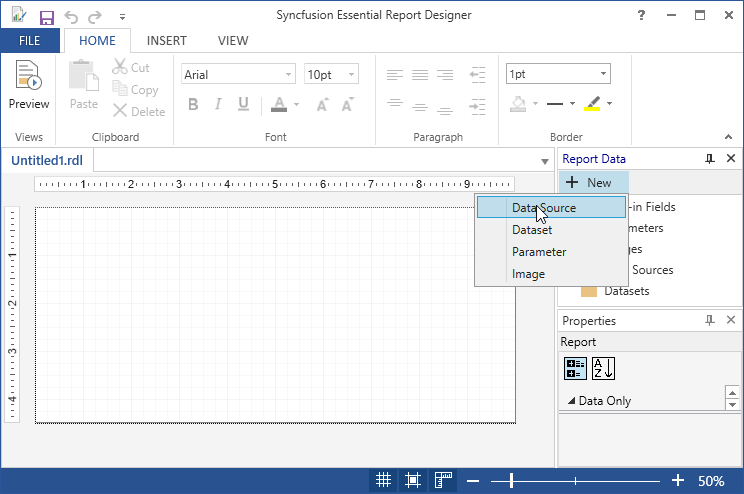
In the Report Data, Click New, and then click the DataSource.
-
Right click on the Data Sources field and then click on Add Data Source.

-
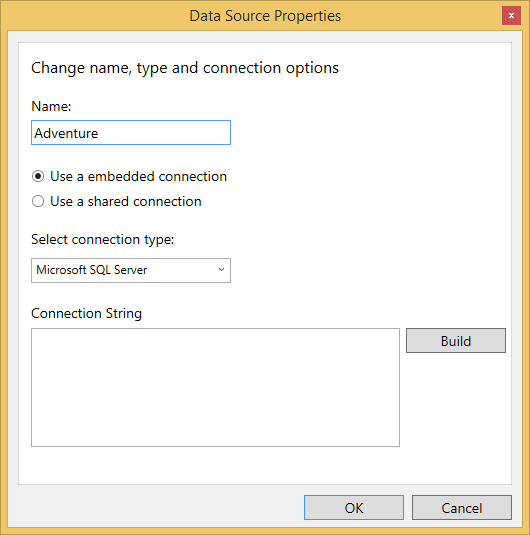
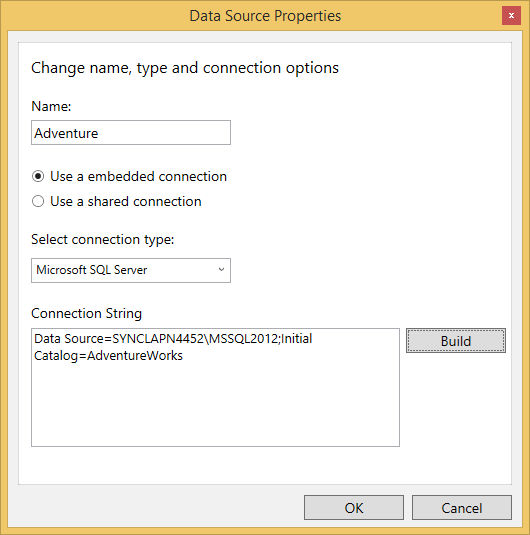
Enter the DataSource name in the Name field and choose use a embedded connection radio button and select the connection type from the Select connection type drop-down.
-
Click Build, then connection properties Wizard opens
-
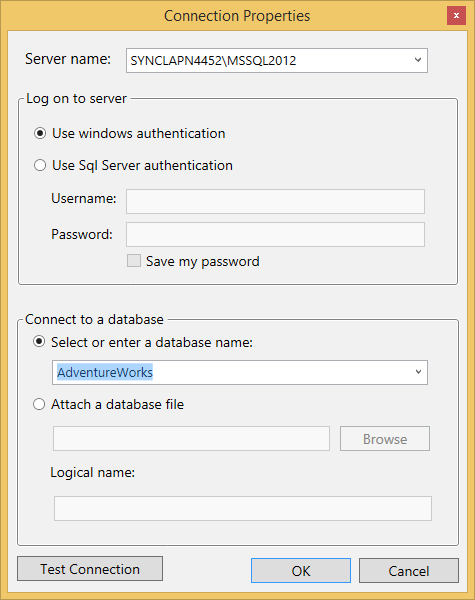
Enter the server name in the Server name field.
-
In log on to server column select use windows authentication, then select or enter a database name in the Select or enter a database name drop-down ComboBox in connect to a database column.
-
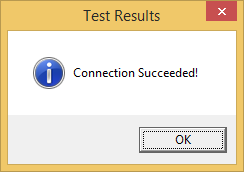
Click the Test Connection to check the server connection.
-
The Test Results dialog box is displayed after completing the connection check.
-
Click OK. It provides a connection string for the DataSource.
-
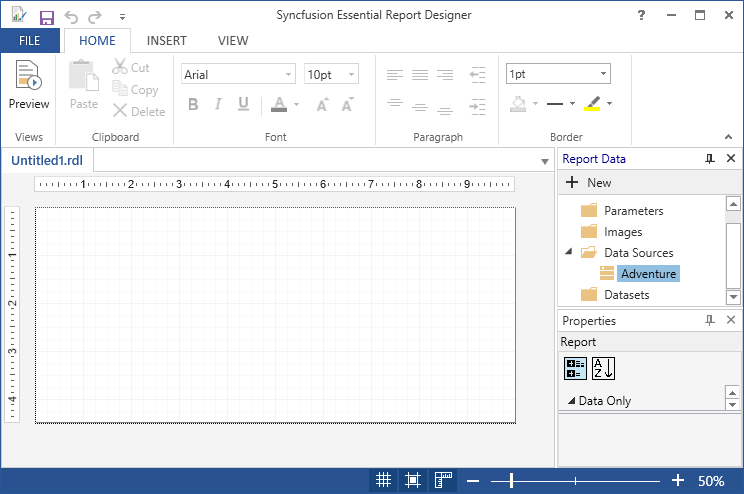
Click OK. The added DataSource (Adventure) appears in the Report Data panel.