How can I help you?
Getting Started
This section helps to understand the getting started of the Dialog widget with the step-by-step instructions.
Script/CSS reference
Create a new HTML file and include the below code
<!DOCTYPE html>
<html lang="en" xmlns="http://www.w3.org/1999/xhtml">
<head>
    <meta charset="utf-8" />
    <title></title>
</head>
<body>

</body>
</html>
Add link to the CSS file from the specific theme folder to your HTML file within the head section.
<head>
    <meta charset="utf-8" />
    <title>Getting Started - Dialog </title>
    <link href="http://cdn.syncfusion.com/32.2.3/js/web/flat-azure/ej.web.all.min.css" rel="stylesheet" />
</head>
Add links to the CDN Script files with dependencies.
<head>
    <meta charset="utf-8" />
    <title>Getting Started - Dialog</title>
    <link href="http://cdn.syncfusion.com/32.2.3/js/web/flat-azure/ej.web.all.min.css" rel="stylesheet" />
    <script src="http://cdn.syncfusion.com/js/assets/external/jquery-1.10.2.min.js"></script>
    <script src="http://cdn.syncfusion.com/js/assets/external/jquery.easing.1.3.min.js"></script>
    <script src="http://cdn.syncfusion.com/js/assets/external/jsrender.min.js"></script>
    <script src="http://cdn.syncfusion.com/32.2.3/js/web/ej.web.all.min.js"></script>
</head>
NOTE
To reduce the file size further please use GZip compression in your server.
See Also
Create Dialog
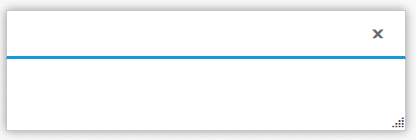
Add a div element in the <body> tag as below.
<div id="dialog">

        </div>
Initialize the Dialog widgets by adding the script section as below.
$(function () {
            $("#dialog").ejDialog();
        });
Add dialog content
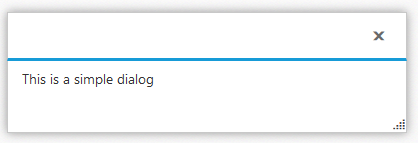
Add the contents for the dialog as below.
<div id="dialog">
            <!--dialog content-->
            <p>This is a simple dialog</p>
        </div>
Set the title
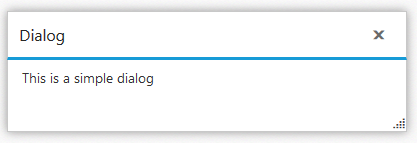
To set the title to Dialog widget’s using title property as follows.
$(function () {
            $("#dialog").ejDialog({ title: "Dialog" });
        });
NOTE
The title can be also set through the title attribute for the dialog’s div element (<div id=”dialog” title=”Dialog”>)

Open Dialog dynamically
In most cases, the Dialog widgets are needed only in dynamic actions like showing some messages on clicking a button, to provide alert, etc. So the Dialog widget provides open and close methods to open/close the dialogs dynamically.
The Dialog widget can be hidden on initialize using showOnInit property which should be set to false.
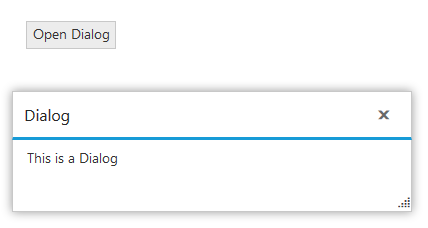
Refer the below example. The dialog will be opened on clicking the Button widget.
See Also
<!--button widget-->
    <button id="button">Open Dialog</button>

    <div id="dialog" title="Dialog">
        <!--dialog content-->
        <p>This is a Dialog</p>
    </div>
    <script>
        $(function () {
            //create button widget
            $("#button").ejButton({ click: "openDialog" });
            //create dialog widget
            $("#dialog").ejDialog({ showOnInit: false });
        });
        function openDialog() {
            $("#dialog").ejDialog("open");
        }
    </script>