Redaction UI interactions in JavaScript (ES6) PDF Viewer
17 Feb 20264 minutes to read
Add redaction annotations from the toolbar
Use the redaction tool in the toolbar to draw over content that should be hidden. After marking, an annotation can display overlay text (for example, “Confidential”) and can be styled using fill color and other properties.
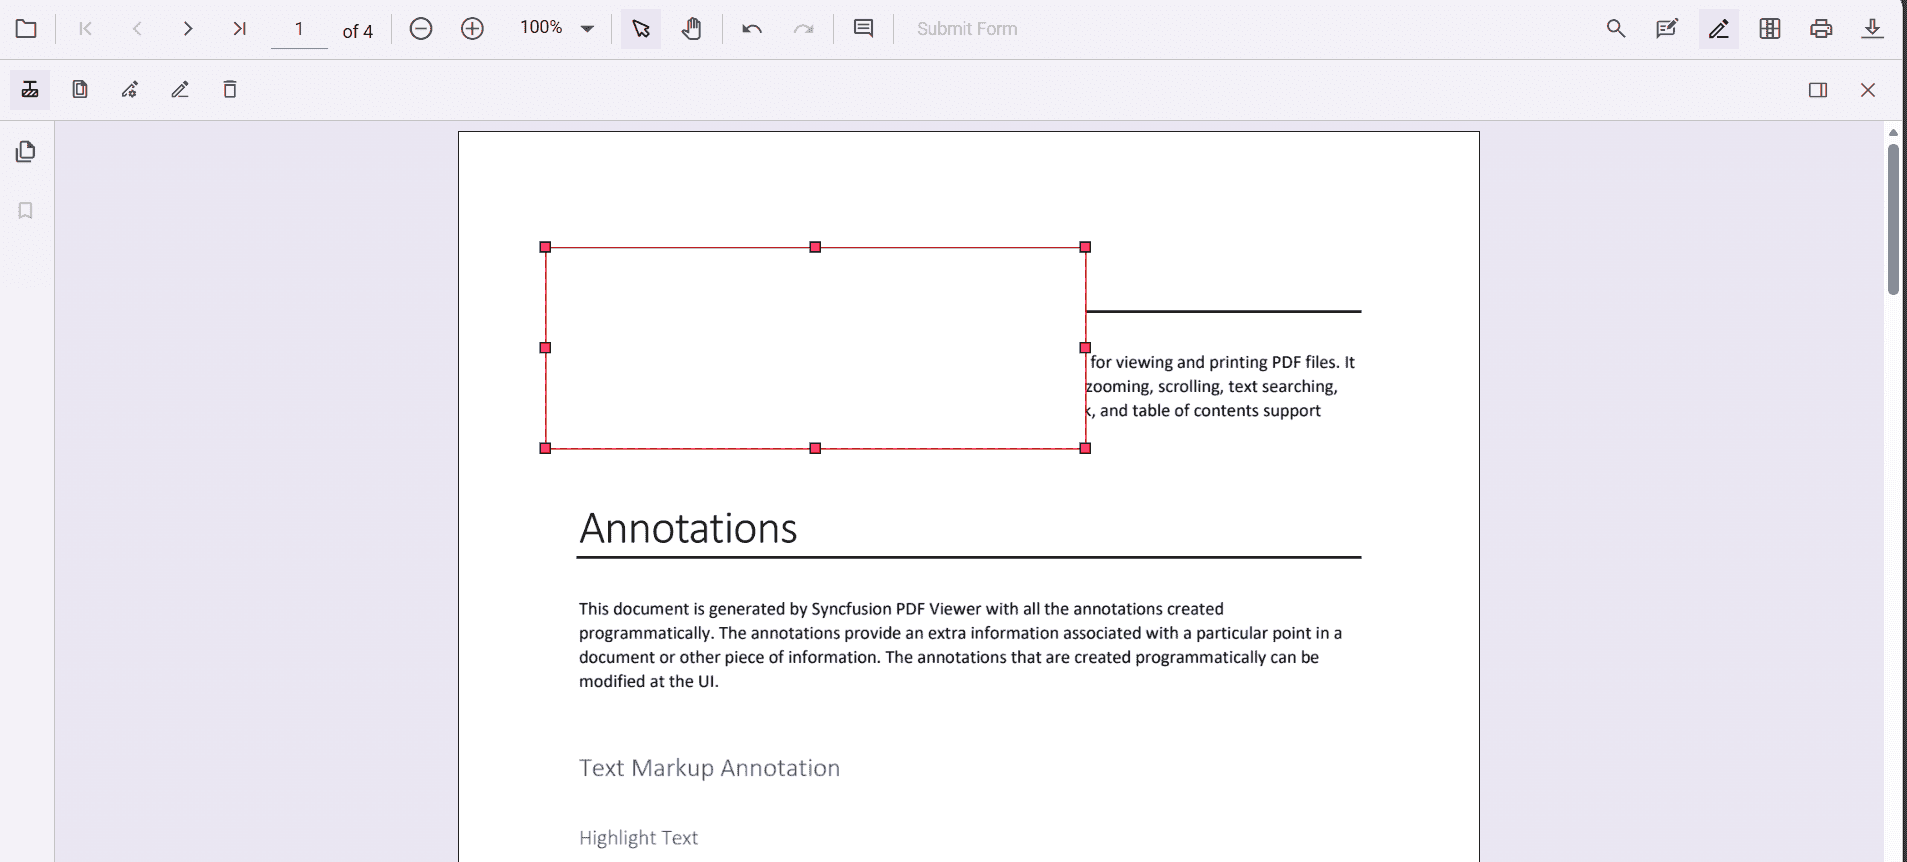
Redaction annotations are interactive
-
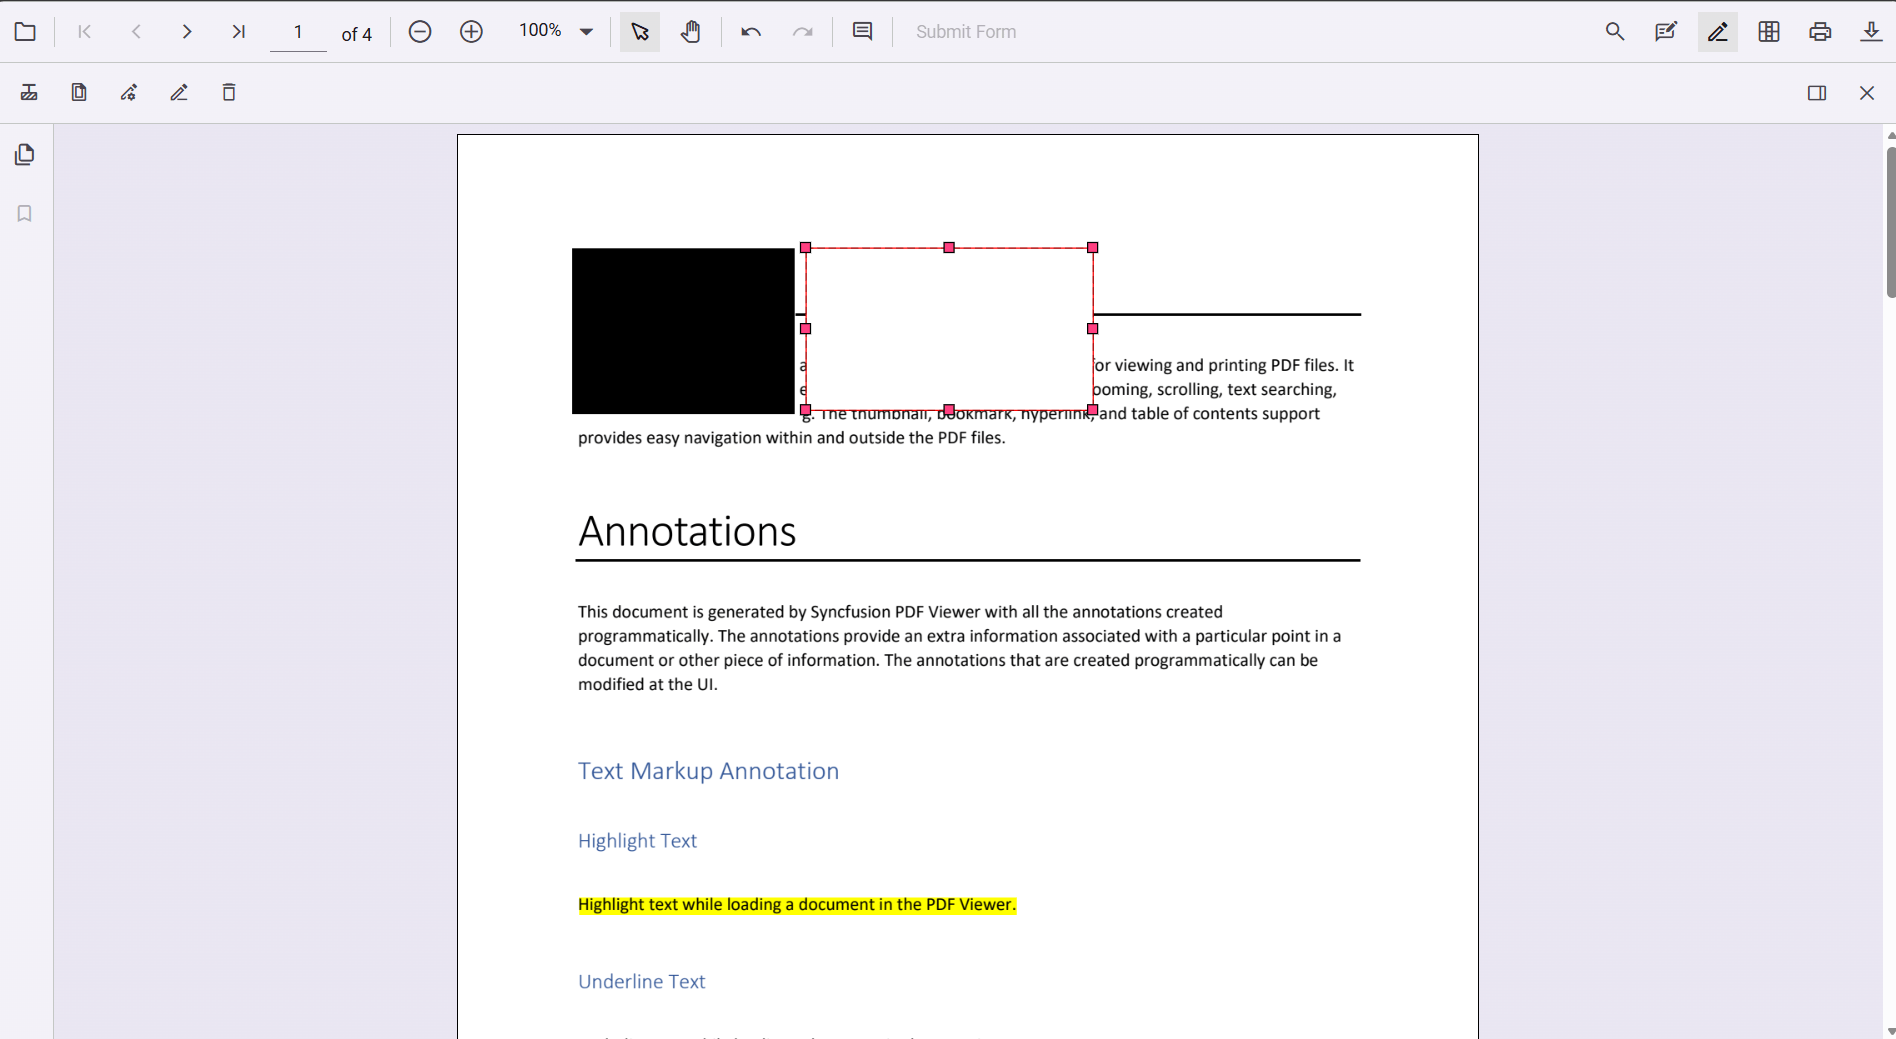
Movable – Drag and reposition the annotation within the same page.
-
Resizable – Resize the annotation to cover the required area.
NOTE
The redaction tool is hidden by default. Customize the toolbar to include it. For instructions, see the Toolbar customization.
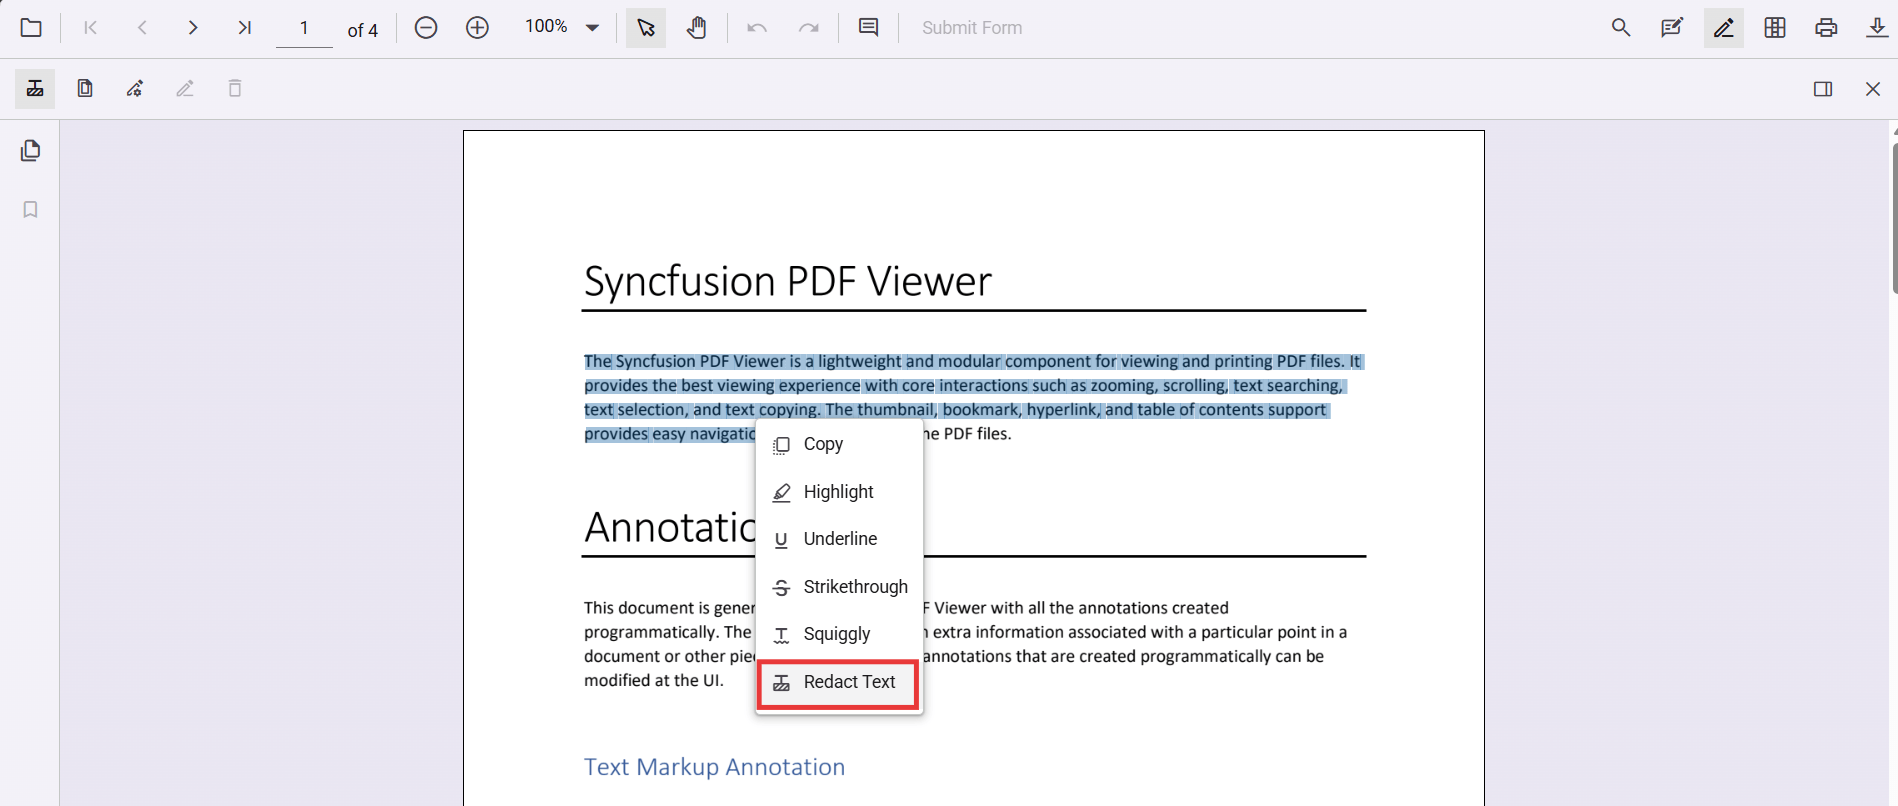
Add redaction annotations using the context menu
In addition to the toolbar, redaction annotations can be added directly from the context menu. To add from the context menu, select the text or region, right‑click (or long‑press on mobile), and choose the Redact Annotation option. This creates a redaction mark over the selected content.
Update redaction properties
After adding a redaction annotation, properties can be updated through the property panel or programmatically.
Update using the property panel
When a redaction annotation is selected, a two‑tab property panel (General and Appearance) allows customization of text and styling. Changes are reflected instantly on the redaction mark.
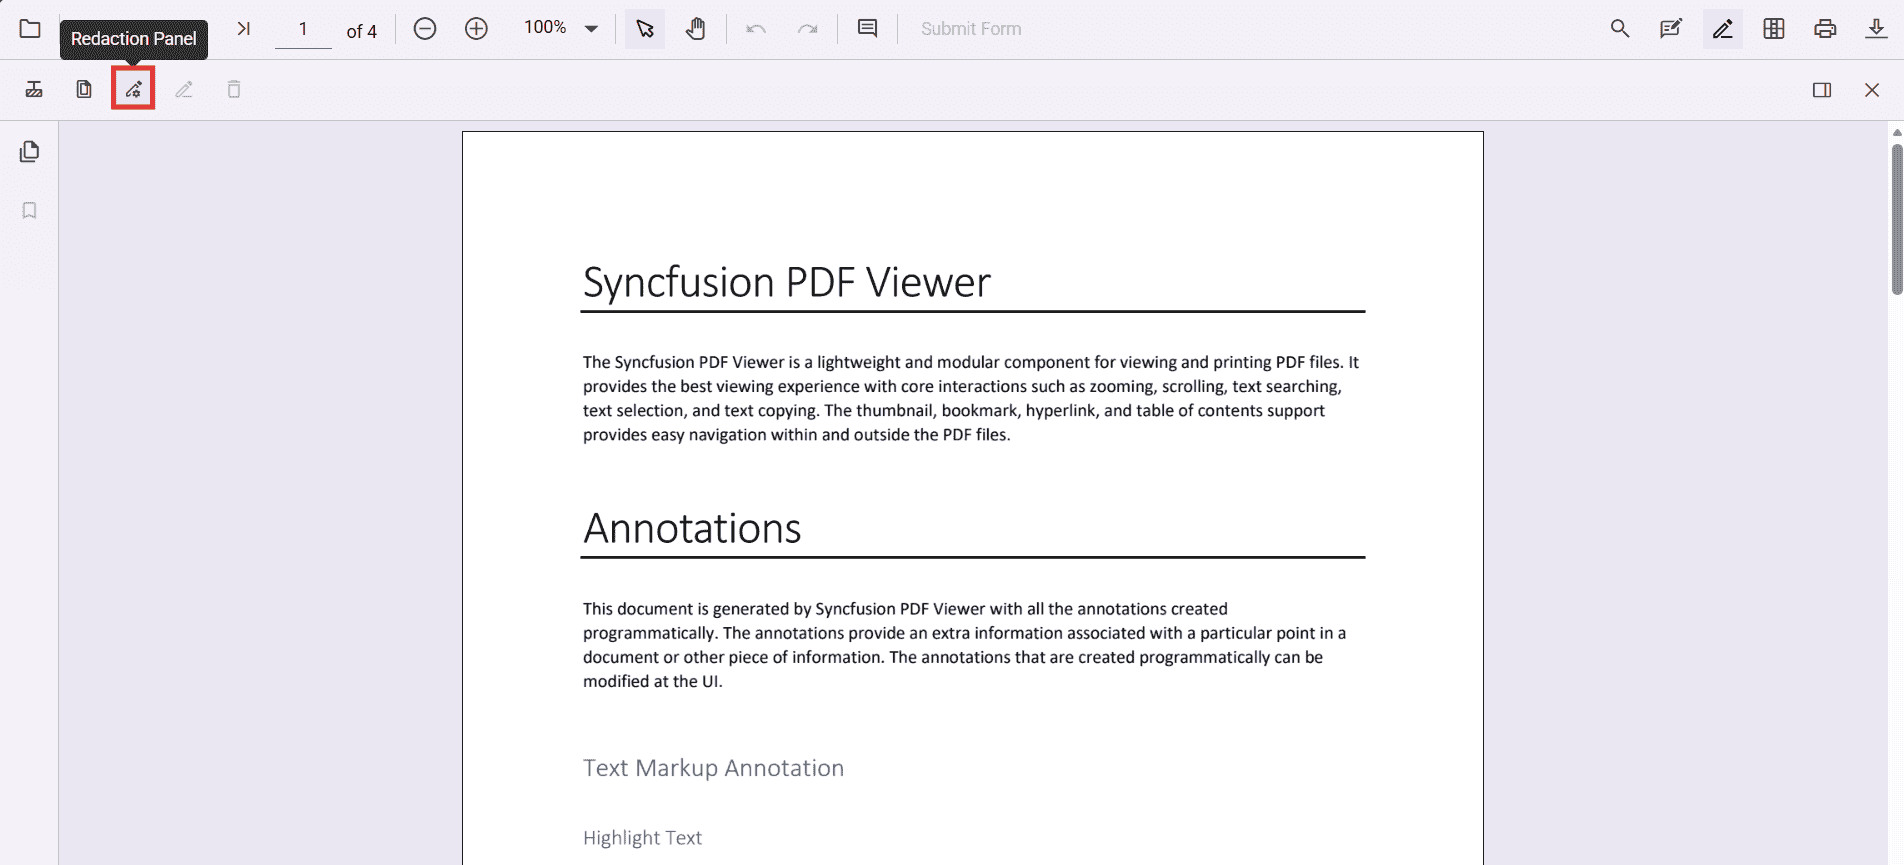
The property panel can be opened in two ways:
-
By clicking the Redaction property panel icon in the toolbar.
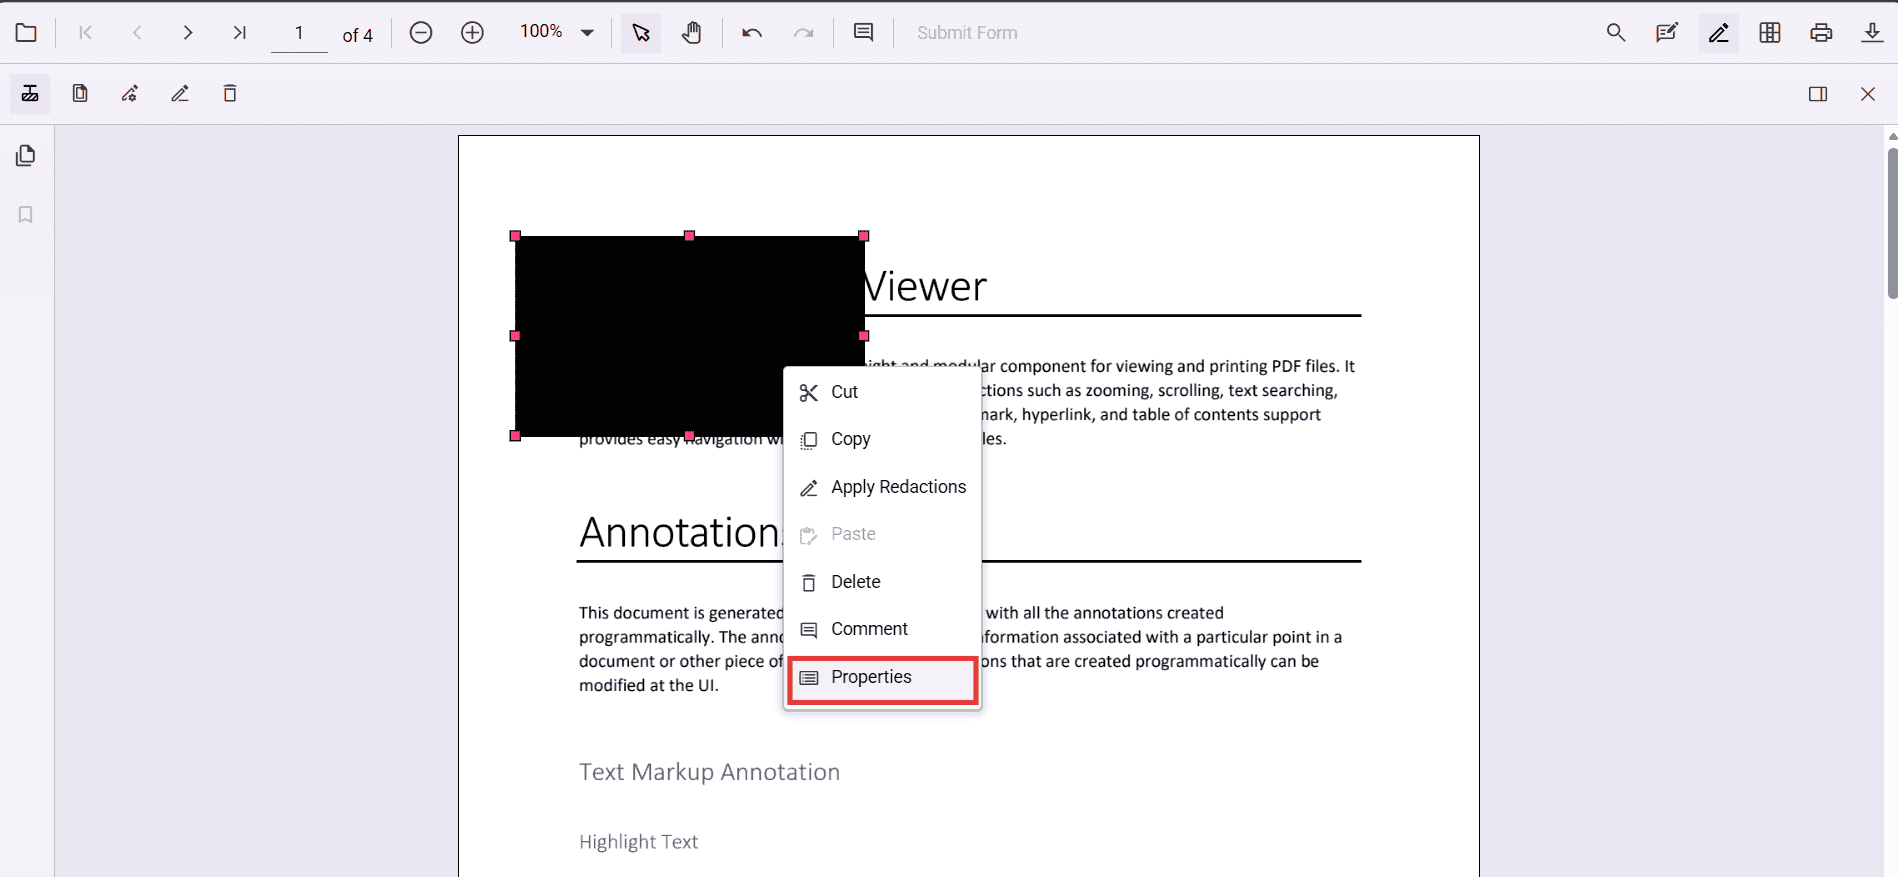
-
By right‑clicking (or long‑pressing) the annotation and choosing Properties from the context menu.
General tab
Use the General tab to define how the content will look after redaction. These settings control the final, burned‑in result and provide a live preview on hover.
- Use Overlay Text – Enable to show text (for example, Confidential) over the redacted area.
- Overlay Text – Enter the text to display.
- Repeat Overlay Text – Tile the text to cover the whole region.
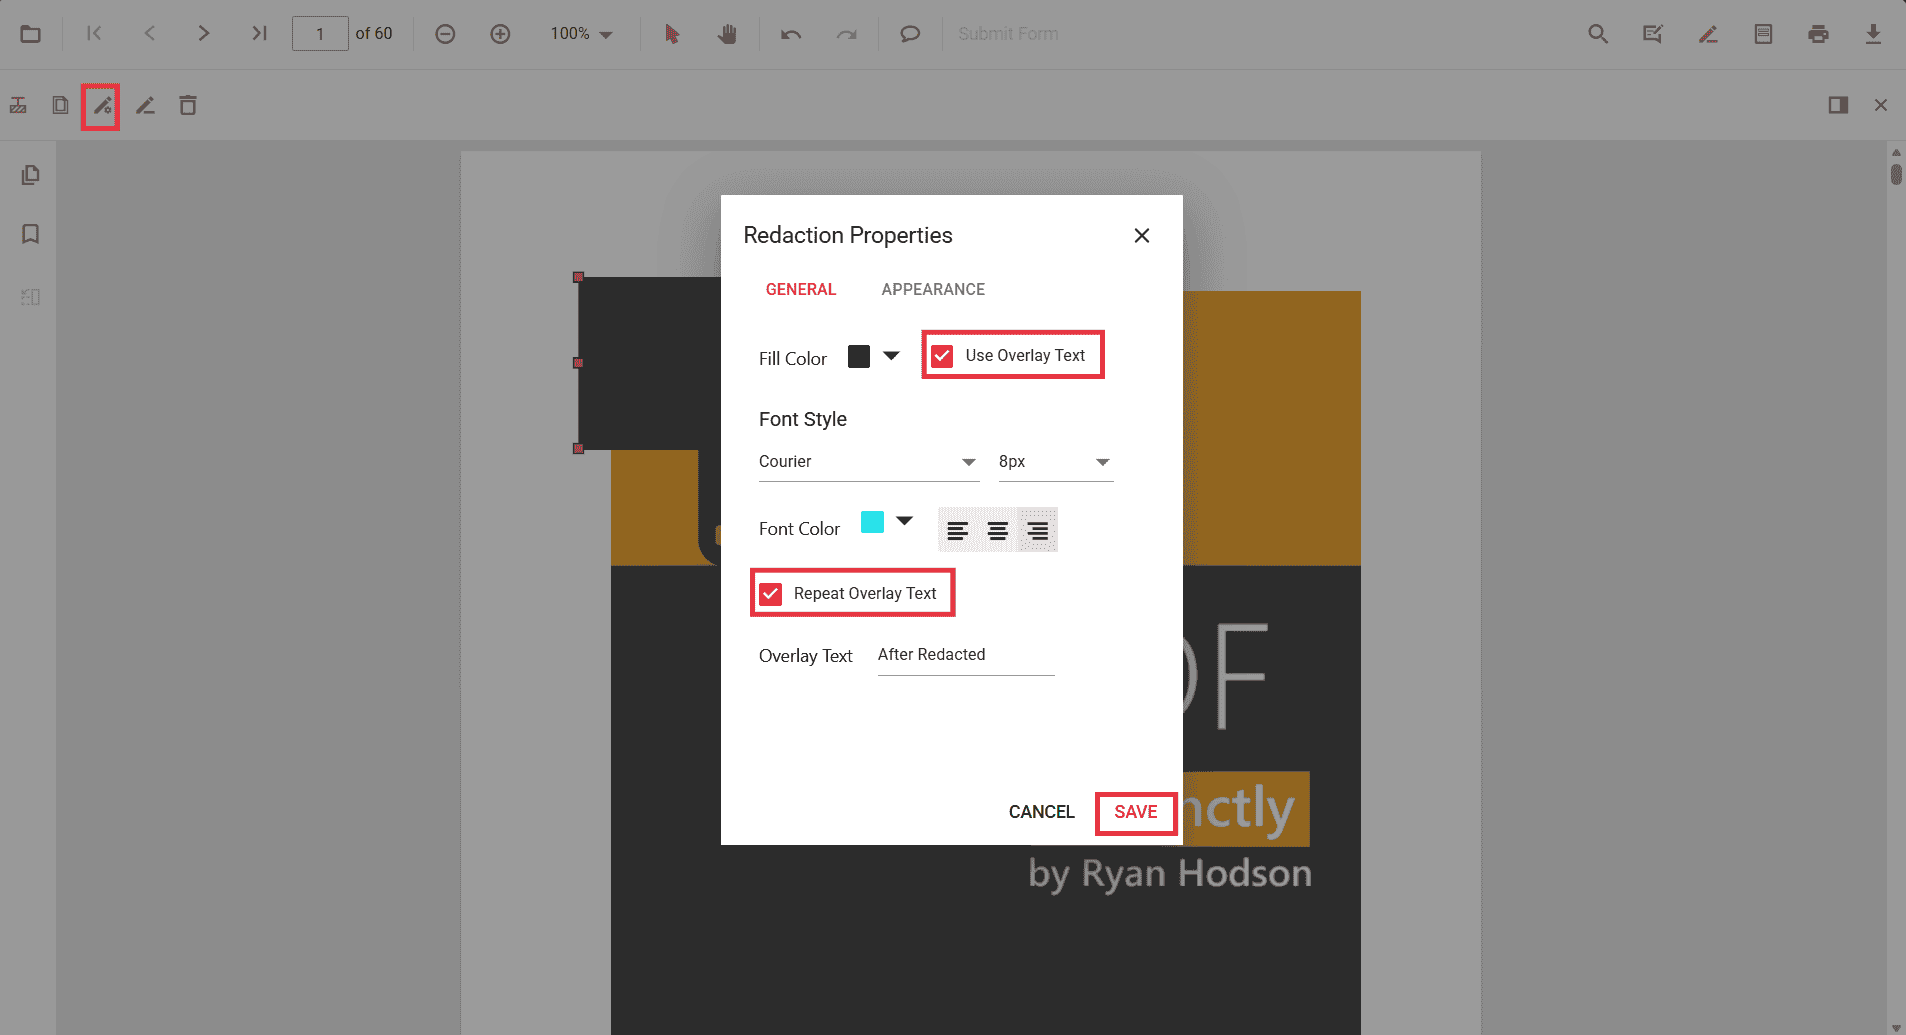
- Font options – Choose family, size, color, and alignment for the overlay text.
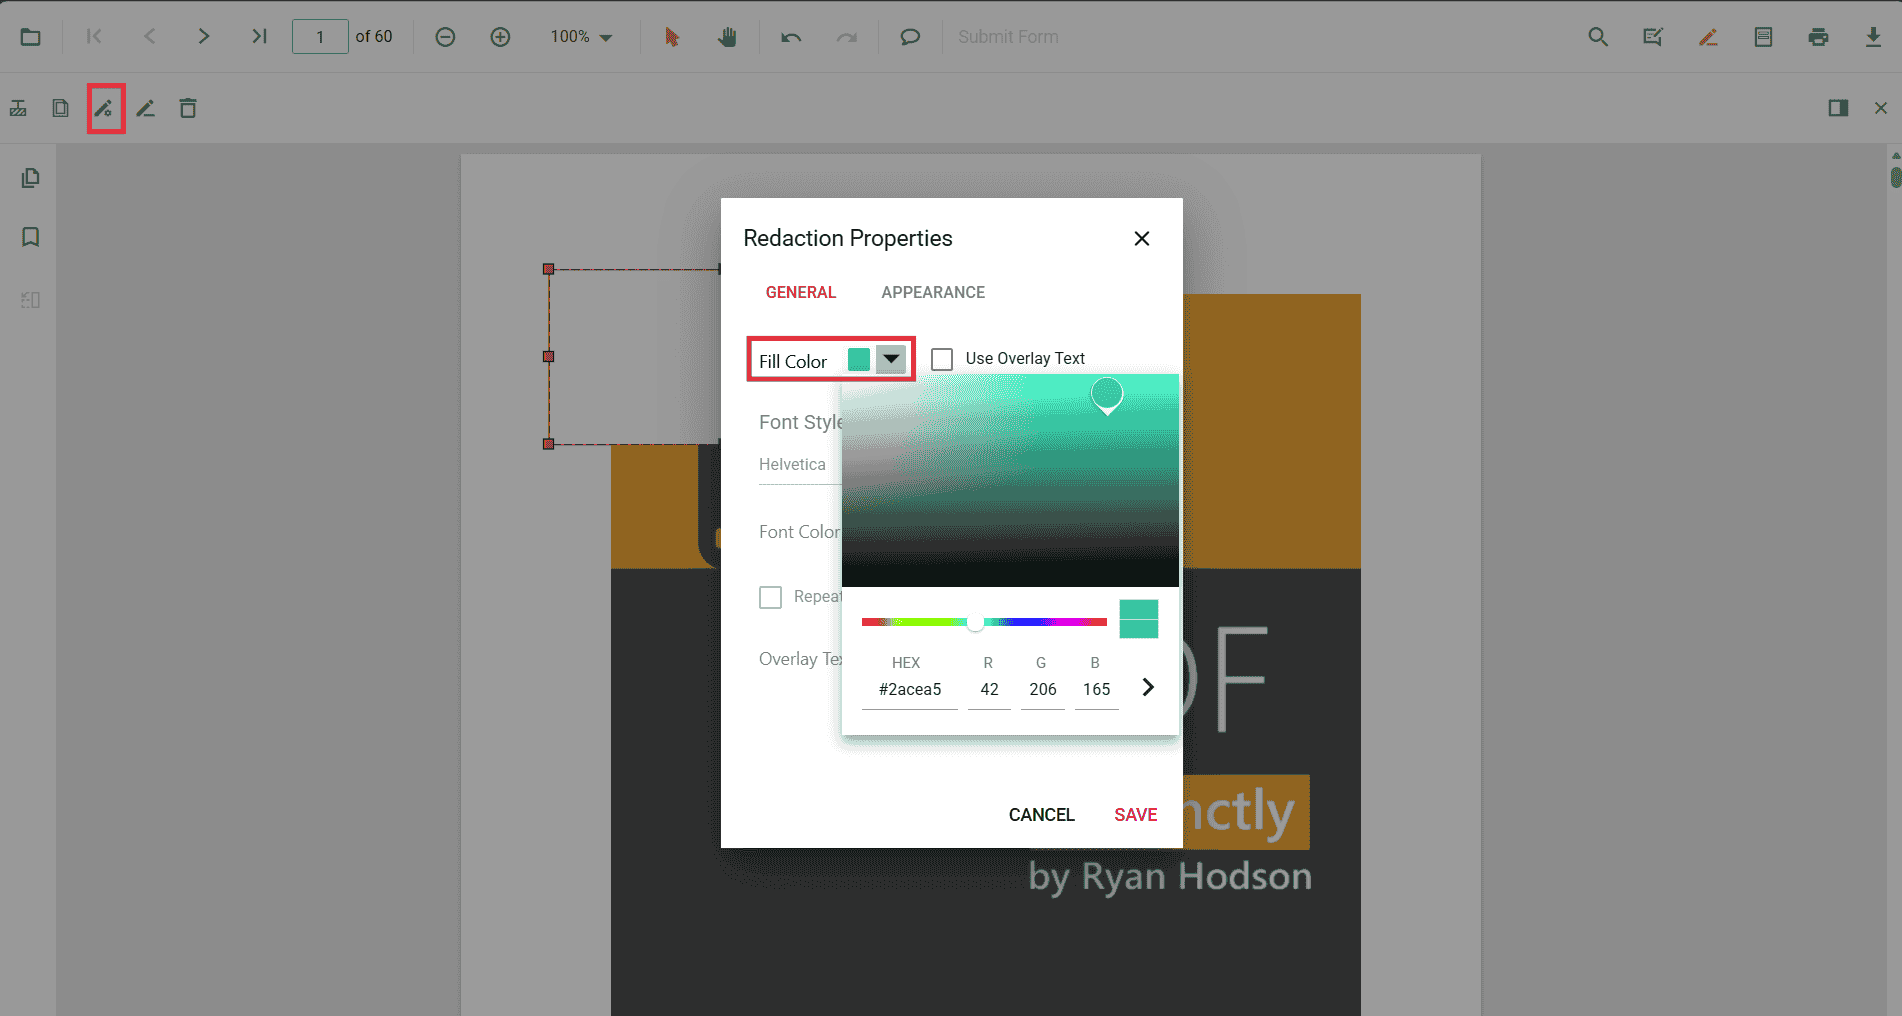
- Fill Color – Select the color that will fill the region after redaction is applied.
NOTE
Hovering over a redaction annotation shows a preview of the final look. After Apply Redaction is selected, these settings are flattened into the page and cannot be edited. Tip: Select Save in the dialog to persist changes.
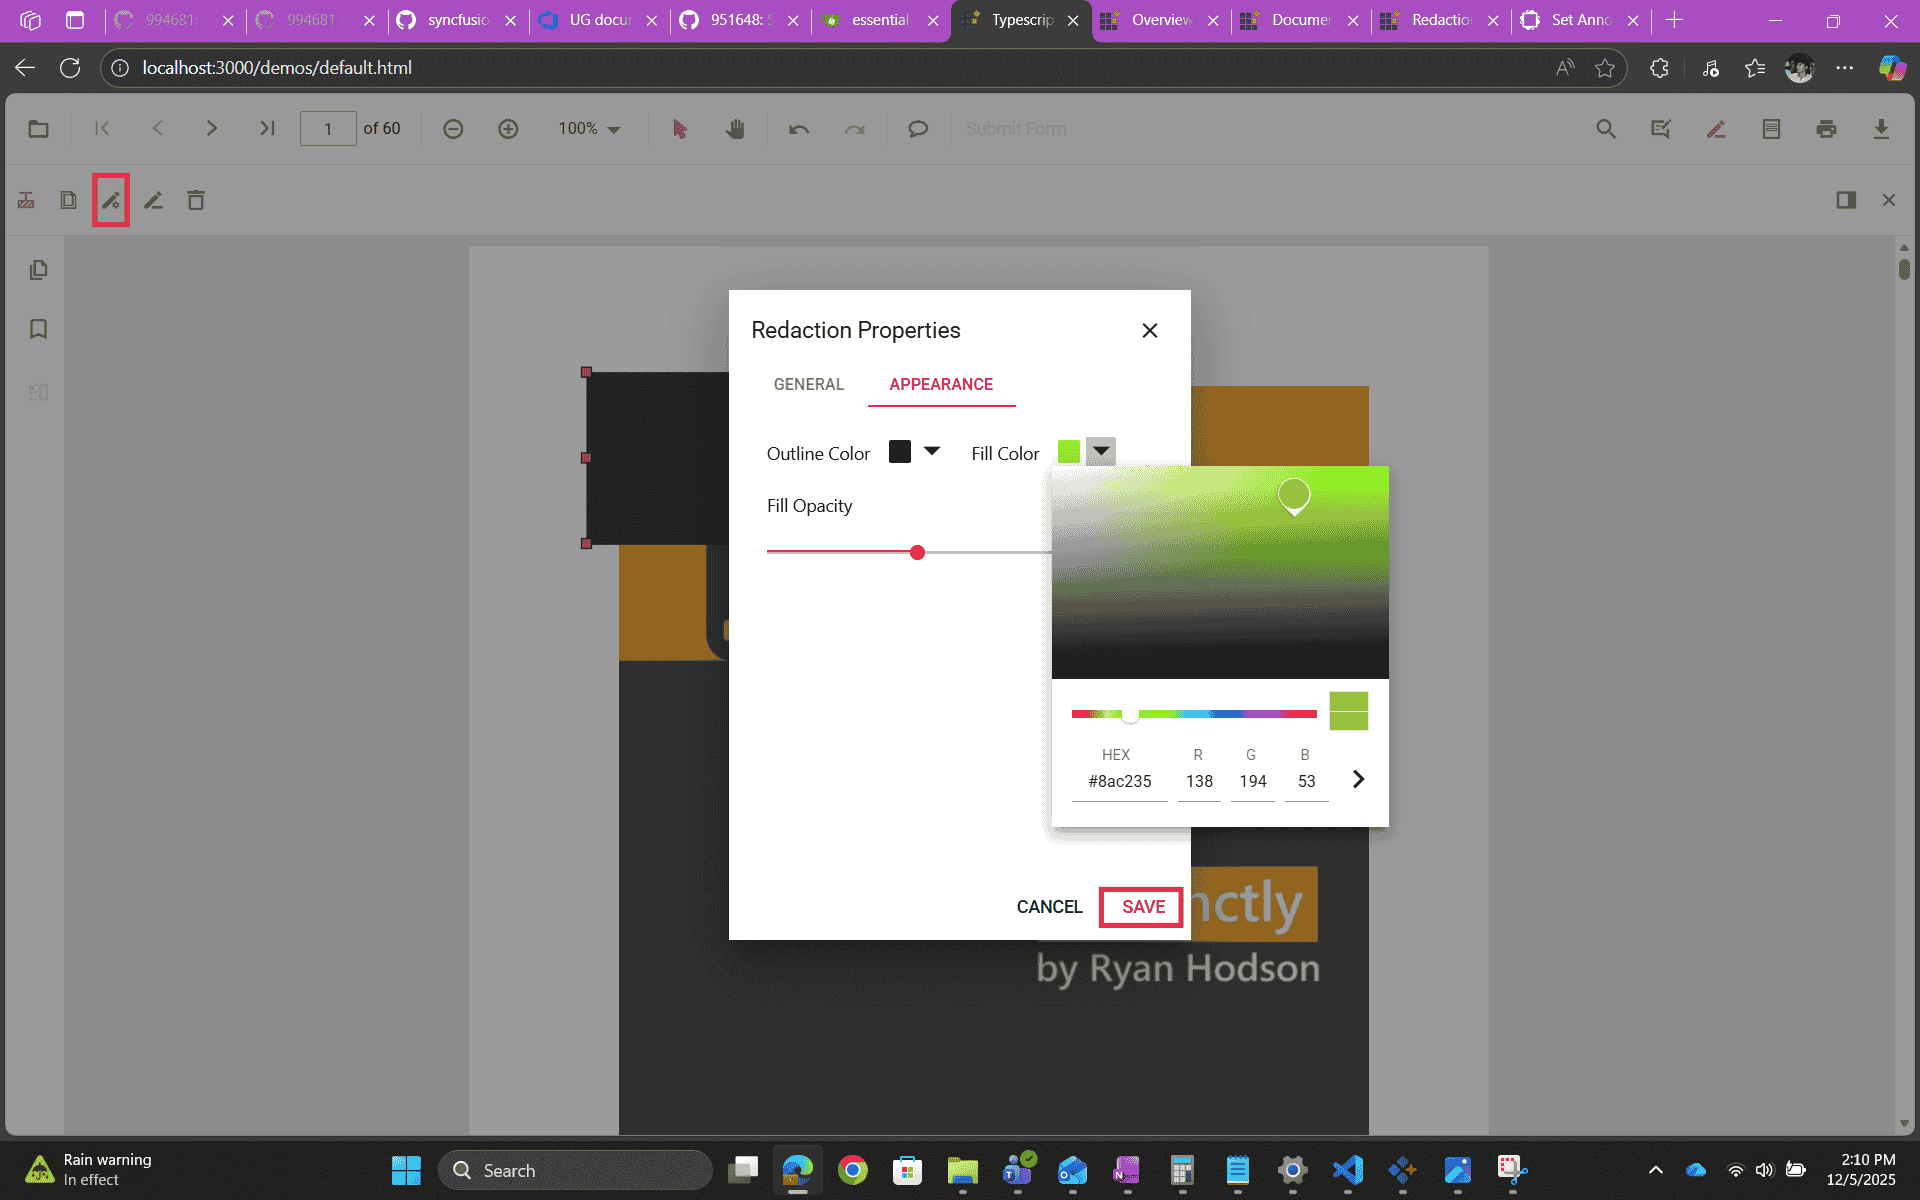
Appearance tab
Use the Appearance tab to style the redaction annotation itself (before applying). These options help you see and manage the box on the page but do not change the final redacted output.
- Fill Color – Sets the annotation’s fill while you review and move/resize it.
- Outline Color – Optional border for the annotation.
- Fill Opacity – Controls how transparent the annotation appears during review.
Note: The Appearance tab affects only the temporary annotation. The final look after applying redaction comes from the General tab settings.
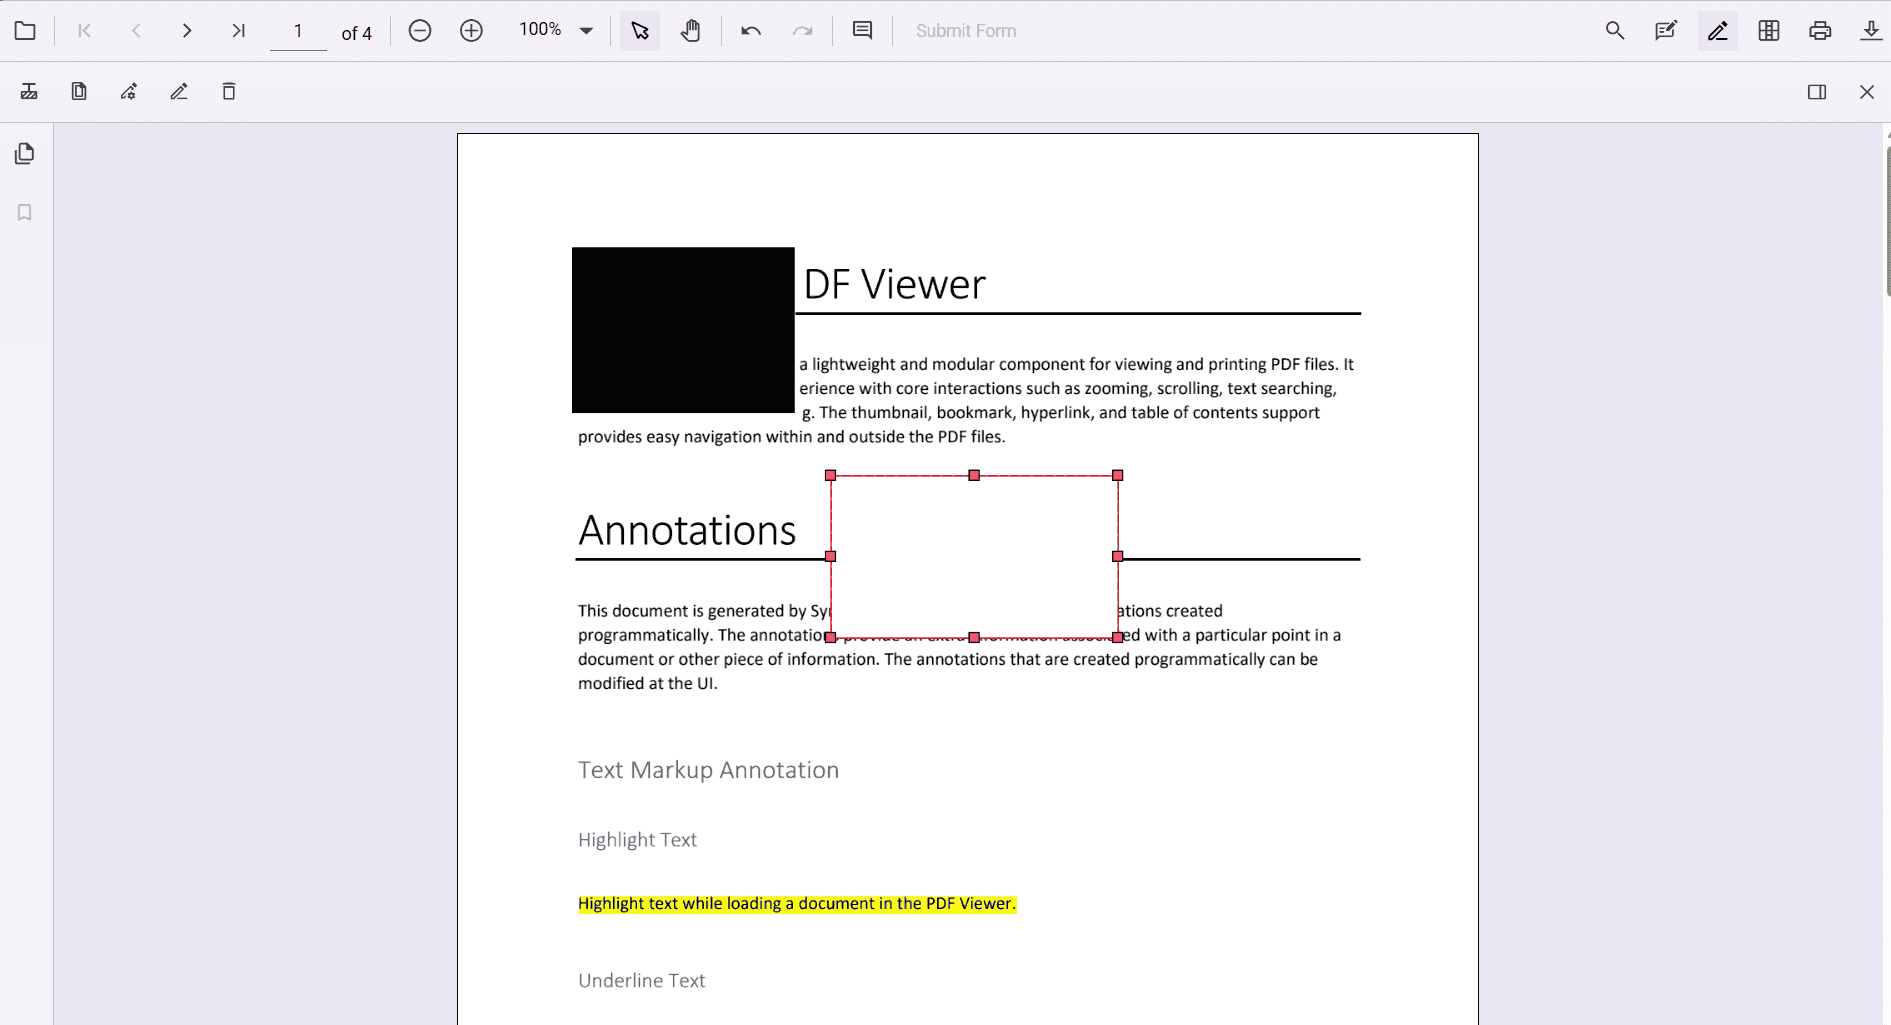
What changes after applying redaction?
When Apply Redaction is selected:
- The selected content is permanently removed from the page.
- The redaction region is flattened into the page with a solid fill that uses the General tab Fill Color.
- If overlay text was enabled, the text is burned into the page. If Repeat Overlay Text was enabled, the text is tiled across the region.
- All properties become read‑only. Overlay text, fill color, outline, and opacity cannot be edited after applying. Set the final look in the General tab and use the Appearance tab only to style the annotation before applying.
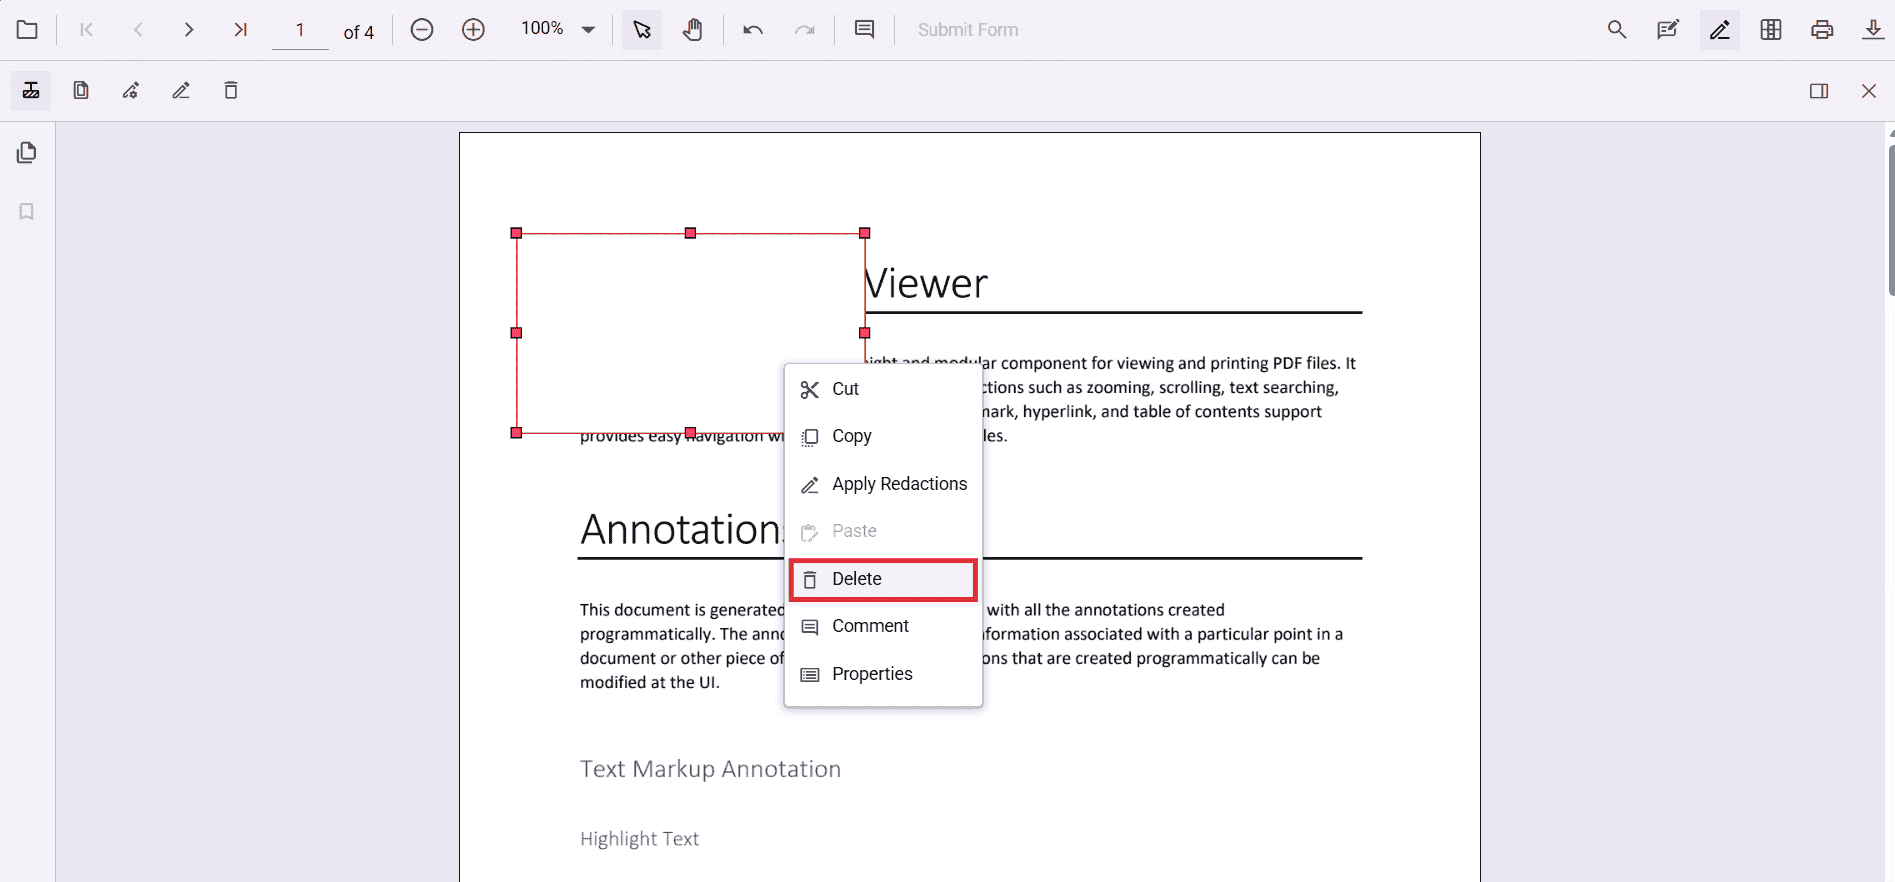
Delete redaction annotations
Delete redaction annotations using any of the following:
- Right-click and select Delete from the context menu.
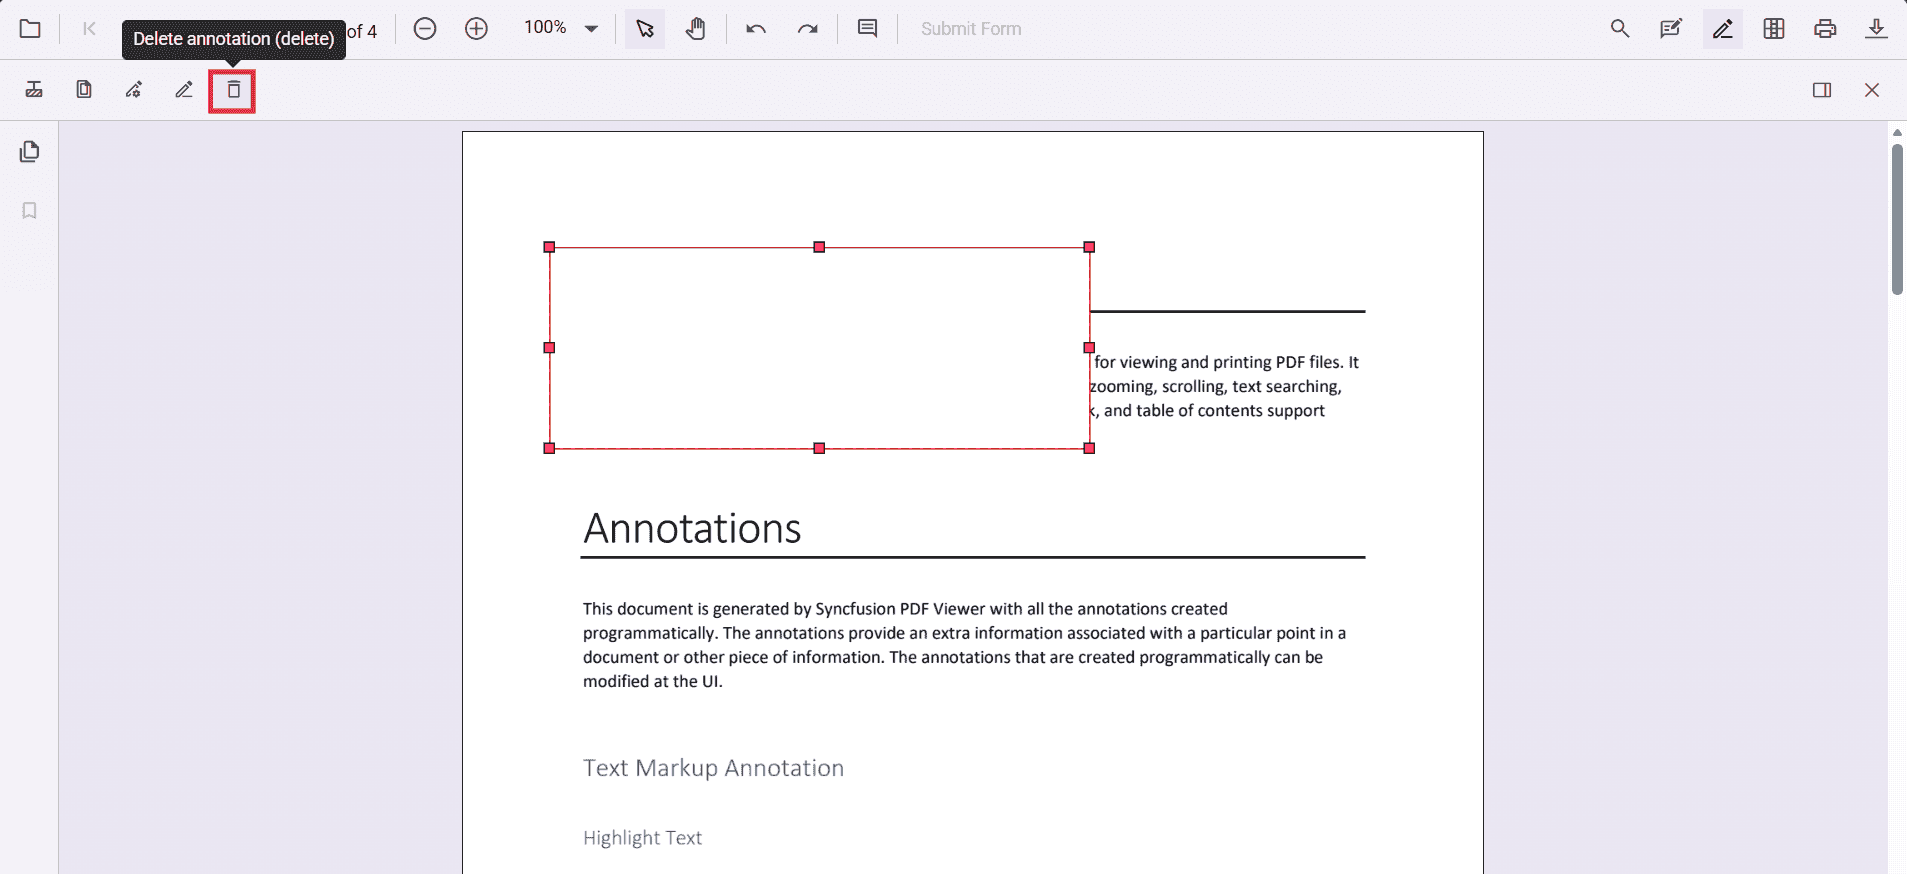
-
Click the Delete button on the toolbar.
-
Press the Delete key after selecting the annotation.
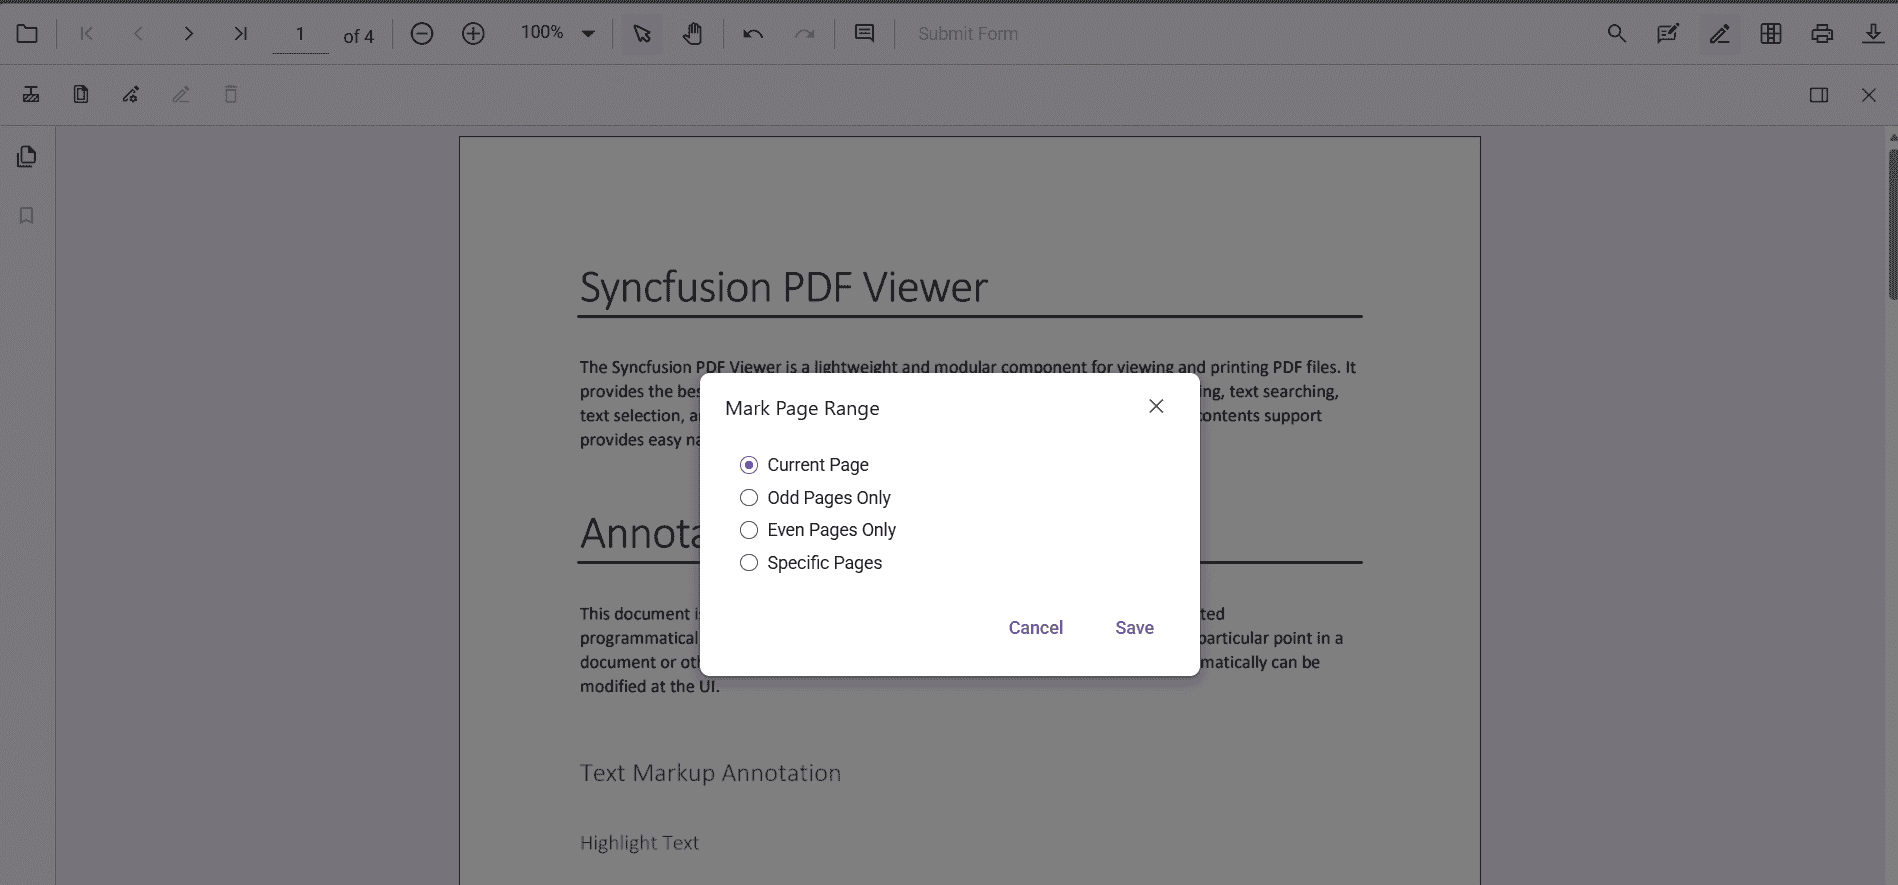
Redact pages using the UI
Entire pages can be marked for redaction using the Redact Pages option in the toolbar. Clicking the icon opens a dialog with options:
- Current Page – Redacts the page currently in view.
- Odd Pages Only – Redacts all odd‑numbered pages.
- Even Pages Only – Redacts all even‑numbered pages.
- Specific Pages – Enter page numbers or ranges (e.g., 1, 3–5, 7) to redact.
After choosing the range, select Save to apply redaction marks to the selected pages.
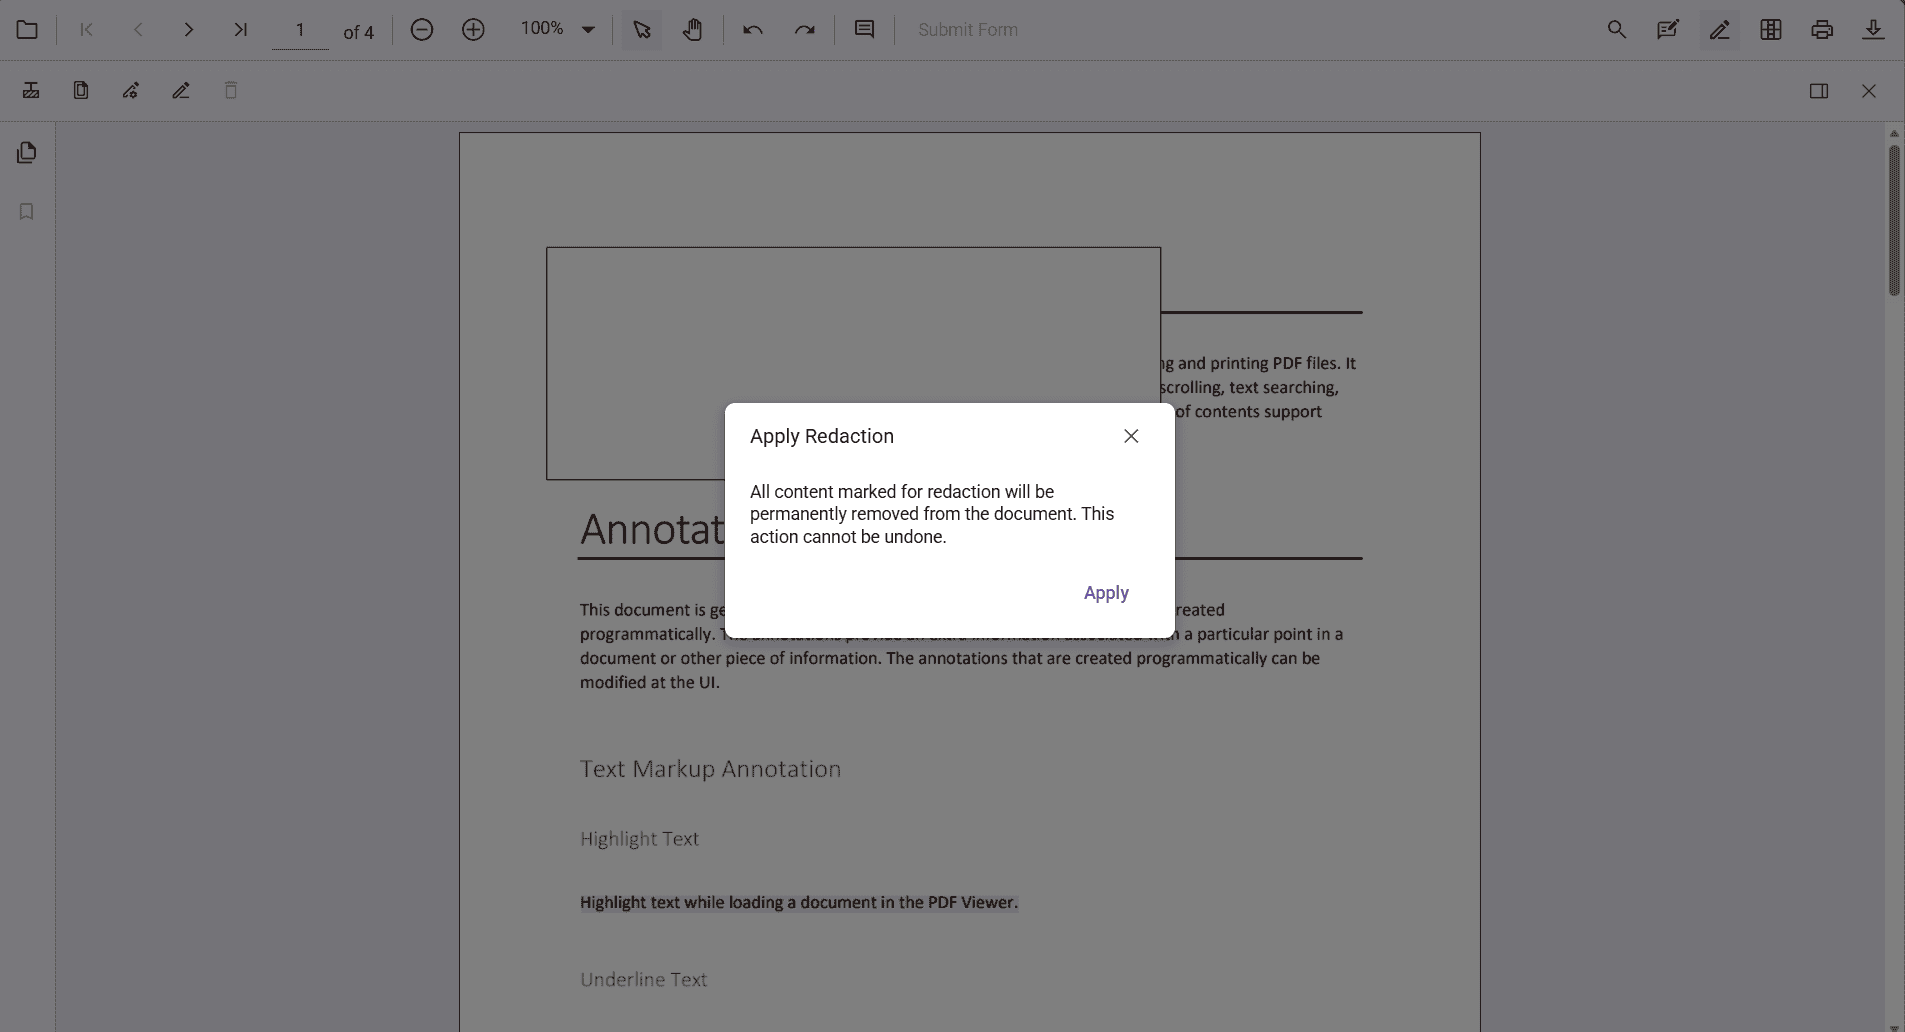
Apply redaction from the toolbar
The Apply Redaction button permanently removes all marked content from the document.
- The button is disabled when no redaction annotations exist.
- It automatically enables once at least one annotation is present.
![]()
A confirmation dialog appears before applying redaction to ensure acknowledgment of the irreversible nature of the process.
NOTE
Redaction is permanent. Once applied, the original content cannot be restored.