Getting Started with the Vue Spreadsheet Component in Vue 2
3 Jul 20262 minutes to read
This article provides a step-by-step guide for setting up a Vue 2 project and integrating the Vue Spreadsheet Editor.
Prerequisites
System requirements for Vue components
Create a Vue application
Use Vue CLI to set up a Vue application, as it provides a modular project architecture, flexible configuration, and an integrated plugin system.
Install Vue CLI globally, using the following command:
npm install -g @vue/cli
Create a new Vue application using the following commands:
vue create quickstart
cd quickstart
When prompted during project creation, select Default ([Vue 2] babel, eslint).
Install the Vue Spreadsheet package
Install the Vue Spreadsheet Editor package from npm using the following command:
npm install @syncfusion/ej2-vue-spreadsheet --save
Add CSS references
Add the following Spreadsheet and dependent component CSS styles in the <style> section.
@import "../node_modules/@syncfusion/ej2-base/styles/tailwind3.css";
@import "../node_modules/@syncfusion/ej2-buttons/styles/tailwind3.css";
@import "../node_modules/@syncfusion/ej2-dropdowns/styles/tailwind3.css";
@import "../node_modules/@syncfusion/ej2-inputs/styles/tailwind3.css";
@import "../node_modules/@syncfusion/ej2-navigations/styles/tailwind3.css";
@import "../node_modules/@syncfusion/ej2-popups/styles/tailwind3.css";
@import "../node_modules/@syncfusion/ej2-splitbuttons/styles/tailwind3.css";
@import "../node_modules/@syncfusion/ej2-grids/styles/tailwind3.css";
@import "../node_modules/@syncfusion/ej2-vue-spreadsheet/styles/tailwind3.css";
Note: Refer to the Themes topic to learn more about built-in themes and different ways to refer to themes in a Vue project.
Add the Vue Spreadsheet component to the application
Import and register the Vue Spreadsheet Editor component directives in the script section of src/App.vue. Then, define the component in the template section.
import { SpreadsheetComponent } from "@syncfusion/ej2-vue-spreadsheet";

export default {
  name: "App",
  components: {
    "ejs-spreadsheet": SpreadsheetComponent
  },
  data: () => {
    return {
      openUrl: 'https://document.syncfusion.com/web-services/spreadsheet-editor/api/spreadsheet/open',
      saveUrl: 'https://document.syncfusion.com/web-services/spreadsheet-editor/api/spreadsheet/save'
    }
  }
}
Initialize the Spreadsheet Editor
Add the Spreadsheet Editor component to the <template> section in the src/App.vue file.
<ejs-spreadsheet :openUrl="openUrl" :saveUrl="saveUrl"></ejs-spreadsheet>Note: The
openUrlandsaveUrlendpoints used in this example are provided only for demonstration purposes. For development and production use, we strongly recommend configuring your own local or hosted web service for the Open and Save actions instead of relying on the online demo service. For more information, refer to thelink.
Run the application
Run the following command to start the application:
npm run serve
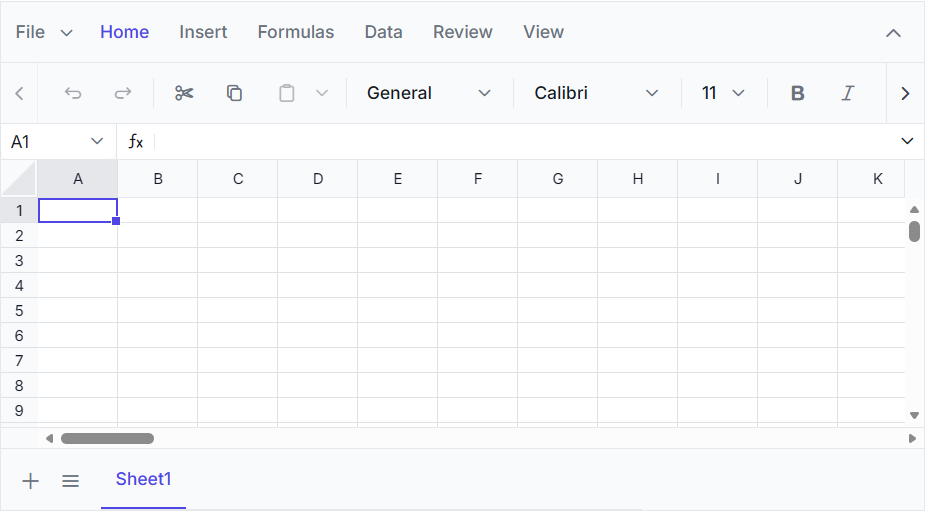
After the application starts, open the localhost URL shown in the terminal to view the Vue Spreadsheet Editor in the browser. The output will appear as follows:
You can also explore the Spreadsheet interactively using the live sample below.
NOTE
NOTE
Looking for the full Vue Spreadsheet component overview, features, pricing, and documentation? Visit the Vue Spreadsheet Editor page.