Getting Started with Vue 3 Spreadsheet
27 Aug 20265 minutes to read
This article provides a step-by-step guide for setting up a Vite project with a JavaScript environment and integrating the Vue Spreadsheet Editor component using the Composition API / Options API.
Prerequisites
- Node.js 24+ (LTS recommended).
- Syncfusion CLI.
Install the Syncfusion CLI
Install the Syncfusion CLI globally using the following command:
npm install -g @syncfusion/syncfusion-cliSet up the Vite project using Syncfusion CLI
You can create a Vue application with Vite using the Syncfusion CLI. The CLI provides two ways to create a project:
Non-interactive mode
Non-interactive mode allows you to create a project directly using a single command with the required command-line arguments.
sf new my-project --framework vue --template spreadsheet-editor --theme tailwind3In this mode, the project configuration is passed directly in the command. The above command creates a Vue application with Vite and configured it with the Syncfusion® Spreadsheet Editor component. The generated project uses the TypeScript and the Composition API.
Interactive mode
Interactive mode guides you through the project creation process with step-by-step prompts.
sfWhen you run the sf command, the CLI prompts you to select the required project configuration options. To create a Vue application with Vite and the Syncfusion® Spreadsheet Editor component, select the following options:
√ Project name? ... my-project
√ Choose Framework: » Vue
√ Choose Language: » TypeScript
√ Choose Template: » Spreadsheet Editor
√ Choose Theme: » Tailwind3
√ Choose Style Format: » CSS
√ Would you like to integrate the Syncfusion MCP Server (AI Assistant) into this project? ... no
√ Would you like to install Syncfusion Component Skills for AI-powered development? ... no
√ Install dependencies and start app now? ... no
The above selections generate a Vue application with Vite and configure it with the Syncfusion® Spreadsheet Editor component. You can choose different values for language, theme, style format, MCP setup, and skills installation based on your project requirements.
The Syncfusion® CLI creates the project with a predefined template. After the project is generated, you can customize or replace the component code based on your application requirements.
Run the project
Once the project is created, navigate to the project directory and run the following commands in your terminal.
cd my-project
npm install
npm run dev
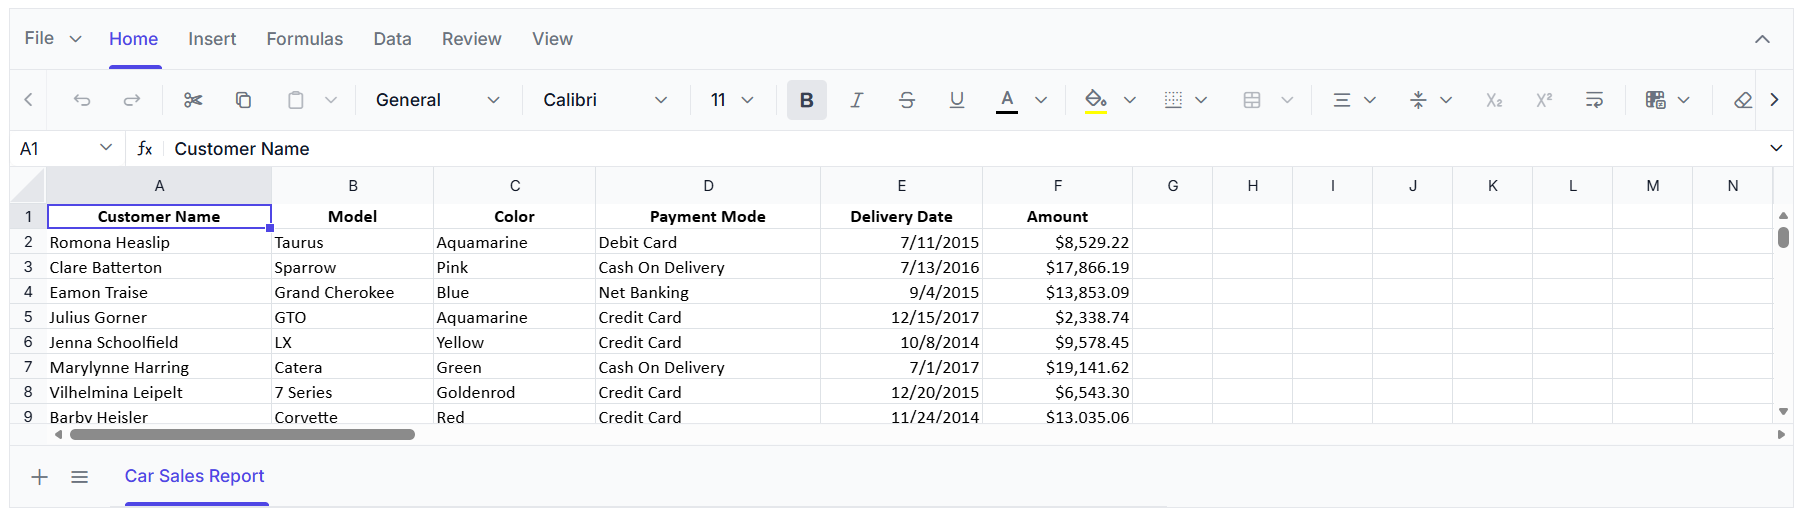
The output will appear as follows:
Prerequisites
System requirements for Vue components
Create a Vue Application
To create a new Vue application, run one of the following commands.
npm create vite@latest spreadsheet-app -- --template vue
cd spreadsheet-app
Install the Vue Spreadsheet package
Install the Vue Spreadsheet Editor package from npm using the following command:
npm install @syncfusion/ej2-vue-spreadsheet --save
Import the required CSS styles
Themes for Spreadsheet can be applied using CSS or SASS files from the npm theme packages, CDN, CRG, or Theme Studio. For more information, see the themes documentation.
This guide uses the Tailwind 3 theme as an example, sourced from the theme package. In this package, each component includes an index.css file that automatically loads all the required dependency styles. To install the Tailwind 3 theme package, use the following command:
npm install @syncfusion/ej2-tailwind3-theme
Add the required Spreadsheet theme style reference to src/style.css file. Replace the existing content with the theme import code below.
@import "../node_modules/@syncfusion/ej2-tailwind3-theme/styles/spreadsheet/index.css";Add the Vue Spreadsheet component to the application
Import and register the Vue Spreadsheet Editor component directives in the script section of src/App.vue. If you use the Composition API, add the setup attribute to the script tag. Then, define the component in the template section.
<template>
  <ejs-spreadsheet :openUrl="openUrl" :saveUrl="saveUrl"></ejs-spreadsheet>
</template>

<script setup>
import { SpreadsheetComponent as EjsSpreadsheet } from "@syncfusion/ej2-vue-spreadsheet";

const openUrl = 'https://document.syncfusion.com/web-services/spreadsheet-editor/api/spreadsheet/open';
const saveUrl = 'https://document.syncfusion.com/web-services/spreadsheet-editor/api/spreadsheet/save';

</script><template>
<ejs-spreadsheet :openUrl="openUrl" :saveUrl="saveUrl"></ejs-spreadsheet>
</template>
<script>
import { SpreadsheetComponent } from "@syncfusion/ej2-vue-spreadsheet";
export default {
name: "App",
// Declaring component and its directives
components: {
"ejs-spreadsheet": SpreadsheetComponent
},
// Bound properties declarations
data() {
return {
openUrl: 'https://document.syncfusion.com/web-services/spreadsheet-editor/api/spreadsheet/open',
saveUrl: 'https://document.syncfusion.com/web-services/spreadsheet-editor/api/spreadsheet/save'
};
},
};
</script>The
openUrlandsaveUrlendpoints used in this example are provided only for demonstration purposes. For development and production use, we strongly recommend configuring your own local or hosted web service for the Open and Save actions instead of relying on the online demo service. For more information, refer to thelink.
Run the Application
Run the following command to start the application:
npm run dev
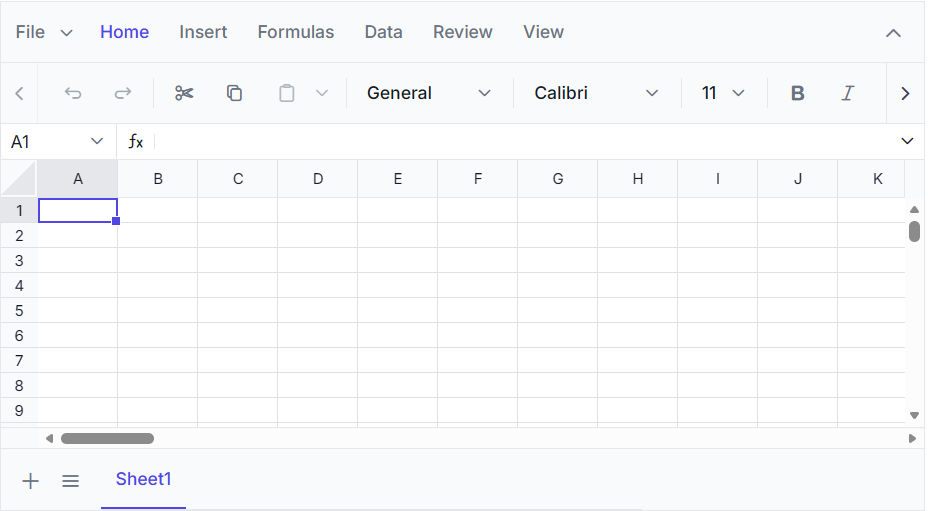
After the application starts, open the localhost URL shown in the terminal to view the Vue Spreadsheet Editor in the browser. The output will appear as follows:
Looking for the full Vue Spreadsheet component overview, features, pricing, and documentation? Visit the Vue Spreadsheet Editor page.