Create three node secured cluster in Data Integration
Introduction:
This section illustrates the manual steps to form 3 node secure cluster using the Syncfusion Data Integration Platform with Syncfusion User Management Server. You can use these steps for the Data Integration Platform version 2.5.0.30 or above.
Note: This document does not cover migrating from standalone installation to cluster.
Steps involved
- Machine setup
- Configure User Management Server
- Configure SSL
- Configure Zookeeper
- Configure changes in NiFi properties
- Configure changes in authorizers.xml
- Delete old auto generated configuration files
- Start Data Integration Service
Step 1: Machine setup
Consider three machines with the following hostnames:
-
syncdeskn5622 (node 1)
-
WIN-4TNID6U2COC (node 2)
-
WIN-AQT7M7DOQ5M (node 3)
Install the Syncfusion Data Integration Platform with the User Management Server in all three machines. Make sure that DNS is resolved in all three nodes (each machine should be able to ping other machines)
To install and configure the Data Integration Platform, refer to the Install with User Management Server.
Note: To make cluster setup easy, create the same administrator account in all the three nodes.
Step 2: Configure User Management Server
After installing user management server in all three nodes, you must point the Data Integration Platform running in all 3 nodes to single User Management Server.
In this article, node 1 User Management Server is used to manage users commonly for all the 3 nodes.
1.Open node 1 User Management Server.
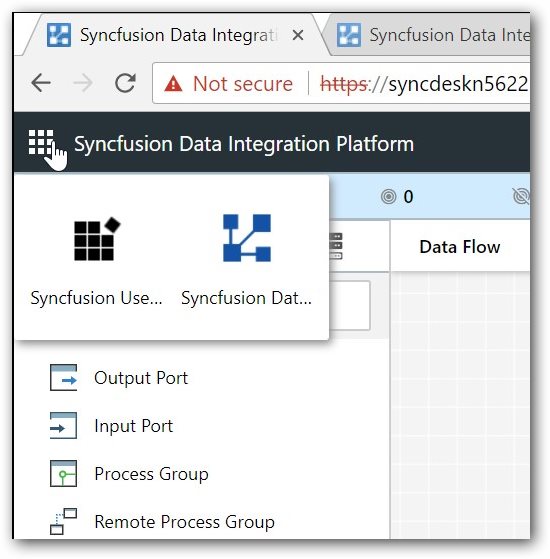
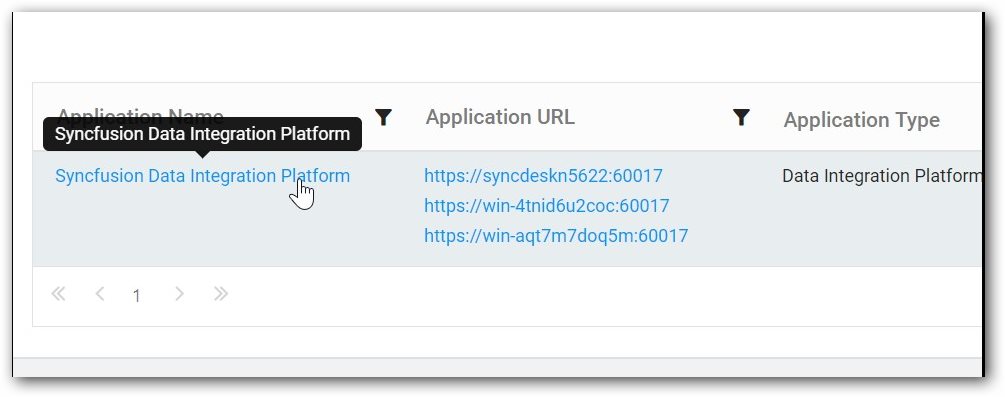
2.In User Management Server, select the registered Data Integration Platform running in node 1 and then click edit under actions menu.
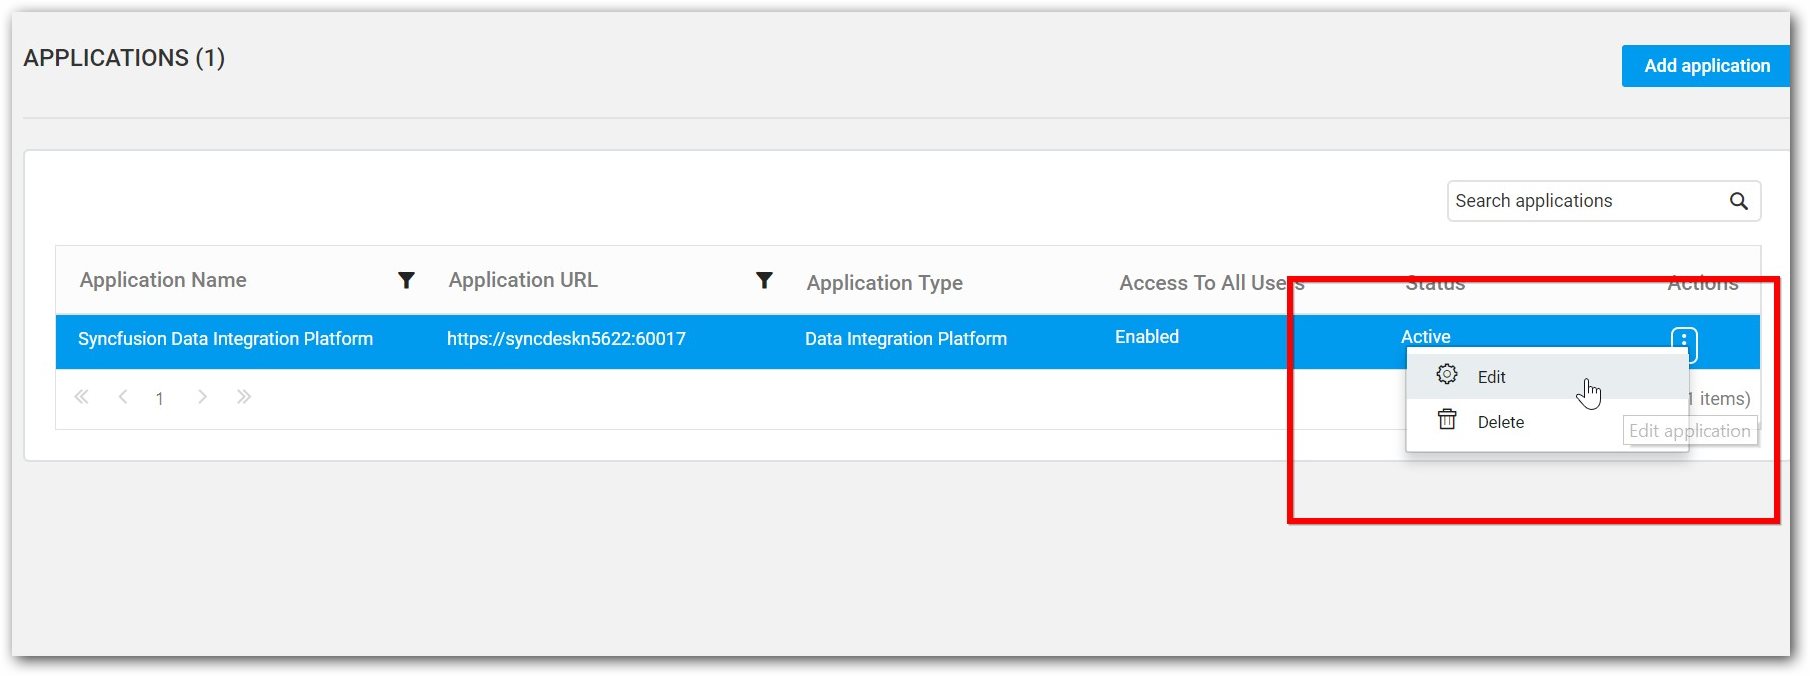
In Edit application popup, click Add URL to register the Data Integration application URLs running in node 2 and 3.

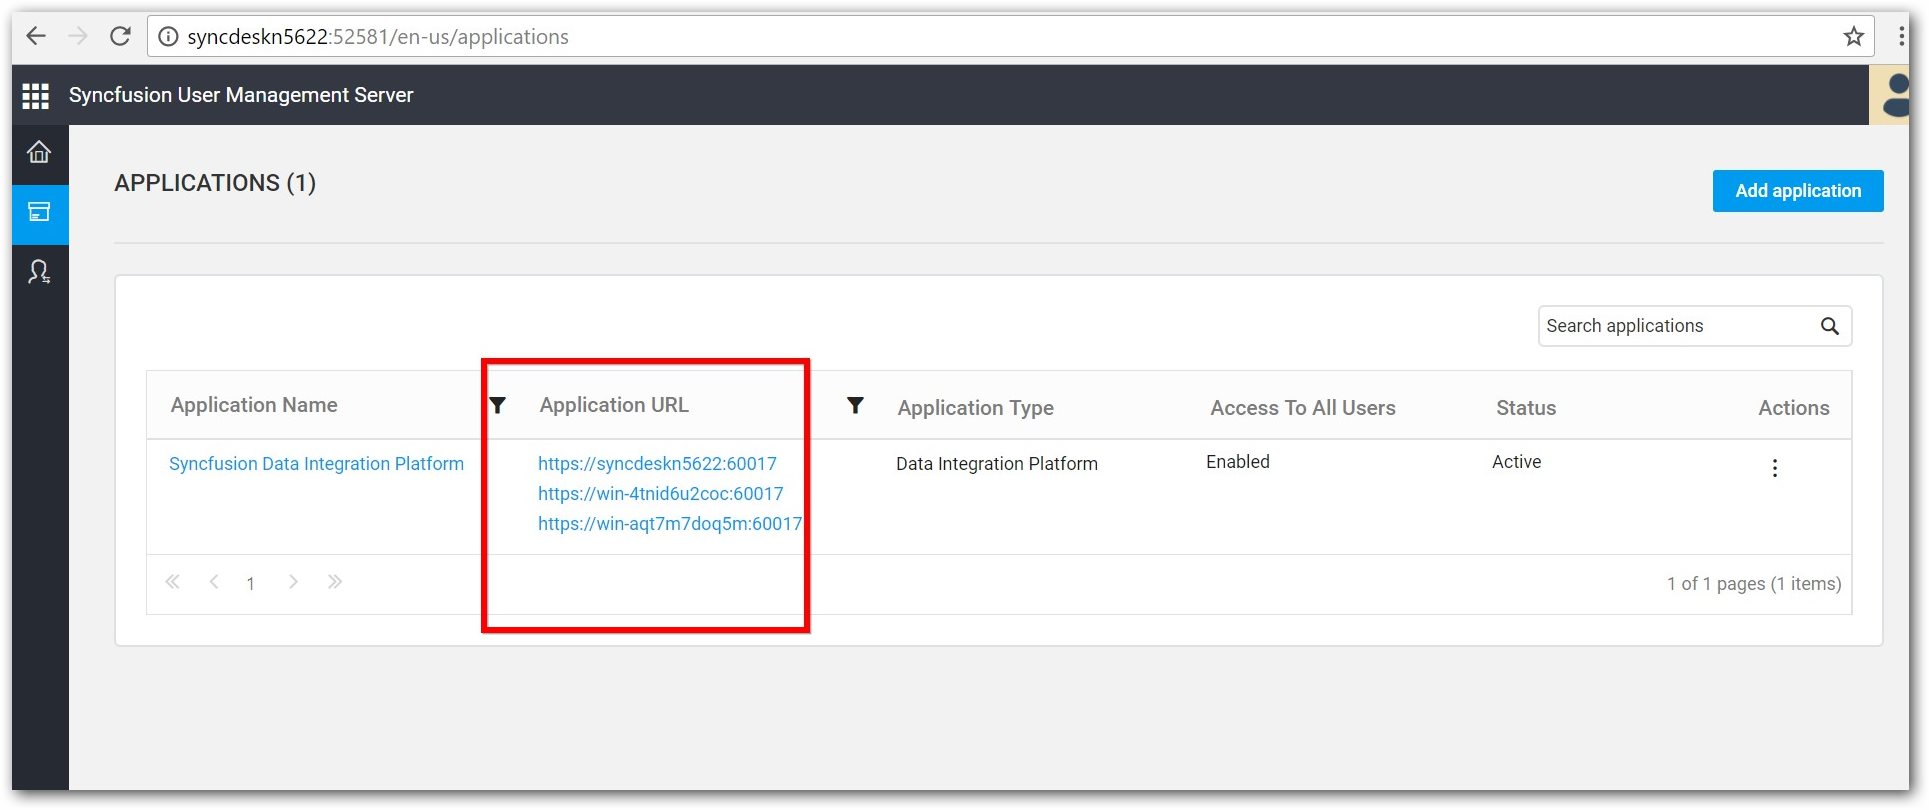
3.After registering the URLs in User Management Server, update the details in node 2 and node 3 machines to point out to User Management Server running in node 1.
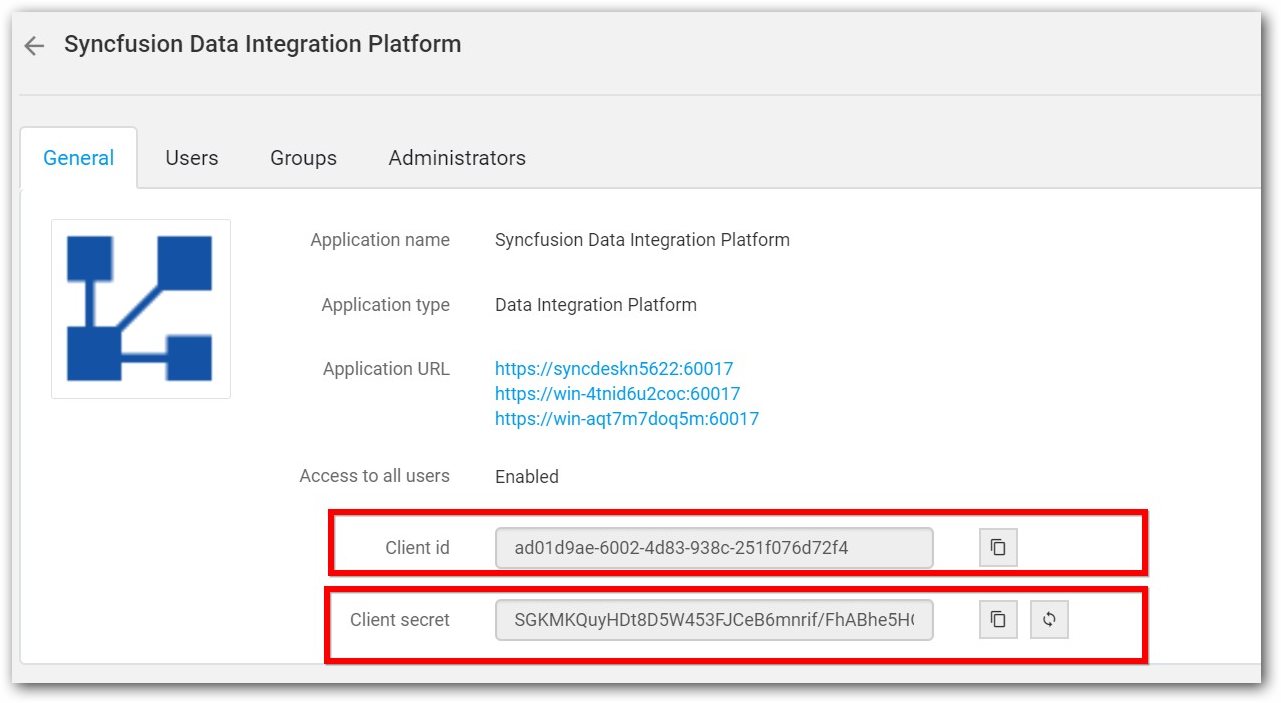
4.Click the registered application name and then copy client ID and client secret in your notepad.
5.Now open node 2 and node 3 machines and do the following changes:
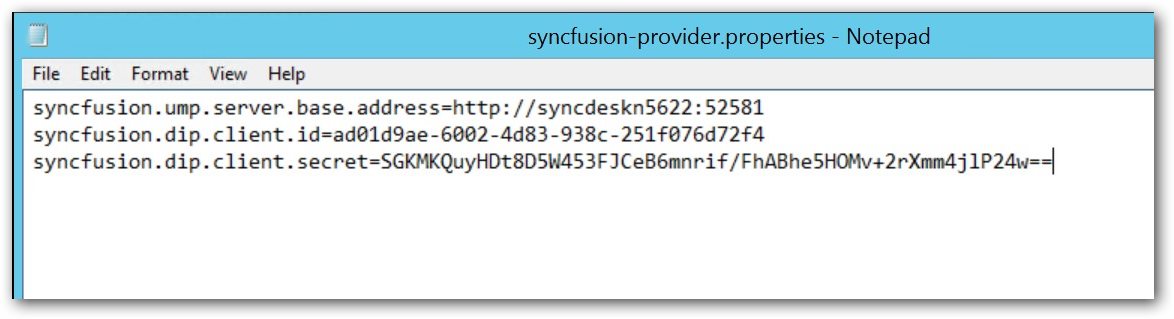
a. Open “C:\Syncfusion\DataIntegration\2.5.0.36\SDK\NIFI\conf\syncfusion-provider.properties” file.
b. Update User Management Server base address, client ID, and client secret with the node 1 details that is copied in your notepad.
6.After updating the property file, ensure that all the three nodes are working properly with a single User Management Server.
Step 3: Configure SSL
To establish communication between all these nodes securely, add all nodes SSL certificate into single trust store and use that trust store in all nodes.
Use the following steps to create a trust store from available certificates:
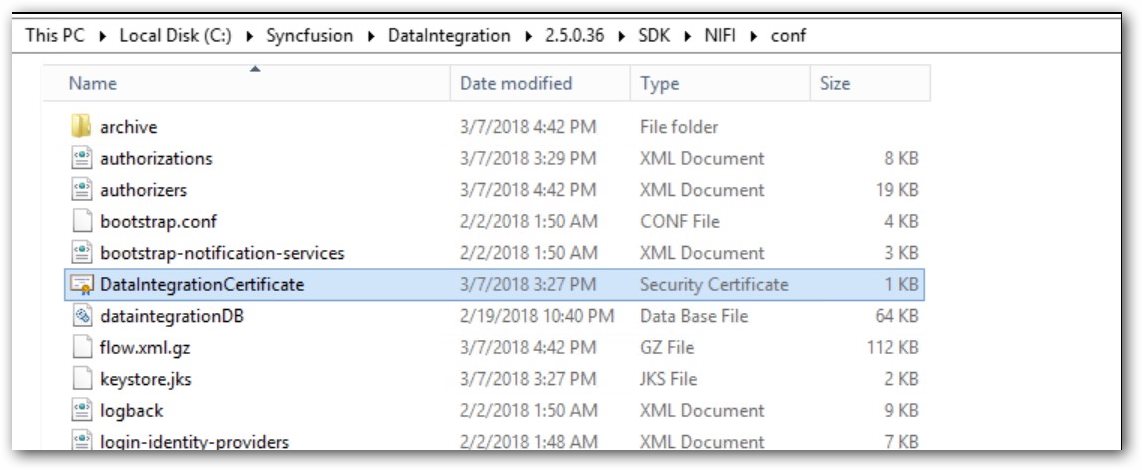
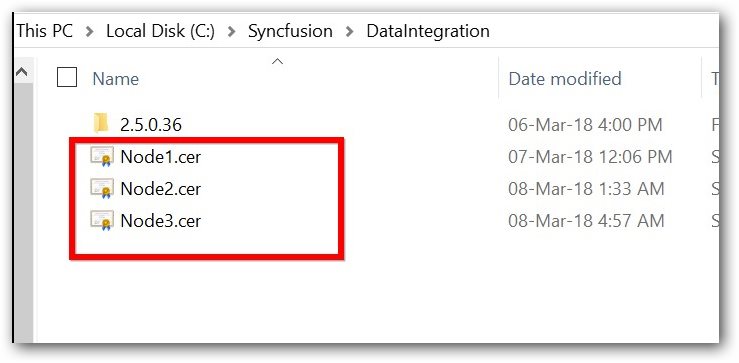
1.Copy “C:\Syncfusion\DataIntegration\2.5.0.36\SDK\NIFI\conf\DataIntegrationCertificate.cer” from all nodes and rename it as node1.cer, node2.cer, and node3.cer respectively.
2.Open command prompt and change the directory to Java bin location
“cd C:\Syncfusion\DataIntegration\2.5.0.36\Java\jdk_x64\bin”.
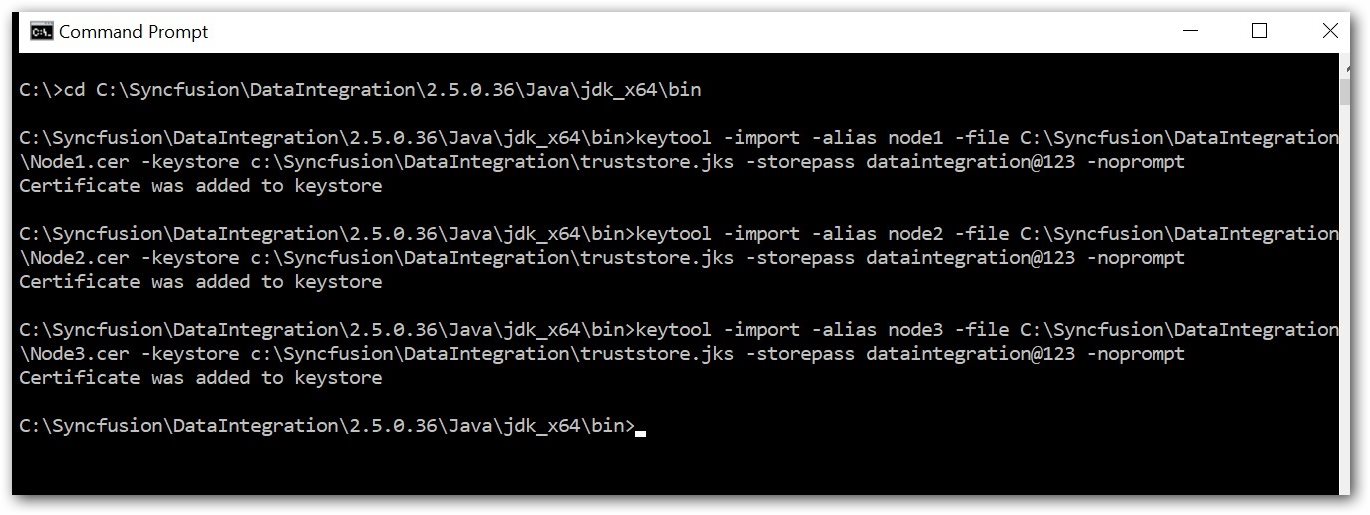
3.Run the following commands to import SSL certificate to trust store one by one.
|
keytool -import -alias node1 -file C:\Syncfusion\DataIntegration\Node1.cer -keystore c:\Syncfusion\DataIntegration\truststore.jks -storepass dataintegration@123 –noprompt keytool -import -alias node2 -file C:\Syncfusion\DataIntegration\Node2.cer -keystore c:\Syncfusion\DataIntegration\truststore.jks -storepassdataintegration@123 –noprompt keytool -import -alias node3 -file C:\Syncfusion\DataIntegration\Node3.cer -keystore c:\Syncfusion\DataIntegration\truststore.jks -storepassdataintegration@123 –noprompt |
4.You can change the password (-storepass dataintegration@123) that appears in bold, but the changed password should be mentioned in the nifi.security.truststorePasswdproperty of “C:\Syncfusion\DataIntegration\2.5.0.36\SDK\NIFI\conf\nifi.properties” file.

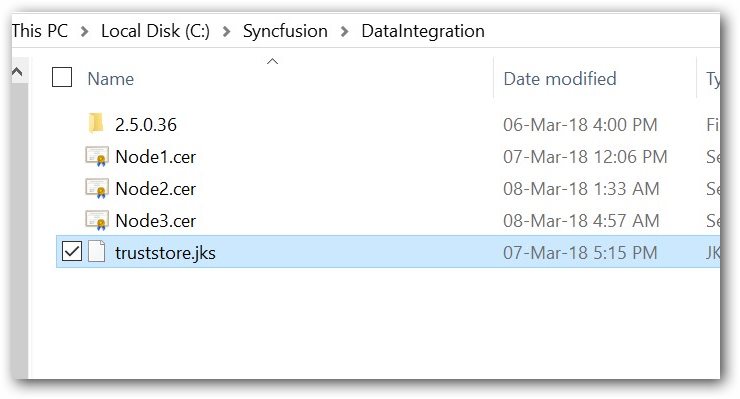
5.Now you will find a truststore.jks file in “C:\Syncfusion\DataIntegration\truststore.jks”.
6.Copy this truststore.jks file and replace the existing file in all nodes.
“C:\Syncfusion\DataIntegration\2.5.0.36\SDK\NIFI\conf\truststore.jks”
Step 4: Configure Zookeeper
Update zookeeper.properties file
To set up Zookeeper, edit “C:\Syncfusion\DataIntegration\2.5.0.36\SDK\NIFI\conf\zookeeper.properties”and add the following properties in all 3 nodes at end of the file.
|
server.1= syncdeskn5622:2888:3888 server.2= win-4tnid6u2coc:2888:3888 server.3= win-aqt7m7doq5m:2888:3888 |
The actual hostnames and zookeeper ports (2888 & 3888) of each server is referred. To know more about Zookeeper configuration, refer here.
Note: The numbers server. (1, 2, 3) represents the myid values read from the myid file in the zookeeper directory to identify the server.
After editing, the properties file should look as follows: 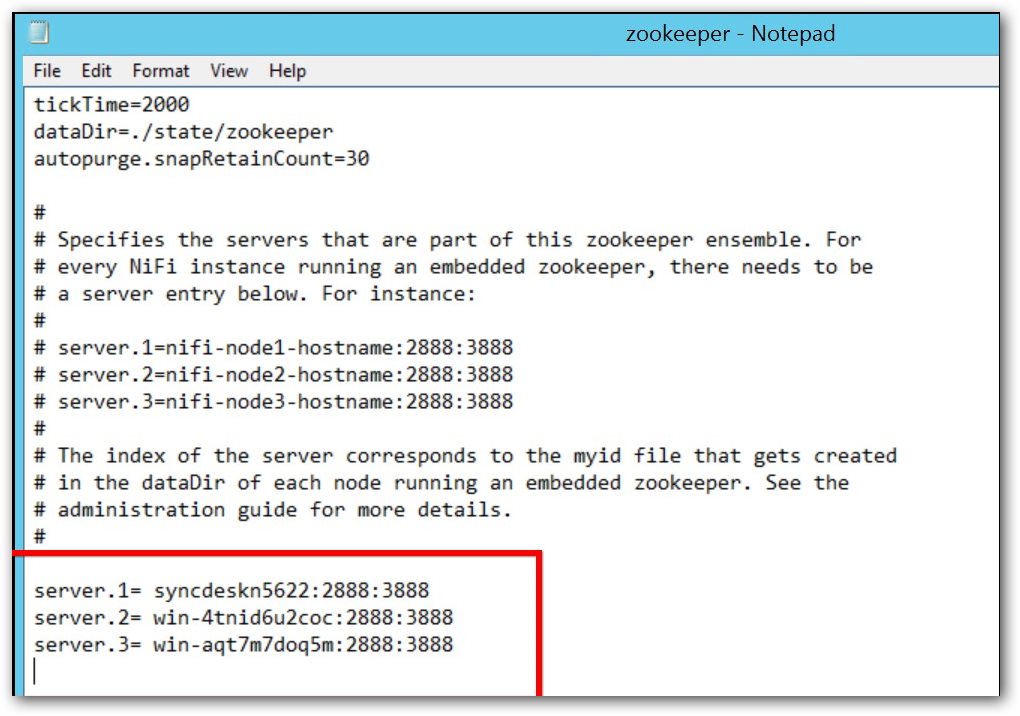
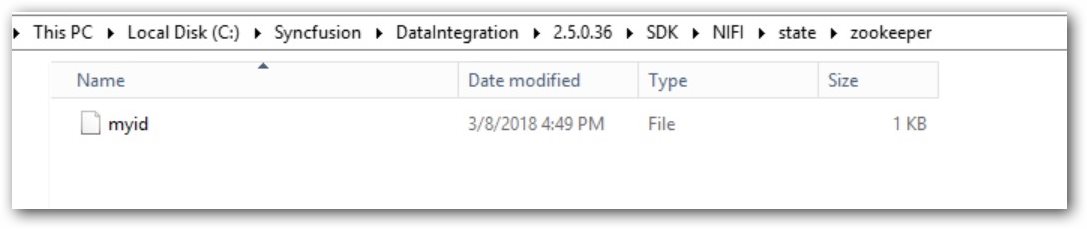
Create “myid” file
Create a text file myid in all three nodes with a unique ID number to represent the server.
1.Create file named myid in all the 3 nodes under
C:\Syncfusion\DataIntegration\2.5.0.36\SDK\NIFI\state\zookeeper\myid.
2.Set the value in myid file to 1 in node1, 2 in node2 and 3 in node3.
Note: Create missing directory if any, and create the myid without file extension

Note: All the nodes should not have the same value in myid file. Node 1 should have a value as 1, Node 2 should have a value as 2 and goes on.
Step 5: Configure changes in NiFi properties
Set the property values in “C:\Syncfusion\DataIntegration\2.5.0.36\SDK\NIFI\conf\nifi.properties” in all nodes as follows:
|
Property |
Values |
Comments |
| nifi.state.management.embedded.zookeeper.start | true | - |
| nifi.zookeeper.connect.string | syncdeskn5622:2181,win-4tnid6u2coc:2181,win-aqt7m7doq5m:2181 | Set proper machine name as per your machine setup. |
| nifi.remote.input.host | syncdeskn5622 | Set the machine name with its appropriate hostname of the cluster node. Here, the value is set for node1. |
| nifi.web.https.host | syncdeskn5622 | Set the machine name with its appropriate hostname of the cluster node. Here, the value is set for node1. |
| nifi.cluster.node.address | syncdeskn5622 | Set the machine name with its appropriate hostname of the cluster node. Here, the value is set for node1. |
| nifi.cluster.protocol.is.secure | true | - |
| nifi.cluster.is.node | true | - |
| nifi.cluster.node.protocol.port | 7474 | Any port that should not use by other process. |
Step 6: Configure changes in authorizers.xml
Configure the node identities property to set proxy for cluster nodes and to send request on behalf of others. This needs to be done for all the three nodes of the cluster.
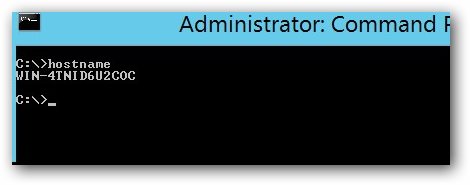
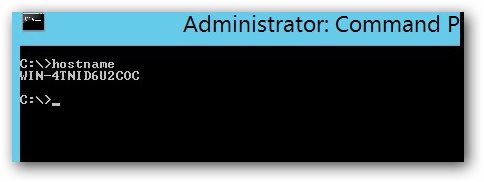
Note:Node identity set in the authorizers.xml file is case sensitive. So, make sure that the hostname appears in same casing that is shown in the command prompt when running “hostname” command.
Open “C:\Syncfusion\DataIntegration\2.5.0.36\SDK\NIFI\conf\authorizers.xml” and add the properties as follows,
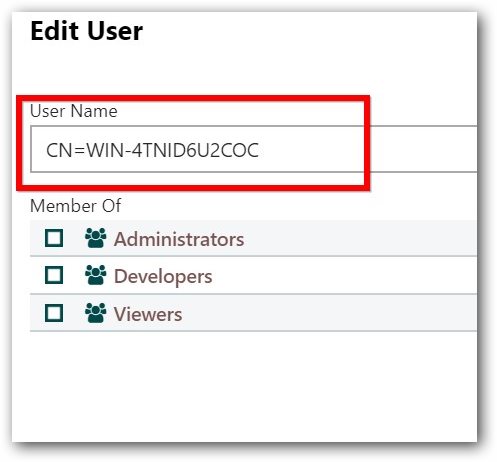
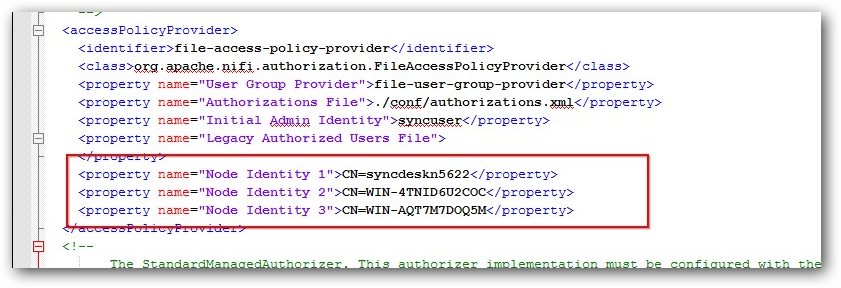
1.Add the Node Identity property for all three nodes of the cluster within <accessPolicyProvider> xml tag.
|
<property name="Node Identity 1"> CN=syncdeskn5622 </property><property name="Node Identity 2"> CN=WIN-4TNID6U2COC </property><property name="Node Identity 3"> CN=WIN-AQT7M7DOQ5M </property> |
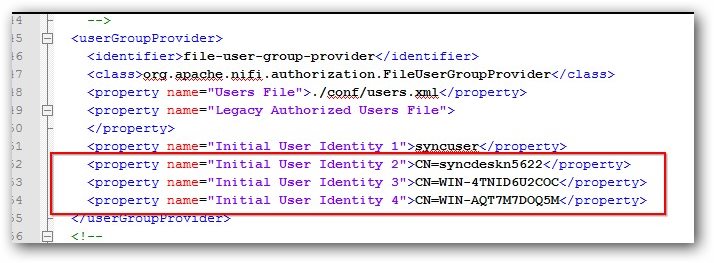
2.Add the Initial User Identity property for all the three nodes within the <userGroupProvider> xml tag.
| <property name="Initial User Identity 2">CN=syncdeskn5622</property> <property name="Initial User Identity 3">CN=WIN-4TNID6U2COC</property> <property name="Initial User Identity 4">CN=WIN-AQT7M7DOQ5M</property> |
Step 7: Delete old auto generated configuration files
Delete the following files in all three nodes if they exist. These files will be auto generated based on your configuration files.
- “C:\Syncfusion\DataIntegration\2.5.0.36\SDK\NIFI\conf\authorizations.xml”
- “C:\Syncfusion\DataIntegration\2.5.0.36\SDK\NIFI\conf\users.xml”
- “C:\Syncfusion\DataIntegration\2.5.0.36\SDK\NIFI\conf\flow.xml.gz”
Note: These files should be deleted for the first time before forming cluster.
Step 8: Start Data Integration Service
1.Restart your Data Integration service through the Data Integration Service Manager.
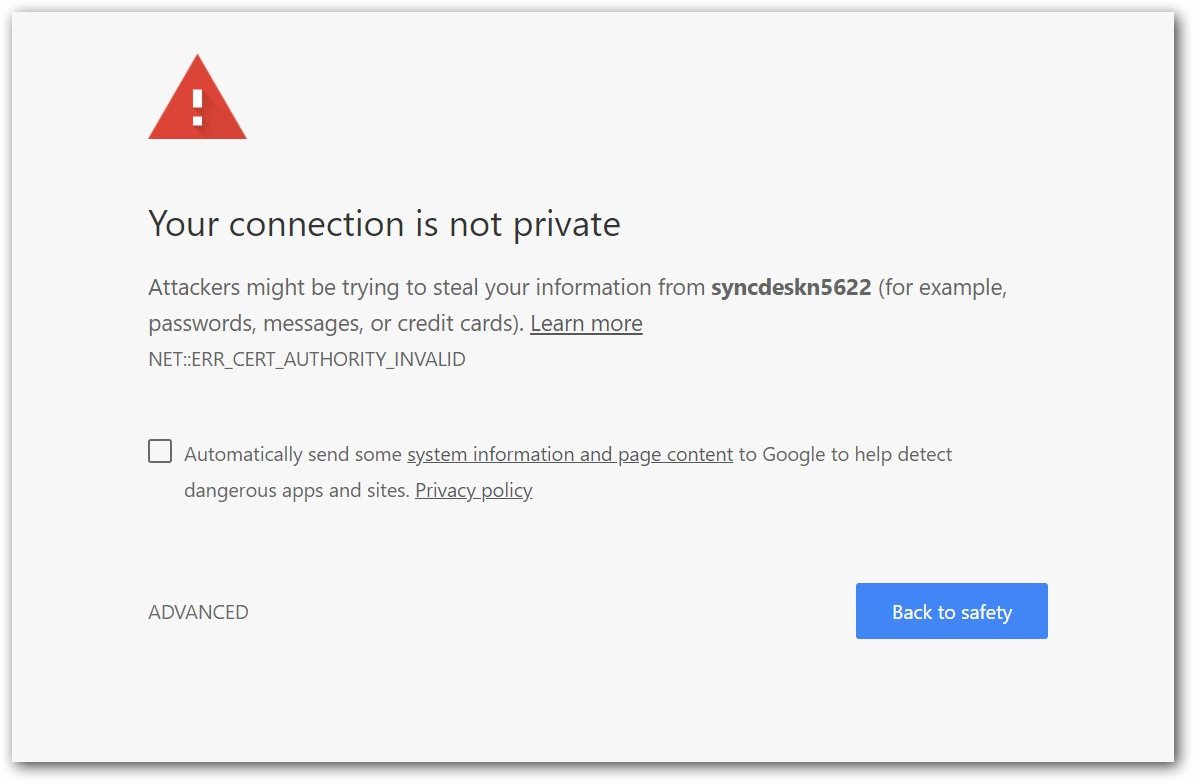
2.After the service starts, open application URL in browser. Ignore the SSL certificate error by clicking advanced button and then proceed. To configure your own trusted domain SSL certificate, refer to [Configure-Domain-SSL](https://help.syncfusion.com/data-integration/security/configure-domain-ssl “”)
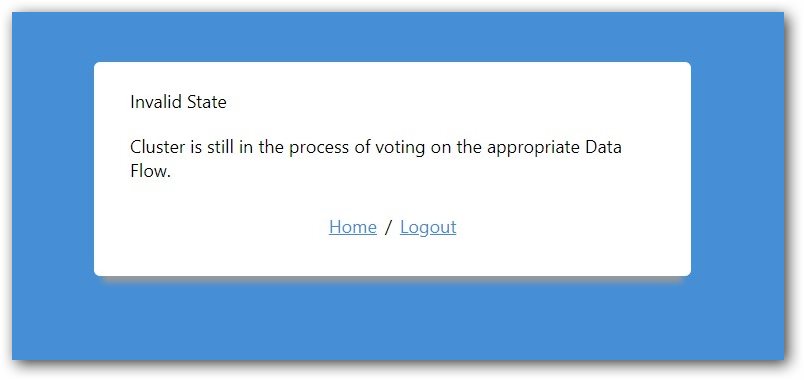
3.For the first time, you will see that cluster is in process of voting on the appropriate Data Flow as given in the following screenshot. It will take few minutes to take into the application canvas.
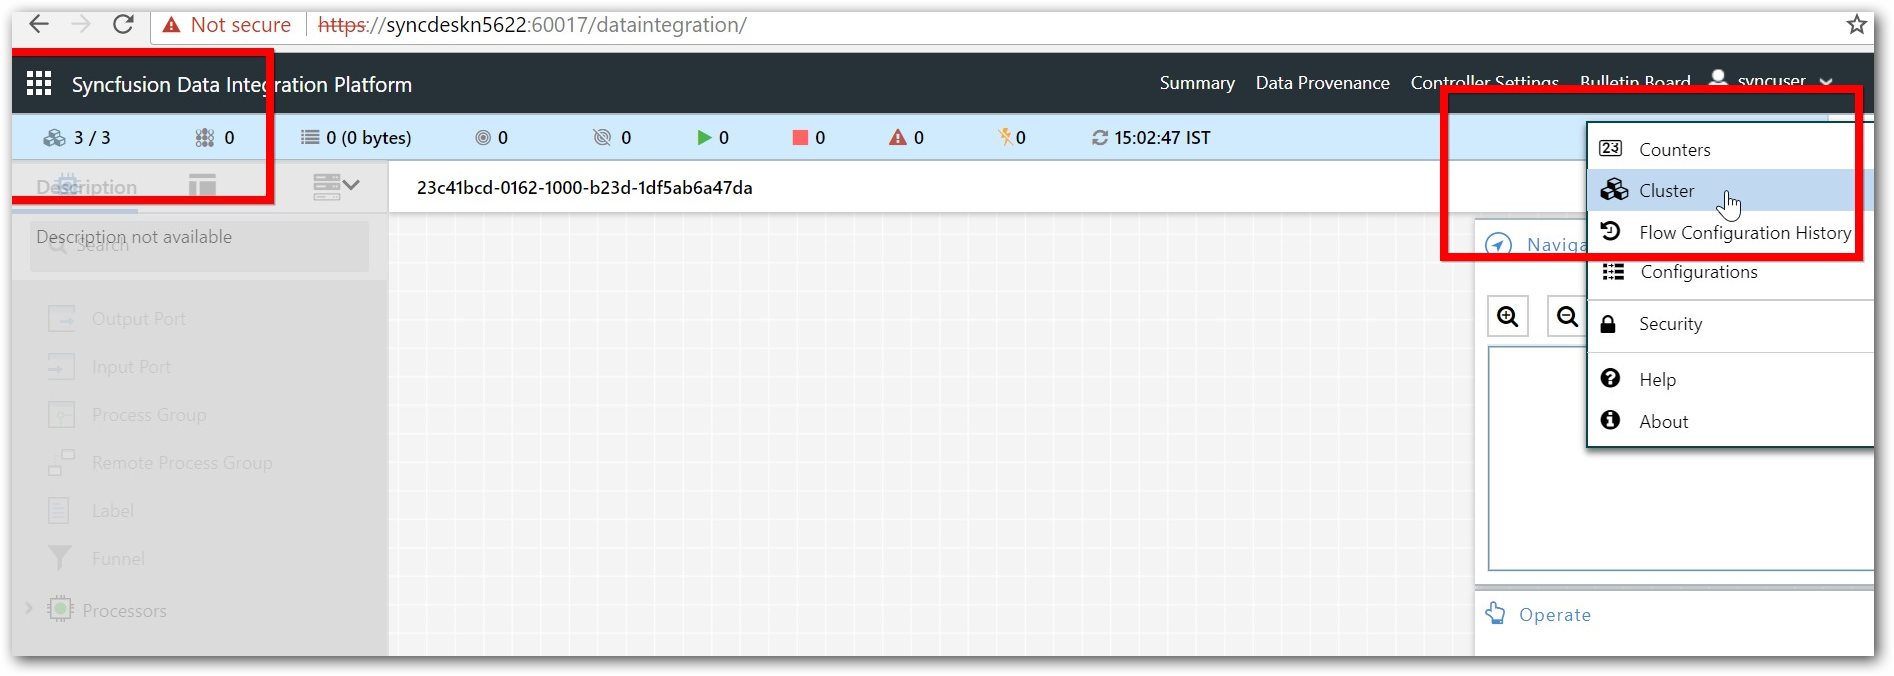
4.Once the application launched, you can find number of connected nodes in the left side of the status bar and cluster tab under menu option. All the policies for admin users and default group will be added automatically.
5.If the components are disabled after application launched as shown in the following screenshot:
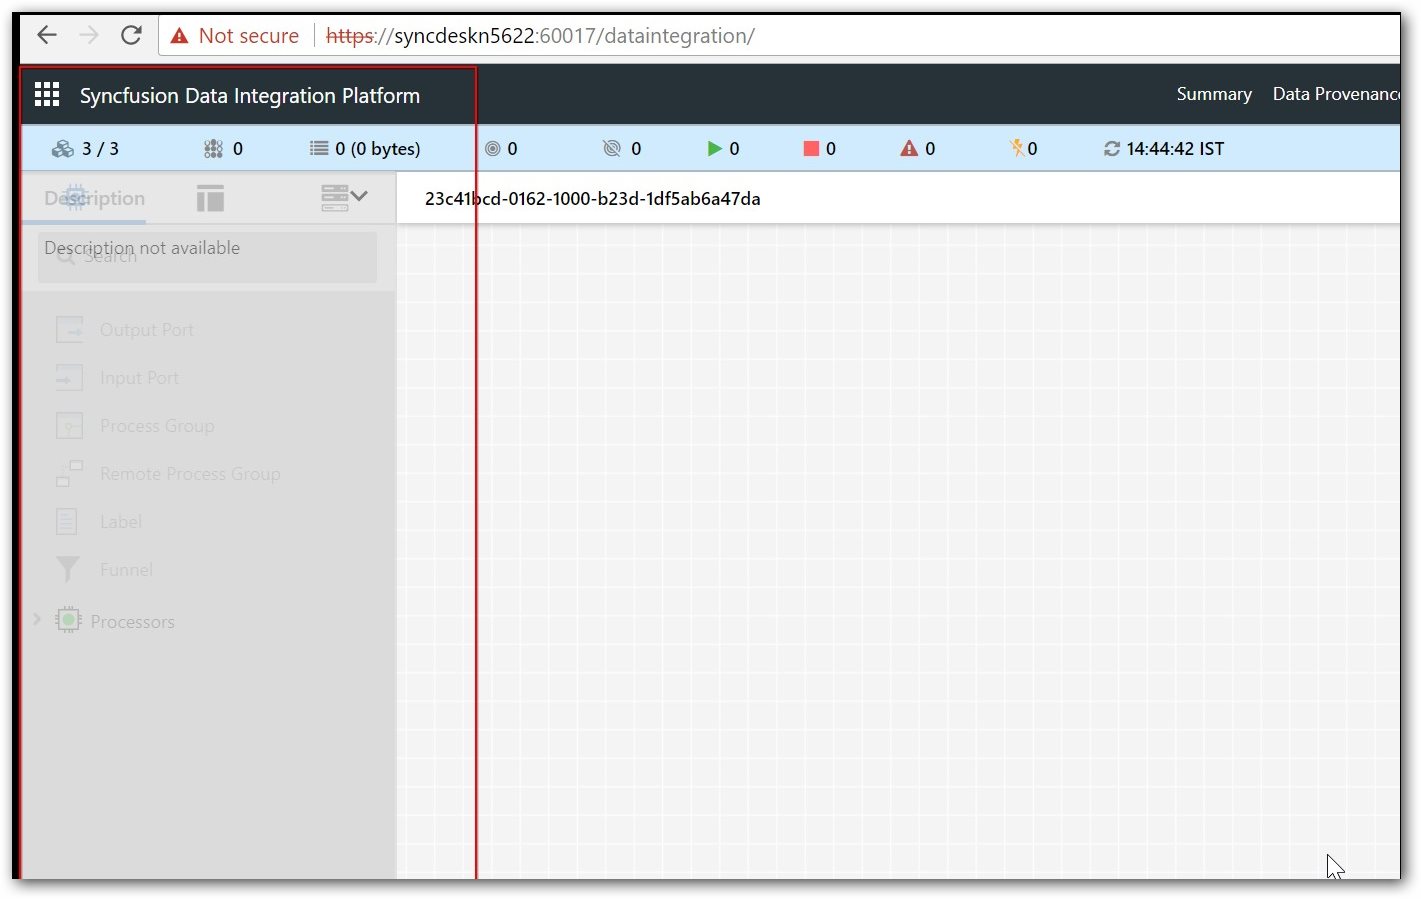
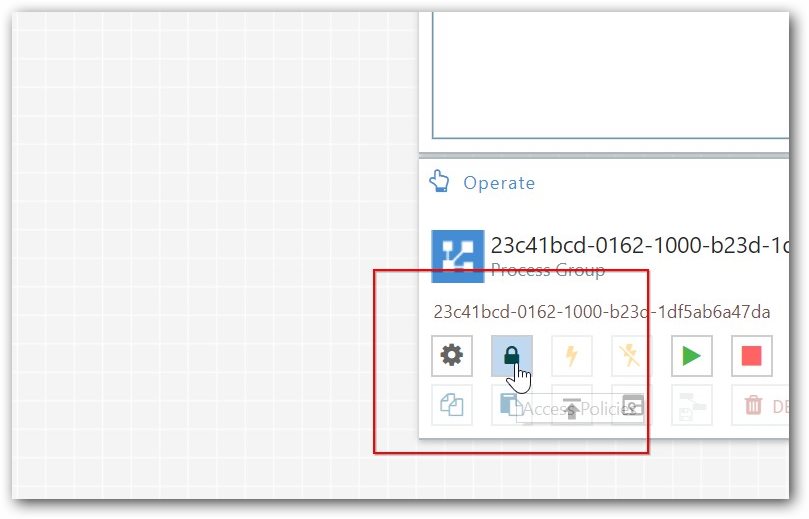
Set component policies for Administrator group. To set policy, follow the given steps:
a.Click “Access Policies” in the operate panel.
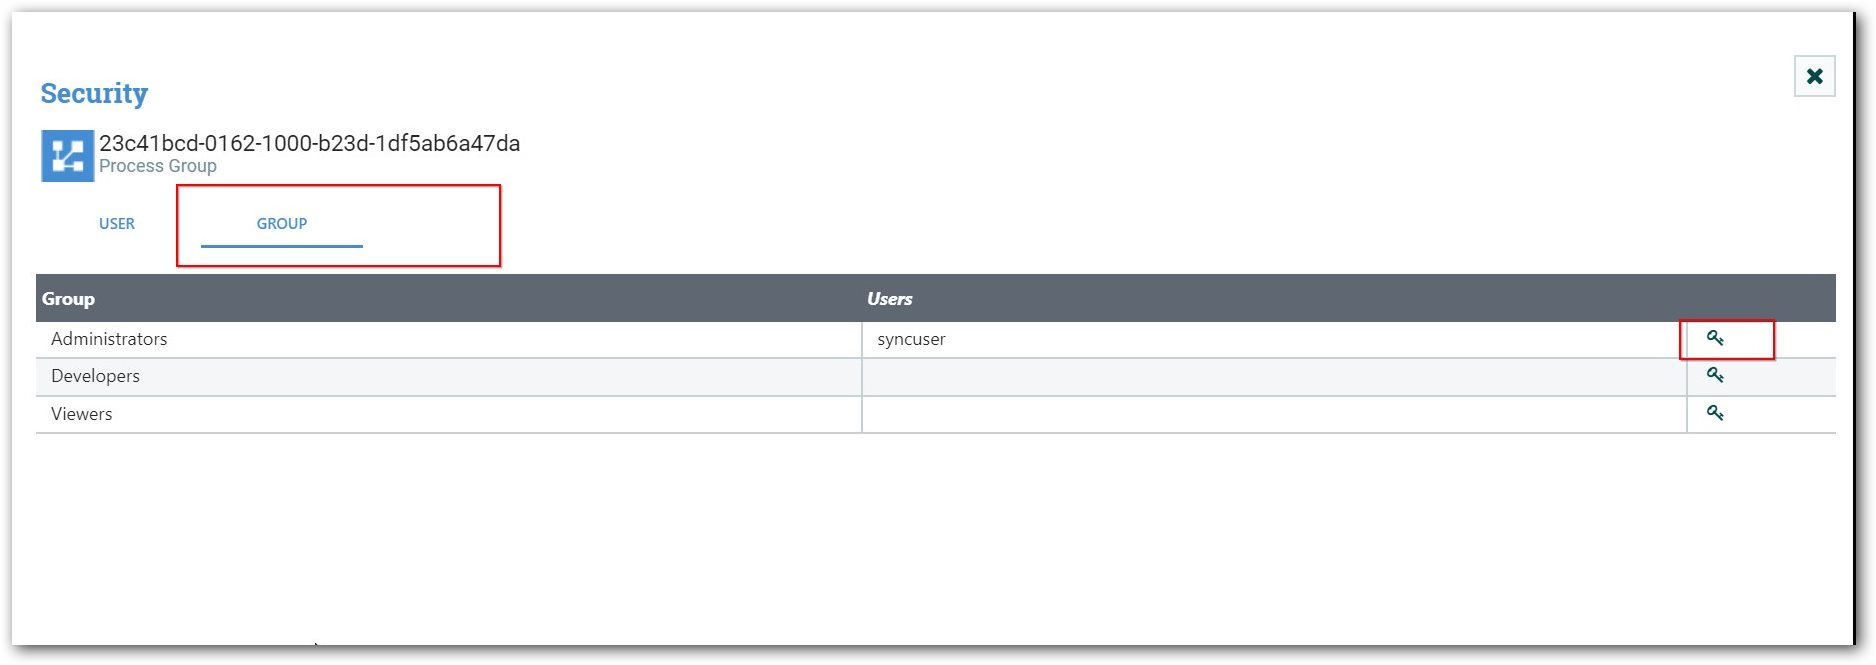
b.In the group tab, click “Manage Policies” for “Administrators” group.
c.Add all component policies to the “Administrators” group.
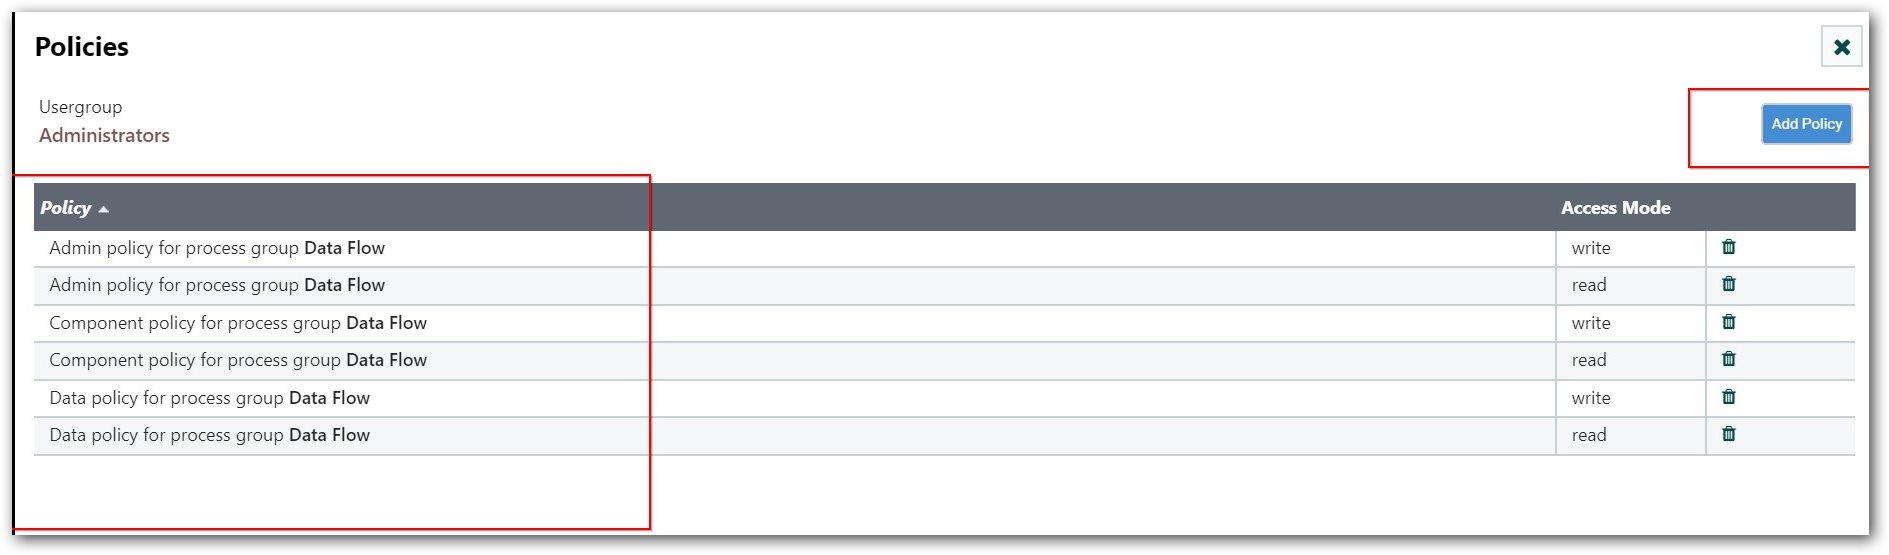
6.Now users belonging to the “Administrators” group can access the components. 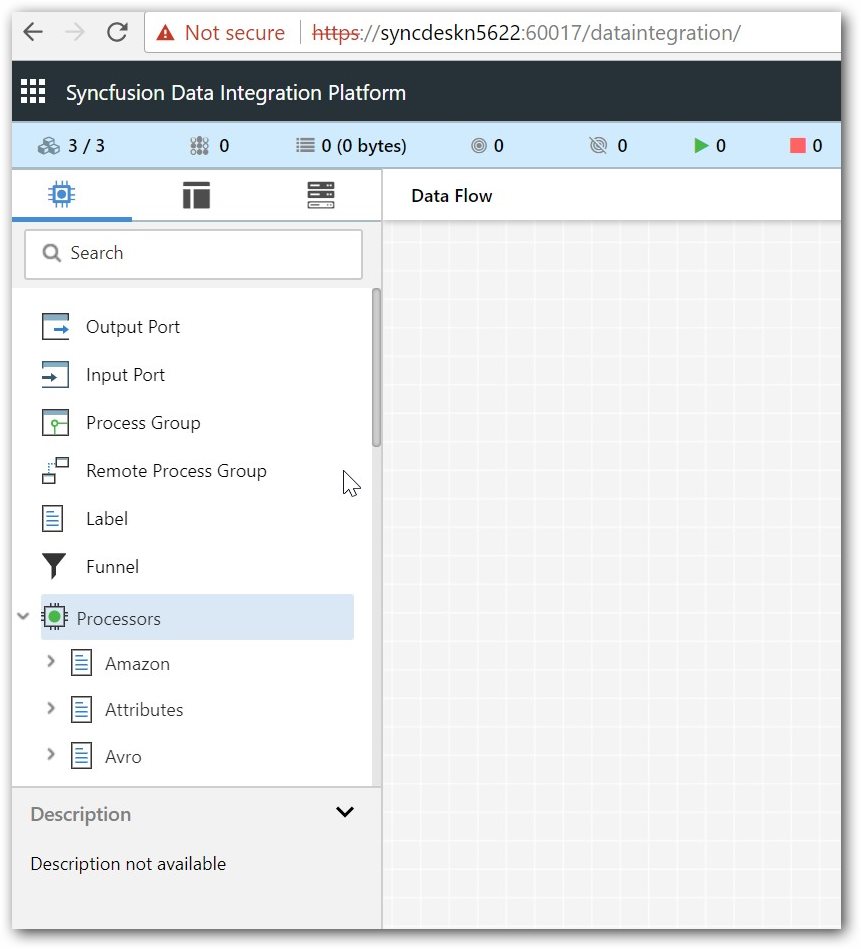
7.To set policies for other users and groups, refer to the User and Policy Management.
Error and Solution
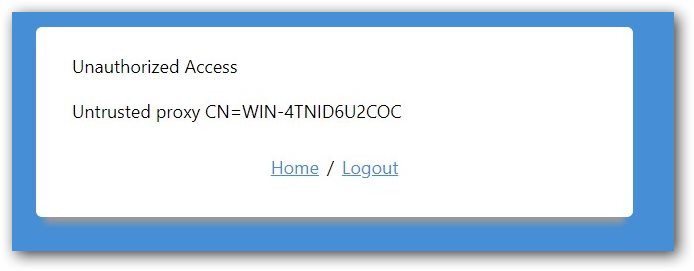
How to solve “Untrusted proxy CN=hostname” error?
-
In the Data Integration Platform, each identity is case sensitive. So, set the policy with proper casings. Get the hostname of cluster node by executing hostname command in command prompt on that node.
-
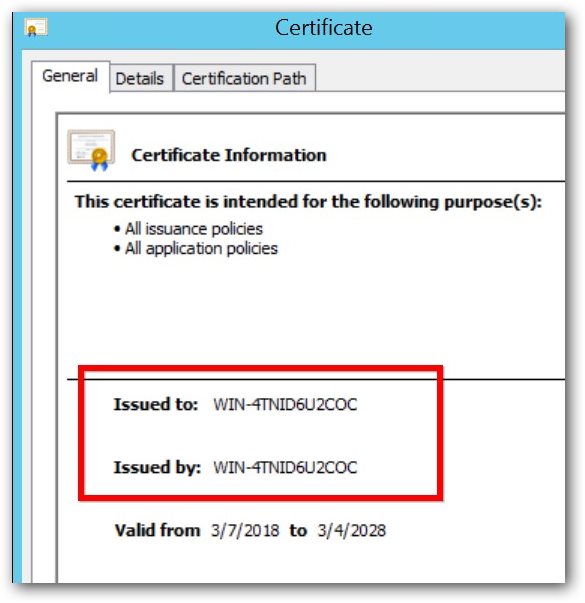
You should configure node identities as given in Configuration changes in authorizers.xml. This is because you are generating case sensitive SSL certificate file. This name can be verified by opening “C:\Syncfusion\DataIntegration\2.5.0.36\SDK\NIFI\conf\DataIntegrationCertificate.cer” file.
-
Set up the cluster again as explained in Configuration changes in authorizers.xml or open Security tab under menu.

-
Edit the hostname entry and rename it with proper casing.