Generate Your First Code Change Using Agent
15 Jun 20264 minutes to read
Overview
Ready to supercharge your coding? In this tutorial, we’ll walk you through one of the most exciting features of Syncfusion Code Studio: Agent mode. Imagine having an AI teammate that can understand what you want to build, write the code for you, and even show you exactly what changed before applying those changes. That’s what Agent mode does!
By the end of this tutorial, you’ll be comfortable using Agent mode to make your first AI-powered code changes. Let’s get started!
For deeper understanding of Agent mode capabilities, check out Agent.
What You Will Learn
By the end of this tutorial, you’ll be able to:
- Switch on Agent mode in Code Studio (it’s just one click!)
- Write clear instructions for the AI to understand what you want
- See exactly what changes the Agent wants to make in a side-by-side view
- Approve changes you like with Keep, or reject ones you don’t with Undo
- Understand a summary showing everything that changed
- Use checkpoints to safely restore earlier versions of your code if you change your mind
Steps to Generate Code
Step 1: Enable Agent Mode
Let’s turn on Agent mode! This is the gateway to AI-powered coding.
- Open Syncfusion Code Studio with your project or any folder you’d like to experiment with.
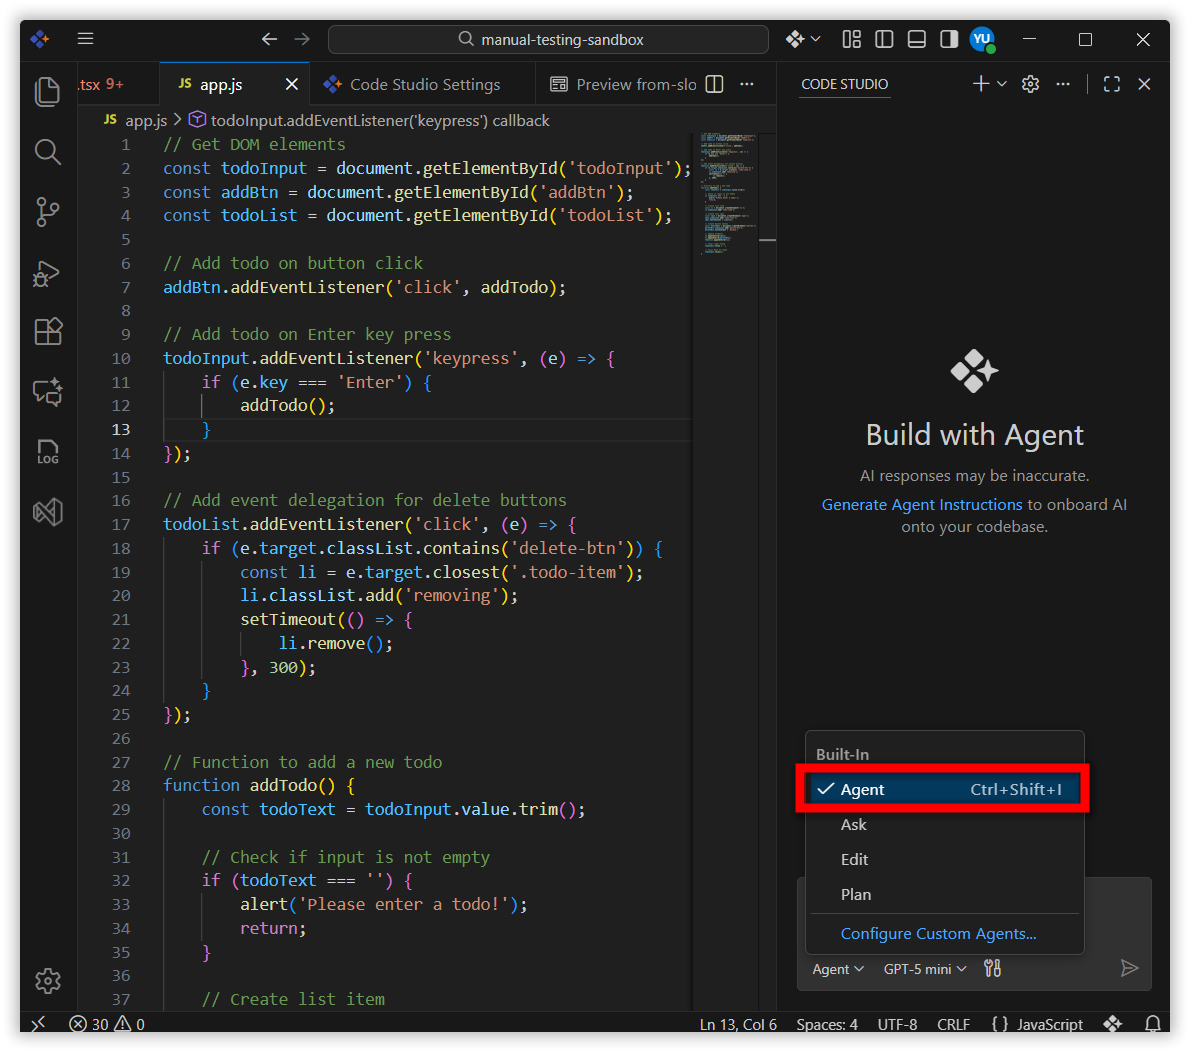
- Click the mode selector in the interface.
-
Select Agent Mode from the dropdown menu. Agent Mode enables autonomous coding capabilities, allowing the AI to analyze, edit, and manage your codebase.
-
Verify it’s active by looking for a checkmark or indicator next to Agent Mode in the interface. You’ll know it’s working when the mode selector shows “Agent Mode” is active.
You’ve just taken your first step! Agent mode is now active and ready to work with you.
Step 2: Describe Your Task
-
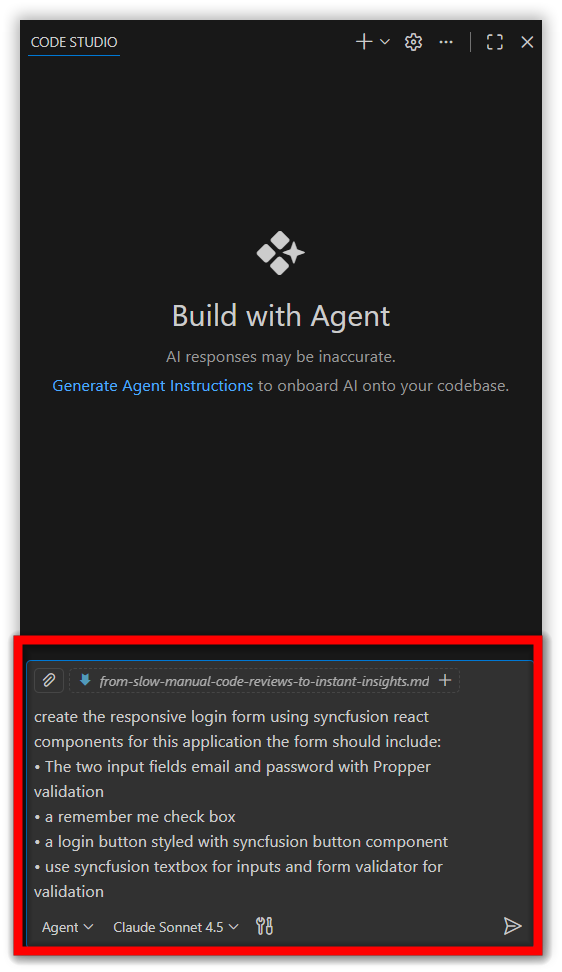
In the chat input field, enter your coding request or task description.
Tip: Be as specific as possible with your prompt to achieve better results.
- Press Enter to submit your request.
-
Watch the Agent work its magic! You’ll see it:
- Think about your request and understand what you’re asking for
- Look through your code to find the right places to make changes
- Use its tools to write and modify code
- Prepare suggestions for you to review
This is where the AI earns its name! The Agent is actively exploring and planning changes—just like a developer reviewing your code before making updates.
Step 3: Review the Proposed Changes
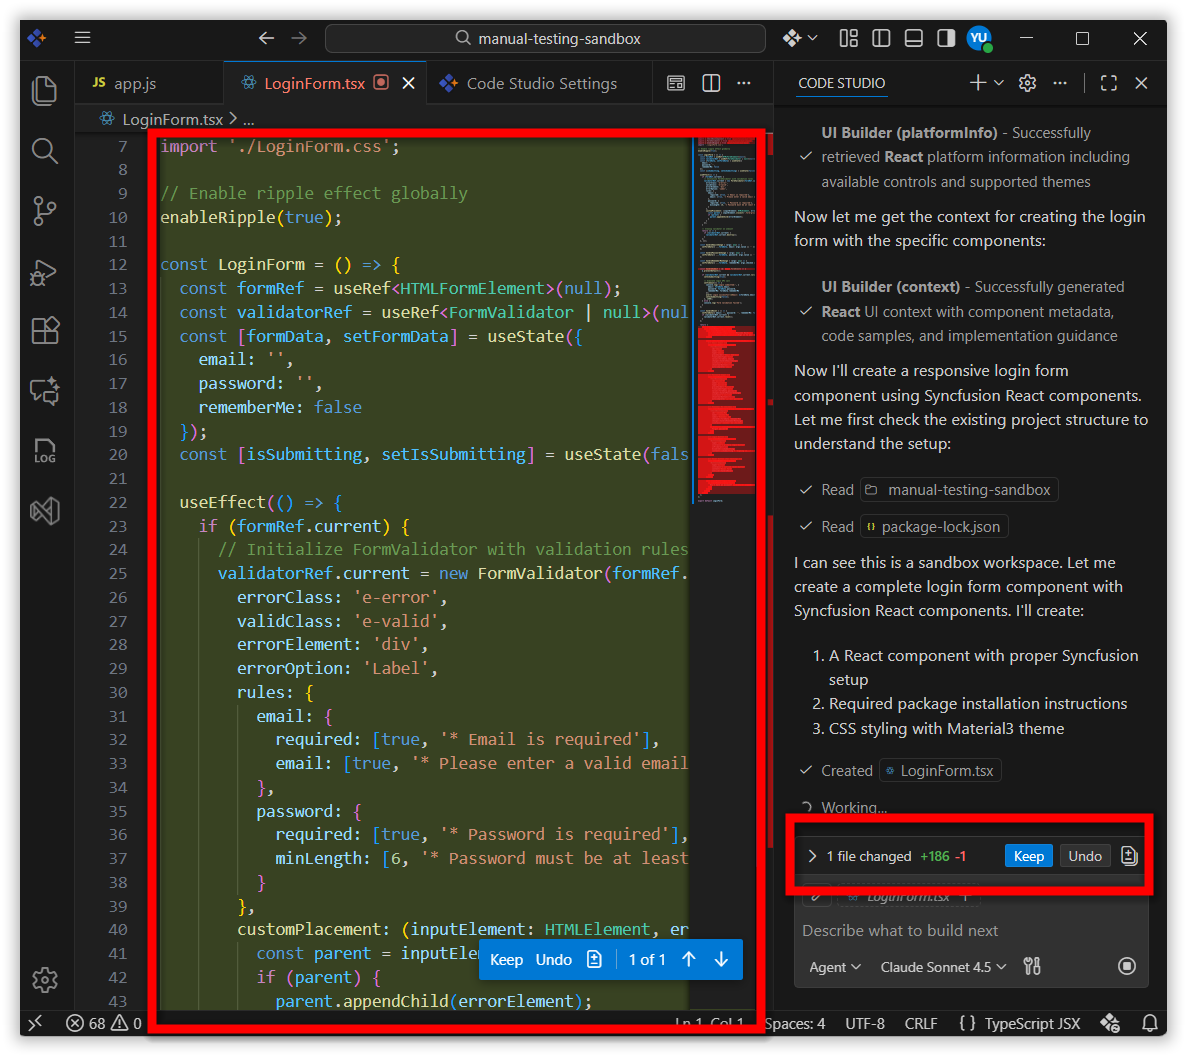
Here’s where you stay in control. The Agent shows you everything it wants to change before applying any of it.
- Look at the side-by-side comparison that appears.
- Read through each change carefully. Take your time! This is your chance to make sure the changes match what you wanted.
-
For each change, you have two options:
- Click Keep if you like the change and want to apply it
- Click Undo if you want to reject it and keep the original code
You have full control here! Think of yourself as a code reviewer—you’re making sure the AI’s work meets your standards before it’s applied.
Step 4: Review the Code Change Summary
Once you’ve approved all the changes you want, the Agent put together a helpful summary for you.
-
Review the summary that appears after all changes are processed. It shows:
- Files modified: Which files the Agent changed
- New files created: Any brand-new files the Agent created for you
- Tools used: A record of exactly what the AI did to make the changes
-
Take a moment to verify that everything matches your expectations. Did it create the file you wanted? Did it modify the right function?
What if something’s wrong? Don’t panic! This is why we have checkpoints (coming up next). You can easily restore to a previous state if needed.
Great work! You’ve successfully guided the AI through its first task and validated the results. This is how professional developers work—with careful review and verification.
Step 5: Manage Using Checkpoints
- Think of checkpoints like save points in a video game. The Agent automatically creates them, and you can jump back anytime.
- These are snapshots of your code at different points in time
-
You can restore any checkpoint if you want to “undo” several changes at once
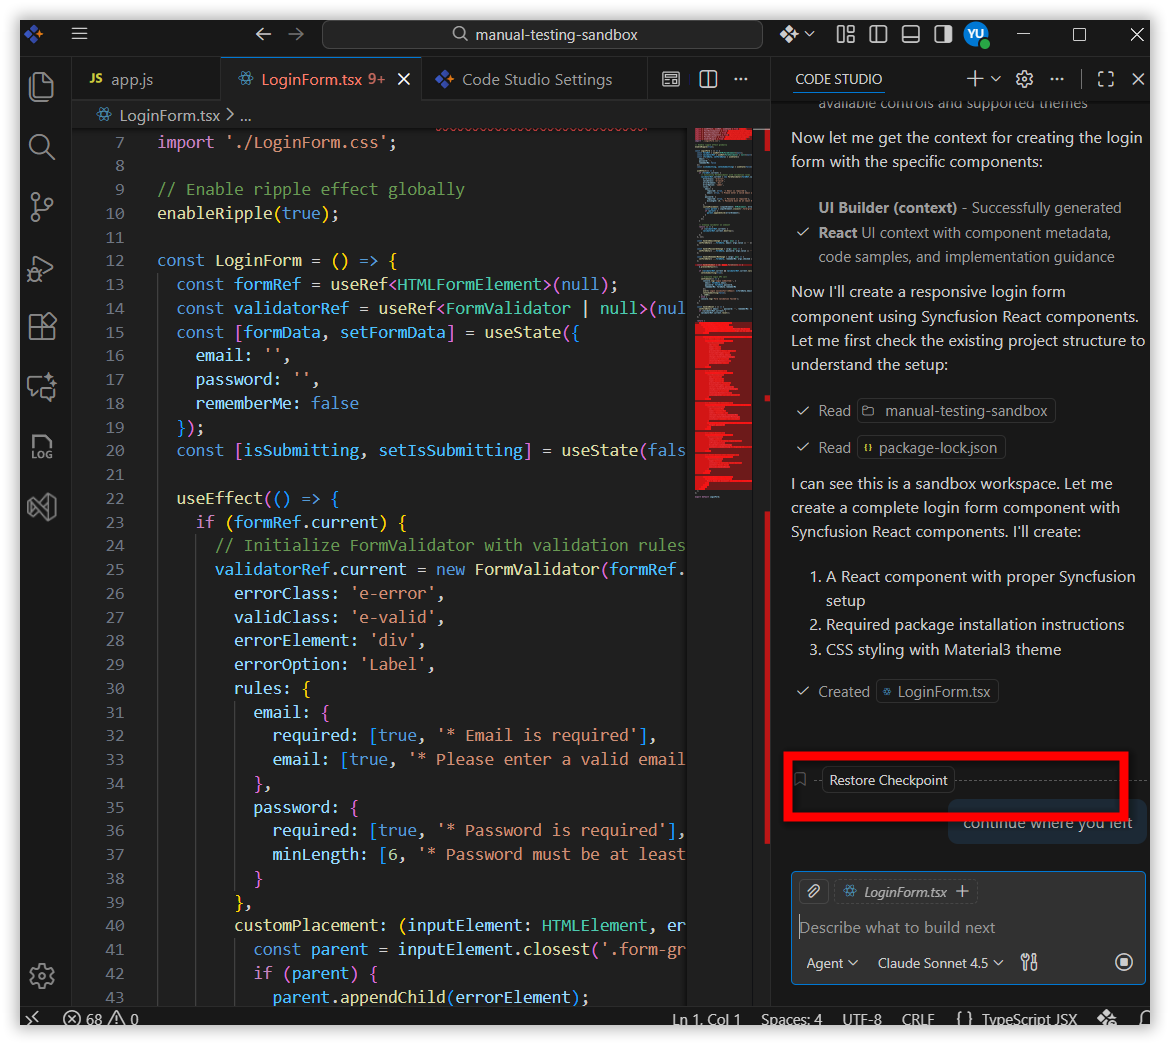
Checkpoints are your safety net! This is why you can be brave and experiment with Agent mode. There’s always a way back.
What’s Next? Continue Your Learning Journey
You’ve mastered the basics, but there’s so much more to explore:
Want to dive deeper into checkpoints?
→ Head to Checkpoints to learn how to manage multiple versions of your code like a pro.
Curious about what else Agent mode can do?
→ Check out the Agent feature guide for advanced tips and tricks.