Enhancing Security Reviews and Code Quality with Automated Hooks in Code Studio
15 Jun 202612 minutes to read
Overview
AI agents in Syncfusion Code Studio can read files, run tools, and generate code on your behalf. Without guardrails, an agent might accidentally:
- Read sensitive files such as
.envor credential files. - Run risky shell commands.
- Modify files you consider off-limits.
Hooks let you insert your own logic into these workflows. A hook is a small script that runs at specific lifecycle events (for example, before a tool runs) and decides whether to:
- Allow the action.
- Block the action.
- Optionally return a custom message back to the user.
In this tutorial, you’ll configure a Pre-Tool Use hook that blocks any tool call that tries to access .env-style files. You can then extend the same pattern to enforce broader security and code-quality rules.
Note: The hook script in this tutorial is written in PowerShell for Windows. If you are on macOS or Linux, you will need to adapt the script to Bash or another shell available on your system.
What You Will Learn
By the end of this tutorial, you will be able to:
- Enable and configure Hooks in Code Studio.
- Create a Pre-Tool Use hook that inspects tool requests before they run.
- Block attempts to read
.env(and other sensitive files) from AI tools. - Provide clear feedback to the user when a request is blocked.
- Extend hook patterns to cover broader security and code-quality rules.
- Test hook behavior from the Chat Panel.
Key Concepts
Hook
A small script that Code Studio calls at specific points in the agent workflow. Hooks let you intercept, inspect, and optionally block agent actions before they execute.
Pre-Tool Use event
A hook lifecycle event that fires before any tool call runs. Your script receives details about the upcoming call and returns a decision (allow or deny) before Code Studio proceeds.
permissionDecision
The field in your hook’s JSON (JavaScript Object Notation) output that tells Code Studio whether to allow or deny a tool call. Supported values are "allow" and "deny".
stdin / stdout
Standard input and standard output streams. Code Studio passes tool-call details to your hook script via stdin and reads your hook’s decision from stdout.
Steps to Enhance Security with Hooks
Step 1: Create a .env and PowerShell script
In this step, you will prepare a test .env file and create the PowerShell hook script that blocks tool calls attempting to read .env-style configuration files.
- Create a minimal
.envfile in the project root. - Create a new PowerShell script at the project root named
BlockEnvFileAccess.ps1. -
Paste the following PowerShell logic into the file:
# Security Guard Hook - Blocks access to .env files only # This hook runs before any tool is executed via PreToolUse # Input is received as JSON on stdin, output is JSON on stdout $ErrorActionPreference = "Stop" try { # Read JSON input from stdin $inputText = [Console]::In.ReadToEnd() if ([string]::IsNullOrWhiteSpace($inputText)) { exit 0 } $jsonInput = $inputText | ConvertFrom-Json $toolName = $jsonInput.tool_name $toolInput = $jsonInput.tool_input # Block patterns focused on .env-style files (including variants) # Regex pattern: \.env["/\\.] => matches .env followed by " or / or \\ or . $blockedPatterns = @( '\.env["/\\.]' ) $toolInputString = if ($toolInput -is [string]) { $toolInput } else { $toolInput | ConvertTo-Json -Compress } $toolInputLower = $toolInputString.ToLower() foreach ($pattern in $blockedPatterns) { if ($toolInputLower -match $pattern) { $reason = "SECURITY BLOCK: Access to sensitive file matching pattern '$pattern' is not allowed." # Log the reason to stderr for debugging/audit [Console]::Error.WriteLine($reason) $output = @{ hookSpecificOutput = @{ hookEventName = "PreToolUse" permissionDecision = "deny" permissionDecisionReason = $reason } } $output | ConvertTo-Json -Compress -Depth 3 exit 0 } } # If no blocked patterns are found, do nothing special. # Most configurations will treat a missing decision as "allow". exit 0 } catch { $errorMsg = if ($_ -and $_.Exception -and $_.Exception.Message) { $_.Exception.Message } elseif ($_) { $_.ToString() } else { "Unknown error in hook script" } [Console]::Error.WriteLine("Hook error: $errorMsg") exit 1 } - Save the file.
What This Hook Does
At a high level, this script:
- Reads the PreToolUse JSON input from stdin.
- Extracts:
-
tool_name– which tool is about to run. -
tool_input– the arguments the tool will use (for example, requested file paths).
-
- Converts the tool input to a lowercase string and scans it for patterns that look like
.envfiles:- The default pattern (
\.env["/\\.]) matches.envfollowed by",/,\\, or..
- The default pattern (
- If a match is found:
- Logs a security message to stderr for audit purposes.
- Returns a JSON deny decision with a clear human-readable reason.
- If no match is found:
- Exits without modifying behavior, so the tool call can proceed normally.
Important: Be careful with overly broad patterns. Blocking too many paths (for example, everything under your project root) can prevent agents from doing useful work.
Step 2: Create a Pre-Tool Use Hook
Next, you will create a hook that runs before any tool is executed.
- Click the settings icon (Configure Chat) in the Chat Panel, then select agent customizations from the menu.
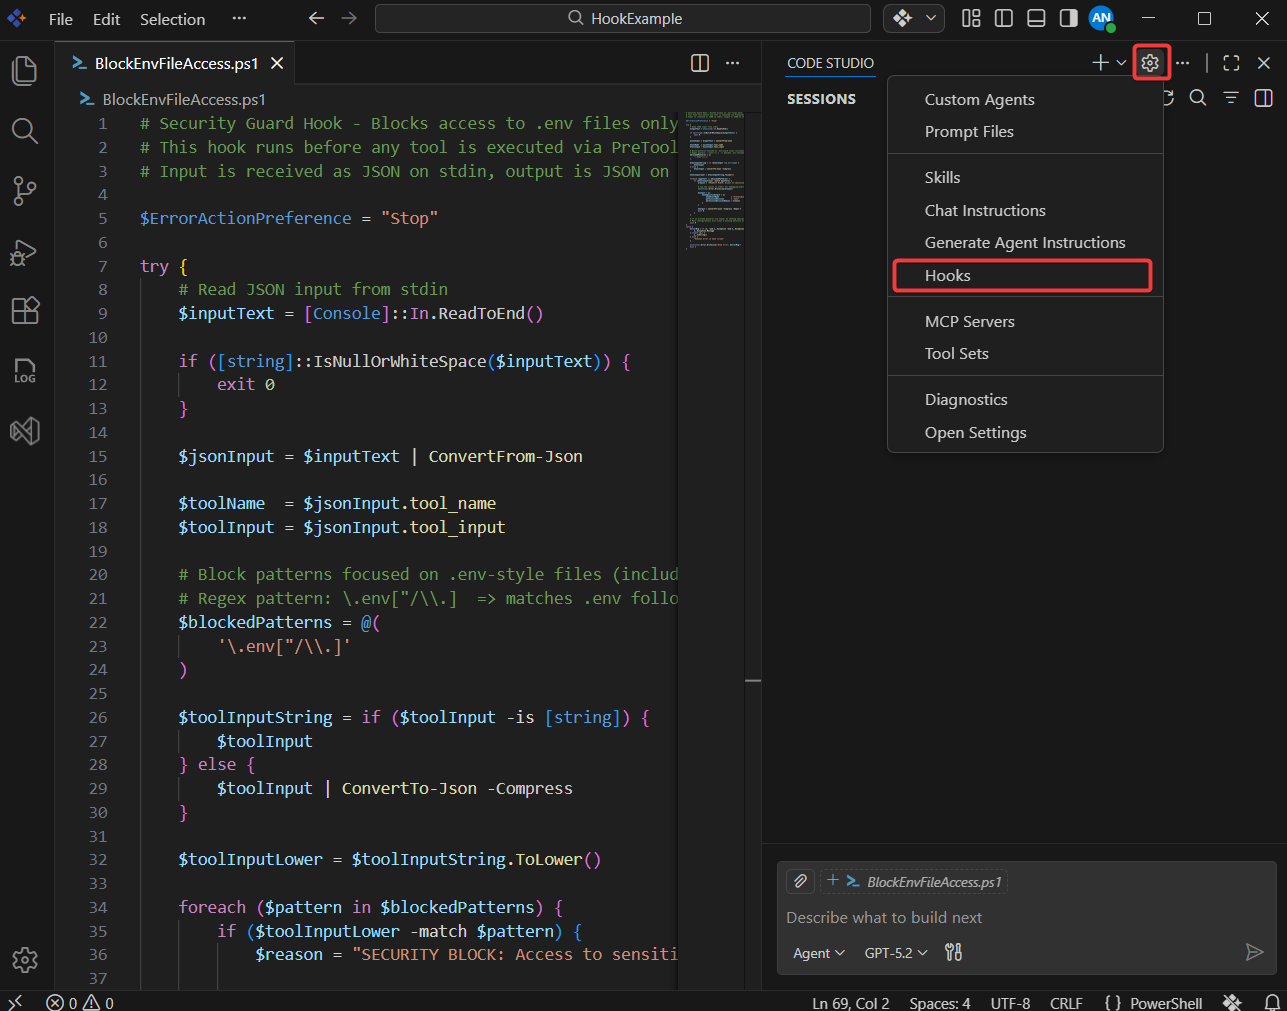
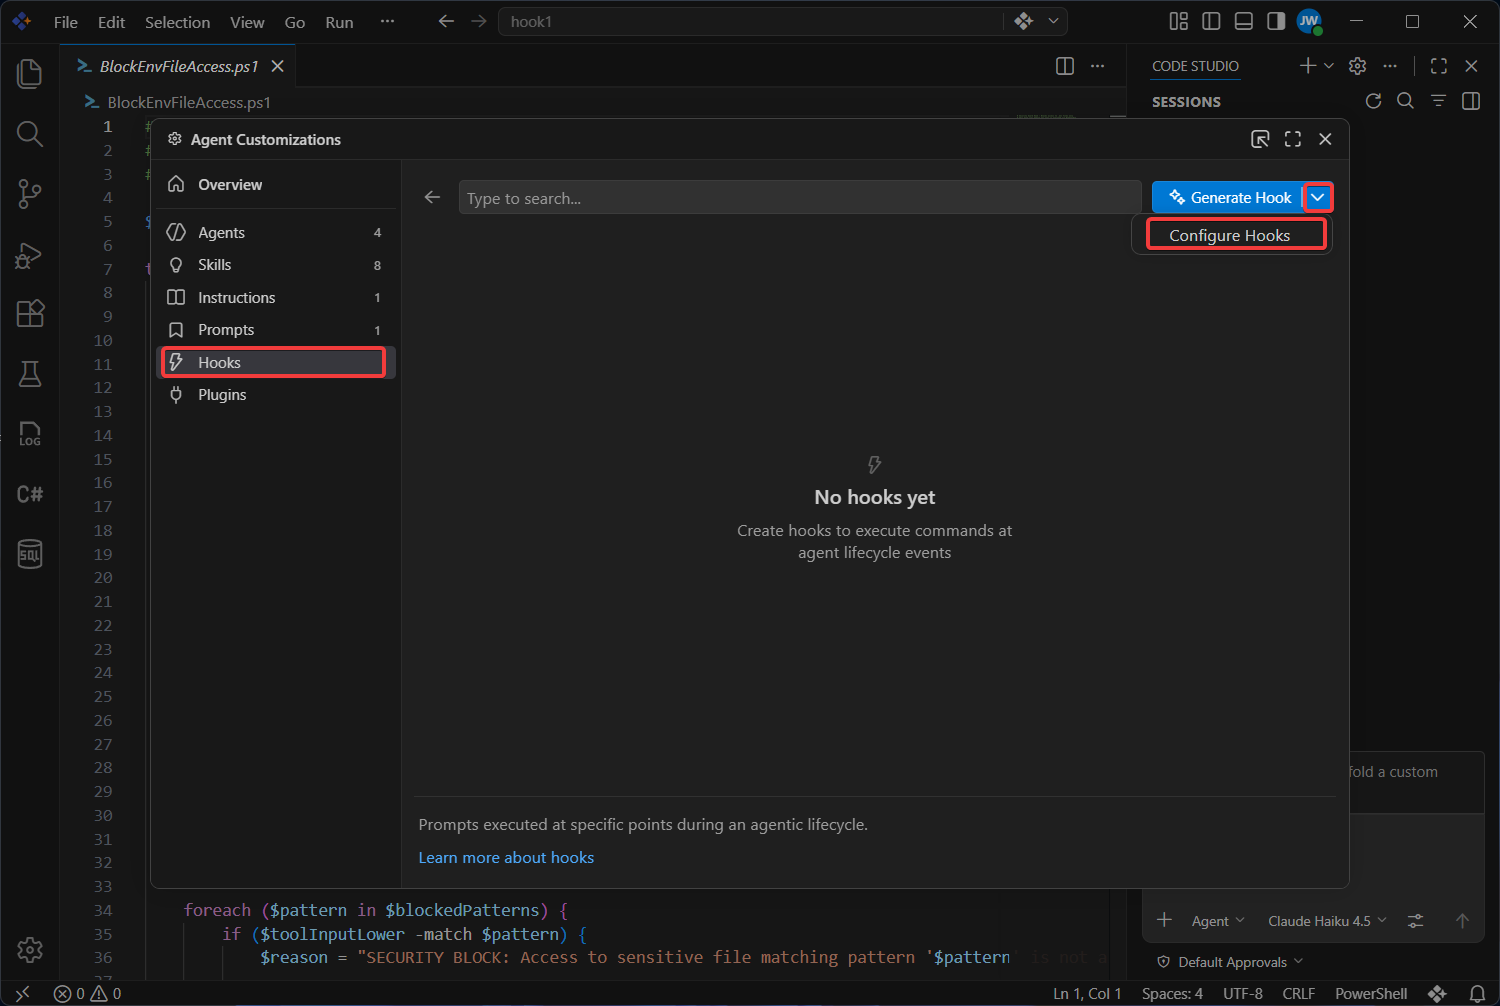
- Click the Hook in the agent customizations ,then click the the generate hooks drop down then click the configure hooks
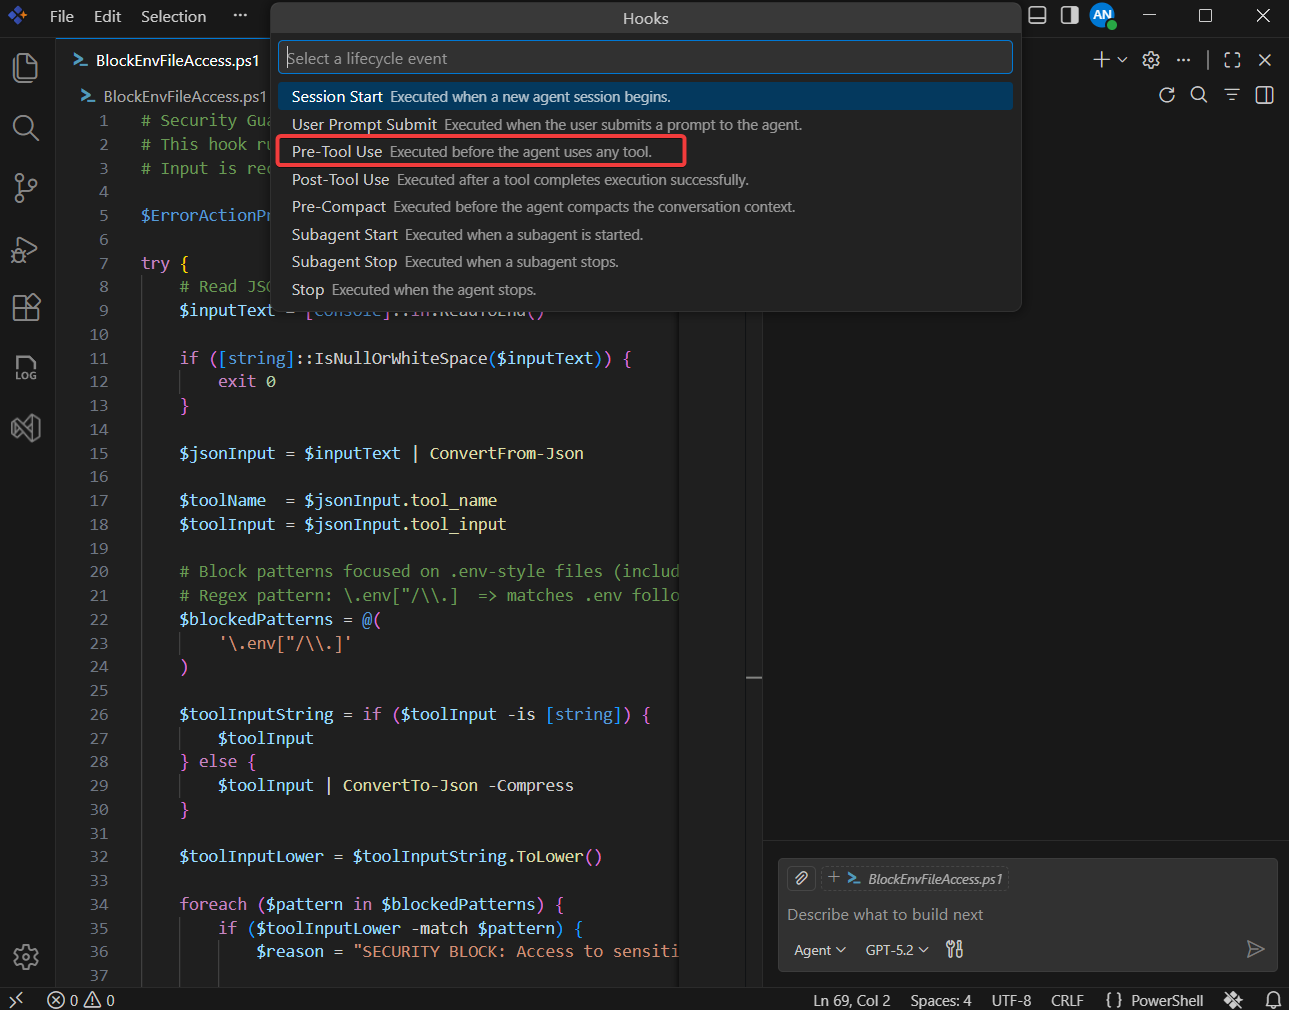
- When prompted for the life cycle event type, select Pre-Tool Use.
-
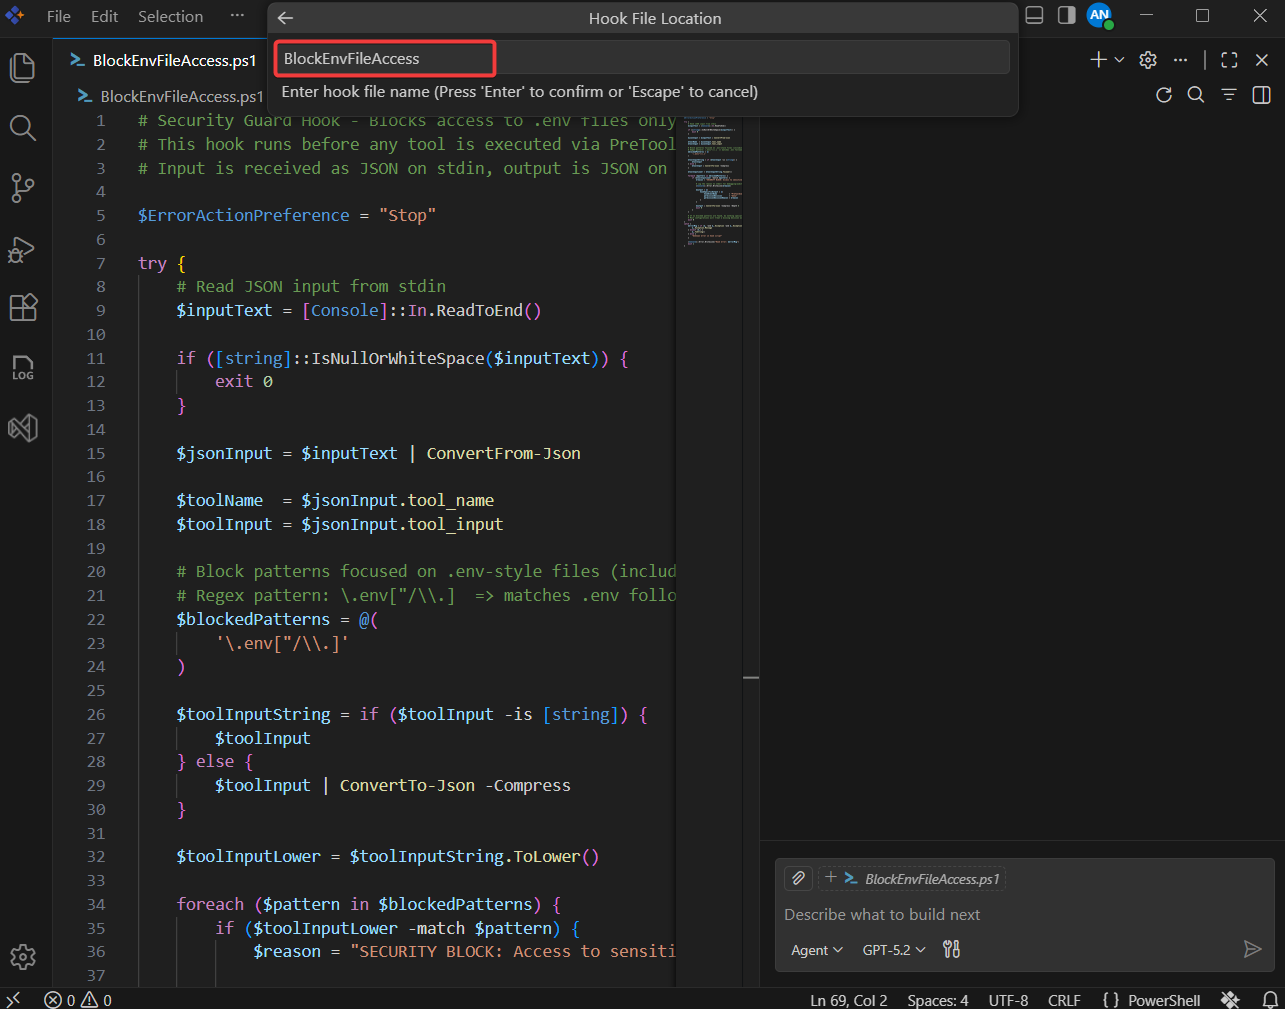
Choose where to store the hook files. Select or enter the folder path
./.codestudio/hooks/so Code Studio places hook scripts and configuration in the project-scoped hooks directory. -
Enter a descriptive name for your hook, such as BlockEnvFileAccess.
- Code Studio scaffolds the necessary hook configuration, typically under a folder such as
.codestudio/hooks/.
Note: The exact filename and folder may differ slightly depending on your configuration, but the file will be associated with the Pre-Tool Use event you selected.
Step 3: Configure the Pre-Tool Use Hook Command
Now wire the Pre-Tool Use event to your PowerShell script using the hooks configuration.
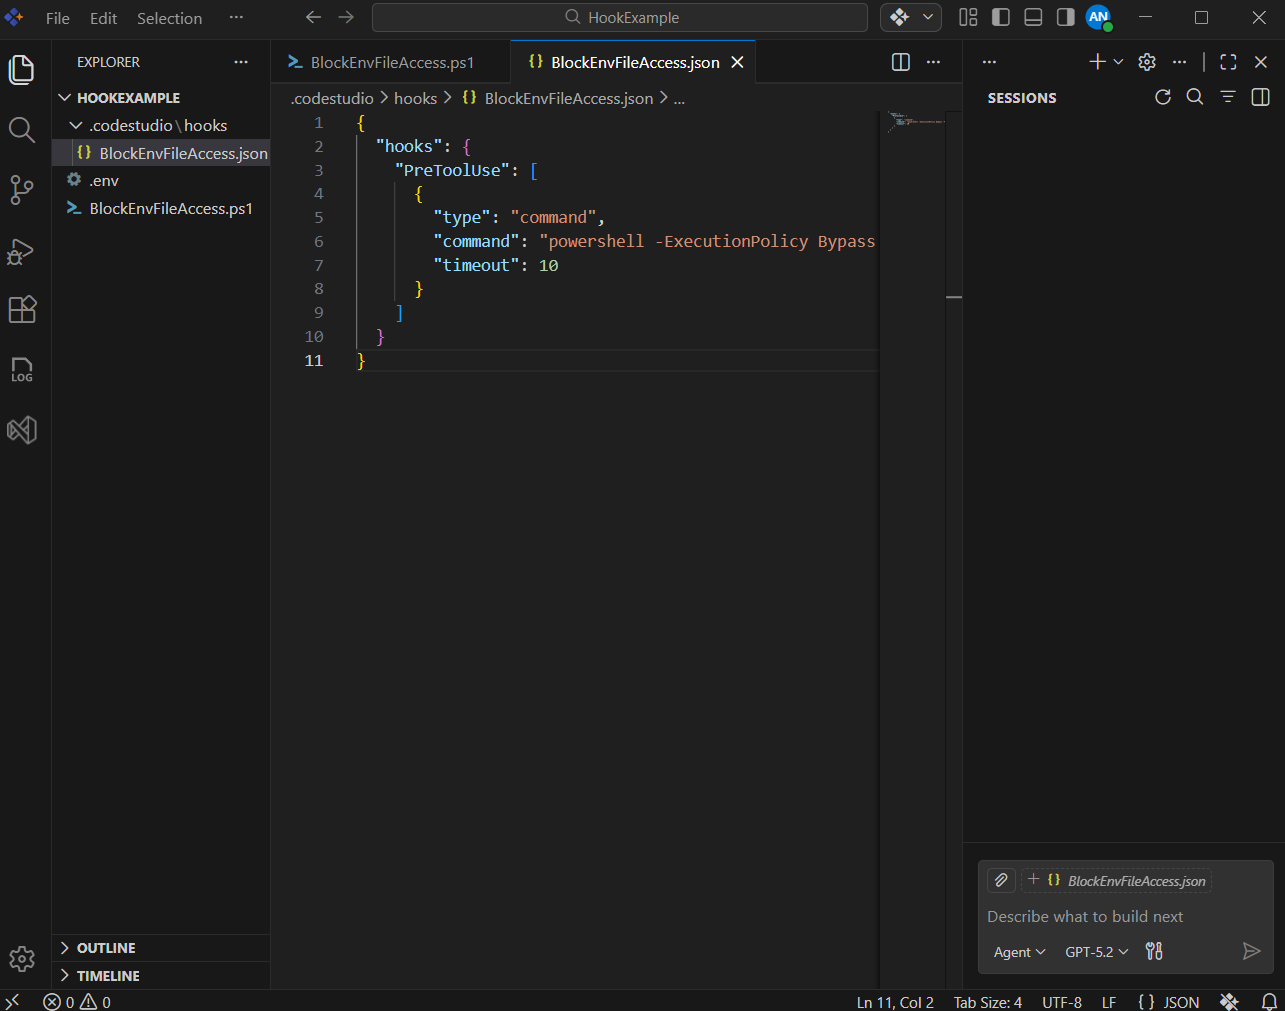
- Open your Code Studio hooks configuration file (for example,
.codestudio/hooks/BlockEnvFileAccess.json). -
Under the
hookssection, add or update a Pre-Tool Use entry similar to the following:{ "hooks": { "PreToolUse": [ { "type": "command", "command": "powershell -ExecutionPolicy Bypass -File BlockEnvFileAccess.ps1", "timeout": 10 } ] } } - Save the configuration file.
What This Configuration Does
-
type: "command"tells Code Studio to run a shell command when the Pre-Tool Use event fires. -
commandruns your PowerShell script (BlockEnvFileAccess.ps1) withExecutionPolicy Bypassso it can execute even if your system has a more restrictive default policy. -
timeout: 10limits the hook to 10 seconds; increase this if your script needs more time.
Step 4: Review the Hook Input and Output Format
Review the JSON structures that Code Studio sends to and expects from your hook script before running a live test.
When a tool is about to run (for example, a file read or search), Code Studio:
- Collects details about the upcoming tool call, such as:
- Tool name (for example,
read/readFileorsearch/fileSearch). - Tool arguments (for example, file paths to read).
- Session metadata (timestamps, session id, user, etc.).
- Tool name (for example,
- Sends this information as JSON input to your PreToolUse hook via standard input (stdin).
- Waits for your hook to return a JSON response on standard output (stdout).
Your hook script uses this information to decide what to do next. Common outcomes include:
-
Allow the tool call:
{ "hookSpecificOutput": { "hookEventName": "PreToolUse", "permissionDecision": "allow" } } -
Deny the tool call with a reason:
{
  "hookSpecificOutput": {
    "hookEventName": "PreToolUse",
    "permissionDecision": "deny",
    "permissionDecisionReason": "Access to .env files is not allowed."
  }
}
Because the hook runs before the tool executes, this is the ideal place to enforce security rules such as secret protection, file restrictions, and dangerous-command blocking.
Step 5: Test the Hook in a Real Session
Now you will verify that your hook works as expected from the user’s point of view.
-
Open the Chat Panel and ensure that Hooks are enabled for your project.
-
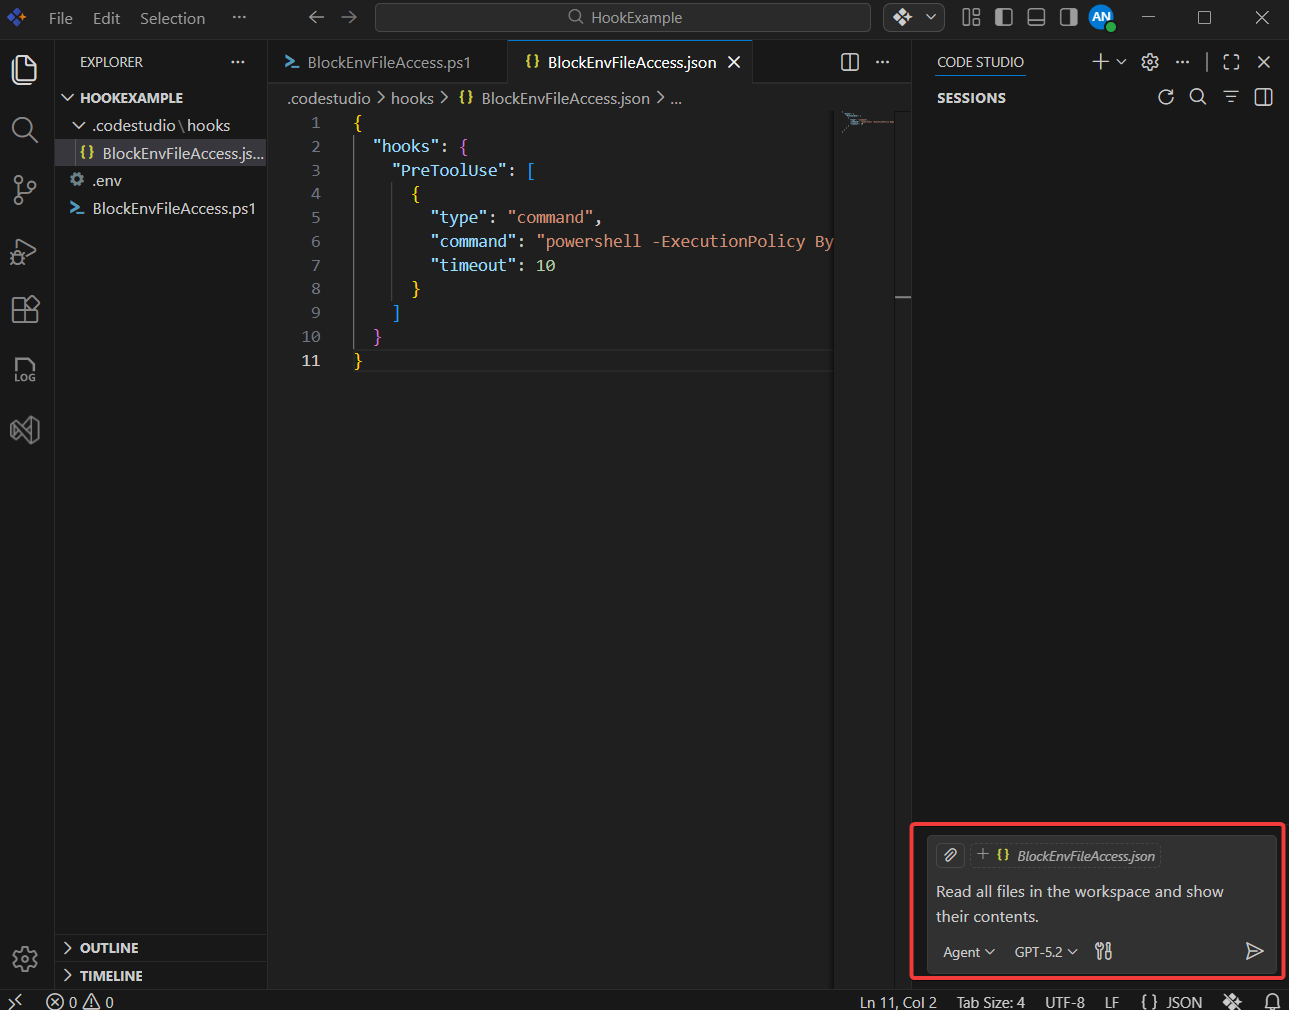
Next, ask the agent to perform an action that could involve reading
.envor similar files. For example:Read all files in the workspace and show their contents.
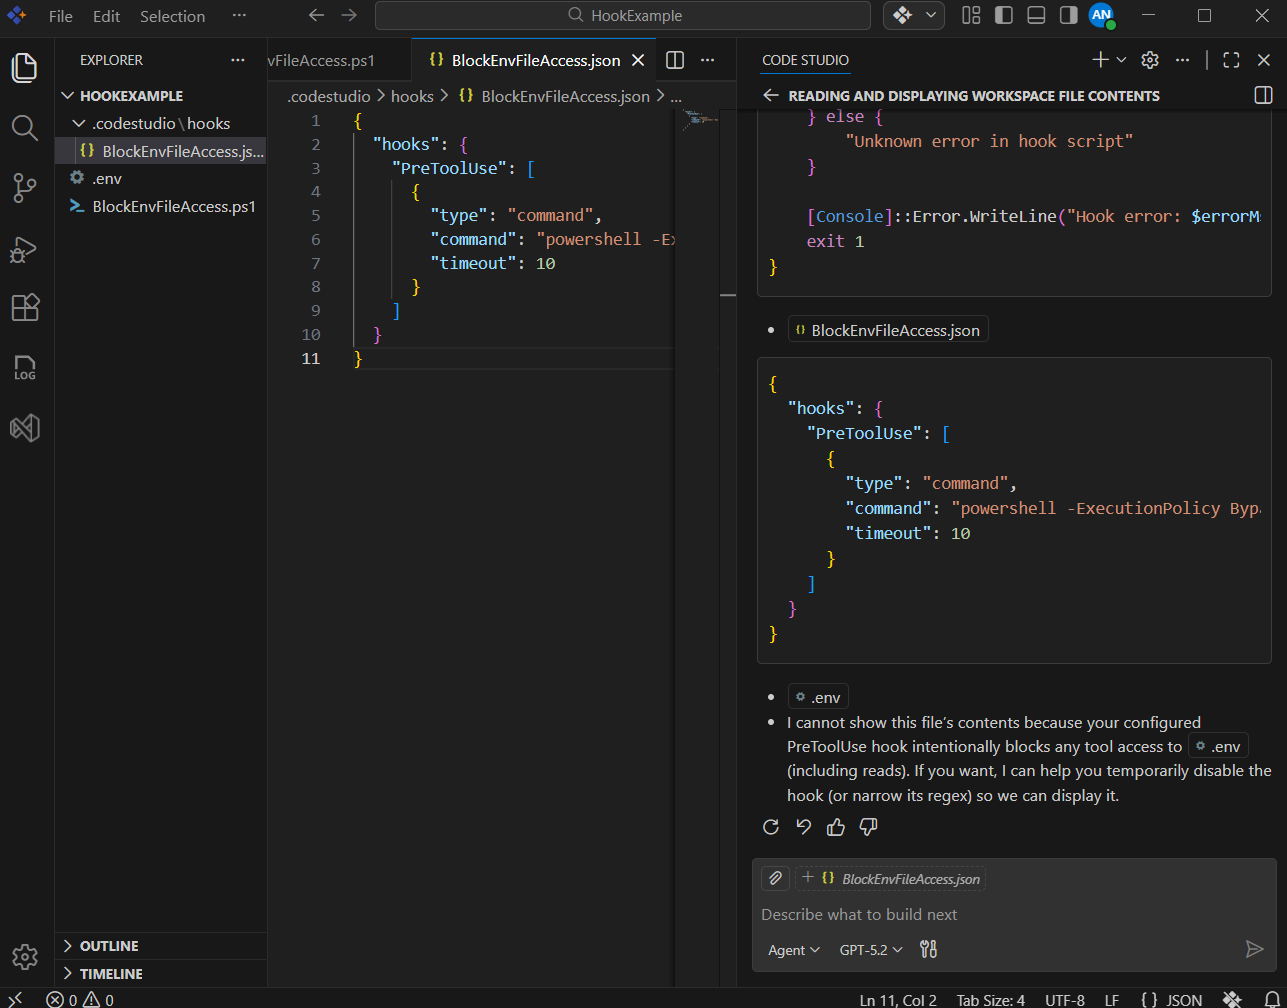
- Observe the result:
- The Pre-Tool Use hook should detect any paths or arguments that reference
.env-style files. - The tool request should be blocked.
- You should see the custom security message defined in your script (for example, starting with
SECURITY BLOCK:).
- The Pre-Tool Use hook should detect any paths or arguments that reference
Step 6: Extend Hooks for Security Reviews and Code Quality
Once your .env protection works, you can reuse the same pattern for broader security and code-quality rules.
Here are some ideas:
-
Block dangerous commands
- Deny shell tools that try to run commands such as
rm -rf,drop database, or other destructive patterns.
- Deny shell tools that try to run commands such as
-
Restrict file types
- Prevent tools from modifying binary assets, generated artifacts, or specific directories (for example,
dist/,build/, orsecrets/).
- Prevent tools from modifying binary assets, generated artifacts, or specific directories (for example,
-
Enforce review workflows
- Require that certain tool uses (such as large refactors) only run when a specific environment flag is set (for example,
ALLOW_MASS_REFACTOR=true).
- Require that certain tool uses (such as large refactors) only run when a specific environment flag is set (for example,
-
Audit and logging
- Log all tool calls for specific agents or sessions to a central audit file during security reviews.
What’s Next
- Generate Your First Code Change Using Agent — Guide the agent to implement and verify a small change end-to-end.
- Fixing Bugs with AI — Use the agent to identify, patch, and validate defects safely.
- Compare AI Models for Different Tasks — Evaluate model quality, cost, and speed for your workflows.