How can I help you?
Create Xamarin Project in Visual Studio for Mac
9 Jan 20252 minutes to read
Syncfusion® provides the Visual Studio for Mac Project Templates for Xamarin platform to create the Syncfusion® Xamarin application with required Syncfusion® NuGet packages based on the control chosen.
The following steps illustrates you how to create the Syncfusion® Xamarin Application through the Visual Studio 2019 for Mac:
-
In Visual Studio for Mac, choose one of the options below to create a Syncfusion® Xamarin project.
Option 1:
Click Syncfusion® Menu and choose Essential Studio® for Xamarin > Create New Syncfusion® Project.
Option 2:
Choose File > New > Project and navigate to Syncfusion® > App > Syncfusion® Xamarin Project Template.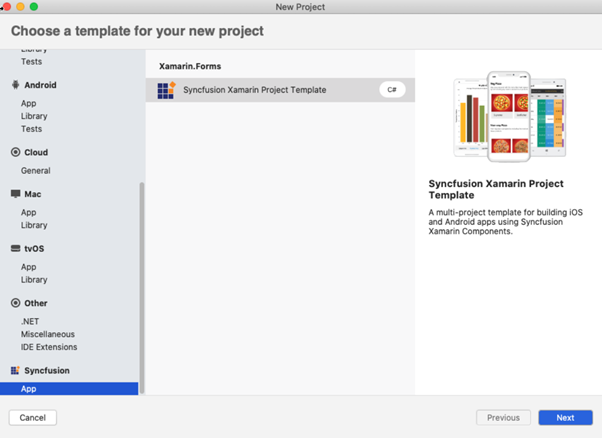
-
Choose the options to configure the Syncfusion® Xamarin Application by using the following Project Configuration dialog and choose the Project, Android, and iOS by toggling respective checkboxes.
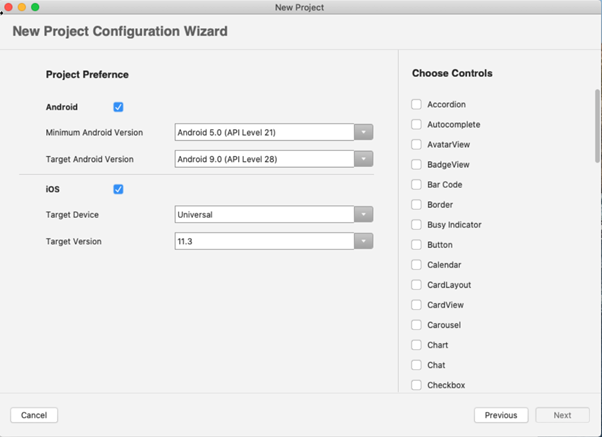
Android:
1. Minimum Android Version: Choose the earliest Android version for which you want to provide support for your app.
2. Target Android Version: Choose the Android version on which your app will run.
iOS:
1. Target Device: Choose the Xamarin.iOS device of Xamarin.iOS project either Unified, iPhone/iPod, or iPad.
2. Target Version: Select the Xamarin.iOS Project version.
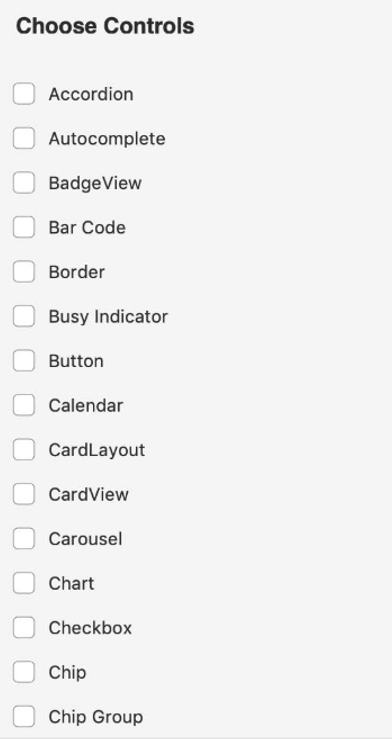
Choose controls:
To create the Syncfusion® Xamarin application, choose at least one Syncfusion® control.
-
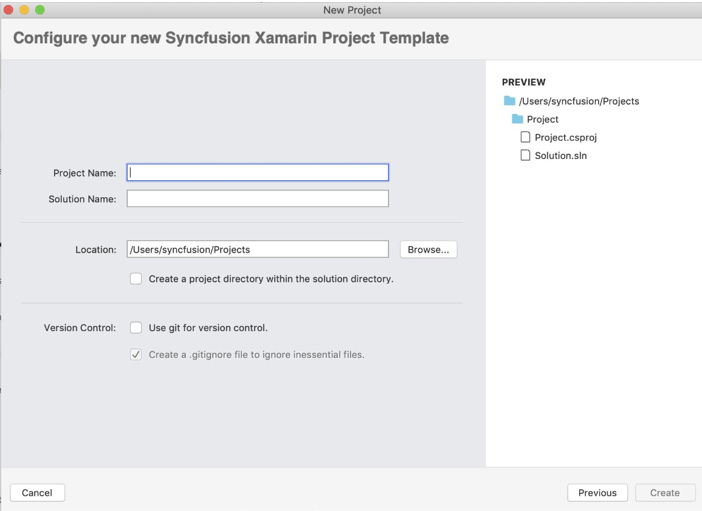
Provide the name of the project and click create.
-
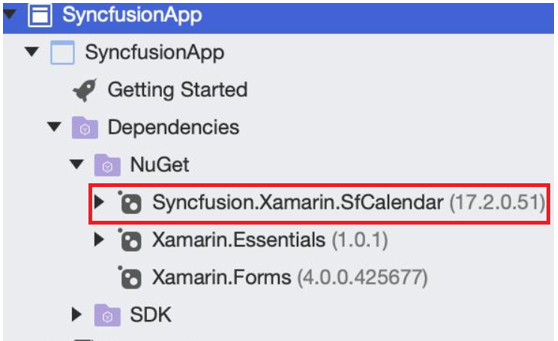
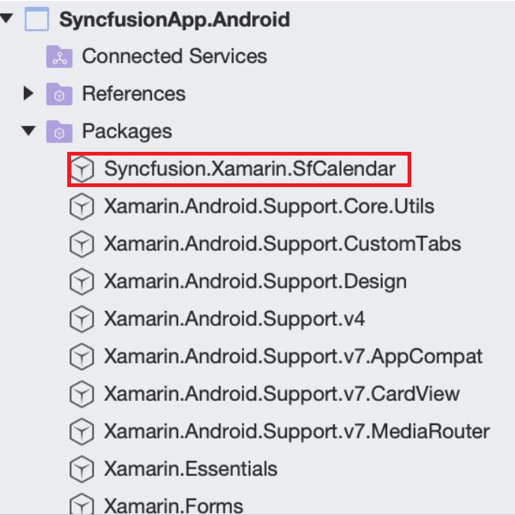
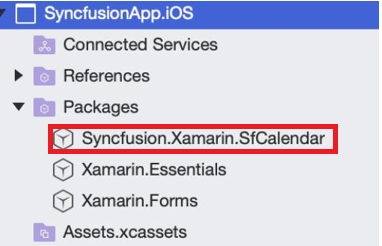
Required Syncfusion® NuGet and configuration have been added to the project based on the Syncfusion® component chosen.
Net Standard:
Android:
iOS:
Now, you can follow the user guide documentation to use the Syncfusion® Xamarin components.