Getting Started with BusyIndicator
17 Jan 20251 minute to read
This section explains you the steps to configure a SfBusyIndicator control in a real-time scenario and also provides a walk-through on some of the customization features available in SfBusyIndicator control.
Referencing Essential Studio® Components in Your Solution
After installing Essential Studio® for Xamarin, you can find all the required assemblies in the installation folders, typically:
{Syncfusion Installed location}\Essential Studio {version number}\lib
And below assembly reference to the iOS unified project.
iOS-unified\Syncfusion.SfBusyIndicator.iOS.dll
Add BusyIndicator
- Adding namespace for the added assemblies.
using Syncfusion.SfBusyIndicator.iOS;- Now add the SfBusyIndicator control with a required optimal name by using the included namespace.
SfBusyIndicator busyindicator = new SfBusyIndicator();
	this.AddSubview(busyindicator);
Set Animation Type
SfBusyIndicator provides 10 predefined animation types like Ball, Battery, Globe and so on. User can select any one of the animation types using AnimationTypeproperty.
Following example depicts the battery type animation for SfBusyIndicator.
busyindicator.AnimationType = SFBusyIndicatorAnimationType.SFBusyIndicatorAnimationTypeBattery;Configure the Properties for SFBusyIndicator
Size and color can be customized in SfBusyIndicator as follows.
busyindicator.AnimationType = SFBusyIndicatorAnimationType.SFBusyIndicatorAnimationTypeBall;
	busyindicator.Foreground = UIColor.Red;
	busyindicator.ViewBoxHeight = 20;
	busyindicator.ViewBoxWidth = 20;
	busyindicator.IsBusy = True;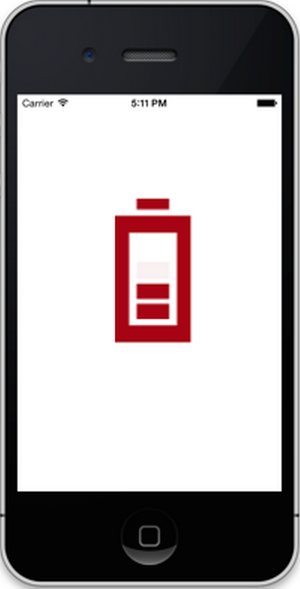
BusyIndicator