How can I help you?
Map Providers in WPF Maps (SfMap)
16 Oct 202316 minutes to read
SfMap control supports map providers such as OpenStreetMap that can be added to any layers in maps.
Open Street Map
The OpenStreetMap (OSM) is a map of the world built by a community of mappers that is free to use under an open license. It allows you to view geographical data in a collaborative way from anywhere on the Earth. It provides small tile images based on our requests and combines those images into a single one to display the map area in our maps control.
Enable an OSM
You can enable this feature by setting the LayerType property value as OSM.
<syncfusion:SfMap ZoomLevel="3">
        <syncfusion:SfMap.Layers>
            <syncfusion:ImageryLayer LayerType="OSM"/>
        </syncfusion:SfMap.Layers>
    </syncfusion:SfMap>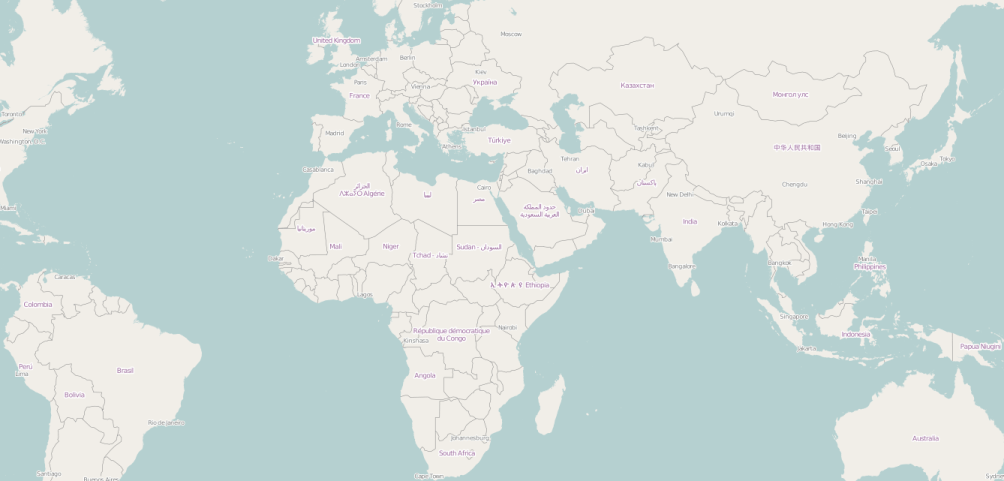
Markers
Markers are used to leave some message on the map.
<syncfusion:SfMap x:Name="map">
            <syncfusion:SfMap.Layers>
                <syncfusion:ImageryLayer Markers="{Binding Models}" LayerType="OSM">
                </syncfusion:ImageryLayer>
            </syncfusion:SfMap.Layers>
        </syncfusion:SfMap>
public class Model
{
public string Name { get; set; }
public string Longitude { get; set; }
public string Latitude { get; set; }
}
public class MapViewModel
{
public ObservableCollection<Model> Models { get; set; }
public MapViewModel()
{
this.Models = new ObservableCollection<Model>();
this.Models.Add(new Model() { Name = "USA ", Latitude = "38.8833N", Longitude = "77.0167W" });
this.Models.Add(new Model() { Name = "Brazil ", Latitude = "15.7833S", Longitude = "47.8667W" });
this.Models.Add(new Model() { Name = "India ", Latitude = "21.0000N", Longitude = "78.0000E" });
this.Models.Add(new Model() { Name = "China ", Latitude = "35.0000N", Longitude = "103.0000E" });
this.Models.Add(new Model() { Name = "Indonesia ", Latitude = "6.1750S", Longitude = "106.8283E" });
}
}Customizing the Marker Template
The default appearance of the Marker can be customized by using the MarkerTemplate property.
<syncfusion:SfMap x:Name="map">
            <syncfusion:SfMap.Layers>
                <syncfusion:ImageryLayer Markers="{Binding Models}"   LayerType="OSM">
                    <syncfusion:ImageryLayer.MarkerTemplate>
                        <DataTemplate>
                            <Grid Margin="-12,-30,0,0">
                                <Canvas>
                                    <Image Source="pin.png" Height="30"/>
                                </Canvas>
                                <Grid DataContext="{Binding Data}" Width="265">
                                    <Grid.RowDefinitions>
                                        <RowDefinition />
                                    </Grid.RowDefinitions>
                                    <Grid.ColumnDefinitions>
                                        <ColumnDefinition/>
                                    </Grid.ColumnDefinitions>
                                    <Canvas Grid.Row="0" Grid.Column="0" Margin="0,0,106,0">
                                        <Image Source="mappath.png" Width="92" Canvas.Top="25" Canvas.Left="10"/>
                                        <TextBlock Foreground="White" HorizontalAlignment="Center" FontSize="15" FontFamily="Segoe UI" Text="{Binding Name}" Canvas.Left="25" Canvas.Top="25" RenderTransformOrigin="0.515,-0.3"/>
                                    </Canvas>
                                </Grid>
                            </Grid>
                        </DataTemplate>
                    </syncfusion:ImageryLayer.MarkerTemplate>
                  </syncfusion:ImageryLayer>
            </syncfusion:SfMap.Layers>
        </syncfusion:SfMap>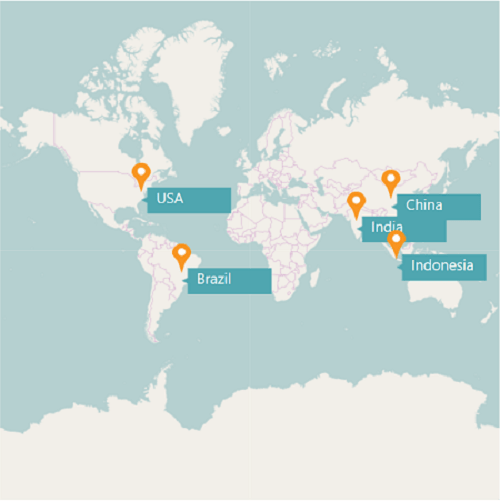
Refer to this link for customizing marker icons, labels, marker alignment, marker selection and events.
Adding a multiple layers in OSM
Multiple layers can be added in the ImageryLayer itself. They have to be added in SubShapeFileLayers within the ImageryLayer.
SubShapeFileLayers
SubShapeFileLayers is the collection of SubShapeFileLayer. SubShapeFileLayer is also a type of shapefile layer. The following code adds the multiple layers in the ImageryLayer.
<syncfusion:SfMap>
            <syncfusion:SfMap.Layers>
                <syncfusion:ImageryLayer LayerType="OSM" >
                    <syncfusion:ImageryLayer.SubShapeFileLayers>
                        <syncfusion:SubShapeFileLayer  Uri="DataMarkers.ShapeFiles.Africa.shp">
                            <syncfusion:SubShapeFileLayer.ShapeSettings>
                                <syncfusion:ShapeSetting  ShapeStroke="#C1C1C1" ShapeStrokeThickness="0.5"  ShapeFill="Chocolate"/>
                            </syncfusion:SubShapeFileLayer.ShapeSettings>
                        </syncfusion:SubShapeFileLayer>
                    </syncfusion:ImageryLayer.SubShapeFileLayers>
                </syncfusion:ImageryLayer>
            </syncfusion:SfMap.Layers>
        </syncfusion:SfMap>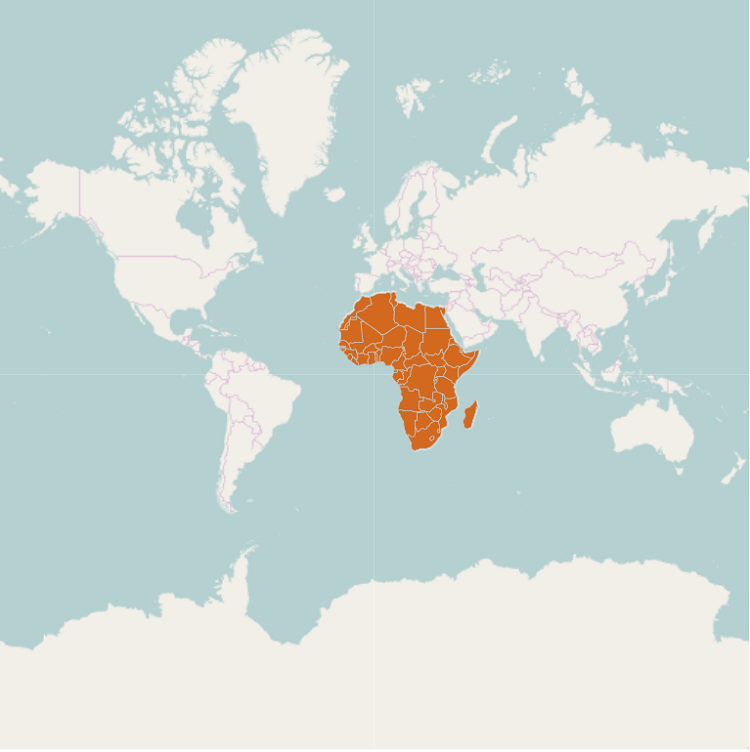
Bing Map
Bing maps is a map of the entire world owned by Microsoft. As with OSM, it provides map tile images based on our requests and combines those images into a single one to display a map area.
Enable a Bing Map
You can enable this feature by defining the LayerType as Bing.
Bing Map Key
The BingMapKey is provided as input to this key property. The Bing Map key can be obtained from
https://www.microsoft.com/en-us/maps/create-a-bing-maps-key.
Maps supports three types of Bing map viewing style options.
- Aerial
- AerialWithLabel
- Road.
The default view of Bing map style is Road.
Aerial View
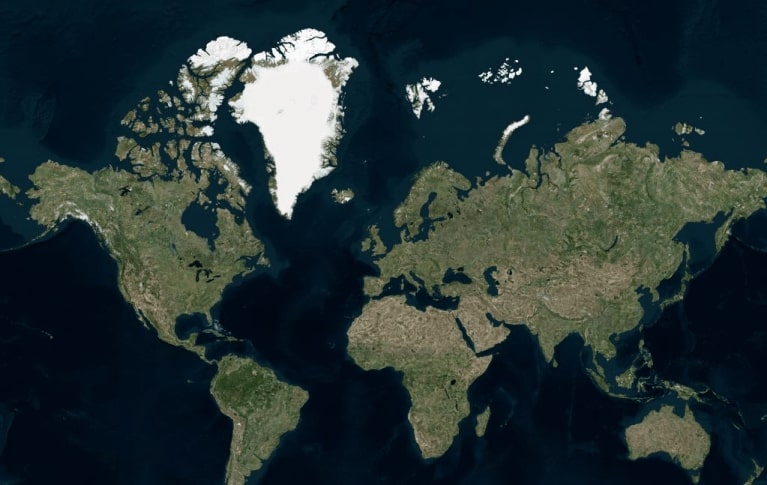
Aerial view displays satellite images that highlight roads and major landmarks for easy identification. To apply the Aerial view, set BingMapStyle as Aerial, as shown in the following code.
<syncfusion:SfMap>
            <syncfusion:SfMap.Layers>
                <syncfusion:ImageryLayer LayerType="Bing" BingMapKey="<Your Bing map key>" BingMapStyle="Aerial" />
            </syncfusion:SfMap.Layers>
        </syncfusion:SfMap >
SfMap map = new SfMap();
ImageryLayer layer = new ImageryLayer();
layer.LayerType = LayerType.Bing;
layer.BingMapKey = "Your Bing map key";
layer.BingMapStyle = BingMapStyle.Aerial;
map.Layers.Add(layer);
this.Content = map;The following screenshot illustrates the Aerial View.
Road View
Road view displays the default map view of roads, buildings, and geography. To apply the Road view, you need to set BingMapStyle as Road, as shown in the following code.
<syncfusion:SfMap>
            <syncfusion:SfMap.Layers>
                <syncfusion:ImageryLayer LayerType="Bing" BingMapKey="<Your Bing map key>" BingMapStyle="Road" />
            </syncfusion:SfMap.Layers>
        </syncfusion:SfMap >
SfMap map = new SfMap();
ImageryLayer layer = new ImageryLayer();
layer.LayerType = LayerType.Bing;
layer.BingMapKey = "Your Bing map key";
layer.BingMapStyle = BingMapStyle.Road;
map.Layers.Add(layer);
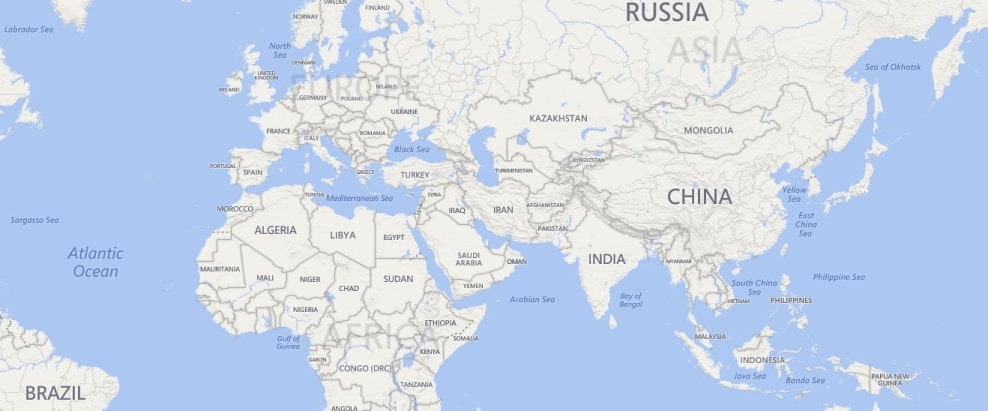
this.Content = map;The following screenshot illustrates the Road view.
’
AerialWithLabelView
AerialWithLabel view displays the Aerial map areas with labels for continent, country, ocean, etc., names. To apply this type of view style, you need to set BingMapStyle as AerialWithLabel, as shown in the following code.
<syncfusion:SfMap>
            <syncfusion:SfMap.Layers>
                <syncfusion:ImageryLayer LayerType="Bing" BingMapKey="<Your Bing map key>" BingMapStyle="AerialWithLabels" />
            </syncfusion:SfMap.Layers>
        </syncfusion:SfMap>
SfMap map = new SfMap();
ImageryLayer layer = new ImageryLayer();
layer.LayerType = LayerType.Bing;
layer.BingMapKey = "Your Bing map key";
layer.BingMapStyle = BingMapStyle.AerialWithLabels;
map.Layers.Add(layer);
this.Content = map;The following screenshot illustrates the AerialWithLabel view.

NOTE
You can refer to our WPF Map feature tour page for its groundbreaking feature representations. You can also explore our WPF Map example to know how to render and configure the map.
See also
How to show google map in WPF SfMap
How to view bing map using WPF SfMap