Getting Started with Windows Forms Navigation Drawer
2 Nov 20227 minutes to read
This section explains how to display the items and adjust the image positions using Windows Forms NavigationDrawer control.
Assembly deployment
Refer to the control dependencies section to get the list of assemblies or NuGet package that needs to be added as a reference to use the control in any application.
You can find more details about installing the NuGet packages in a Windows Forms application in the following link:
Create a simple application with NavigationDrawer
In this walk through, user will create a Windows Forms application that contains NavigationDrawer control.
Create a project
Create a new Windows Forms project in Visual Studio to display the NavigationDrawer control with its sliding panel at different sides.
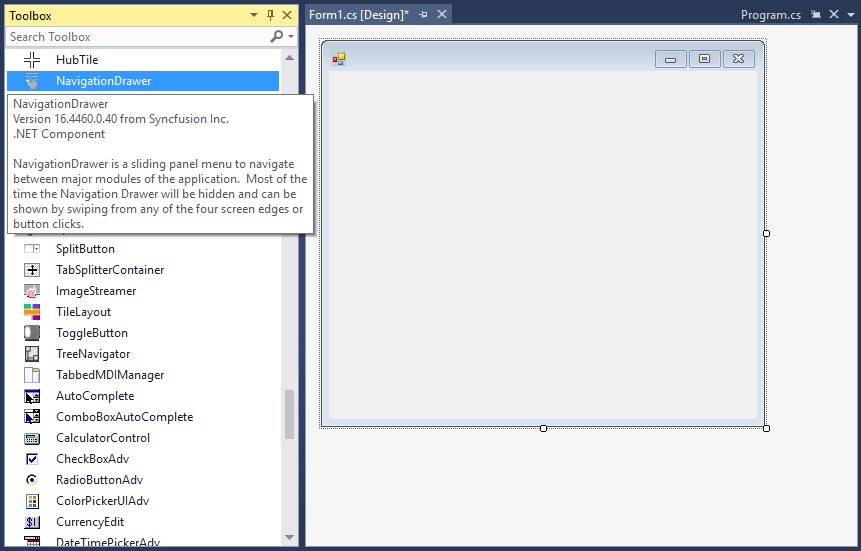
Adding control via designer
The NavigationDrawer control can be added to an application by dragging it from the toolbox and dropping it in designer. The following assembly references will be added automatically.
- Syncfusion.Grid.Base.dll
- Syncfusion.Grid.Windows.dll
- Syncfusion.Shared.Base.dll
- Syncfusion.Shared.Windows.dll
- Syncfusion.Tools.Base.dll
- Syncfusion.Tools.Windows.dll
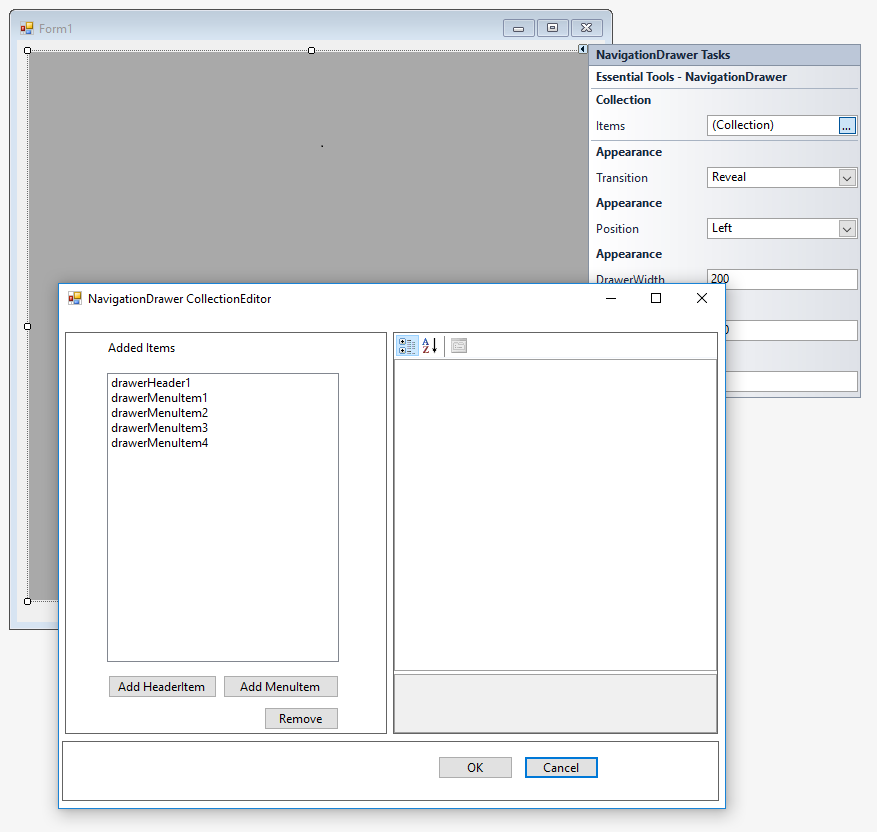
Add items to NavigationDrawer
The header and menu items can be added to drawer using the Items collection in smart tags of NavigationDrawer.
Adding control manually in C#
To add the control manually in C#, follow the given steps:
-
Add the following required assembly references to the project:
- Syncfusion.Grid.Base.dll
- Syncfusion.Grid.Windows.dll
- Syncfusion.Shared.Base.dll
- Syncfusion.Shared.Windows.dll
- Syncfusion.Tools.Base.dll
- Syncfusion.Tools.Windows.dll
-
Include the Syncfusion.Windows.Forms.Tools namespace.
using Syncfusion.Windows.Forms.Tools;Imports Syncfusion.Windows.Forms.Tools- Create a NavigationDrawer instance, and add it to the window.
NavigationDrawer navigationDrawer1 = new NavigationDrawer();
   this.Controls.Add(navigationDrawer1);
Dim navigationDrawer1 As NavigationDrawer = New NavigationDrawer
Me.Controls.Add(navigationDrawer1)- Set the width and height to the drawer view.
this.navigationDrawer1.DrawerWidth = this.Width/4;
this.navigationDrawer1.DrawerHeight = this.Height;Me.navigationDrawer1.DrawerWidth = Me.Width/4
Me.navigationDrawer1.DrawerHeight = Me.Height- Add header to the NavigationDrawer.
Create a DrawerHeader instance, and add it to the Items collection in NavigationDrawer.
DrawerHeader drawerHeader1 = new DrawerHeader();
   this.navigationDrawer1.Items.Add(this.drawerHeader1);
Dim drawerHeader1 As DrawerHeader = New DrawerHeader
Me.navigationDrawer1.Items.Add(Me.drawerHeader1)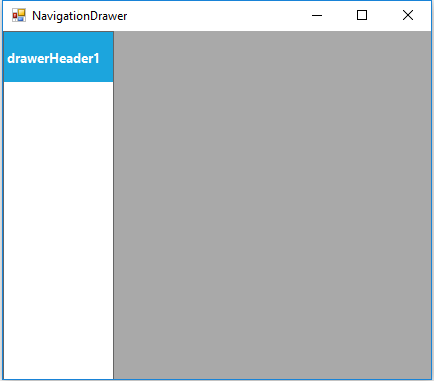
- Add MenuItems to NavigationDrawer.
Create a DrawerMenuItem instance, and add it to the Items collection in the NavigationDrawer class.
DrawerMenuItem drawerMenuItem1 = new DrawerMenuItem();
DrawerMenuItem drawerMenuItem2 = new DrawerMenuItem();
DrawerMenuItem drawerMenuItem3 = new DrawerMenuItem();
DrawerMenuItem drawerMenuItem4 = new DrawerMenuItem();
DrawerMenuItem drawerMenuItem5 = new DrawerMenuItem();

this.navigationDrawer1.Items.Add(this.drawerMenuItem1);
this.navigationDrawer1.Items.Add(this.drawerMenuItem2);
this.navigationDrawer1.Items.Add(this.drawerMenuItem3);
this.navigationDrawer1.Items.Add(this.drawerMenuItem4);
this.navigationDrawer1.Items.Add(this.drawerMenuItem5);
Dim drawerMenuItem1 As DrawerMenuItem = New DrawerMenuItem
Dim drawerMenuItem2 As DrawerMenuItem = New DrawerMenuItem
Dim drawerMenuItem3 As DrawerMenuItem = New DrawerMenuItem
Dim drawerMenuItem4 As DrawerMenuItem = New DrawerMenuItem
Me.navigationDrawer1.Items.Add(Me.drawerMenuItem1)
Me.navigationDrawer1.Items.Add(Me.drawerMenuItem2)
Me.navigationDrawer1.Items.Add(Me.drawerMenuItem3)
Me.navigationDrawer1.Items.Add(Me.drawerMenuItem4)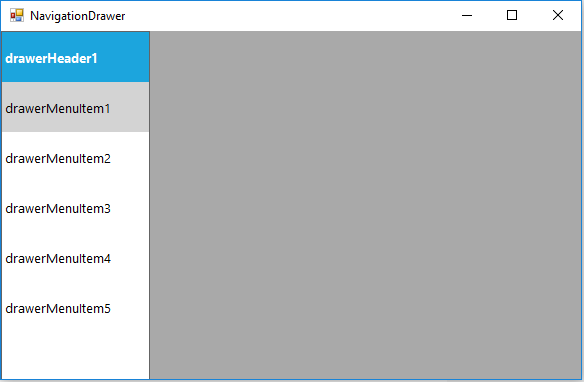
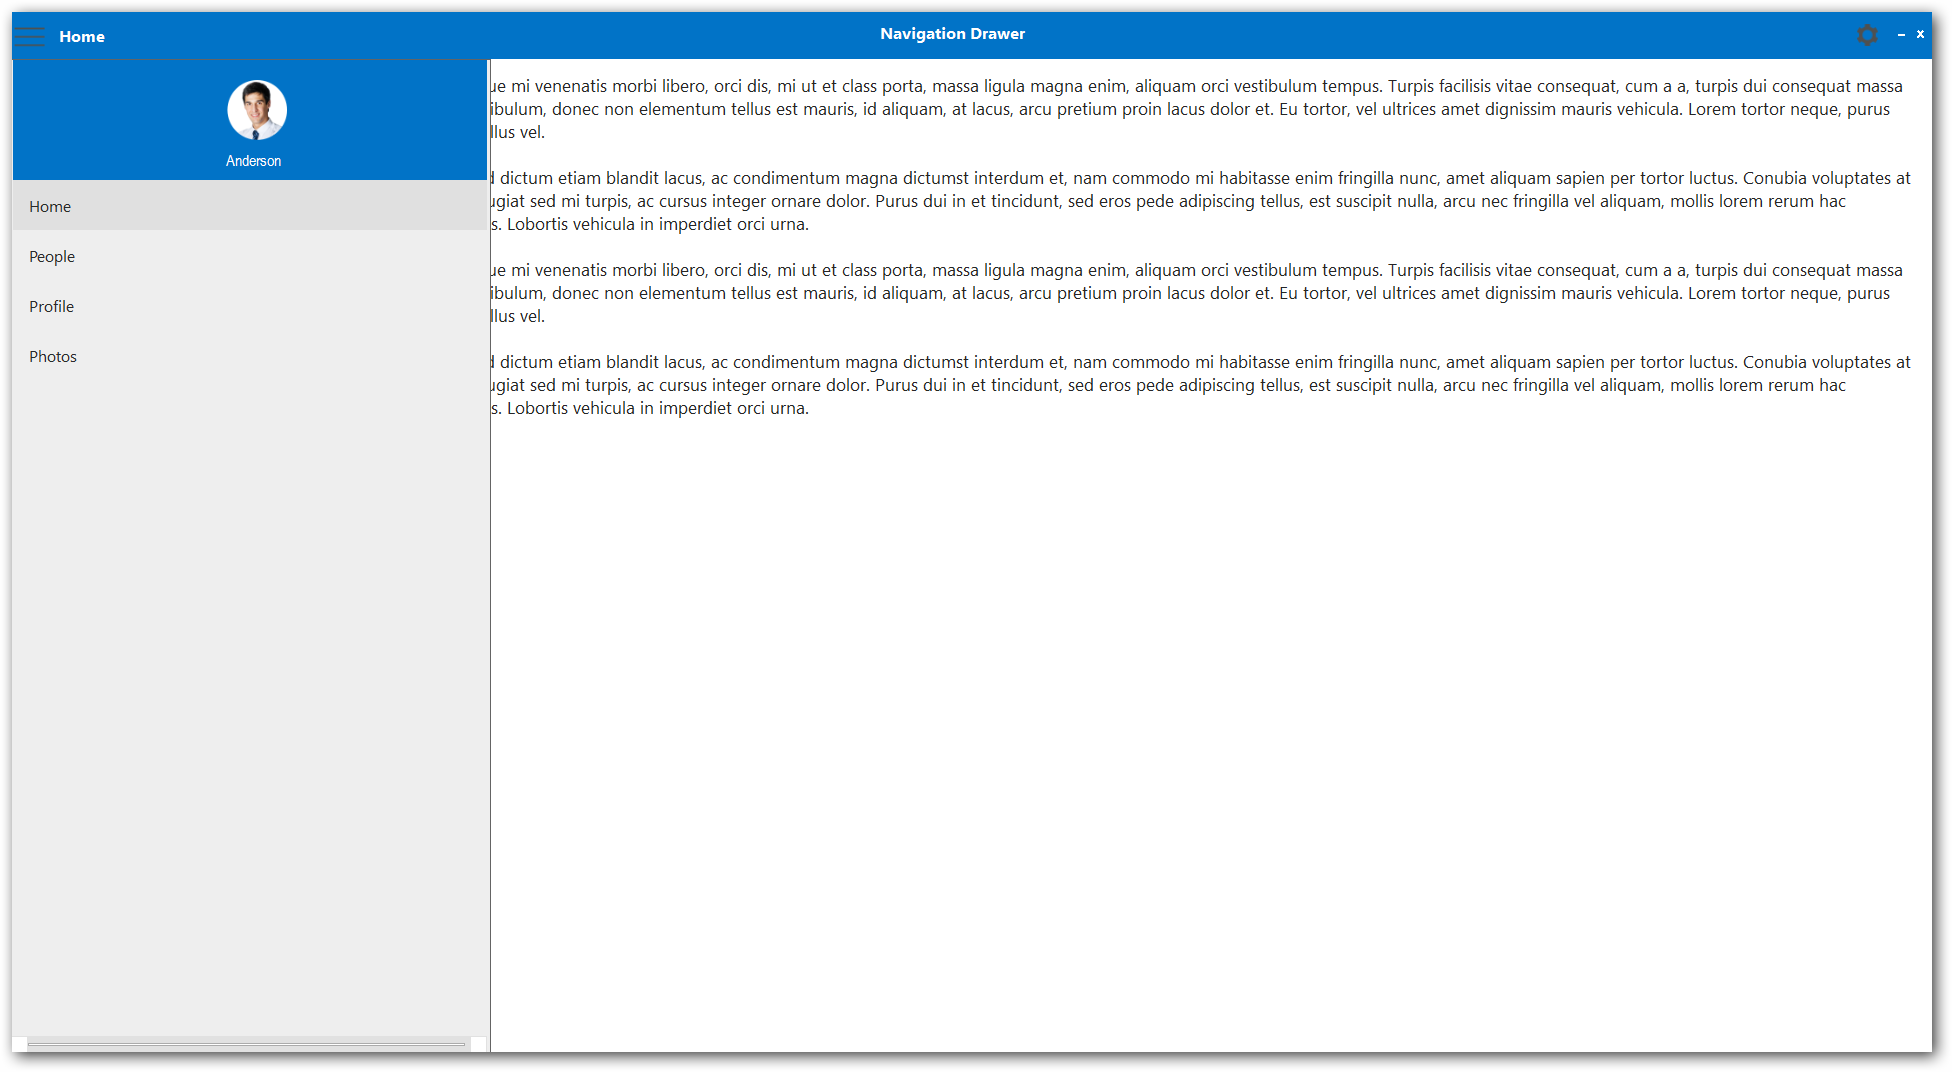
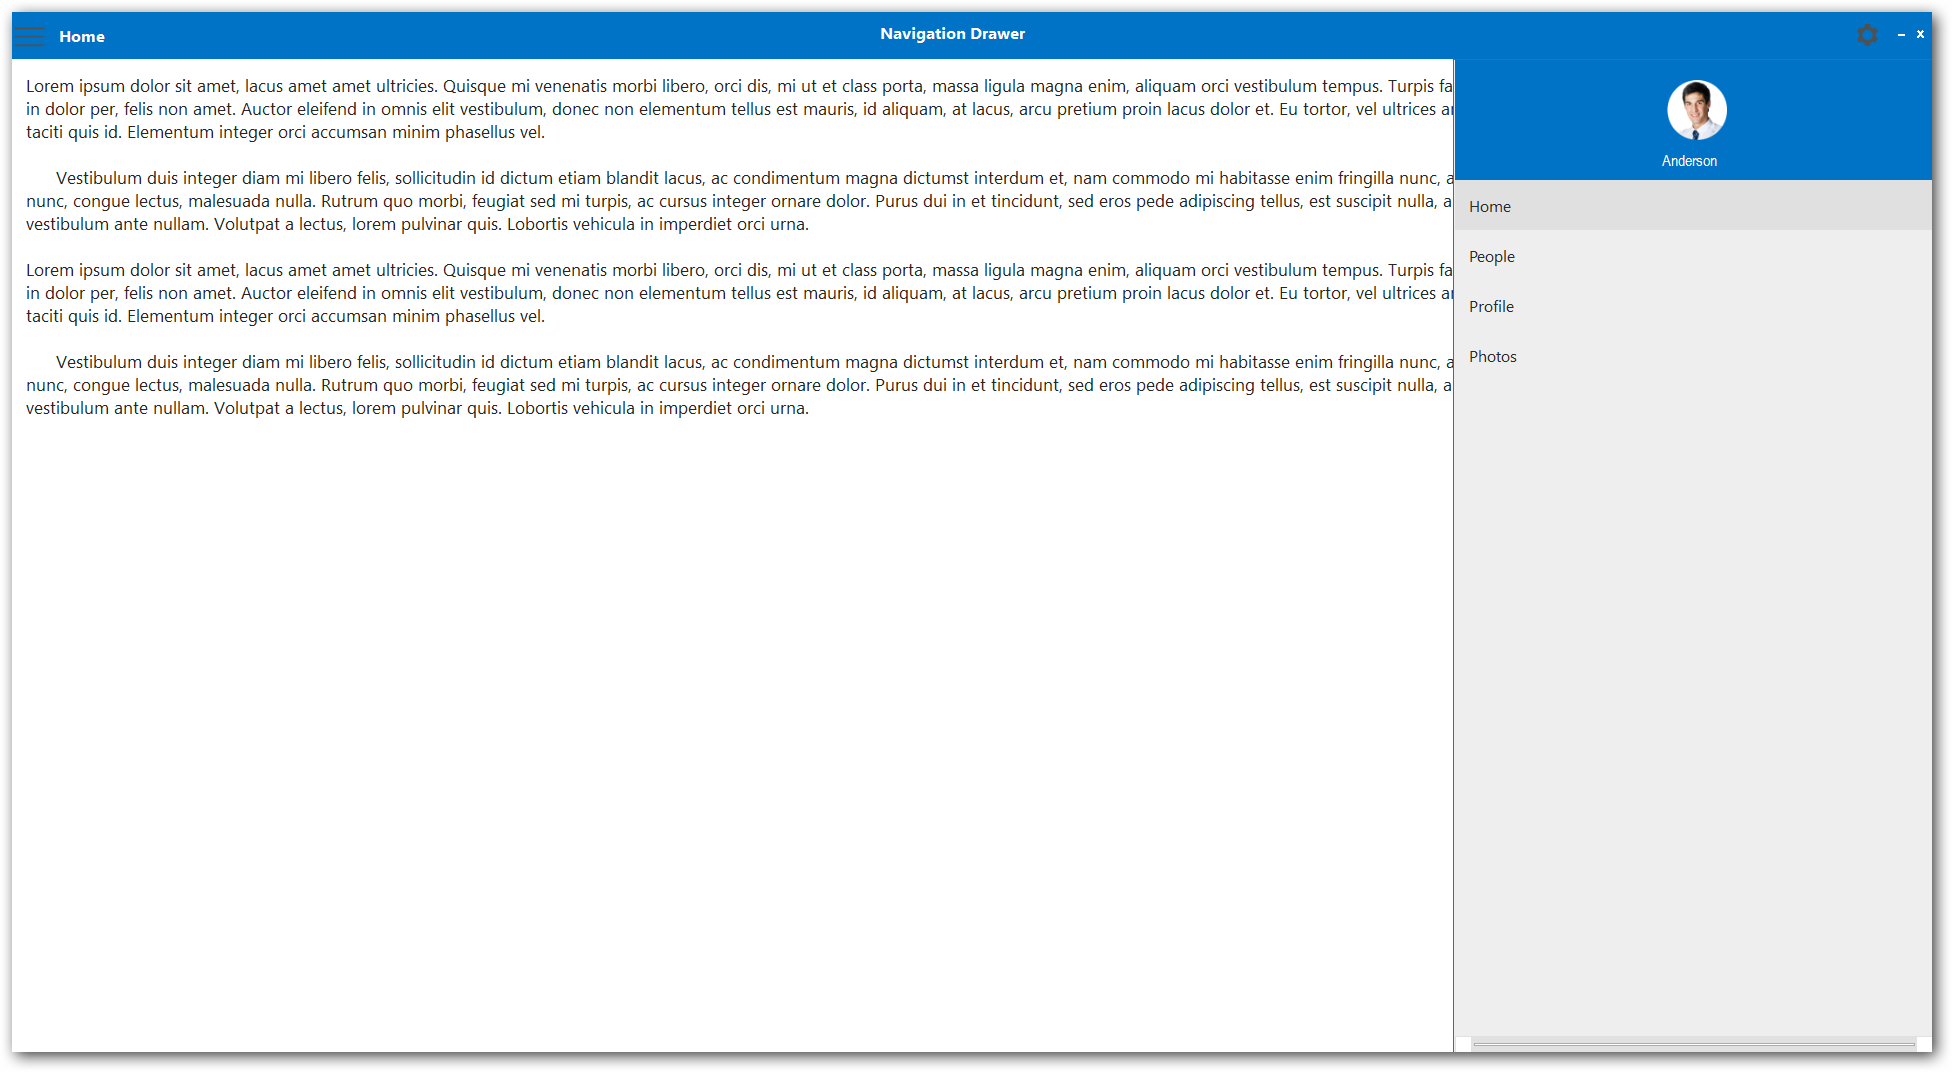
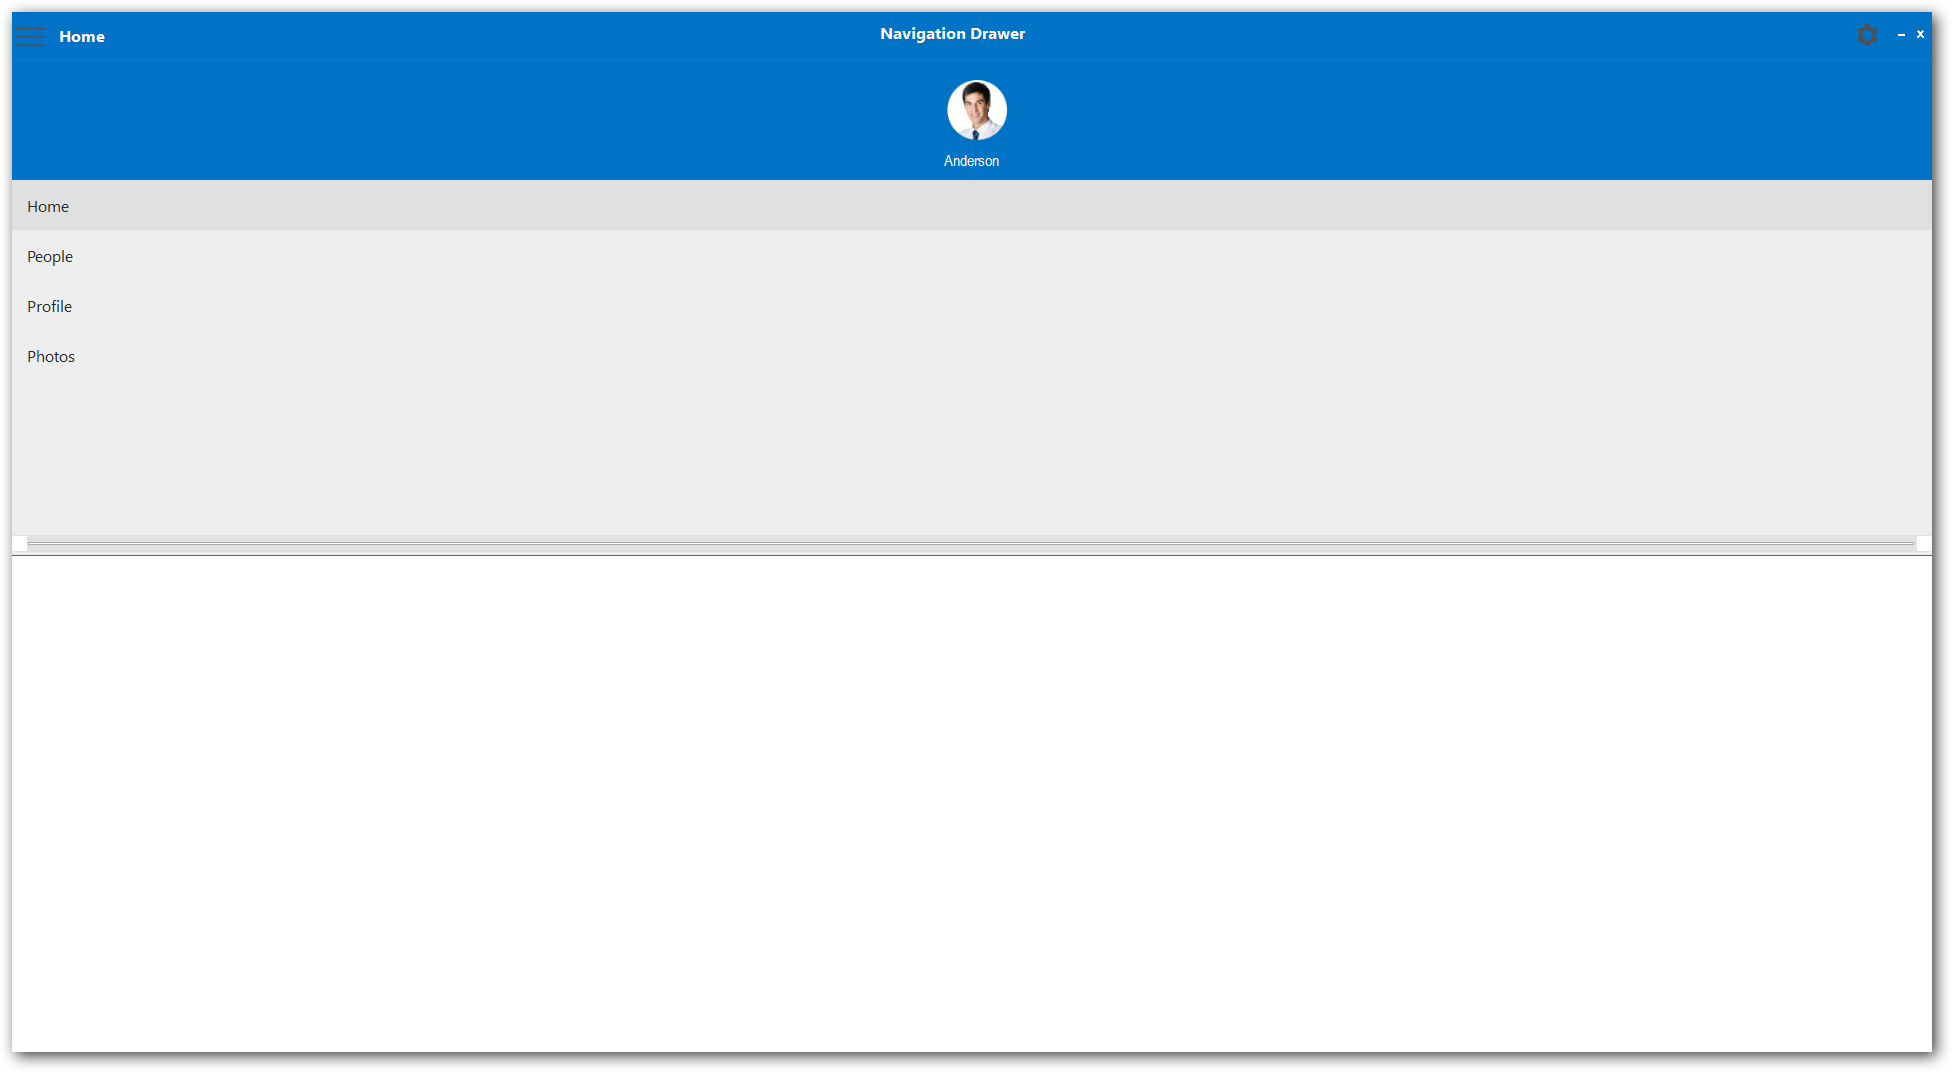
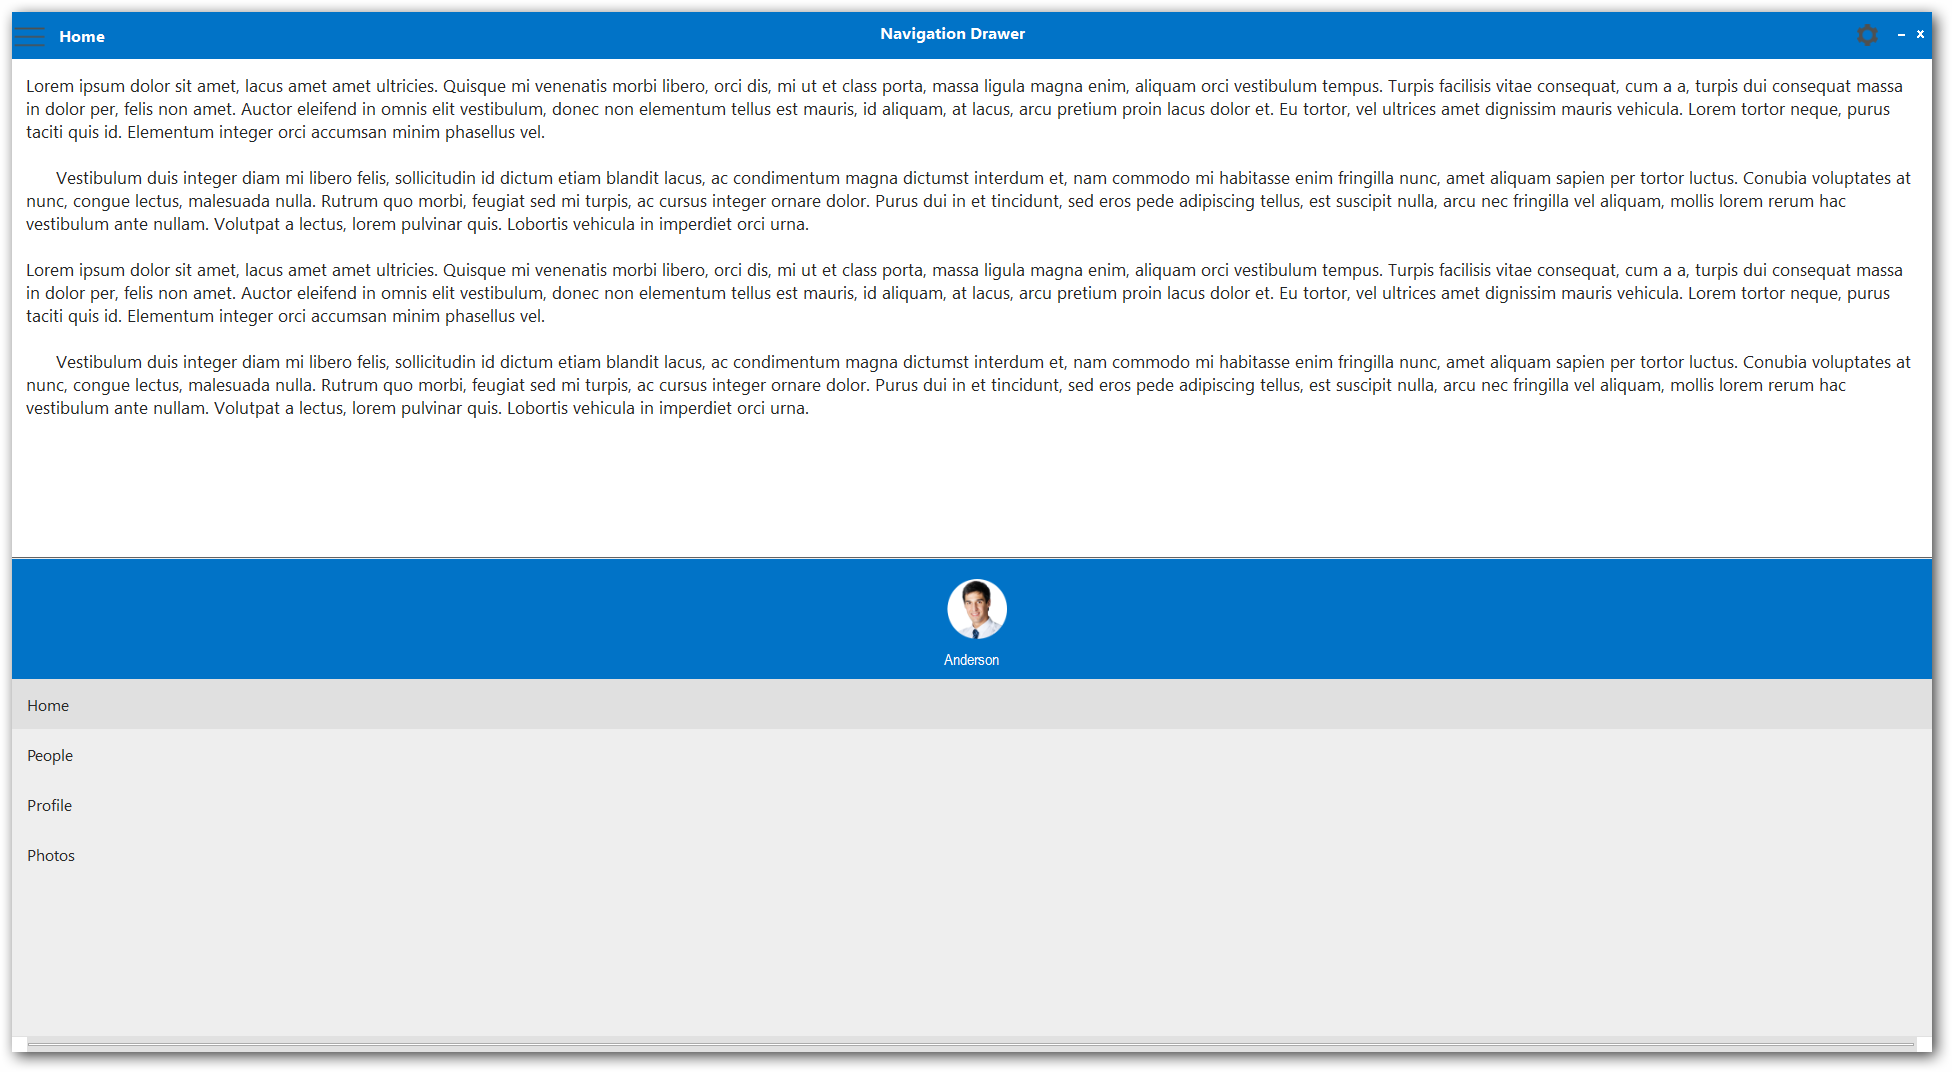
Sidebar placement
You can change the sliding position of the NavigationDrawer control by using Position property.
The sliding position options of the NavigationDrawer is given below,
- Left– Slides from left direction.
- Right– Slides from right direction.
- Top– Slides from Top direction.
- Bottom– Slides from Bottom direction.
//Setting side bar position
this.navigationDrawer1.Position = SlidePosition.Left;
'Setting side bar position
Me.navigationDrawer1.Position = SlidePosition.Left- Left
- Right
- Top
- Bottom
Setting image to an item
The NavigationDrawer allows setting image to each menu item using Image property.
//Setting image to the menu item
this.drawerMenuItem1.Image = Image.FromFile(@"../../Audit-WF.png");
'Setting side bar position
Me.drawerMenuItem1.Image = Image.FromFile(@"../../Audit-WF.png")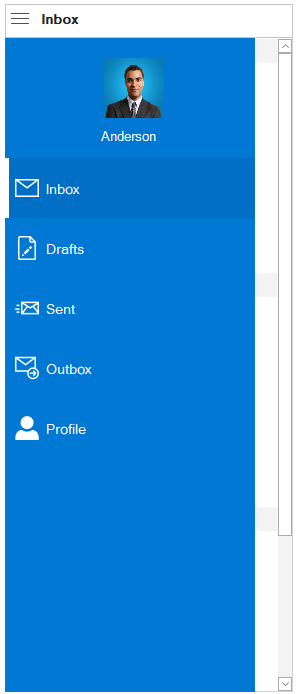
Positioning Text and Image
The text and image positions can be adjusted for the menu items using the TextAlign and TextImageRelation property.
//Setting TextImageRelation to an item
this.drawerMenuItem1.TextAlign = TextAlignment.Center;
this.drawerMenuItem1.TextImageRelation = TextImageRelation.TextBeforeImage;
'Setting TextImageRelation to an item
Me.drawerMenuItem1.TextAlign = TextAlignment.Center
Me.drawerMenuItem1.TextImageRelation = TextImageRelation.TextBeforeImage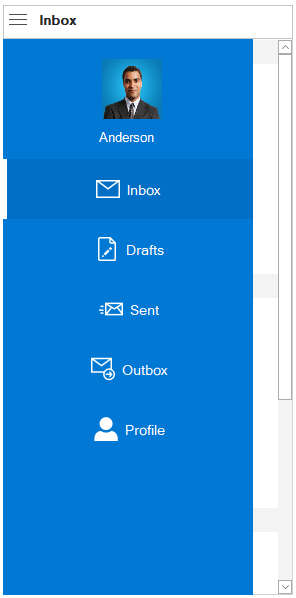
NOTE
You can also explore our WinForms Navigation Drawer example that shows you how to render and configure the navigation drawer.