Getting Started
24 Nov 20161 minute to read
This section helps you to understand the getting started of the Radial Slider control with the step-by-step instructions.
Create a Radial Slider control
The following steps guide you to add a Radial Slider control.
1) Refer the common Typescript Getting Started Documentation to create an application and add necessary scripts and styles for rendering the RadialSlider control.
2) Create an HTML page and add the scripts and css references in the order mentioned in the following code example.
<!DOCTYPE html>
<html>
<head>
    <title>Typescript Application</title>
    <link href="http://cdn.syncfusion.com/**32.1.19**/js/web/flat-azure/ej.web.all.min.css" rel="stylesheet" />
    <script src="https://code.jquery.com/jquery-3.0.0.min.js"></script>
    <script src="http://cdn.syncfusion.com/**32.1.19**/js/web/ej.web.all.min.js" type="text/javascript"></script>
</head>
<body>
    <!--Add Radial Slider code here-->
</body>
</html>
3) Add the following code with in the <body> tag to render the RadialSlider control.
<div id="radialSlider">
      </div>
Initialize the Radial Slider control in ts file by using the ej.RadialSlider method.
/// <reference path="../tsfiles/jquery.d.ts" />
/// <reference path="../tsfiles/ej.web.all.d.ts" />\
module RadialSliderComponent {
$(function () {
var radialsliderInstance = new ej.RadialSlider($("#radialSlider"), {
innerCircleImageUrl: " http://js.syncfusion.com/demos/web/content/images/radialslider/chevron-right.png"
});
});
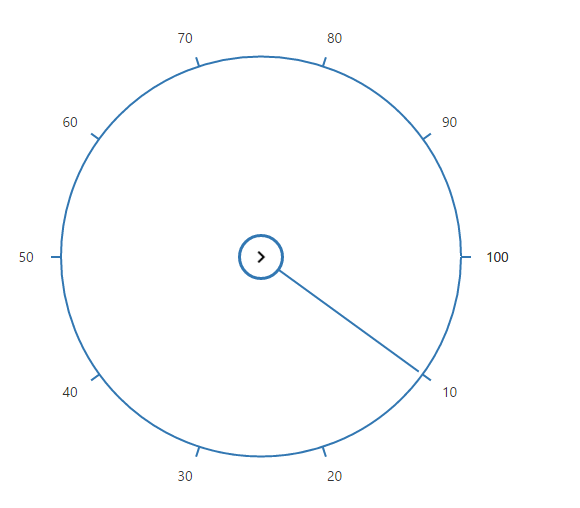
}To get the following output from the above-mentioned code.
NOTE
You can find the Radial Slider control properties from the API reference.