Getting Started with React Scheduler and Preact
This article provides a step-by-step guide for setting up a Preact project and integrating the React Scheduler. The sample demonstrates how to use Syncfusion Scheduler components in a lightweight Preact application with minimal configuration.
Preact is a fast and lightweight JavaScript library for building user interfaces. It’s often used as an alternative to larger frameworks like React. The key difference is that Preact is designed to be smaller in size and faster in performance, making it a good choice for projects where file size and load times are critical factors.
Tip: Preact is a good fit when you want React-like APIs with a smaller runtime footprint.
Prerequisites
- System requirements for Syncfusion® React UI components — Node.js and npm are required
- An HTML file with an
id="app"element where the Preact app will be rendered (this is typically created automatically by the Preact initialization)
Important: Ensure the root element exists before rendering the Preact application. If the target element is missing, the Scheduler will not mount correctly.
Set up the Preact project
Create a new Preact project using the initialization command:
npm init preactor
yarn init preactUsing one of the above commands will lead you to set up additional configurations for the project, as below:
Note: The prompts shown below may vary slightly depending on the Preact CLI version.
Project name
Specify the project name as my-project.
T  Preact - Fast 3kB alternative to React with the same modern API
|
*  Project directory:
|  my-project
—
Project language
Choose JavaScript as the language variant to build this Preact project using JavaScript.
T  Preact - Fast 3kB alternative to React with the same modern API
|
*  Project language:
|  > JavaScript
|    TypeScript
—
Configuration options
Respond to the following prompts with the default selections:
T  Preact - Fast 3kB alternative to React with the same modern API
|
*  Use router?
|    Yes / > No
—
|
*  Prerender app (SSG)?
|    Yes / > No
—
|
*  Use ESLint?
|    Yes / > No
—
Navigate to project
Once setup is complete, navigate to your project directory:
cd my-projectNow that my-project is ready to run with default settings, let’s add Syncfusion® components to the project.
Add the Syncfusion® Schedule Package
Syncfusion® React component packages are available at npmjs.com.
This article uses the React Schedule component as an example. Install the @syncfusion/ej2-react-schedule package using the following command:
Important: Install the Scheduler package inside the Preact project directory so the module resolves correctly at build time.
npm install @syncfusion/ej2-react-schedule --saveor
yarn add @syncfusion/ej2-react-scheduleImport Syncfusion® CSS styles from a theme package
Themes for Syncfusion® React Schedule component can be applied with CSS files provided through npm theme packages. For available themes, refer to the Themes documentation.
This guide uses the Tailwind 3 theme. Install the theme package using the following command:
Tip: Keep the theme package version aligned with your Syncfusion component version to avoid styling mismatches.
npm install @syncfusion/ej2-tailwind3-theme --saveThen add the following CSS reference to the src/index.css file:
@import "../node_modules/@syncfusion/ej2-tailwind3-theme/styles/schedule/index.css";The order of importing CSS styles should be in line with its dependency graph. Ensure this import is added before your component styles.
Add the Syncfusion® Schedule Component
Follow the below steps to add the Schedule component to your Preact project:
Import Schedule Components
In the src/index.jsx file, import the necessary Schedule components and create the Schedule component with sample data:
Note: If you want to display custom appointments, bind a data source and define the appropriate
eventSettingsconfiguration.
import { render } from 'preact';
import { ScheduleComponent, Day, Week, WorkWeek, Month, Agenda, Inject } from '@syncfusion/ej2-react-schedule';
import './style.css';

export function App() {
  return (
    <ScheduleComponent>
      <Inject services={[Day, Week, WorkWeek, Month, Agenda]}/>
    </ScheduleComponent>
  );
}

render(<App />, document.getElementById('app'));
For more available props and API documentation, refer to the ScheduleComponent API documentation.
Run the Project
To run the project, use the following command:
npm run devor
yarn run devThe development server will start and the application will be accessible in your browser (typically at http://localhost:8080 or http://localhost:5173 depending on your Preact version). You should see the Schedule component rendering with the sample event as follows:
Tip: If the application does not render, verify the root element ID, theme import path, and component imports first.
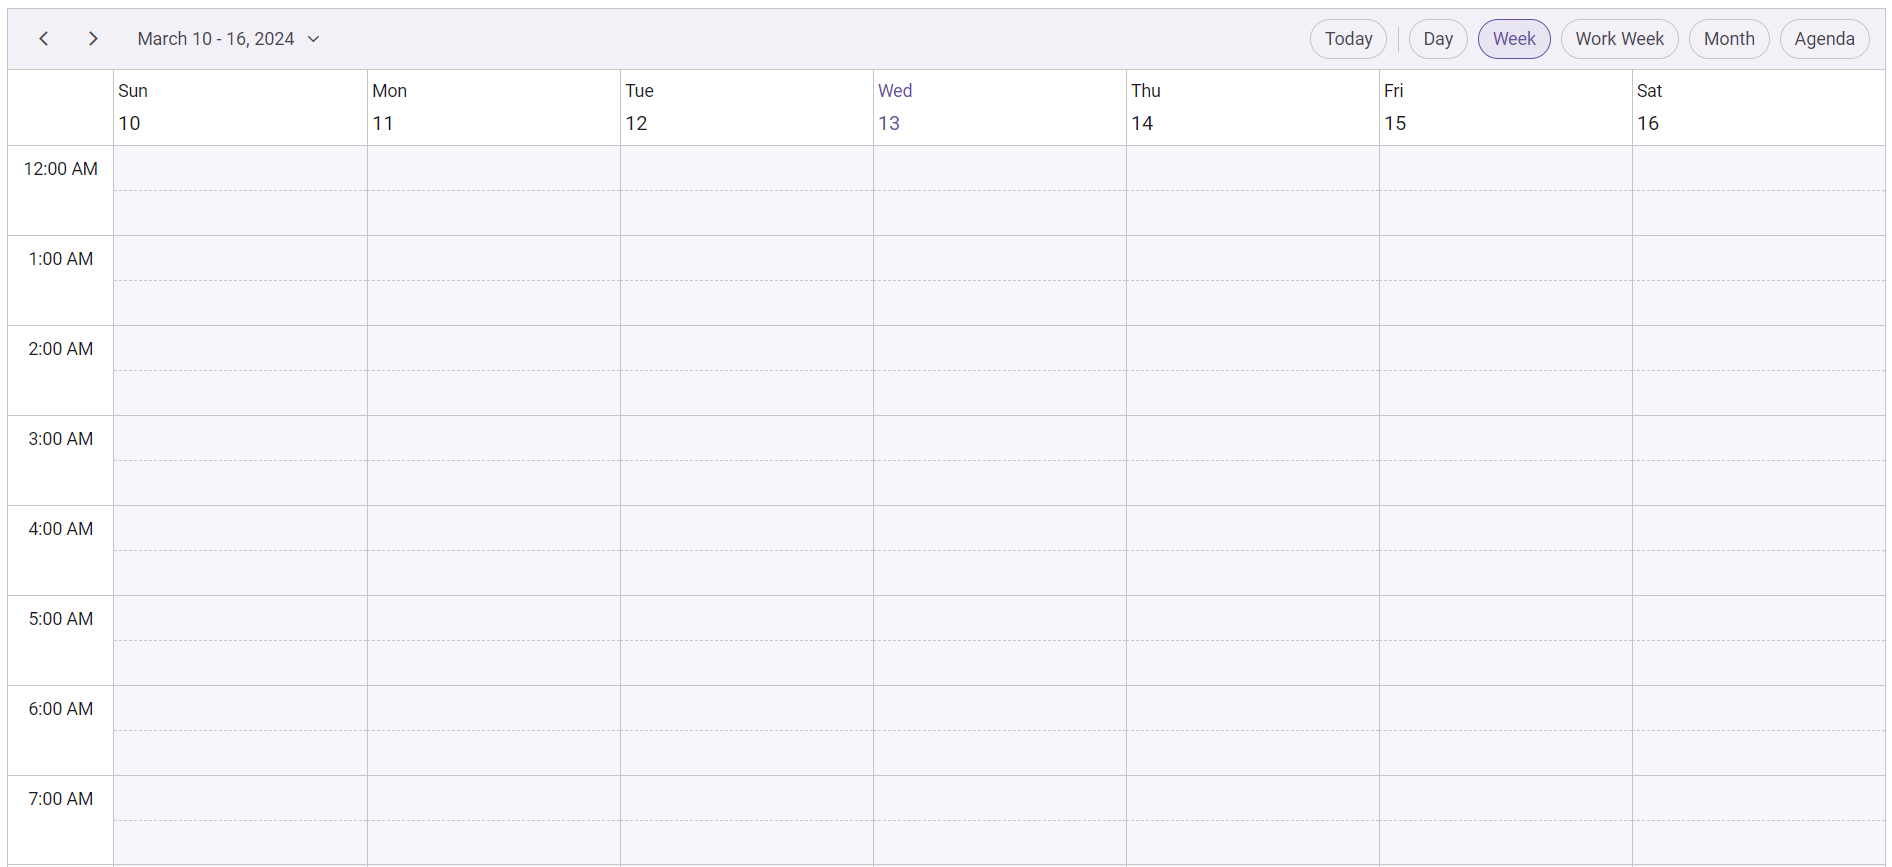
Please find the sample in this GitHub location
See also
- Getting Started with the Syncfusion® React UI Component - Main React setup guide
- Module injection - Configure Scheduler modules
- Views - View options and behavior
- Resources - Resource grouping examples