Getting Started with ASP.NET Core Scheduler
This section briefly explains how to include the ASP.NET Core Scheduler control in your ASP.NET Core Web App using Visual Studio and Visual Studio Code.
Ready to streamline your ASP.NET Core development? Discover the full potential of ASP.NET Core controls with AI Coding Assistant. Effortlessly integrate, configure, and enhance your projects with intelligent, context-aware code suggestions, streamlined setups, and real-time insights—all seamlessly integrated into your preferred AI-powered IDEs like Visual Studio, Visual Studio Code, Cursor, CodeStudio and more. Explore AI Coding Assistant
To get started quickly with ASP.NET Core Scheduler control, you can check out this video:
Create an ASP.NET Core web App with Razor Pages
Create an ASP.NET Core Web App using Visual Studio via Microsoft Templates or the ASP.NET Core Extension.
Run the following command to create a new ASP.NET Core Web App.
dotnet new webapp -o SchedulerSample
code -r SchedulerSample
Alternatively, create an ASP.NET Core Web App using Visual Studio Code via Microsoft Templates or the ASP.NET Core Extension, or the C# Dev Kit extension.
Install the required ASP.NET Core packages
Install the Syncfusion.AspNetCore.Schedule and Syncfusion.AspNetCore.Themes NuGet packages. All Syncfusion ASP.NET Core packages are available on nuget.org. See the NuGet packages topic for details.
- Go to Tools → NuGet Package Manager → Manage NuGet Packages for Solution.
- Search the required NuGet packages (
Syncfusion.AspNetCore.ScheduleandSyncfusion.AspNetCore.Themes) and install them.
Alternatively, you can install the same packages using the Package Manager Console with the following commands.
Install-Package Syncfusion.AspNetCore.Schedule -Version 35.1.37
Install-Package Syncfusion.AspNetCore.Themes -Version 35.1.37
Open the terminal and run the following commands.
dotnet add package Syncfusion.AspNetCore.Schedule --version 35.1.37
dotnet add package Syncfusion.AspNetCore.Themes --version 35.1.37
Add ASP.NET Core tag helpers
After the packages are installed, open the ~/Pages/_ViewImports.cshtml file and import the Syncfusion.AspNetCore.Schedule and Syncfusion.AspNetCore.Base tag helpers.
@addTagHelper *, Syncfusion.AspNetCore.Schedule
@addTagHelper *, Syncfusion.AspNetCore.Base
Add stylesheet and script resources
The theme stylesheet and script can be referenced from NuGet through Static Web Assets. Include the stylesheet and script references inside the <head> of ~/Pages/Shared/_Layout.cshtml file.
<head>
    ...
    ...
    <link rel="stylesheet" href="_content/Syncfusion.AspNetCore.Themes/styles/fluent2.css" />
    <script src="_content/Syncfusion.AspNetCore.Schedule/scripts/sf-schedule.min.js"></script>
</head>
Register the script manager
Open the ~/Pages/Shared/_Layout.cshtml file and register the script manager (<ejs-scripts>) at the end of the <body> element as shown below.
<body>
    ...
    <!-- Syncfusion ASP.NET Core Script Manager -->
    <ejs-scripts></ejs-scripts>
</body>
Add the ASP.NET Core Scheduler control
Add the ASP.NET Core Scheduler control in the ~/Pages/Index.cshtml file.
<ejs-schedule id="schedule"></ejs-schedule>Run the application
Press Ctrl+F5 (Windows) or ⌘+F5 (macOS) to launch the application. The ASP.NET Core Scheduler control will render in your default web browser.
Open the terminal and run the following command.
dotnet run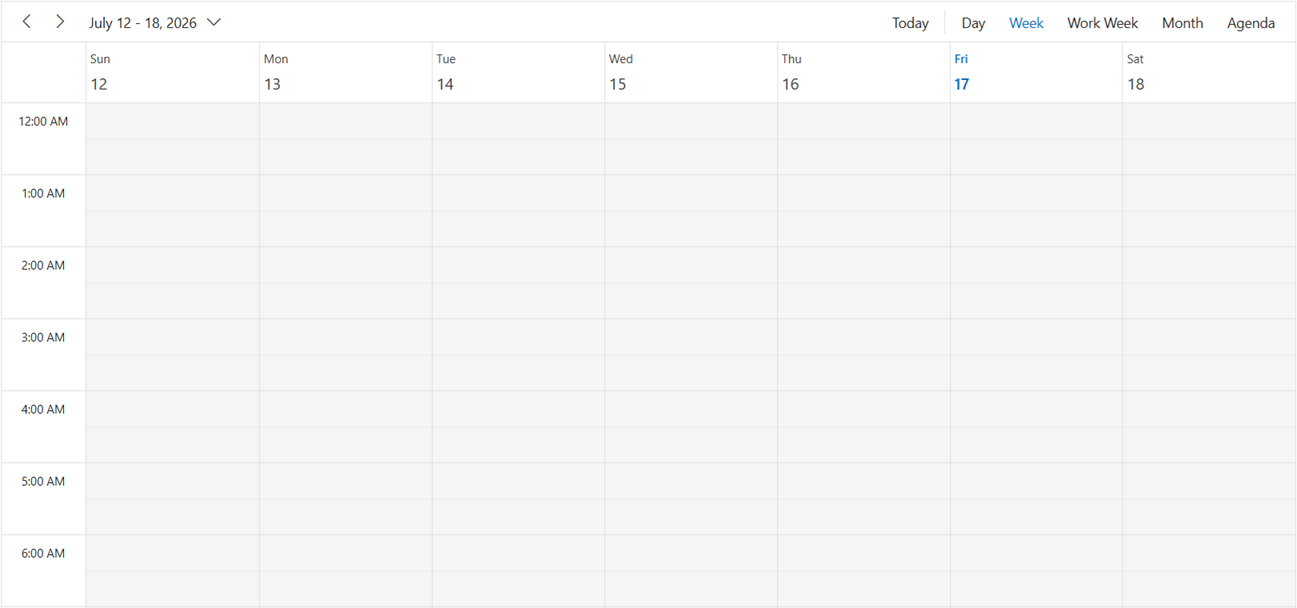
Populating appointments
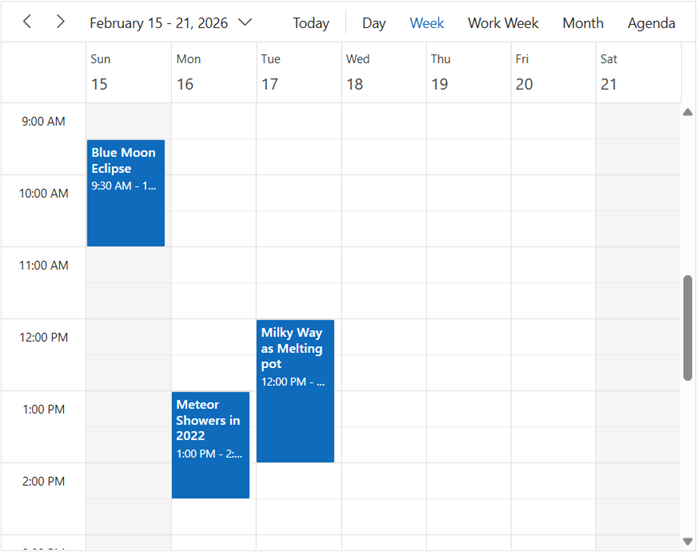
To populate an empty Scheduler with appointments, bind the event data to it by assigning the DataSource property under e-schedule-eventsettings tag Helper.
@{
    List<AppointmentData> appData = new List<AppointmentData>();
    appData.Add(new AppointmentData
    { Id = 1, Subject = "Explosion of Betelgeuse Star", StartTime = new DateTime(2026, 2, 13, 9, 30, 0), EndTime = new DateTime(2026, 2, 13, 11, 0, 0) });
    appData.Add(new AppointmentData
    { Id = 2, Subject = "Thule Air Crash Report", StartTime = new DateTime(2026, 2, 14, 12, 0, 0), EndTime = new DateTime(2026, 2, 14, 14, 0, 0) });
    appData.Add(new AppointmentData
    { Id = 3, Subject = "Blue Moon Eclipse", StartTime = new DateTime(2026, 2, 15, 9, 30, 0), EndTime = new DateTime(2026, 2, 15, 11, 0, 0) });
    appData.Add(new AppointmentData
    { Id = 4, Subject = "Meteor Showers in 2022", StartTime = new DateTime(2026, 2, 16, 13, 0, 0), EndTime = new DateTime(2026, 2, 16, 14, 30, 0) });
    appData.Add(new AppointmentData
    { Id = 5, Subject = "Milky Way as Melting pot", StartTime = new DateTime(2026, 2, 17, 12, 0, 0), EndTime = new DateTime(2026, 2, 17, 14, 0, 0) });
}

<ejs-schedule id="schedule" height="550" selectedDate="new DateTime(2026, 2, 17)">
    <e-schedule-eventsettings dataSource="appData"></e-schedule-eventsettings>
</ejs-schedule>
public class AppointmentData
{
public int Id { get; set; }
public string Subject { get; set; }
public DateTime StartTime { get; set; }
public DateTime EndTime { get; set; }
}
Setting date
By default, the Scheduler displays the system date as its current date. To change the current date of the scheduler to a specific date, use the selectedDate property.
@{
    List<AppointmentData> appData = new List<AppointmentData>();
    appData.Add(new AppointmentData
    { Id = 1, Subject = "Explosion of Betelgeuse Star", StartTime = new DateTime(2026, 2, 13, 9, 30, 0), EndTime = new DateTime(2026, 2, 13, 11, 0, 0) });
    appData.Add(new AppointmentData
    { Id = 2, Subject = "Thule Air Crash Report", StartTime = new DateTime(2026, 2, 14, 12, 0, 0), EndTime = new DateTime(2026, 2, 14, 14, 0, 0) });
    appData.Add(new AppointmentData
    { Id = 3, Subject = "Blue Moon Eclipse", StartTime = new DateTime(2026, 2, 15, 9, 30, 0), EndTime = new DateTime(2026, 2, 15, 11, 0, 0) });
    appData.Add(new AppointmentData
    { Id = 4, Subject = "Meteor Showers in 2022", StartTime = new DateTime(2026, 2, 16, 13, 0, 0), EndTime = new DateTime(2026, 2, 16, 14, 30, 0) });
    appData.Add(new AppointmentData
    { Id = 5, Subject = "Milky Way as Melting pot", StartTime = new DateTime(2026, 2, 17, 12, 0, 0), EndTime = new DateTime(2026, 2, 17, 14, 0, 0) });
}

<ejs-schedule id="schedule" height="550" selectedDate="new DateTime(2026, 2, 17)">
    <e-schedule-eventsettings dataSource="appData"></e-schedule-eventsettings>
</ejs-schedule>
public class AppointmentData
{
public int Id { get; set; }
public string Subject { get; set; }
public DateTime StartTime { get; set; }
public DateTime EndTime { get; set; }
}Specific view
Scheduler displays Week view by default. To change the current view, define the applicable view name to the currentView property. The applicable view names are;
- Day
- Week
- WorkWeek
- Month
- Year
- Agenda
- MonthAgenda
- TimelineDay
- TimelineWeek
- TimelineWorkWeek
- TimelineMonth
- TimelineYear
@using Syncfusion.EJ2.Schedule
@{
     List<ScheduleView> viewOption = new List<ScheduleView>()
    {
        new ScheduleView { Option = Syncfusion.EJ2.Schedule.View.Week },
        new ScheduleView { Option = Syncfusion.EJ2.Schedule.View.TimelineDay }
    };
}

<ejs-schedule id="schedule" height="550" views="viewOption" selectedDate="new DateTime(2026, 2, 15)">
</ejs-schedule>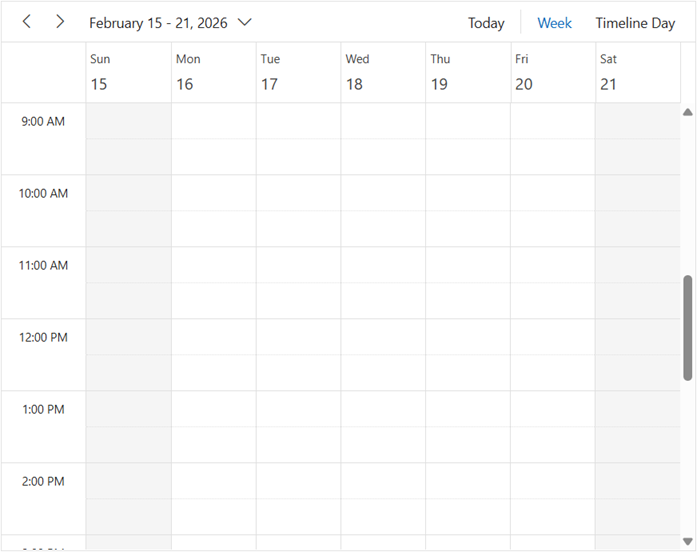
Individual view customization
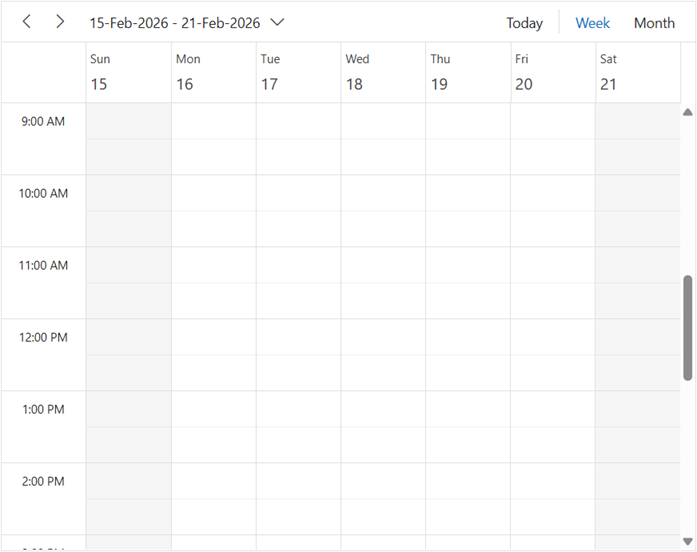
Each individual scheduler view can be customized with its own options such as setting different start and end hours on Week and Work Week views, while hiding weekend days only in Month view. Set the views property to a collection of ScheduleView objects, where each object defines the customization for an individual view.”
@using Syncfusion.EJ2.Schedule
@{
    List<ScheduleView> viewOption = new List<ScheduleView>()
    {
        new ScheduleView { Option = Syncfusion.EJ2.Schedule.View.Week, DateFormat = "dd-MMM-yyyy" },
        new ScheduleView { Option = Syncfusion.EJ2.Schedule.View.Month, ShowWeekend = false, Readonly = true }
    };
}

<ejs-schedule id="schedule" height="550" views="viewOption" selectedDate="new DateTime(2026, 2, 15)">
</ejs-schedule>