How to Insert Table in Blazor Markdown Editor Component
18 Nov 20181 minute to read
The Blazor Markdown Editor provides built-in support for inserting tables, allowing users to create and customize tables effortlessly within the editor.
Steps to Enable Table Insertion
To enable the table insertion feature:
- Add the
CreateTableoption to the toolbar items. - Click the Table icon in the toolbar.
- Select the desired table configuration and insert it into the editor.
Default Table Structure
When a table is inserted, it includes:
- 2 rows and 2 columns
- A table header row
This default layout allows users to begin formatting and adding content immediately.
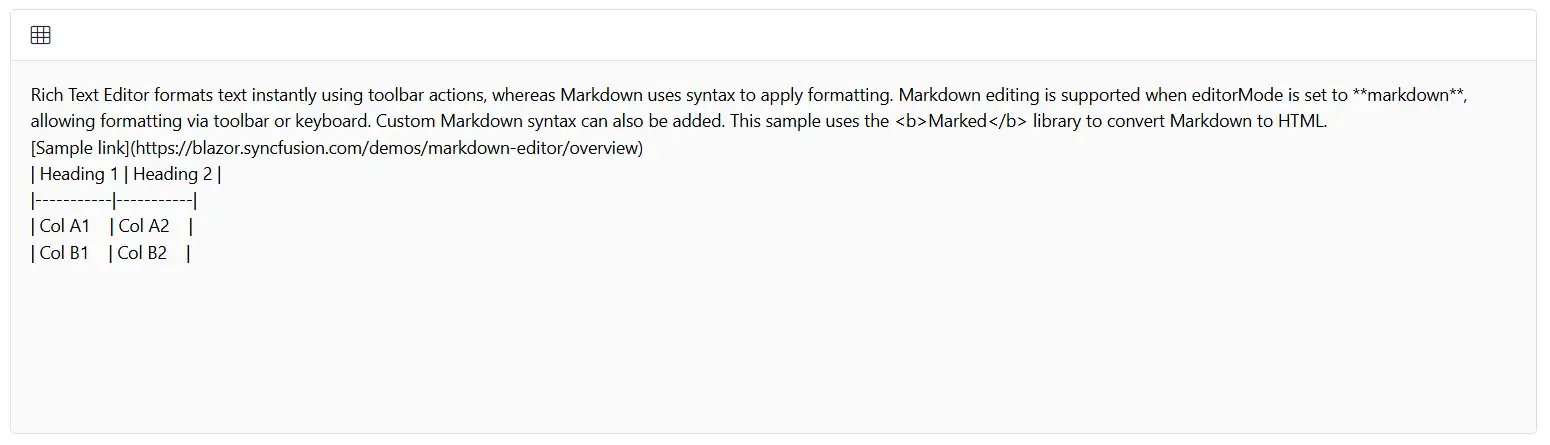
The following example demonstrates how to enable table insertion in the Blazor Markdown Editor.
@using Syncfusion.Blazor.RichTextEditor

<SfRichTextEditor EditorMode="EditorMode.Markdown" Height="340px" Placeholder="Type Something" Value="@MarkdownValue">
    <RichTextEditorToolbarSettings Items="@Tools" />
</SfRichTextEditor>

@code {

    private string MarkdownValue { get; set; } = @"Rich Text Editor formats text instantly using toolbar actions, whereas Markdown uses syntax to apply formatting. Markdown editing is supported when editorMode is set to **markdown**, allowing formatting via toolbar or keyboard. Custom Markdown syntax can also be added. This sample uses the <b>Marked</b> library to convert Markdown to HTML.
[Sample link](https://blazor.syncfusion.com/demos/markdown-editor/overview)
| Heading 1 | Heading 2 |
|-----------|-----------|
| Col A1    | Col A2    |
| Col B1    | Col B2    |";

    private List<ToolbarItemModel> Tools = new List<ToolbarItemModel>()
    {
        new ToolbarItemModel() { Command = ToolbarCommand.CreateTable }
    };
}