How can I help you?
Getting Started
This section helps to understand the getting started of RTE control with the step-by-step instruction.
Create RTE Control in React JS
You can create a React application and add necessary scripts and styles with the help of the given React Getting Started Documentation.
Create a JSX file for rendering RichTextEditor component using <EJ.RTE> syntax. Add required properties to it in <EJ.RTE> tag element
"use strict";
ReactDOM.render(
<EJ.RTE width="100%" minWidth="150px" isResponsive={true}>
</EJ.RTE>,
document.getElementById('rte-default')
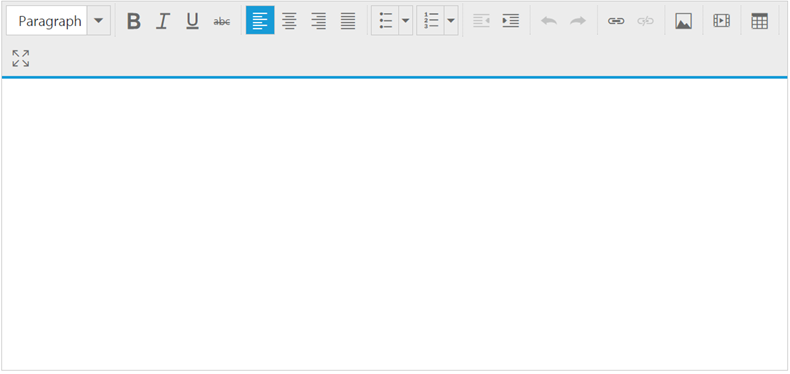
);Define an HTML element for adding RichTextEditor in the application and refer the JSX file.
<div id="rte-default"></div>
<script src="app/rte/default.js"></script>
The following screenshot displays a RTE widget.
Toolbar–Configuration
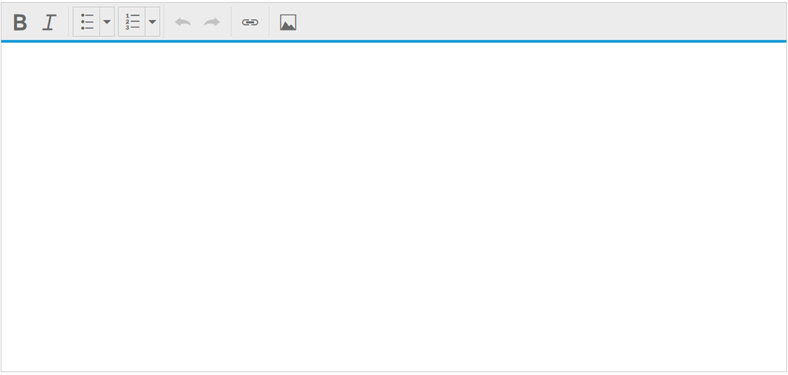
You can configure a toolbar with the tools as your application requires.
"use strict";
var tool=["style", "lists", "doAction", "links", "images"];
var tools={style: ["bold", "italic"], lists: ["unorderedList", "orderedList"],doAction: ["undo", "redo"],links: ["createLink"],images: ["image"] };
ReactDOM.render(
<EJ.RTE width="100%" minWidth="150px" isResponsive={true} toolsList={tool} tools={tools}>
</EJ.RTE>,
document.getElementById('rte-default')
);The following screenshot displays a RTE widget.
Setting and Getting Content
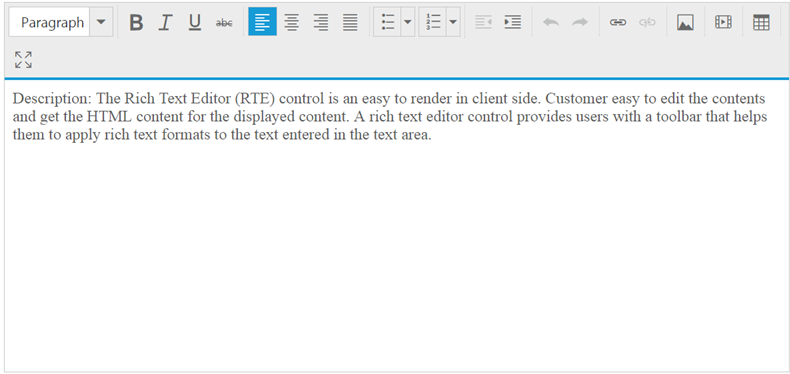
You can set the content of the editor as follows.
<div id="rte-default"></div>
<script src="app/rte/default.js"></script>"use strict";
ReactDOM.render(
<EJ.RTE width="100%" minWidth="150px" isResponsive={true} >
<p><b>Description:</b></p>
<p>The Rich Text Editor (RTE) control is an easy to render in
client side. Customer easy to edit the contents and get the HTML content for
the displayed content. A rich text editor control provides users with a toolbar
that helps them to apply rich text formats to the text entered in the text
area. </p>
<p><b>Functional
Specifications/Requirements:</b></p>
<ol><li><p>Provide
the tool bar support, it’s also customizable.</p></li><li><p>Options
to get the HTML elements with styles.</p></li><li><p>Support
to insert image from a defined path.</p></li><li><p>Footer
elements and styles(tag / Element information , Action button (Upload, Cancel))</p></li><li><p>Re-size
the editor support. </p></li><li><p>Provide
efficient public methods and client side events.</p></li><li><p>Keyboard
navigation support.</p></li></ol>
</EJ.RTE>,
document.getElementById('rte-default')
);The following screenshot displays a RTE widget.
You can also set the content of the editor using value property as follows.
<div id="rte-default"></div>
<script src="app/rte/default.js"></script>"use strict";
var RTEDefault = React.createClass({
getInitialState: function()
{
return ({
data: 'This is RTE Content'
});
},
render: function () {
return (
<div id="rte_default" >
<EJ.RTE width="100%" minWidth="150px" isResponsive={true} value={this.state.data} >
</EJ.RTE>
</div>
);
}
});
ReactDOM.render(<RTEDefault />, document.getElementById('rte-default'));The value that is set to the RTE is added in this.state. Hence, the value is accessible in componentDidMount()