How can I help you?
Getting Started
The React ListView widget builds an interactive list view interface. This control allows you to select an item from a list-like interface and provides the infrastructure to display a set of data items in different layouts or views. Lists display data, data navigation, result lists, and data entry.
Key Features
-
AJAX Load: Loads AJAX content in the ListView content.
-
Data binding: Supports Data binding with JSON data and remote data.
-
Template support: The ListView supports template content.
-
Group List: The ListView supports group item list.
-
Check List: The ListView supports check list.
This section helps to understand the getting started of the ReactJS ListView with the step-by-step instructions.
Create an ListView
You can create a React application and add necessary scripts and styles with the help of the given ReactJJs Getting Started Documentation.
Define an HTML element for adding ListView in the application and refer the JSX file created.
<div id="listview-default"></div>
<script src="app/listview/default.js"></script>
Create a JSX file for rendering ListView component using <EJ.ListView> syntax. Add required properties to it in <EJ.ListBox> tag element
"use strict";
ReactDOM.render(
<div className="list">
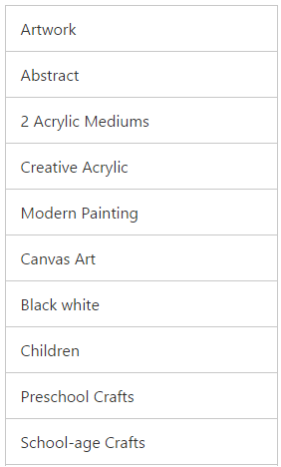
<EJ.ListView id="default" width="100%" height="100%" persistSelection={true}>
<ul>
<li data-ej-text="Artwork"></li>
<li data-ej-text="Abstract"></li>
<li data-ej-text="2 Acrylic Mediums"></li>
<li data-ej-text="Creative Acrylic"></li>
<li data-ej-text="Modern Painting"></li>
<li data-ej-text="Canvas Art"></li>
<li data-ej-text="Black white"></li>
<li data-ej-text="Children"></li>
<li data-ej-text="Preschool Crafts"></li>
<li data-ej-text="School-age Crafts"></li>
</ul>
</EJ.ListView>
</div>,
document.getElementById('listview-default')
);Run the above code to render the following output:
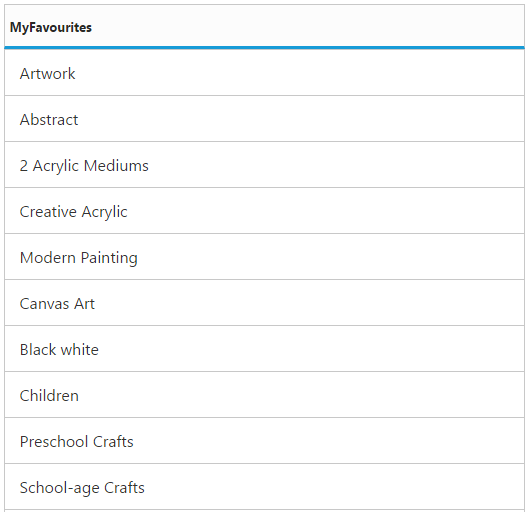
Add Header
We can add a header for ListView. Refer to the following script.
Use the following code render the ListBox with Selection
"use strict";

ReactDOM.render(
     <div className="list">
          <EJ.ListView id="default" width="100%" height="100%" showHeader={true} headerTitle="MyFavourites” persistSelection={true}>
               <ul>
                    <li data-ej-text="Artwork"></li>
                    <li data-ej-text="Abstract"></li>
                    <li data-ej-text="2 Acrylic Mediums"></li>
                    <li data-ej-text="Creative Acrylic"></li>
                    <li data-ej-text="Modern Painting"></li>
                    <li data-ej-text="Canvas Art"></li>
                    <li data-ej-text="Black white"></li>
                    <li data-ej-text="Children"></li>
                    <li data-ej-text="Preschool Crafts"></li>
                    <li data-ej-text="School-age Crafts"></li>

                </ul>
          </EJ.ListView>
     </div>,
     document.getElementById('listview-default')
Run the above code to render the following output.
Note: You can find the ListView properties from the API reference document