Getting Started
31 Mar 20171 minute to read
Using the following steps, you can create a React FileExplorer component. The basic rendering of React FileExplorer is achieved with default functionality.
Create an FileExplorer
You can create a React application and add necessary scripts and styles with the help of the given React Getting Started Documentation.
Create a JSX file for rendering FileExplorer component using <EJ.FileExplorer> syntax. Add required properties to it in <EJ.FileExplorer> tag element
var localServ, ajaxDataType;
localServ = "http://js.syncfusion.com/demos/ejServices/api/FileExplorer/FileOperations"
var browname = /MSIE 8.0/i.test(window.navigator.userAgent) || /MSIE 9.0/i.test(window.navigator.userAgent) ? true : false;
if (browname)
{
    localServ = "http://js.syncfusion.com/demos/ejServices/api/FileExplorer/FileOperations";
    ajaxDataType =  "jsonp" ;
}
var path =  "http://js.syncfusion.com/demos/ejServices/Content/FileBrowser/";
ReactDOM.render(
	<EJ.FileExplorer ajaxDataType={ajaxDataType} ajaxAction={localServ} isResponsive={true} width="100%" minWidth= "150px" fileTypes= "*.png, *.gif, *.jpg, *.jpeg, *.docx" layout= "tile" path= {path} >
	</EJ.FileExplorer>,
	document.getElementById('fileexplorer')
);
To perform the server side actions using local web API service, please refer the link.
Define an HTML element for adding FileExplorer in the application and refer the JSX file.
<div id="fileexplorer"></div>
<script type="text/babel" src="fileexplorer.jsx"></script>
Run the above code to render the following output.
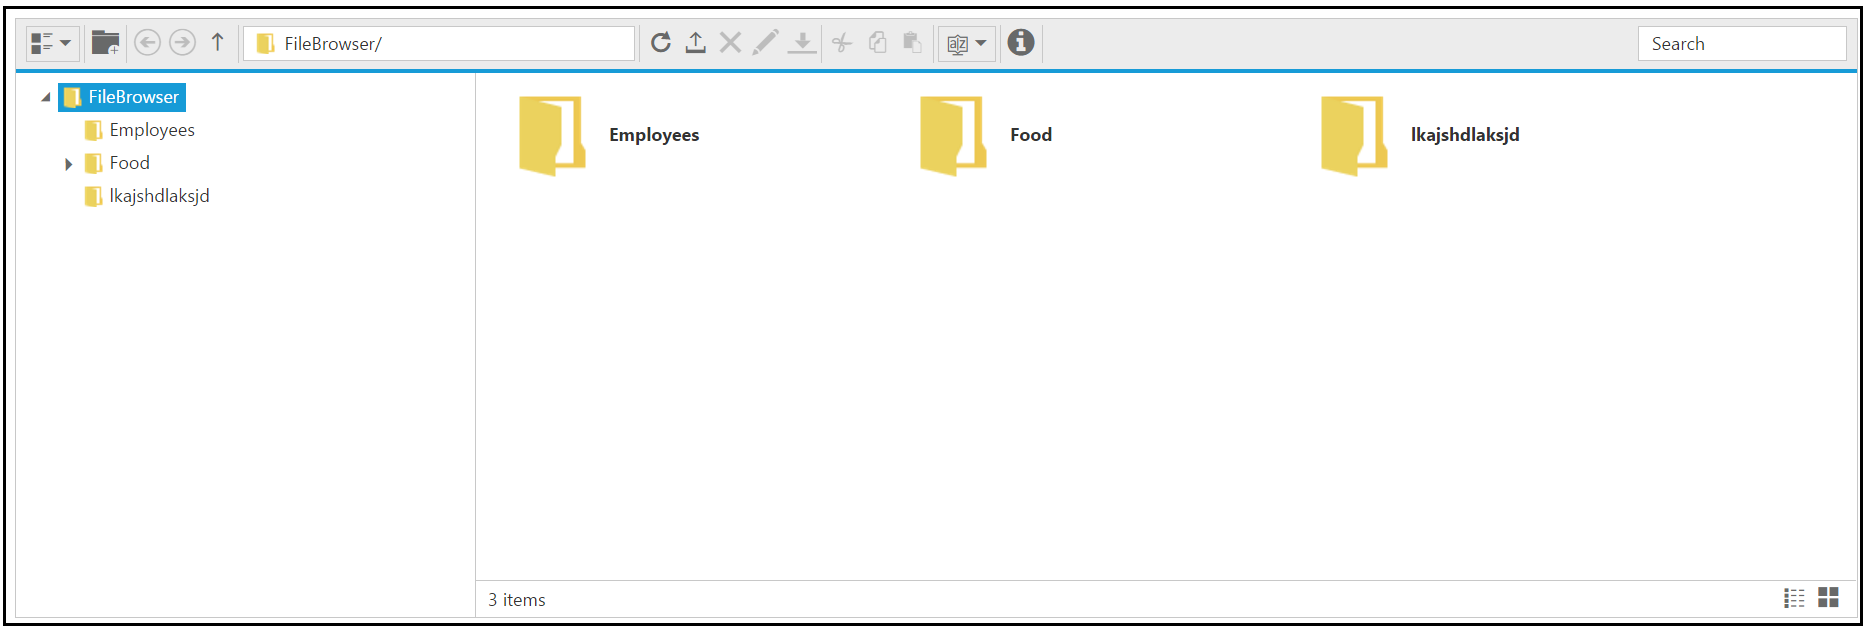
NOTE
You can find the FileExplorer properties from the API reference document